Hello! I’m Ichikura. I’m in charge of cymbals at Sound House.
Recently, while playing the drums, I noticed that the surface of my drum heads was getting quite dirty.
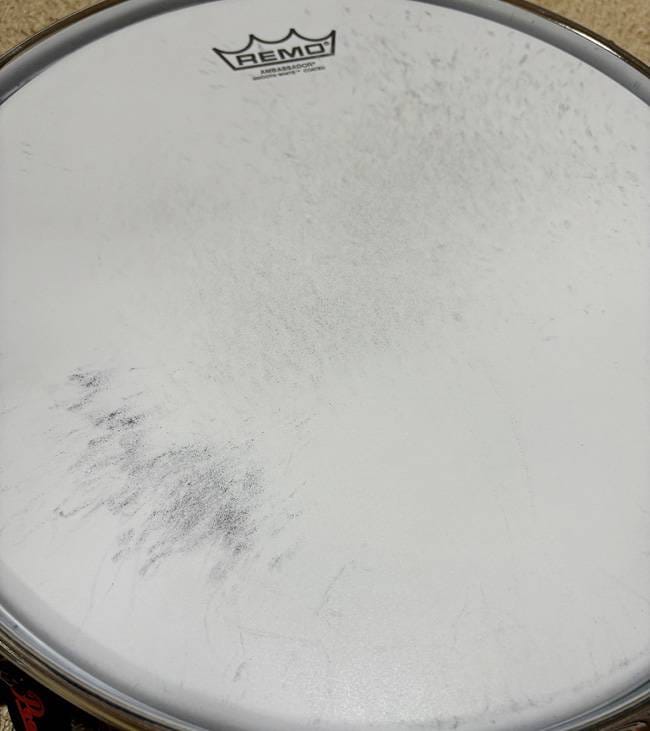
The black sticks I used really left a lot of marks!
Drum heads are typically replaced when the sound changes, when the batter head starts to dent, or when dirt becomes noticeable. I personally change mine every 3 to 6 months.
*As for the snare side (bottom head), I replace it about once every two times I change the batter head.
So, I bought Evans heads!
In this post, I’ll walk you through a simple guide to changing drum heads and share a quick review.
Replacing the Snare Batter Head (Top)
First, loosen the tension rods.
At this point, be careful not to loosen them all at once, as that can put stress on the hoop. Gradually loosen them bit by bit.
Remove the tension rods, hoop, and head.
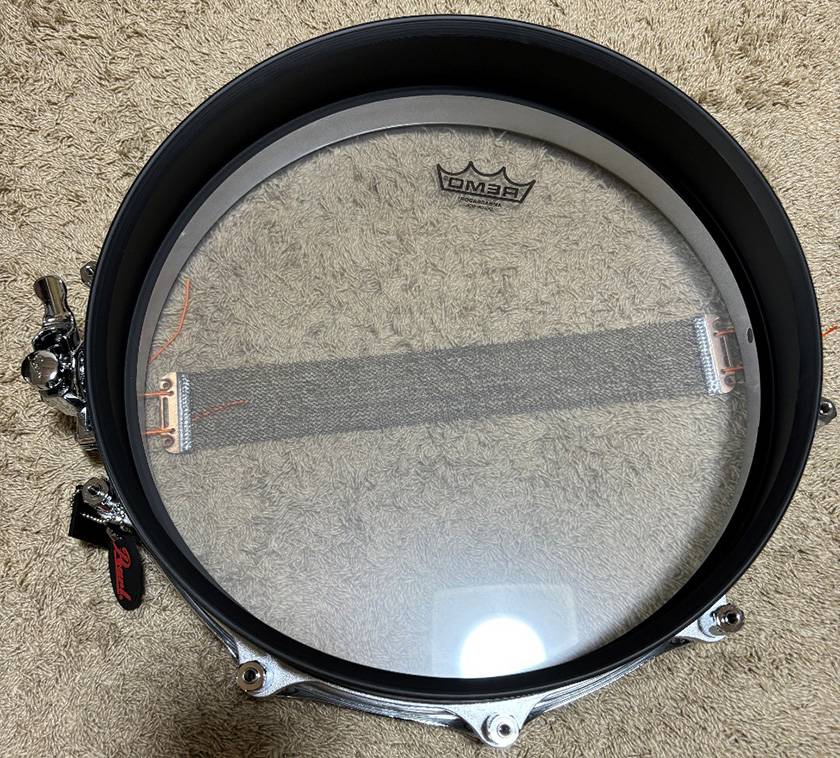
My snare drum doesn’t have it, but if there are screws inside the shell, they might have loosened, so now’s the time to tighten them properly.
Next, place the new head onto the shell and put the hoop back on top.
I’m replacing the head to this one ↓↓
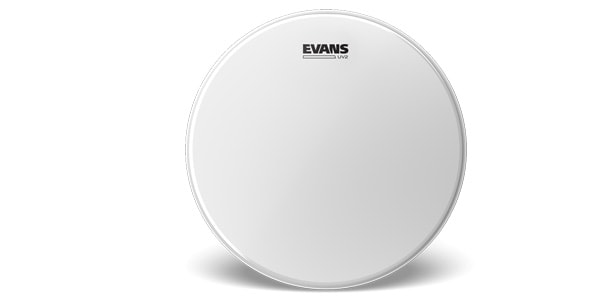
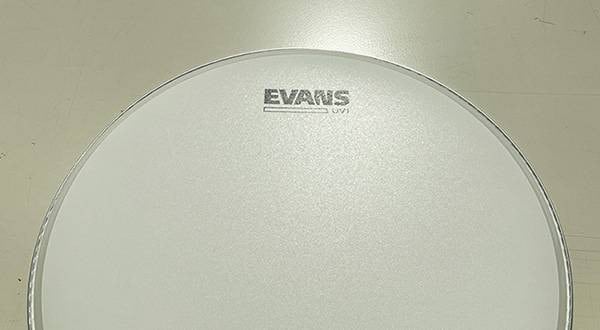
Evans / B14UV2 UV2 Coated 14-inch Head
When tightening the tension rods, start by turning them with your fingers, not the tuning key, and tighten them bit by bit.
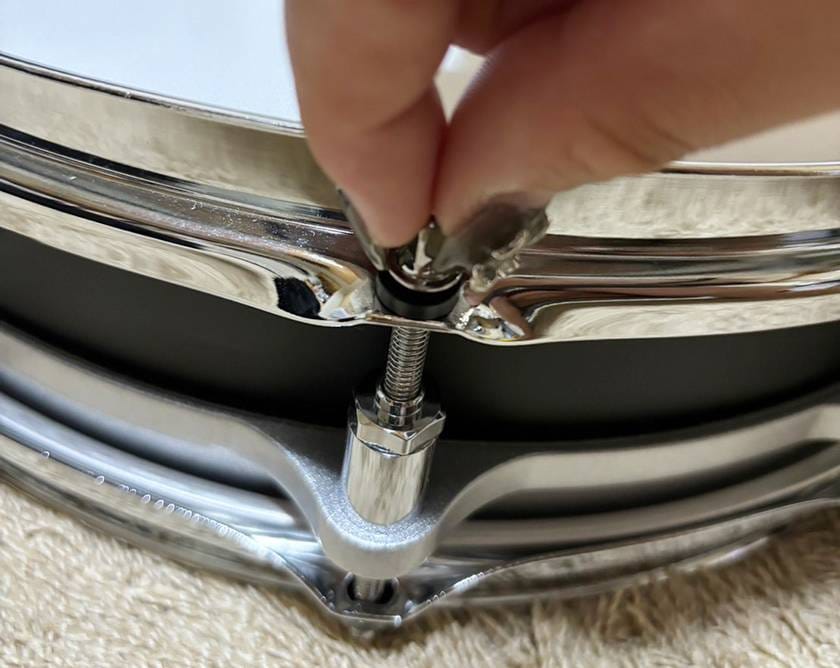
Once they’re tightened as much as possible by hand, use the tuning key to adjust to your desired sound.
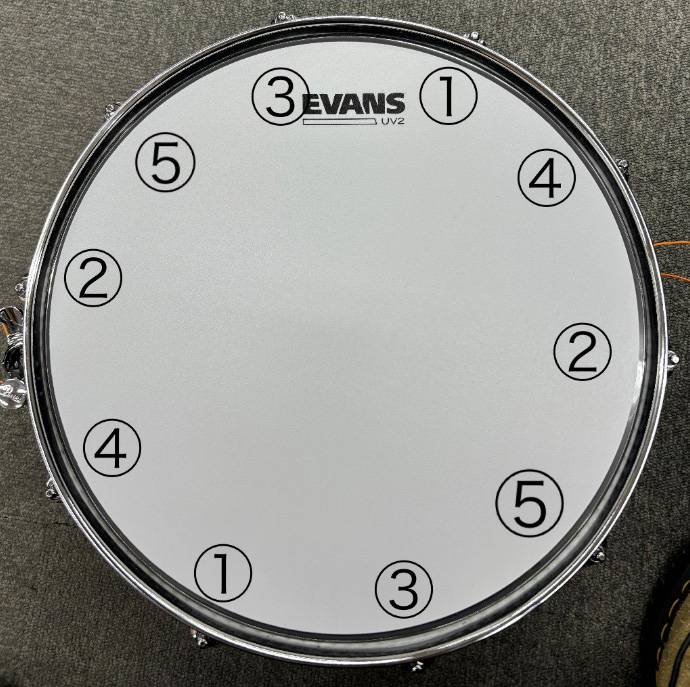
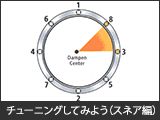
Follow the order of the numbers shown in the picture for even tuning, and adjust in a diagonal pattern for the best results.
Also, pressing the hoop down with your hands while tuning helps the head settle evenly.
Once you’ve got the tuning right, you’re done!
The Evans B14UV2 has a short sustain, with a warm and neutral sound. While many say it’s suitable for rock or metal, I found it to be a versatile head that works well for any genre. It’s made with 7-mil dual-ply film, known for its durability, so I’m looking forward to seeing how it holds up over time!
Next up, let me introduce another head.
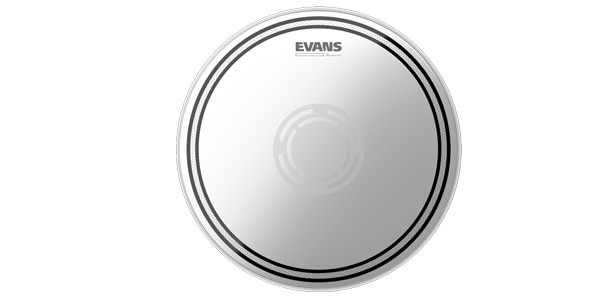
Evans / B14ECSRD EC Reverse Dot Snare 14-inch
This head features Evans’ unique Edge Control ring and a center dot on the underside, which helps control the tone. When I tested it out, the center dot produced a tight, focused attack. It had long sustain and beautifully clear overtones. Plus, the unique design looks really cool!
Replacing the Snare Side Head (Bottom)
For the snare side, I’ll be using this:
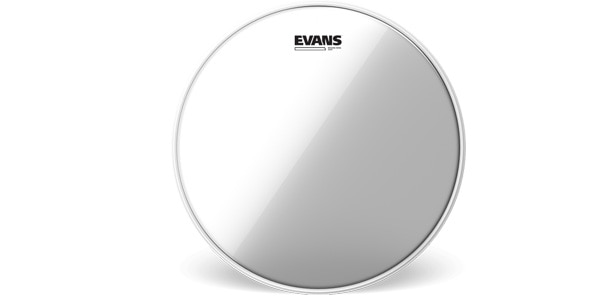
Evans / S14H30 Snare Side 300 14-inch
Just like the top, let’s replace it by fitting the new head and placing the hoop on top.
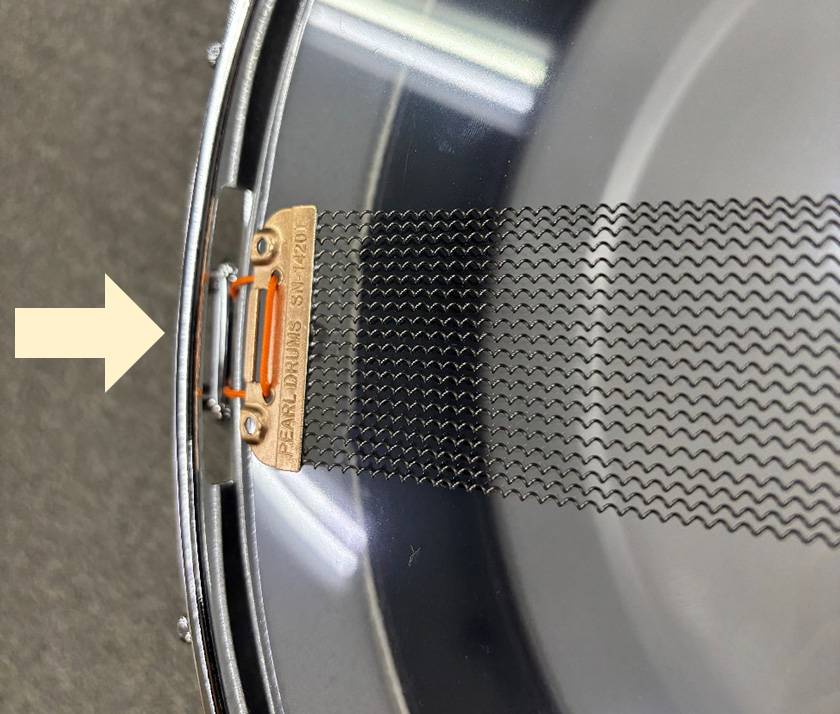
Unlike the batter head, the snare side hoop has holes for the snare wires to pass through, so tuning around this area tends to be lower than the rest. Be careful not to over-tighten when trying to match the tuning of other spots.
If there are any wrinkles, tightening the tension rods should smooth them out.
When attaching the snare wires, make sure they are centered. You’ll need to adjust the positioning when mounting them.
The key is to make the space between the snare wires and the hoop wider on the strainer side and narrower on the opposite side.
If the tension of the snare wires needs adjustment, you can fine-tune it using the knob on the strainer.
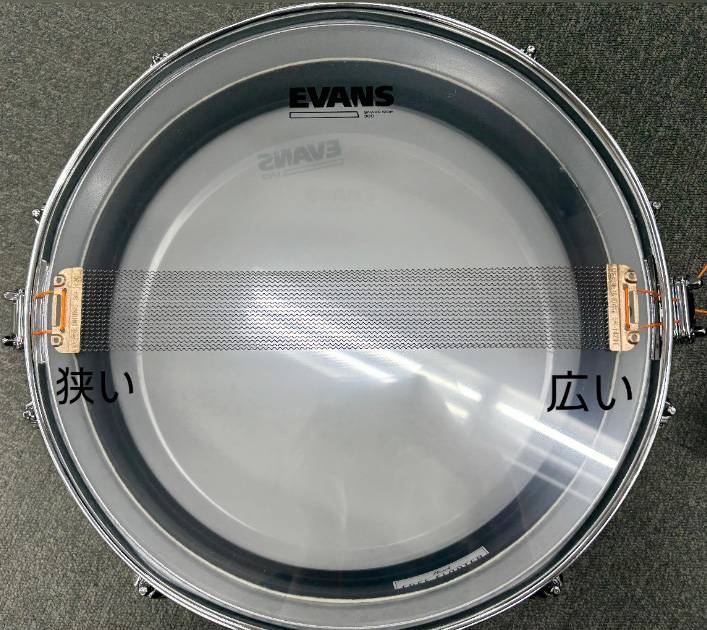
Now the S14H30 is successfully installed!
Compared to the old Remo head, the sound is clearer and more open, without that boxed-in feel. It was refreshing to play, and after finishing a song, I felt genuinely happy. It seems like matching the top and bottom heads from the same brand is the way to go!
Thank you for reading all the way through! This time, I replaced my drum heads with Evans ones.
Evans heads have many great features, such as the UV-cured durability and easy tuning thanks to their Level 360 technology.
Be sure to check out other Evans products as well!
And remember, it’s important to change your drum heads regularly!







![Recommended Drumheads [2024]](/contents/uploads/thumbs/2/2021/11/20211126_2_15268_1.jpg)


![[2024] Introducing Snare Head Recommendations](/contents/uploads/thumbs/2/2019/2/20190226_2_5645_1.jpg)
 マイファーストスネア
 EVANS ドラムヘッド
 REMO ドラムヘッド ガイド
 ドラムヘッドの交換方法
 チューニングしてみよう(スネア編)
 ドラムヘッドの種類

