


The very hot summer in Japan is here!! This heat really makes me want to have some ice cream under the aircon. Our situation of social distancing is still going on currently and it’s going to be like this for a long time. I’m still trying to find something fun to do at home.
Although we are in some hard times with the coronavirus, I would like to replace the drum heads so that I will be ready for the next live show that is going to eventually happen someday.
First, let’s take a look at the current state of the head…
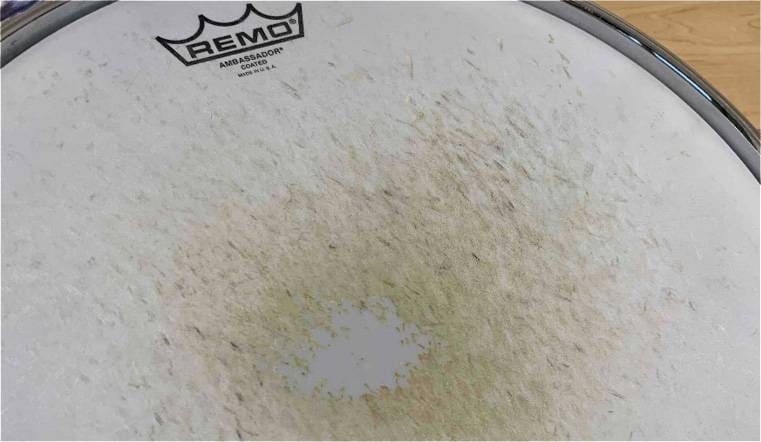
As you can see, it has been used a lot. This drum head has taken quite a beating and now it has reached its limit.
So, let’s get started. I’m going to replace this head with a new one!
1) First, loosen all the tension bolts with the tuning key.
I am going to use the tuning key made by Pearl. Don’t be afraid to loosen them all the way; go for it!
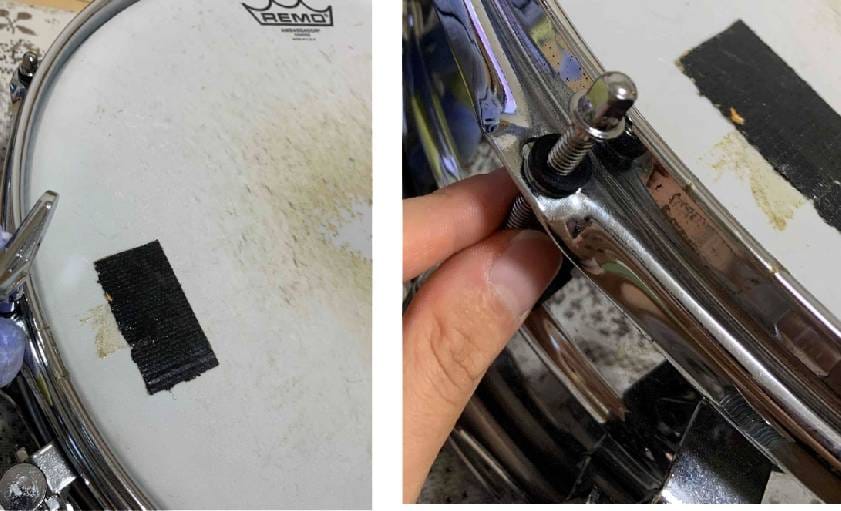
Once you have mostly loosened all the tension bolts, take the tension bolts out by hand and it will be faster to take the drum head apart.
↓
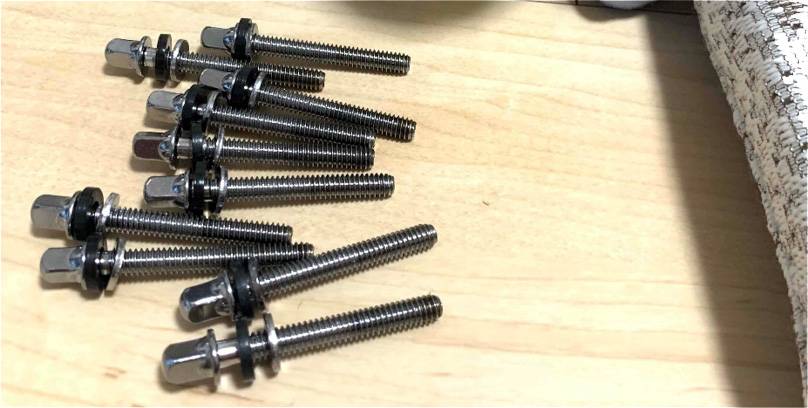
All of them are now off! I’m going to separate them so you can see just how many there are. Here are all of them spread out for clarity.
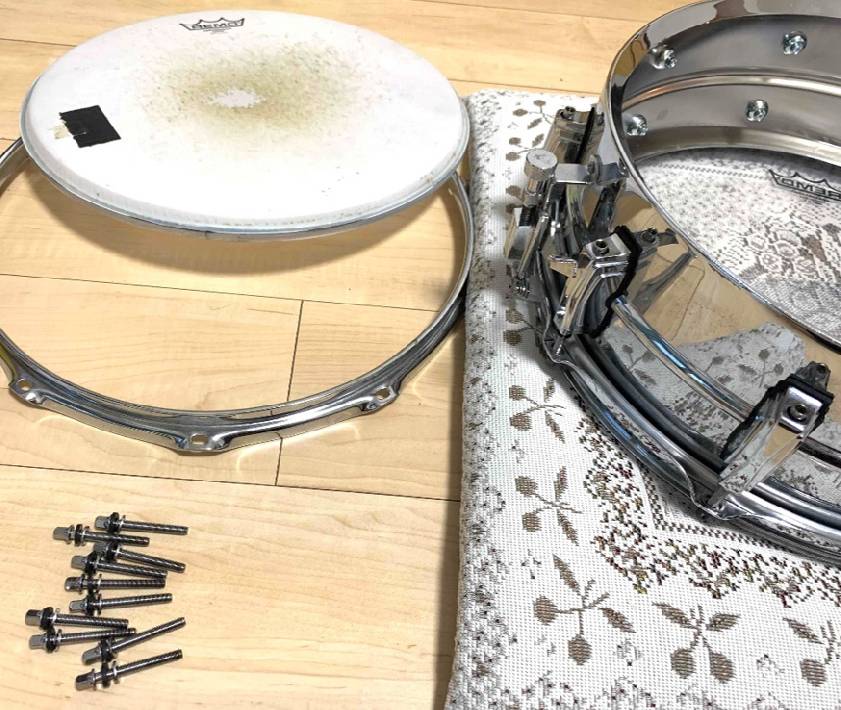
2) Remove the hoop and the old head.
Now the whole drum has been taken apart.
3) This time, I’ll be using the EVANS/B14UV2 drum head.
EVANS / B14UV2
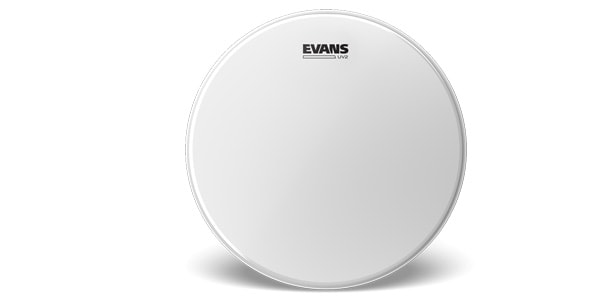
The B14UV2 is a 2-ply design with two layers of 7mil thick film.
The best thing about EVANS drumheads is the cured coating of UV technology which gives drum heads long-lasting durability! The LEVEL360 technology also provides a flat horizontal surface for better tuning stability.
The B14UV2 helps the tone maintain a moderate sustain, and the attack is very crisp. This head can produce a warm sound and it’s also highly durable, so this drum head is recommended for rock, metal, and other intense playing!
4) Install the head!
During installation, adjust the position of the strainer and the logo to the position you like. This time, I am going to put the strainer on the left side.

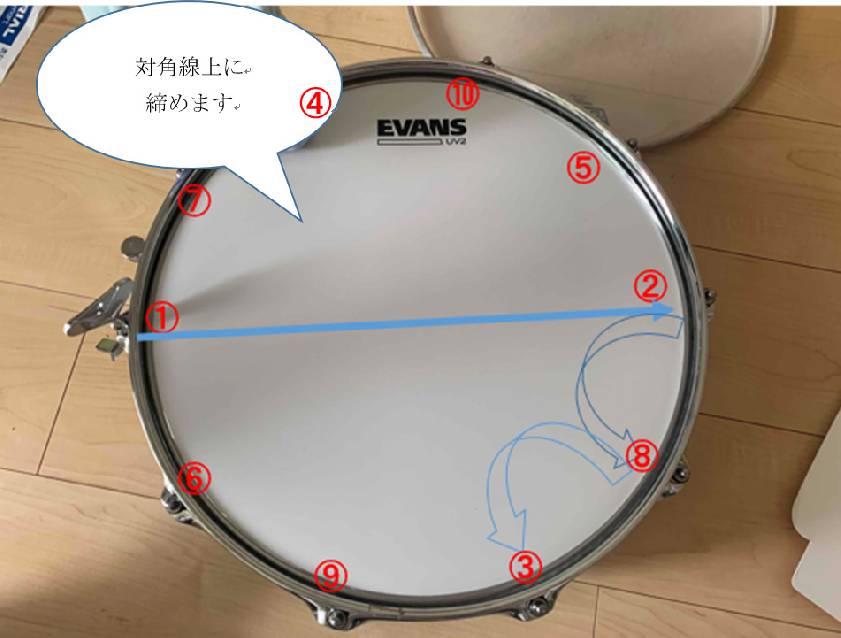
5) Now put all the tension bolts back.
For this step, tighten the screws in the order as shown in the image below. First, tighten the opposite line, and then tighten the keys that are two keys away. After tightening it, go to the opposite side and then go two keys away. Repeat this process. To prevent over-tightening, tighten the key by one turn while counting how many times you turned. Although a creaking noise will come out, don’t hesitate to tighten more and more.
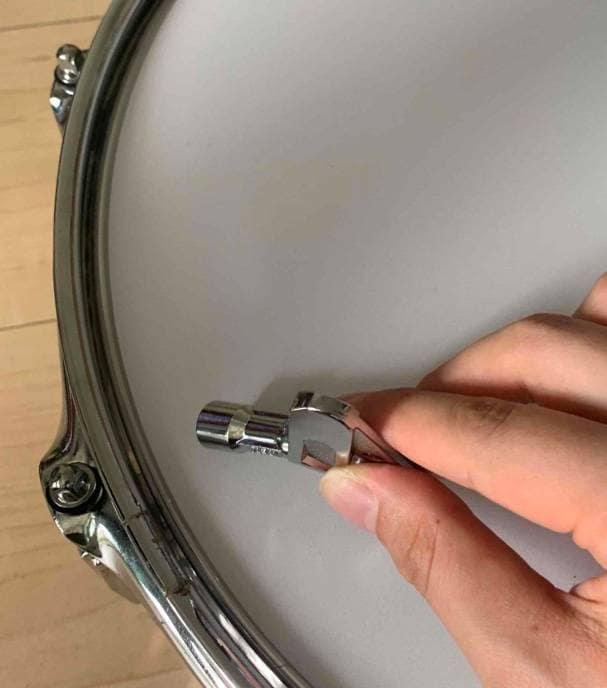
6) Tune it until you reach your target pitch.
When the keys are firm enough, it is now time to tune. Check the sound by tapping near the tension bolt.
Tap near the neighboring tension bolt and compare the sound. If one of the bolts sounds higher or lower in pitch than the other, adjust it by tuning the key little by little until the pitch is even on both sides.
Start with a 1/2 turn, and when the tone is gradually set to your desired pitch, adjust it with a 1/4 turn.
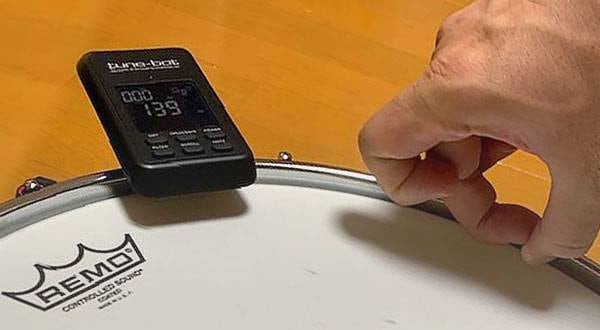
Drum tuning often relies on only using your ears, but there are items that you can use for more accurate tuning and there are even many apps out there these days. For example, here’s one useful device for tuning!
TAMA / TW100 tension watch
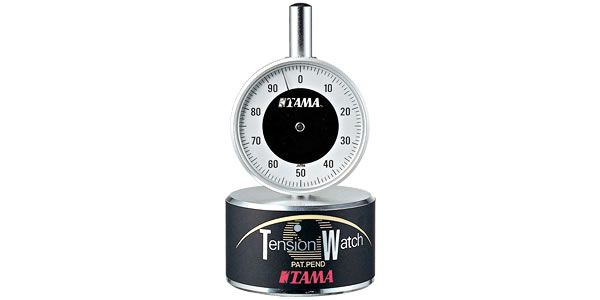
This handy watch allows you to visually check the state of the drum tuning by measuring the tension of the head. It can be used just by placing the device near the tuning bolts. I will definitely keep this item around and use it again many times.
The EVANS/B14UV2 can produce a very well balanced sound! It has a nice bounce to it. The sound is crisp but also warm. I bet this device can be used in a variety of genres!
By the way, here are the drumsticks I use.
PEARL / 7HC
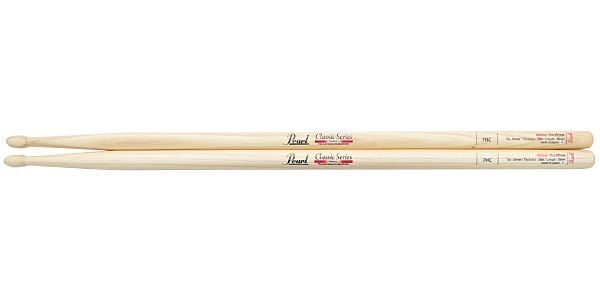
In Pearl’s classic series, the 7HC is one of the thinnest sticks at 13 mm!
Because it is not too thin, its grip fits right into the palm of your hands so well that it’s easy to express a powerful strike.
The wooden teardrop tip makes it possible to change the nuance of the sound as you change the angle. You can also play delicate sounds so you can even play jazz.
The clear lacquered coating shows off the grain of the wood and with prolonged use, the color will change to brown, giving it an aged look. Mine has already turned brown.
These drumsticks are made of the popular hickory wood, which is also recommended for beginners too.
This time, I talked about how to replace your drumhead and recommended some other useful items for tuning! Although the temperature is still scorching hot outside, let’s enjoy summer with our new fixed drumheads!


![[2025] Recommended mutes for drummers](/contents/uploads/thumbs/2/2021/2/20210208_2_12251_1.jpg)
![[2024] Introducing Snare Head Recommendations](/contents/uploads/thumbs/2/2019/2/20190226_2_5645_1.jpg)


 ドラムを始めよう! 初心者向け ドラムをダカドン!
 EVANS ドラムヘッド
 REMO ドラムヘッド ガイド
 ドラムヘッドの交換方法
 ドラムヘッドの種類
 ドラム初心者講座


