Hello,
Lately, I have gotten so hooked on Chinese cooking that my expenses have been really piling up.
I mentioned in a previous blog post that I bought a wok at the end of last year and started getting really into cooking, but since starting with fried rice, my repertoire has expanded to include dishes like twice-cooked pork, green pepper steak, and chili shrimp. As I continued cooking, I kept buying new equipment and ingredients, and there's just no end to it.
At first, I didn’t plan to get so particular about it, but then I thought, “Well, I need a strainer and a pot for oil-blanching, right?” And “I need some bowls for marinating and for setting aside ingredients after cooking,” and “Man, I really want a Chinese knife.”And before I knew it, the stuff just kept accumulating.
Even though you only use a small amount of seasonings and spices at a time, I figured I needed a decent variety, and now my fridge and pantry are completely packed... Well, it's fun, so I guess it's fine, but I do feel like I need to hold back on buying more from now on.
In theory, cooking at home should save me money on food, but once it becomes a hobby, that logic goes out the window. Falling in love with something can really be a dangerous thing.
Now then, in my previous blog posts, I talked about the basic knowledge of wiring, so this time we’ll be getting into how to actually do the wiring.
Before we get started with the actual wiring, there’s something I want to mention: “This time, I’ll be explaining using the method I usually use.”
The reason I say that is because wiring methods differ depending on the manufacturer, and even among repair shops, there are all sorts of approaches, each with their own way of doing things. There isn't any one correct method.
So, if you find yourself thinking, “Isn’t that a bit wrong”—please just quietly keep that thought to yourself.
Alright, that’s enough of an introduction—let’s get into the actual wiring work.
Normally at this point, I’d go with wiring something like a Stratocaster, Telecaster, or Les Paul, but unfortunately, I wasn’t able to get my hands on any suitable material.
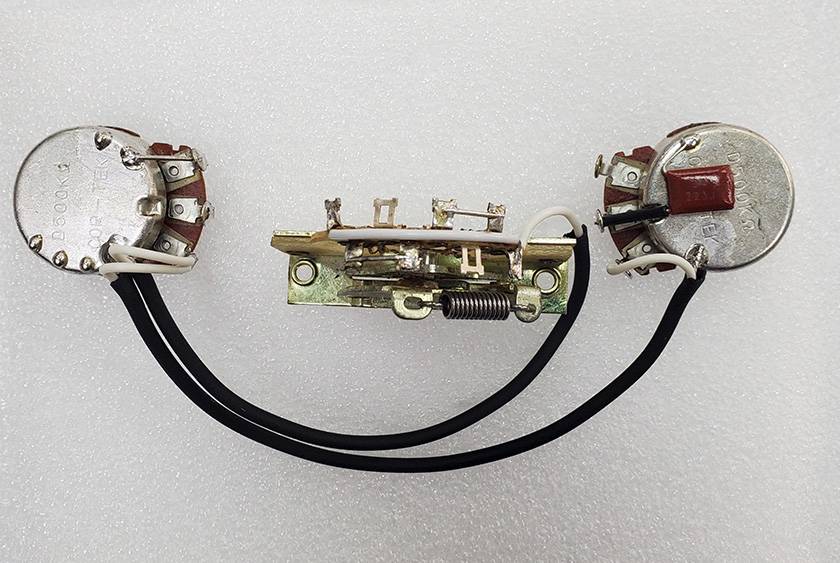
So this time, I’ll be doing the wiring on this guitar here.
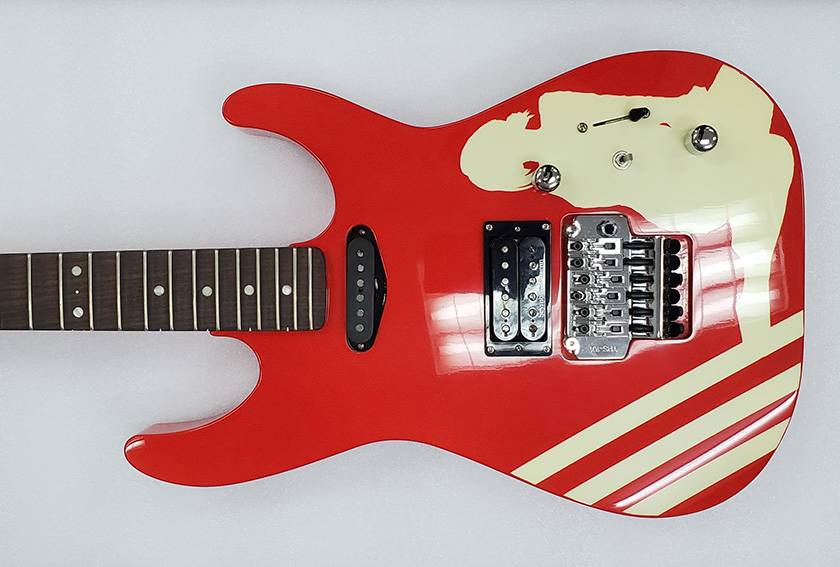
2This guitar has two pickups, a 3-way lever switch, two pots, and a mini switch.
I’ll be wiring it in a typical layout: 1 volume, 1 tone, and a 3-way lever switch.
This kind of wiring is almost the same as that of a Telecaster, so I hope it can serve as a good reference.
There is also a mini switch, but since I’ll be focusing on how to do the wiring itself this time, I’ll be skipping over that for now.
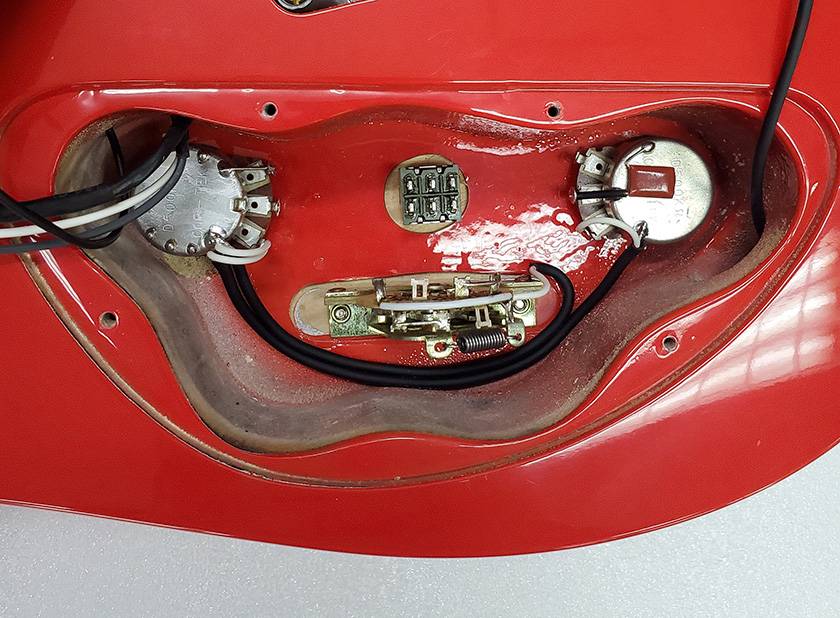
Anyway, getting back on track—let’s take a look at the wiring.
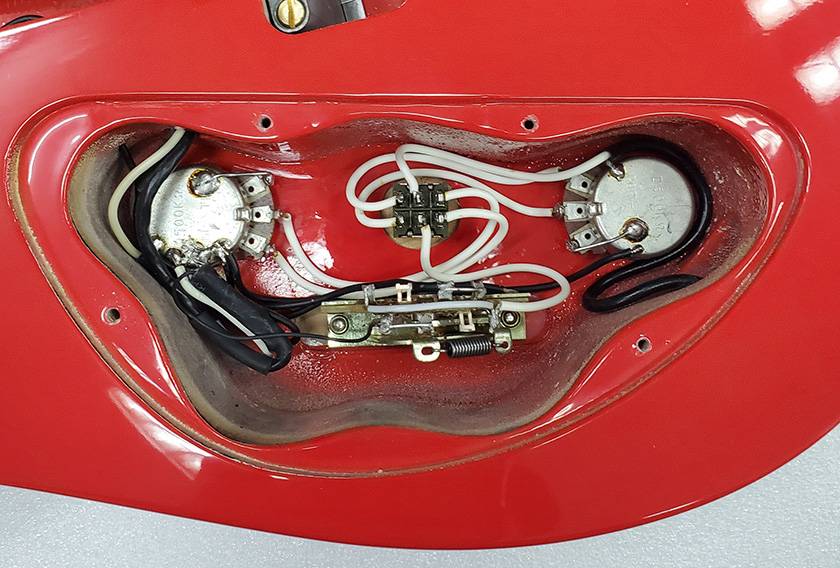
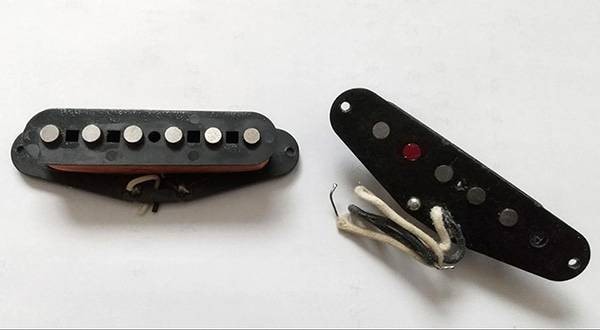
Hmm… I’m guessing it was my past self who did the original wiring, but now it’s doing all kinds of weird things.
The soldering is dirty, the flu is burnt, and the pickups seem to have been swapped multiple times, and it’s a complete mess.
The extension wiring for the single coil pickup is also kind of sloppy, and for some reason,the wiring is set to phase.
Yikes, sorry it looks so rough!
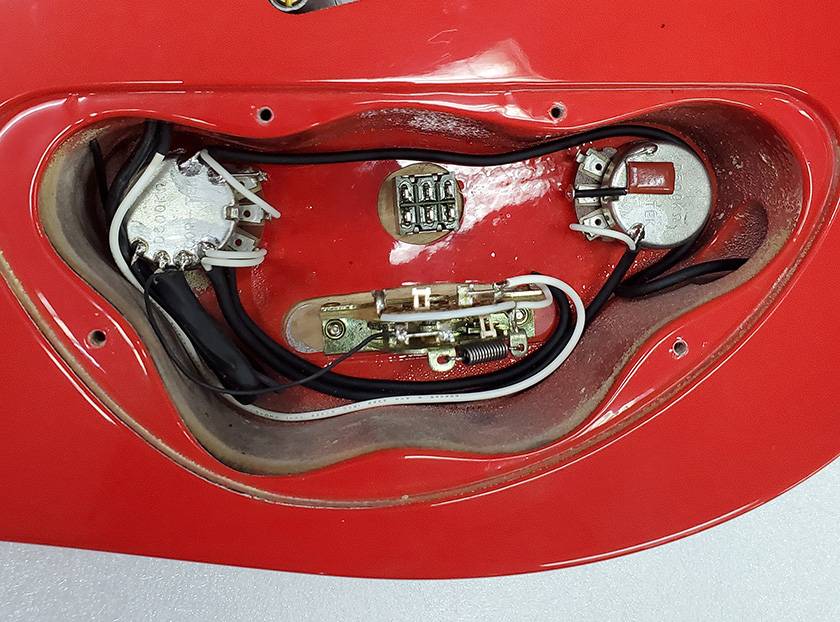
Well, there’s no point in complaining about the wiring at this stage, so let’s go ahead and remove it all and clean things up.
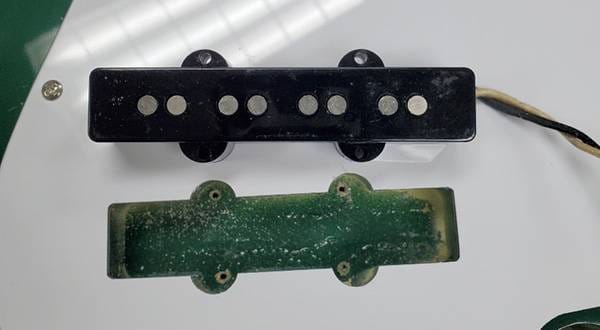
Here’s what it looks like after removing everything.

Now it’s nice and clean.
That said, cleaning up the original parts using things like a solder wick can be pretty tedious and time-consuming.
Personally, I think it’s better to just buy new parts and replace them rather than trying to reuse the old ones.
Alright, let’s get started with the wiring—but before that, we’ll need a wiring diagram.
Once you’re used to it, you might not need one, but in the beginning, if you don’t double-check things properly, it’s easy to make mistakes. So, I recommend preparing a diagram in advance whenever you do wiring work.
Also, there’s a wiring diagram available on our website, so feel free to use that as a reference.
⇒ Sound House’s “Tora-no-maki”! Beginner’s Guitar Guide: Wiring Guitar Parts
This time, I won’t use some of the component values and certain parts won’t be used, but I’ll be using that diagram as a reference.

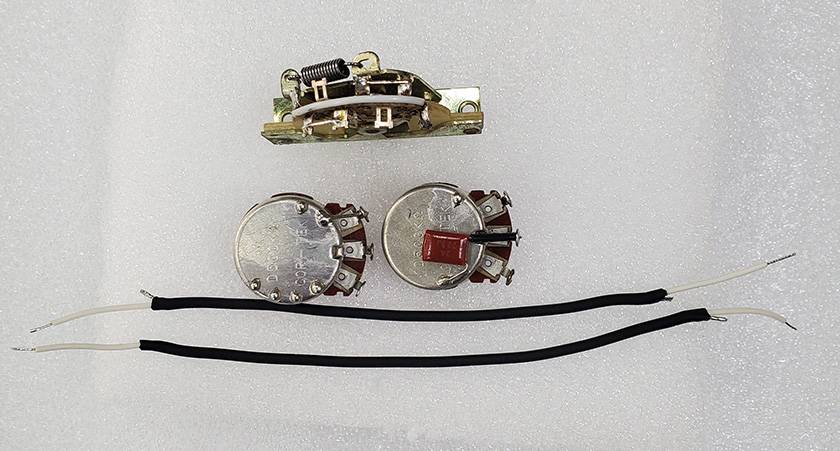
Once you’ve figured out how everything is supposed to be wired, the next step is to cut the wires to appropriate lengths, strip the insulation, and apply some pre-soldering.
It’s no exaggeration to say that how cleanly and neatly the wiring turns out is determined at this stage. So, it’s important to have a clear image of the finished layout and understand how the wires will be routed, and prepare the wire lengths and stripping accordingly.
At this point, take the pots and switches out of the cavity, do the pre-soldering, attach the capacitor to the tone pot, and also connect the terminals on the lever switch.
Next, solder the wires you have prepared to each of the parts.
With that, the internal wiring between the components is done, so now it’s time to install everything into the guitar.
At this point, it’s safe to say you’re about 80% done.
All that’s left is to connect the pickups, the output jack, and the bridge ground wire.
For learning how to organize the 4-conductor wires, you can check out this article:
⇒ Things to Know Before Wiring Your Pickups (Part 3)
Soldering inside the cavity can be a bit tricky, but if you take your time and work carefully, you’ll be fine.
Also, if you find the work difficult, it’s a good idea to use tools like tweezers. If the wires are long enough, you can even remove the parts and place them somewhere more comfortable to work on.
At first, it’s pretty common to accidentally melt the wire next to the one you’re soldering, or burn the side of the cavity with the soldering iron, or even to burn your fingers by touching the iron—so please be very careful while working.
Here’s the final result.
So, how was it?
This time, the wiring was just a standard setup: 2 pickups, a 3-way lever switch, 1 volume, and 1 tone, so it wasn’t all that complicated. But, I hope this can be at least a little helpful for anyone looking to swap out their guitar parts in the future.
The explanation ended up being pretty rough this time, so I would like to do a more in-depth version of this in a future blog post.
Also, while I was working on this wiring, I did start to feel like maybe I should’ve gone with a Strat or Les Paul setup instead. So if I get the chance, I would like to cover those in a future post as well.
Thank you for coming to read my blog again.
Please come back for the next one too.
Until then, let’s meet again on the Sound House staff blog.
Goodbye.


 ピックアップ交換大作戦!
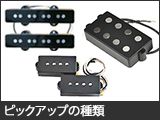 ピックアップの種類
 配線カスタマイズ 第1回
 パーツの配線を知ろう
 ピックアップの種類(エレキギター)
 ギター名人ラボ