The other day, we welcomed a Daihatsu Mira (L700S) into our home for just going on quick trips to the store. The price? It’s almost the same price as an entry-level electric guitar!
Of course, it came with all sorts of rattles and loose parts, so I’ve been swapping parts here and there to get it feeling just right. But, humans are creatures that start to get greedy once they get used to something.
Once it was feeling good again, I started to feel a sense that something was missing and then I started to feel the dissatisfaction.
The seat height is tall, and the suspension is too soft, which is completely different from my personal preference.
*This is a shopping car.
That leaves only one option: modification. To keep my body stable while driving, I installed bucket seats and lowered seat rails to bring my line of sight down, and replaced the soft suspension with adjustable coilovers.
Doing all that turned my shopping car into a Spartan ride—the seats are deep, making it hard to get in and out, and the ride is rough and uncomfortable.
The fun of fixing issues and swapping parts while anticipating the outcome is the same with guitars, isn’t it? So, let’s forcibly steer this story back on track to today’s main topic.
So today, I’m going to install the much-talked-about PLAYTECH pickups and check out their sound!
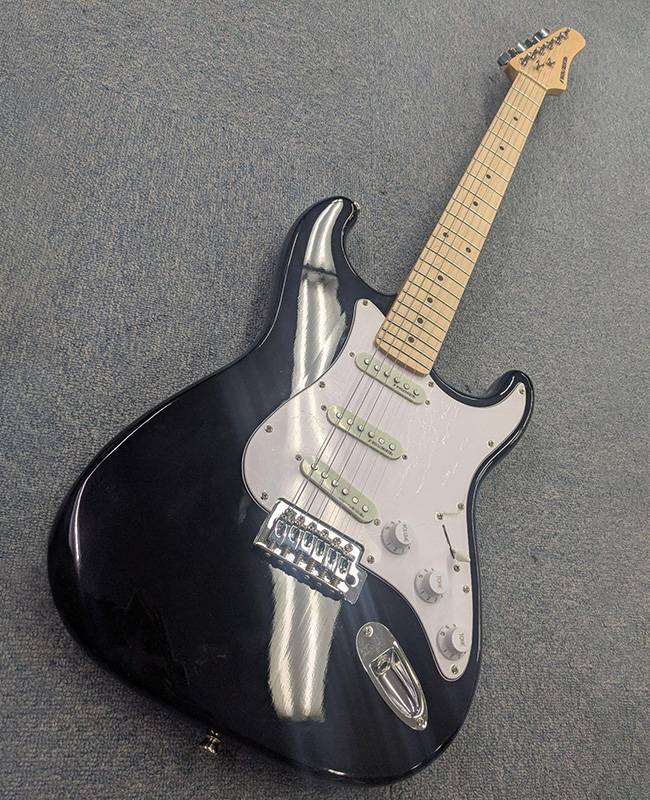
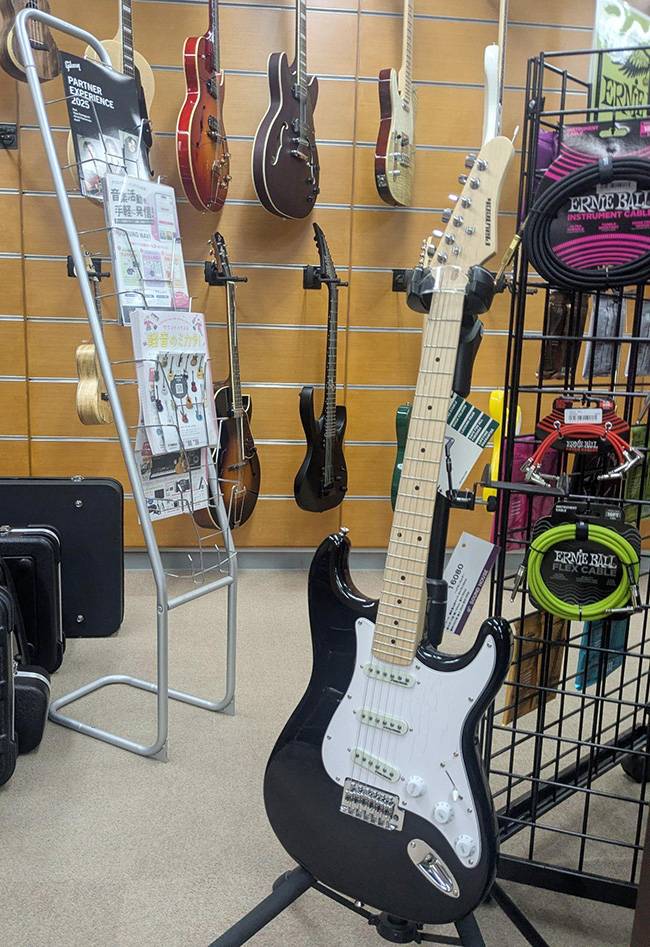
First, here’s our collaborator for this session.
PLAYTECH PLAYTECH / ST250 Maple Black Electric Guitar
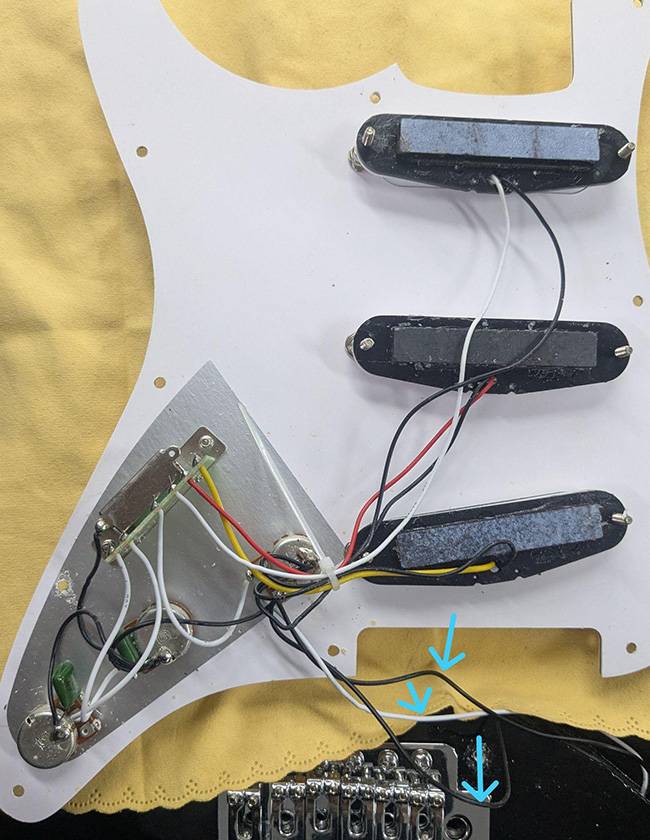
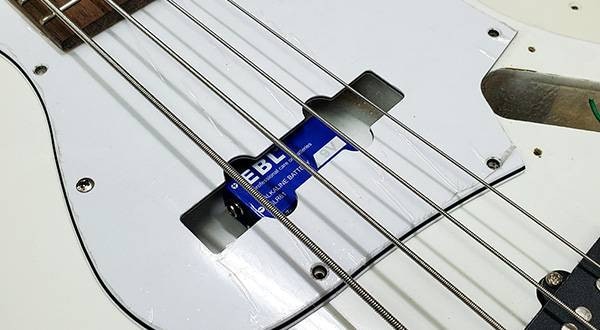
I will start by removing the pickguard from the body.
There’s nothing particularly difficult here. Just take off the strings, loosen the screws holding the pickguard, and disconnect the three wires indicated by the blue arrows. The pickups themselves are only secured by two screws each, so there’s no real struggle here.
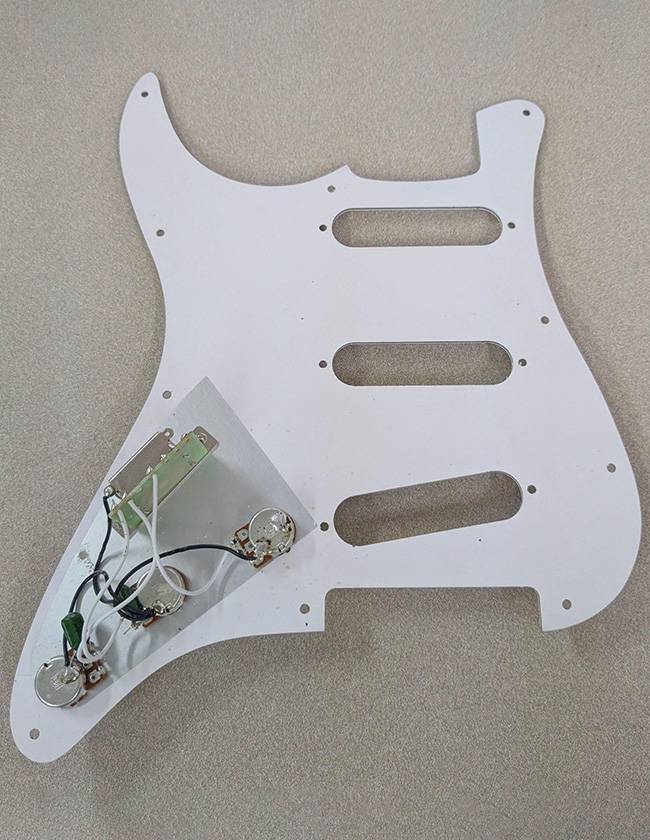
Once you’ve reached this point, the prep work is done. Now, let’s take a look at the important part—the pickups.
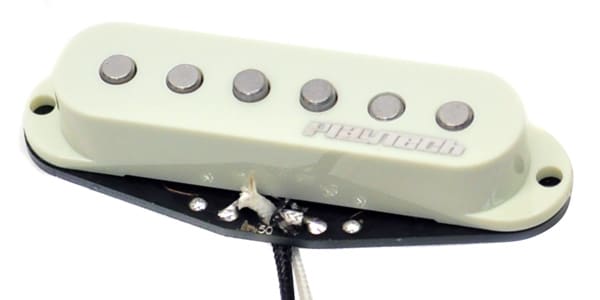
Here are the PLAYTECH pickups I have prepared for this session!
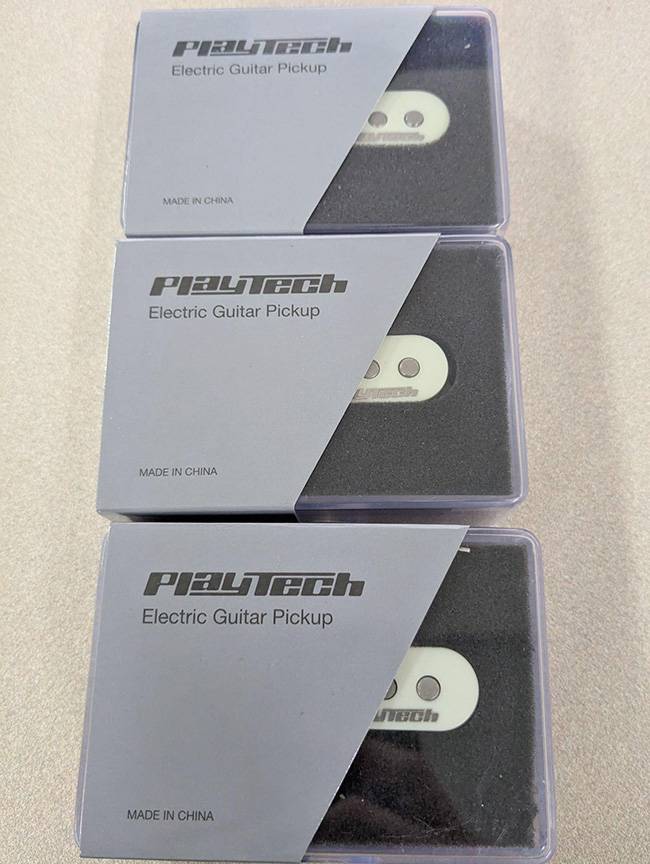
We have them ready for the Bridge, Middle, and Neck positions.
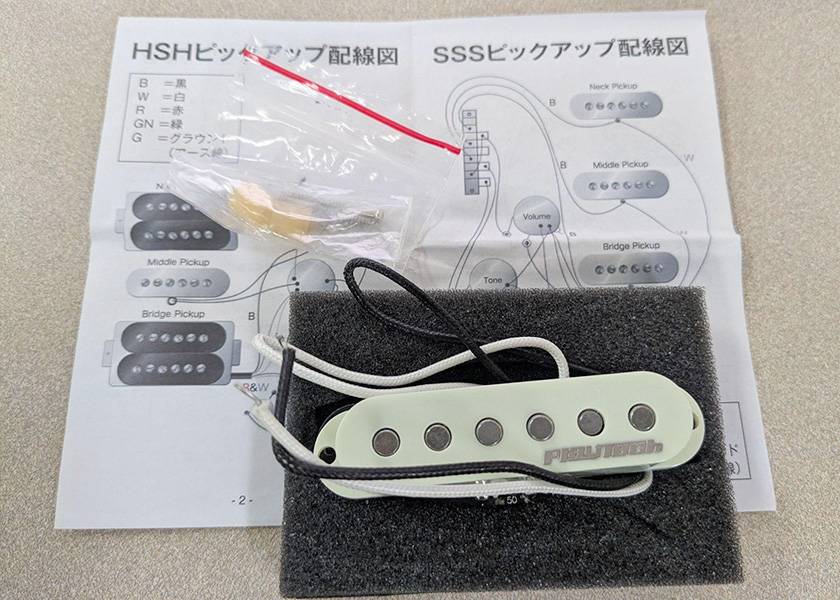
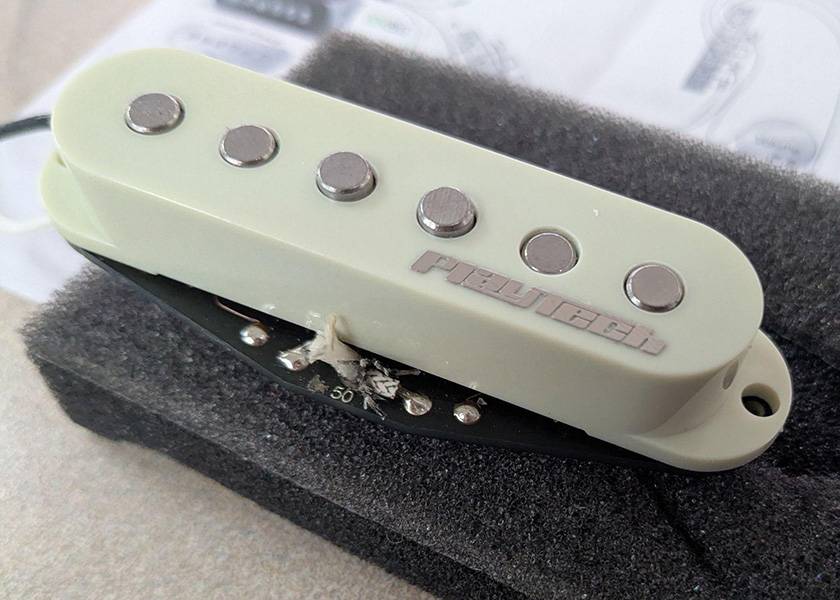
And for those who might be curious, that shiny PLAYTECH logo is actually a slightly thick metallic sticker. This means it can be removed if you want.
However, removing it carries the risk of scratching the body and this may affect the warranty, so only try this at your own risk.
Personally, I like leaving the logo on—it adds a playful touch.
Now, let’s actually start assembling.
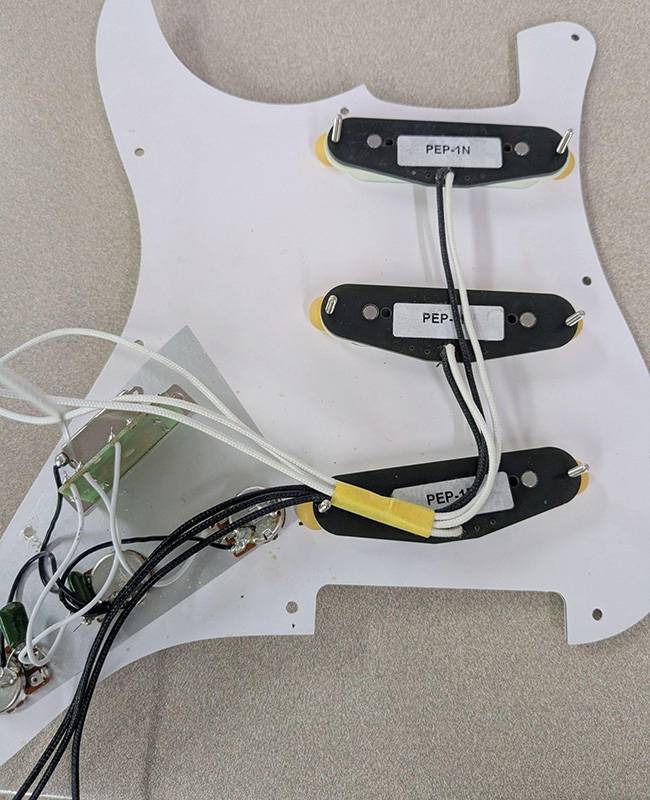
Before installation, check continuity with a tester, then mount the pickups on the pickguard. Bundle the lead wires with tape or something similar—any method works.
If you don’t bundle them at this stage, the wires won’t fit neatly into the guitar’s routing when you assemble it, which can become quite a hassle.
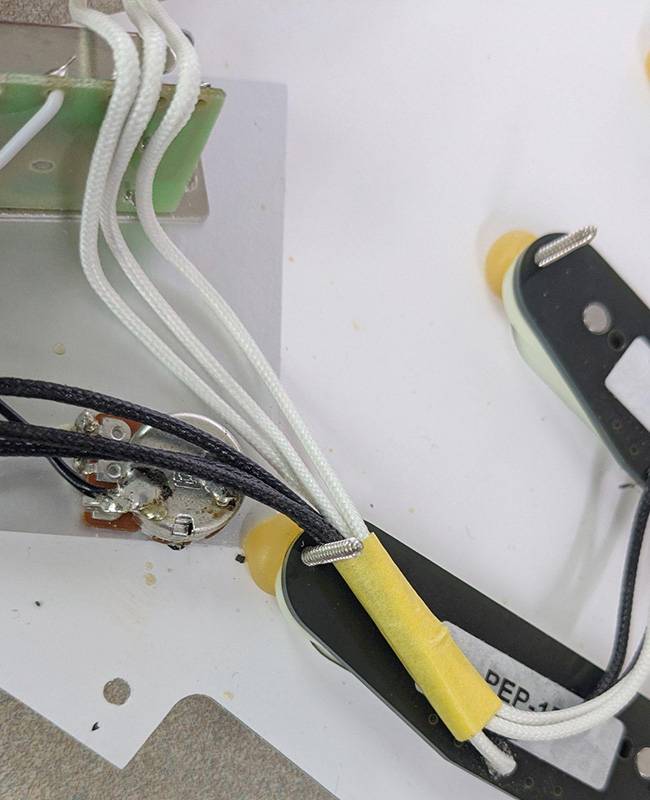
Next, the leads are too long as-is, so roughly route them to the solder points as shown in the second photo to determine the proper length. Aim for a length that is neither too long nor too short.
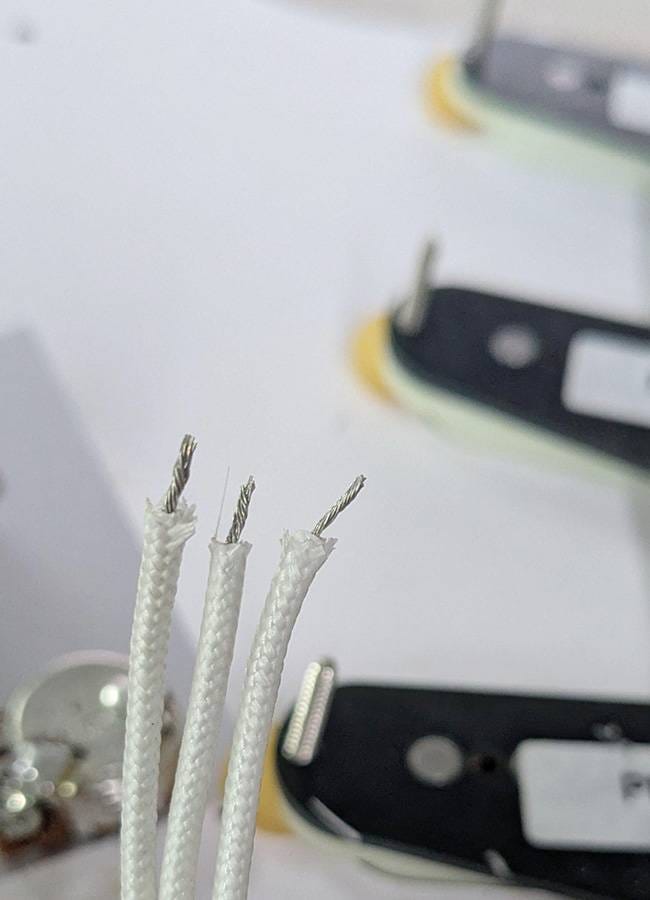
Once you’ve cut the leads to the proper length, pre-solder the wires as in the second photo. When pre-soldering, lightly twist the core wires beforehand—this helps the solder flow better and makes the work smoother.
When cutting wires, it’s handy to have a pair of electrician’s pliers, which can be purchased at home improvement stores.

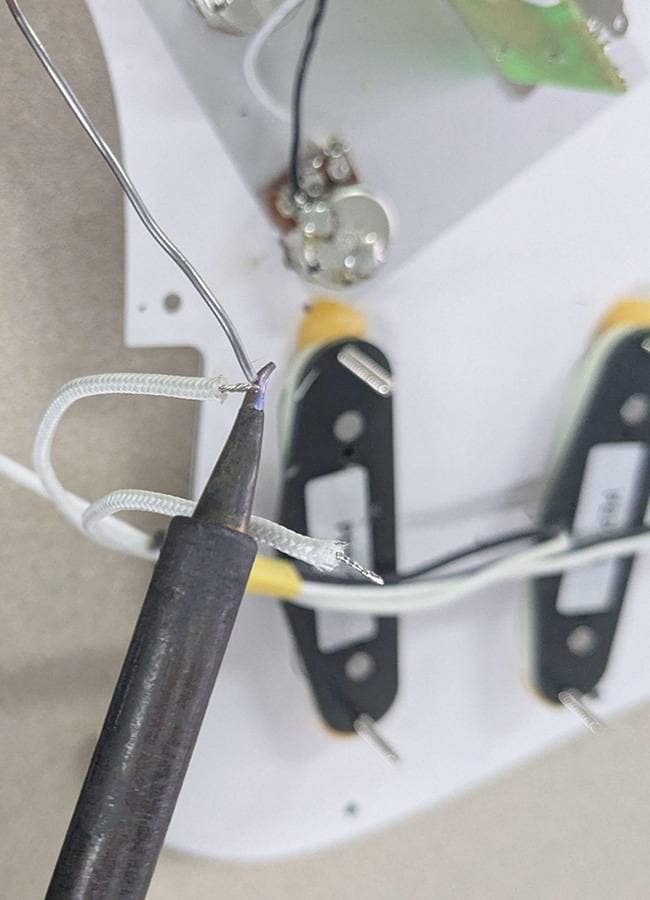
Then, once you solder everything back as it was, the installation is complete!
For those thinking, “I don’t know anything about wiring!”—in cases like this (just replacing the pickups), it’s not too difficult. Simply take a photo of the original wiring before starting and reconnect everything the same way, and you’ll be fine.
However, do not keep a soldering iron on the pots or selector switch for a long time, as the heat can damage the components.
One method is to remove the old solder using a desoldering braid, but I prefer to minimize heat on the parts, so I either replace it with new components or quickly solder over the existing solder to complete the work.
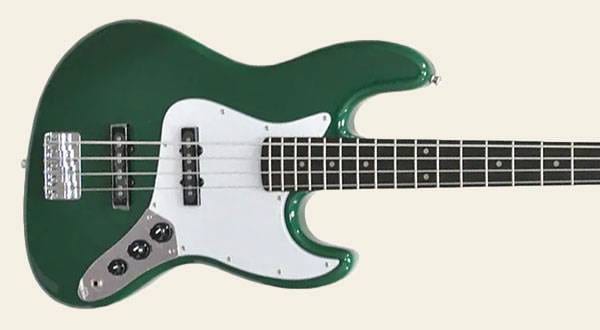
And here’s the finished look!
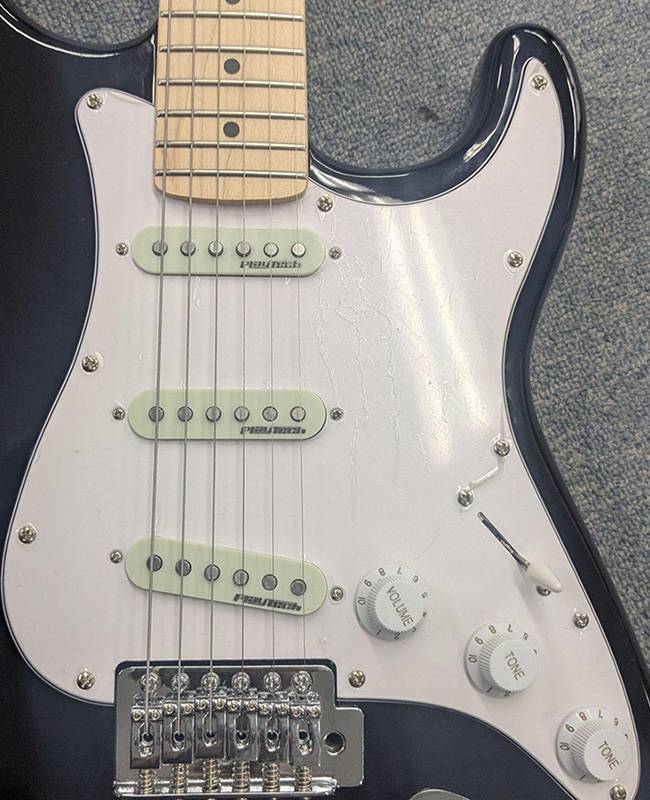
Looking at it like this, you kind of want to match the cover color, don’t you? (laughs)
Even just changing from the flat pole pieces gives it a nice sense of accomplishment.
As for the sound, it’s now clearer and more “Strat-like” compared to the original pickups. In particular, the mixed positions have much better separation that let you fully enjoy the characteristic chime of single-coil pickups!
Many entry-level guitars use ceramic magnets, but the PLAYTECH pickups used here feature Alnico 5 magnets, making the change in tone noticeable even for first-time pickup replacers—I highly recommend it!
Also, the modified ST250 featured in this blog is on display at the Narita showroom, so be sure to check it out if you’re nearby!
Due to rising prices in recent years, pickup prices have generally been increasing. For those attempting their first pickup swap, this can naturally feel like a high barrier.
In that regard, PLAYTECH pickups are offered at an accessible price point, making them a perfect introduction to the fun of tinkering with your guitar. I hope this encourages more people to experience the joy of customizing their instruments.
Next time, I plan to introduce PLAYTECH’s humbuckers as well.
See you then!


 ピックアップ交換大作戦!
 DIY ギターメンテナンス
 初心者必見!PLAYTECH 激スゴの理由!
 プレイテックのギターを最強に改造!!
 パーツの配線を知ろう
 ピックアップの種類(エレキギター)