Hello there.
Lately, I’ve been eating a lot of ice cream.
The sun has been getting stronger by the day, and we’re starting to see more hot, sweaty days.
And when the weather gets like this, nothing sounds better after work or after a bath than a nice cold ice cream.
My current favorite is Morinaga’s Choco Monaka Jumbo.
The moment you take a bite and hear that satisfying crack! from the crispy wafer shell, followed by the crunchy chocolate layer in the center—it’s simply fantastic.
That said, I’ve recently found myself thinking, “Maybe a whole one is a bit much...”
These days, I’m more likely to eat half and put the rest back in the freezer.
I’d rather not admit it, but I suppose age and metabolism have something to do with it.
There was a time when I thought, “Why would anyone buy mini-sized snacks or drinks? Isn’t that missing the point?” But now I’ve completely become one of those people who chooses the smaller size.
It really drives home the idea that you don’t truly understand the value of something until you experience it yourself.
While Choco Monaka Jumbo tends to steal the spotlight, its sibling product—Vanilla Monaka Jumbo—is just as delicious.
Unlike the chocolate version, which is classified as ice milk, the vanilla version is officially categorized as ice cream, with a richer milk-fat content and a more luxurious flavor. The creamy milk taste, gentle sweetness of the white chocolate, and the aromatic wafer shell work beautifully together.
It’s perfect for those days when you’re craving something a little richer and more indulgent.
Another favorite of mine is Ohayo Dairy’’ Jersey Milk Soft Serve.
This one is incredibly rich and somehow always ends up in my shopping basket.
The milk flavor is on a completely different level from most supermarket ice creams.
It’s a little more expensive than the average option, but it’s delicious enough to justify the extra cost.
I also enjoy Seven Premium's Strawberry Shirokuma and fruit-sauce-style ice creams like Panapp.
But if I keep going, this is going to turn into an ice cream review blog.
So let’s get back to today’s main topic.
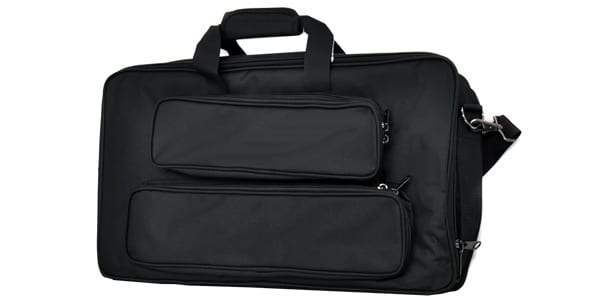
So this time, I’m going to build a pedalboard from scratch using wood. The idea came about after I recently purchased a PLAYTECH Effects Pedal Bag L to transport my pedalboard.
This bag is one of our recommended products. It’s well built, offers plenty of storage space, and comes at a very reasonable price. However, because it’s so spacious, finding a pedalboard that fits it perfectly isn’t easy.
I’ve never been particularly picky about pedalboards. Mine is essentially just a flat wooden board with hook-and-loop fastener attached to it. Still, the board tends to move around quite a bit inside the bag, and it has started to bother me.
I considered buying a new pedalboard, but as mentioned earlier, finding one that perfectly matches the bag’s dimensions is surprisingly difficult. Eventually I thought, “Why not just build one myself?”
So I headed to a local home improvement store and picked up a sheet of plywood of suitable size.
I then cut it down to match the internal dimensions of the PLAYTECH Effects Pedal Bag: 50 cm wide × 26 cm deep.
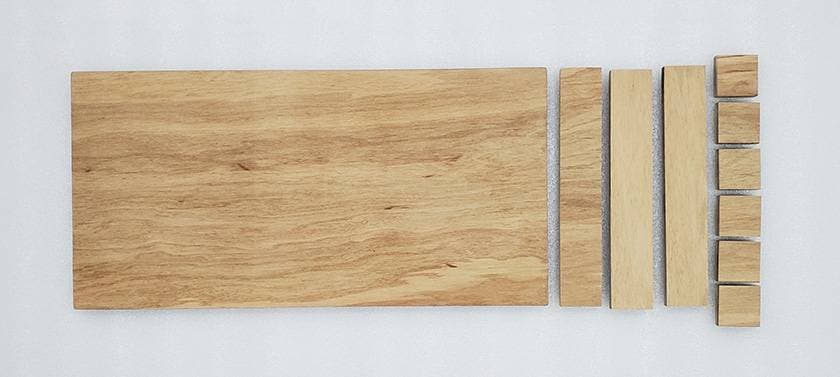
The leftover pieces were repurposed into support blocks for raising the board.
After a quick test fit inside the case, it looked like this.
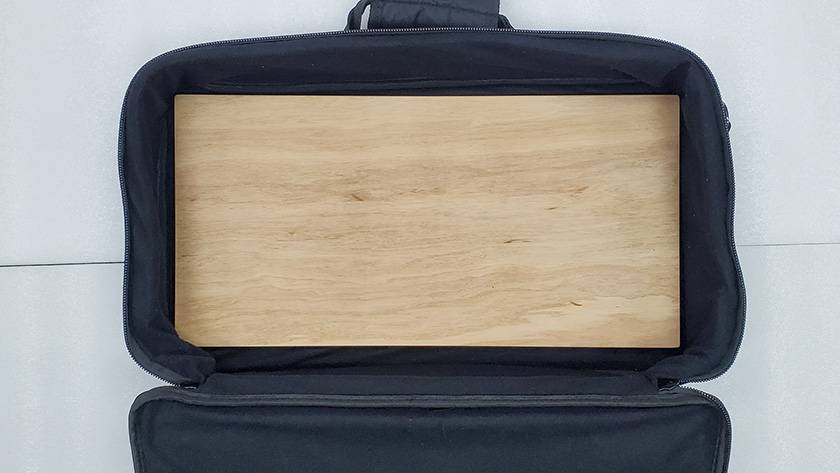
Looking pretty good so far.
Next, I needed to attach the support blocks with screws. To do that, I first marked out the measurements on the board and drilled pilot holes.
First, marking the positions.
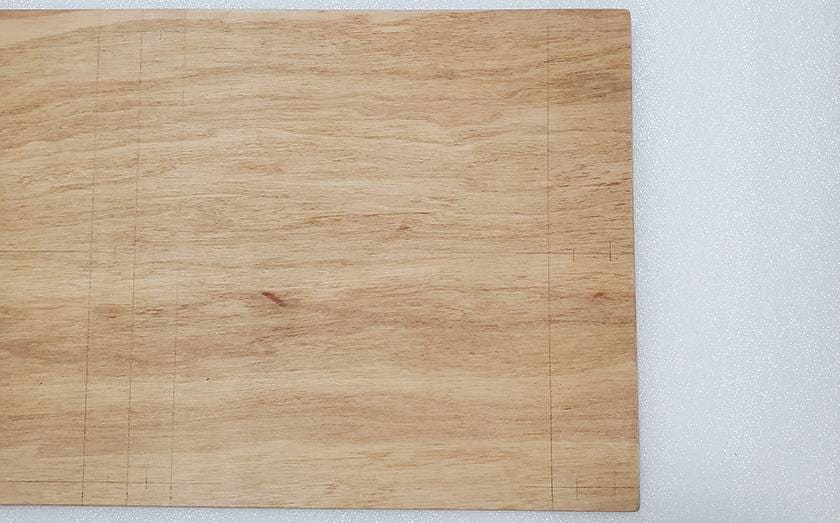
Then making center marks with an awl.
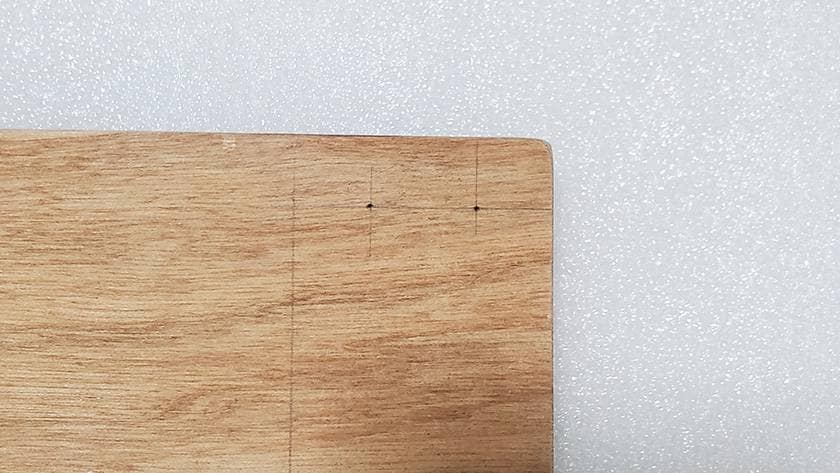
And finally drilling the holes.
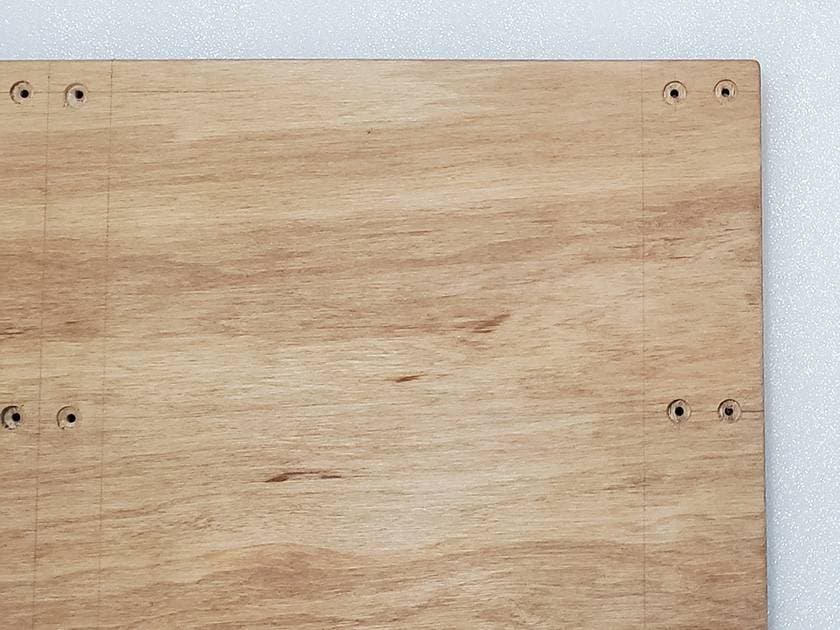
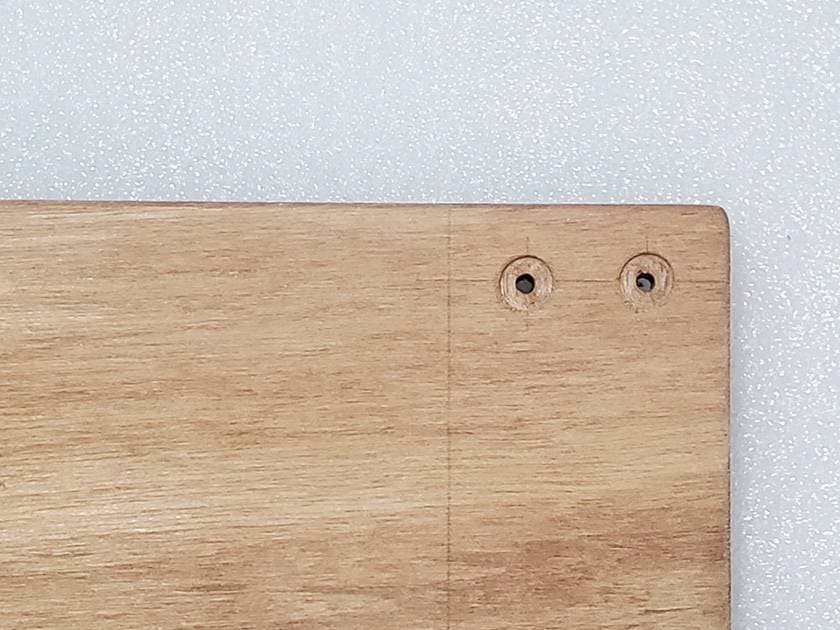
Since I planned to cover the surface with a hook-and-loop fastener afterward, I wanted the screw heads to sit flush with the surface. After drilling the pilot holes, I used a larger drill bit to countersink the screw heads.
Testing a screw produced this result.
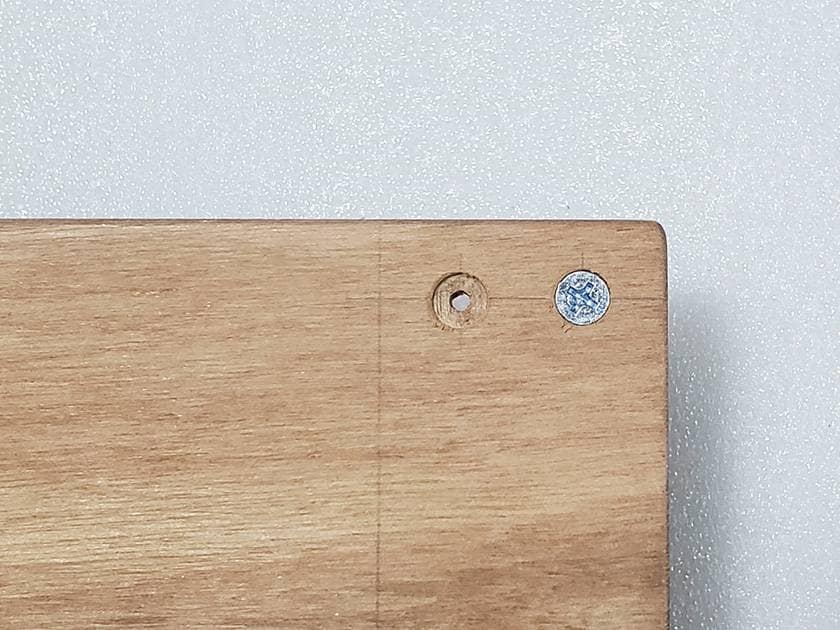
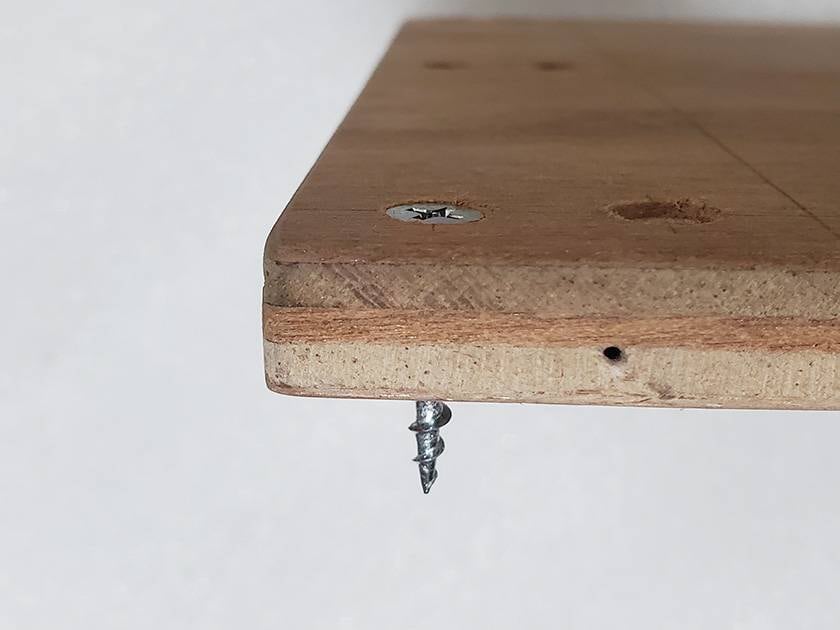
It’s a little deeper than necessary, but that's not really a problem.
Next, I drilled pilot holes in the support blocks as well.
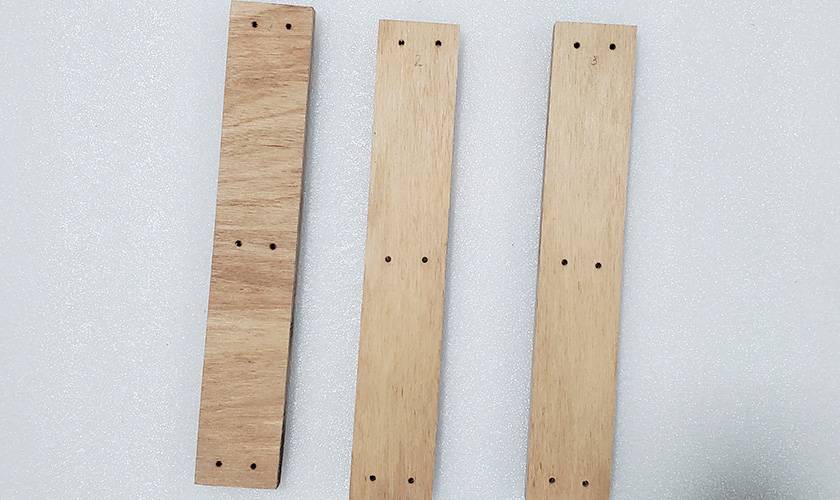
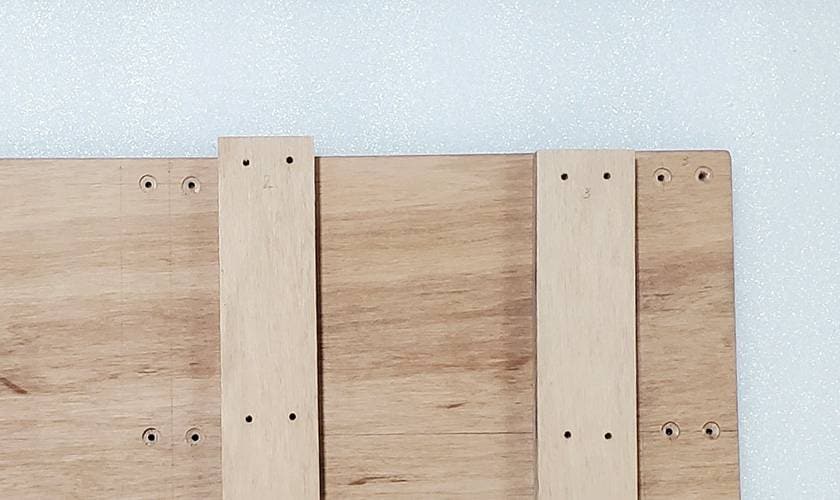
No matter how carefully you work with wood, hand-built projects always end up with slight dimensional variations. Whenever I’m installing multiple identical parts like this, I try to add reference marks wherever possible to avoid confusion.
With all the pilot holes drilled, I temporarily assembled everything using screws.
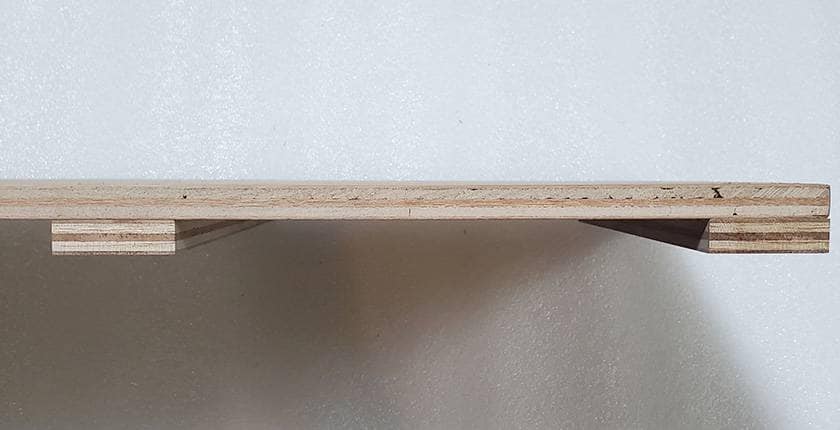
Looks perfectly acceptable to me.
At this point, I placed the height-adjustment block I had prepared earlier underneath the board.
Then another idea occurred to me: “Why not make room underneath for a power supply?” So I grabbed a leftover piece of 1×4 lumber lying around and cut it down to size.
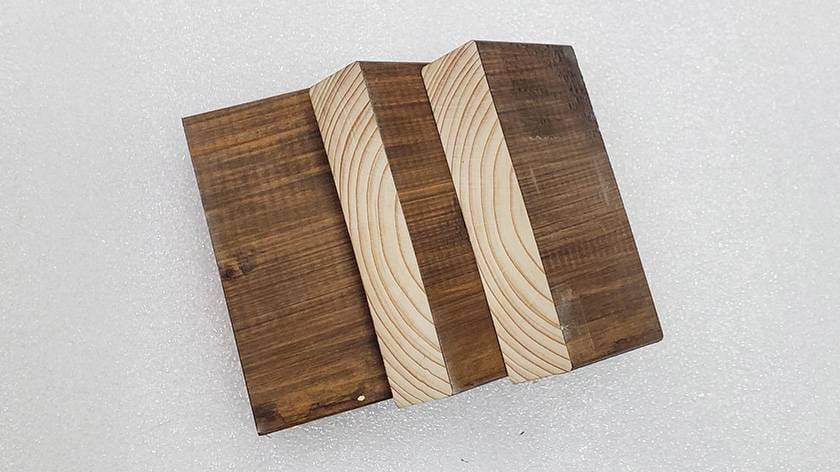
It’s slightly warped, but it should be fine.
Placing it under the board gave me this result.
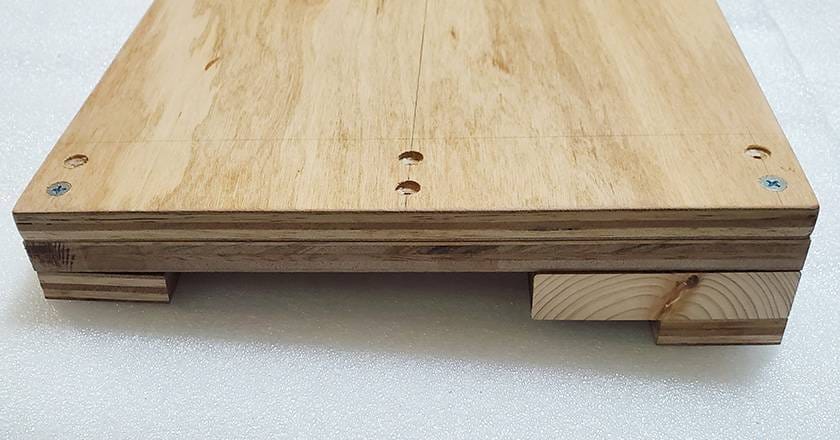
The angled surface suddenly made it look much more like a proper pedalboard.
Next, I tested whether a power supply would fit underneath.
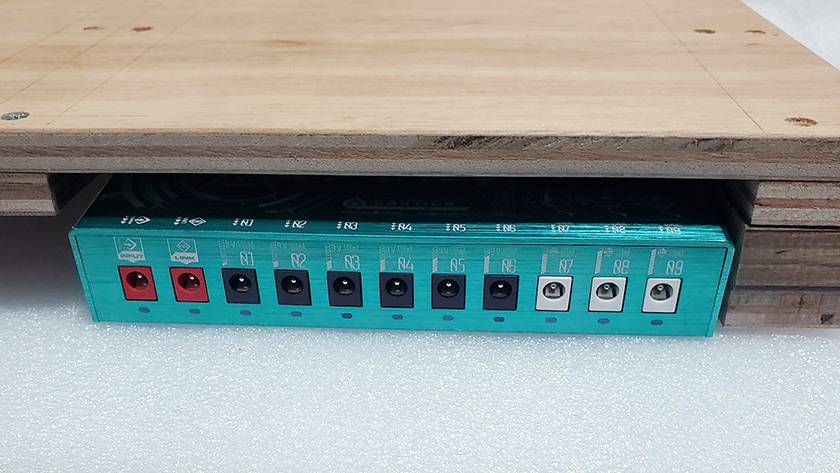
Both the height and width looked good.
Since this feels like a natural stopping point, I’ll call it a day here.
So, what did you think?
Well, to be honest, not much has actually been completed yet, so perhaps that‘s a difficult question to answer.
For now, this is the direction I’m planning to take with this pedalboard project.
One thing I noticed while working with plywood is that the surface tends to produce quite a bit of fuzz and splintering.
Since the board will be stored inside a case, having wood fibers constantly shedding inside isn’t ideal.
I'll need to come up with a solution before the next stage.
If you’re planning to build your own pedalboard, solid wood or construction-grade plywood may be better choices than the material I used.
Thank you very much for reading to the end.
I’ll see you again in the Sound House Staff Blog.
Take care!





 はじめてのエフェクターは GT-1 にしよう
 【初心者向け】エフェクター講座
 あなたのエフェクターボード見せてください
 ベース用エフェクターの種類
 エフェクターのつなぎ方
 エフェクターの種類
 Discount Sale
 Outlet
 New Arrivals
 Podcast (streaming)
 Headphones / Earphones
 Microphones
 Wireless Equipment
 Speakers
 Power Amps
 Mixers
 Processors
 Portable PA Systems
 Recorders
 Karaoke
 Guitars
 Basses
 Ukuleles
 Drums & Percussion
 Pianos / Synthesizers
 Wind Instruments
 Stringed Instruments
 Japanese Instruments
 Harmonicas, Other
 Software
 DJ & VJ
 Stands
 Cables & Connectors
 Racks & Cases
 Lighting
 Stage & Truss
 Video Equipment
 PC PERIPHERALS
 Power Supplies
 Studio Furniture
 Household Items, Other
 Alcoholic Beverages