I am earnestly making a pedalboard setup using a standard Pedaltrain effector board with aluminum rails.
For volume one of this series, I am selecting a pedalboard and for now I have put the accessories such as the power supply and the junction box!
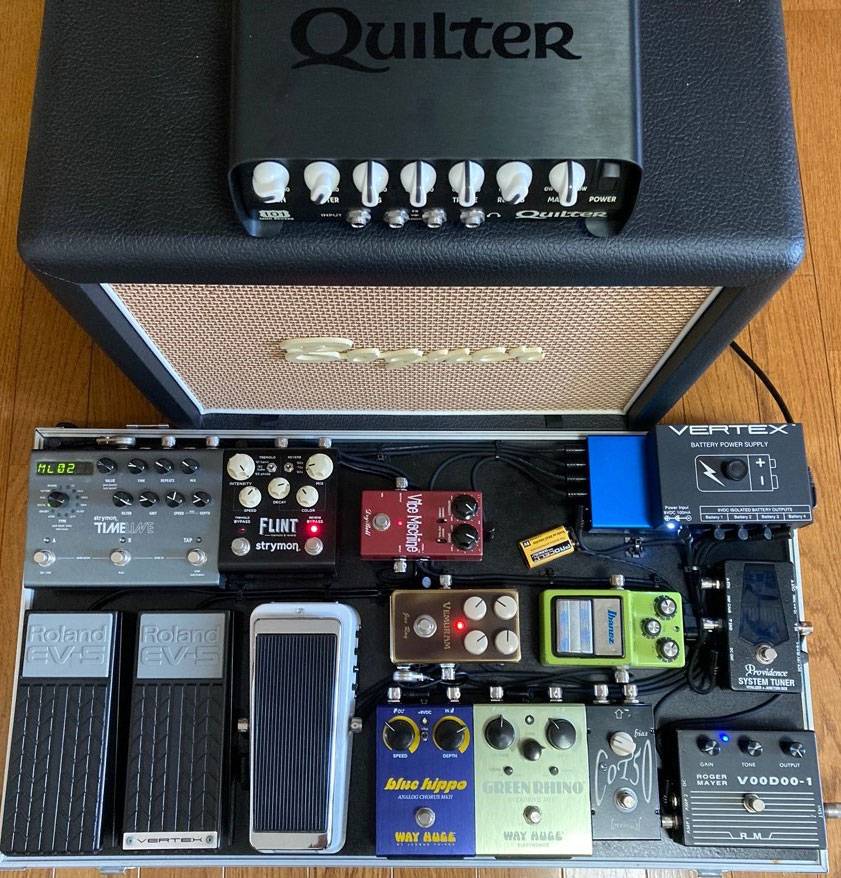
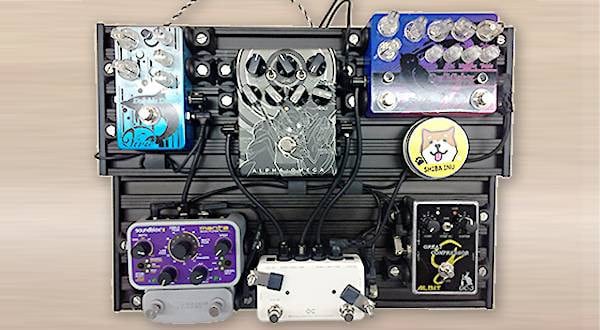
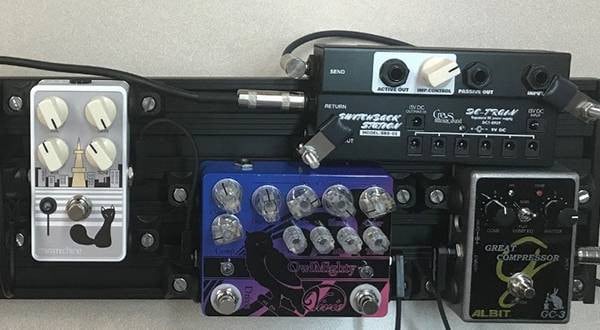
This is what my current pedalboard looks like. I decided to replace some of the effect pedals and switch to a pedalboard with rails in order to solve my problem. The problem is the space on the pedalboard; the VERTEX power supply unit is stacked on top of the blue ZUMA power unit in the upper right corner. These stacked power supply units are too high on top so it’s impossible to close the cover with this layout.
I first planned to add a pedalboard of a moderate size to split the board into two parts using one for the distortion effects and the other one for spacial effects, but I couldn’t find a board close enough to my ideal size so I gave up. I thought that the height problem could be solved by trying out a pedalboard with rails that could also open some space on the back, so I started collecting information on pedalboards with rails.
My research led me to an app called PedalboardPlanner, which I found very useful when I was trying to decide on the pedalboard size. This app is available to download from PC browser, iOS and Android versions, and the program has a simulator that lets the user plan and try out pedal layouts.
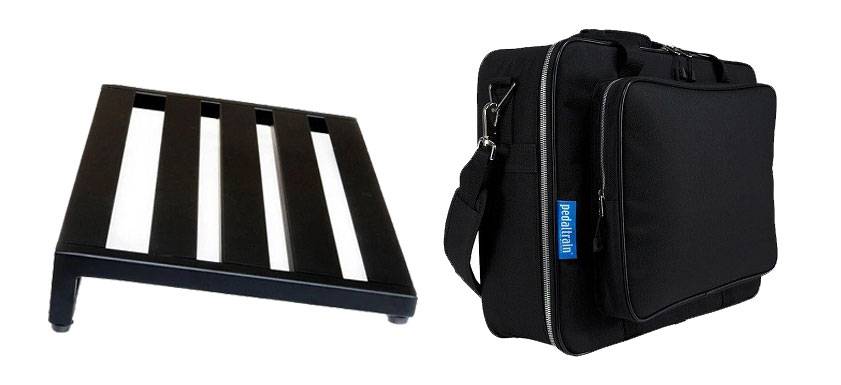
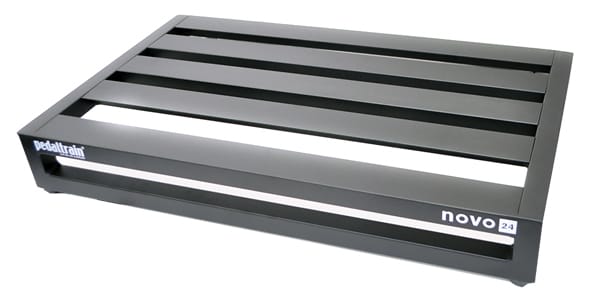
After going through some simulations, I chose the Pedaltrain Novo 24. I had a hard time deciding between the hard tour case and the soft case, but I decided to go with the Novo 24 with the soft case, which is lightweight and it has pockets to store cables and accessories.
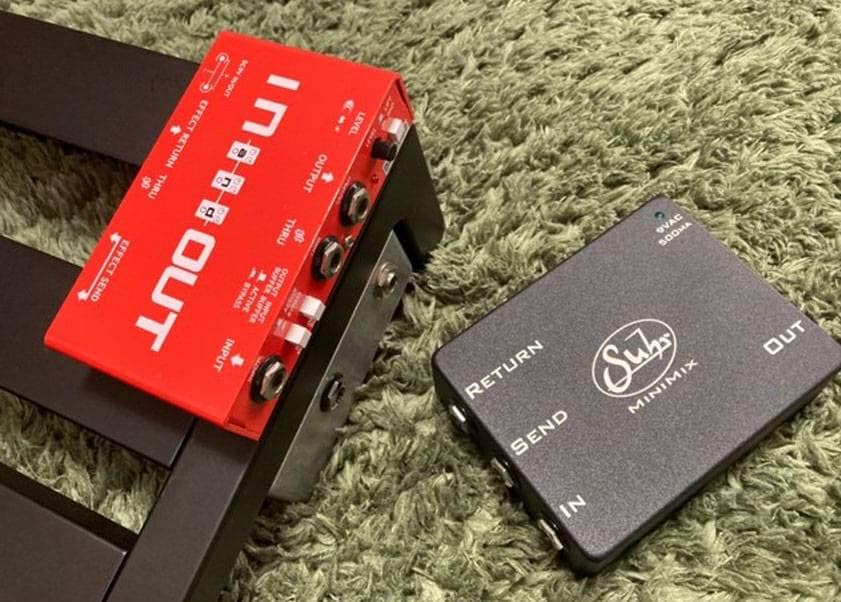
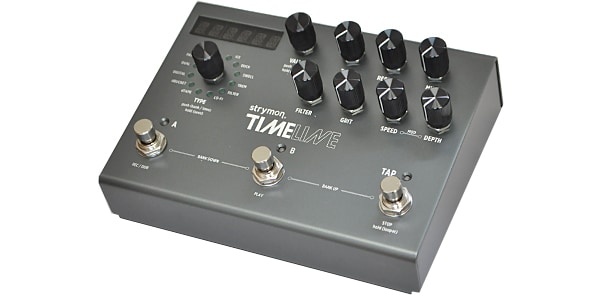
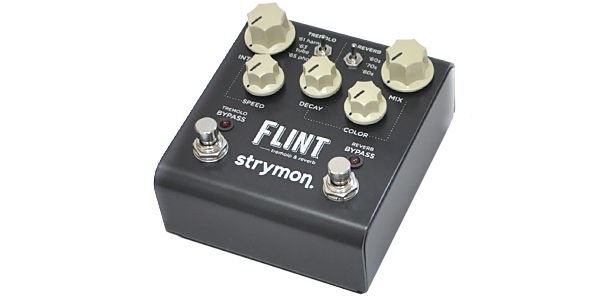
Now, let’s take a look at the back of this Pedaltrain. I have already attached a junction box. This junction box is used to connect the Strymon TimeLine delay pedal and the Strymon Flint reverb/tremolo pedal to the send/return on the guitar amp.
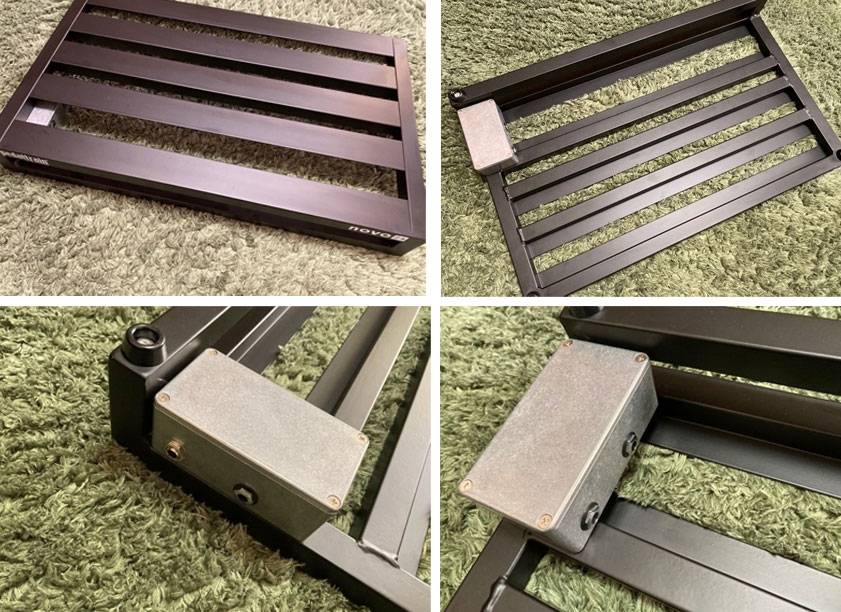
I’m also planning to use the Suhr MiniMix audio signal line mixer to connect the spacial effect pedals in parallel, but another problem will occur; what to do with the 9V AC power adapter. I’m going to use the IN and OUT junction box from Custom Audio Japan (CAJ) for the distortion effects.
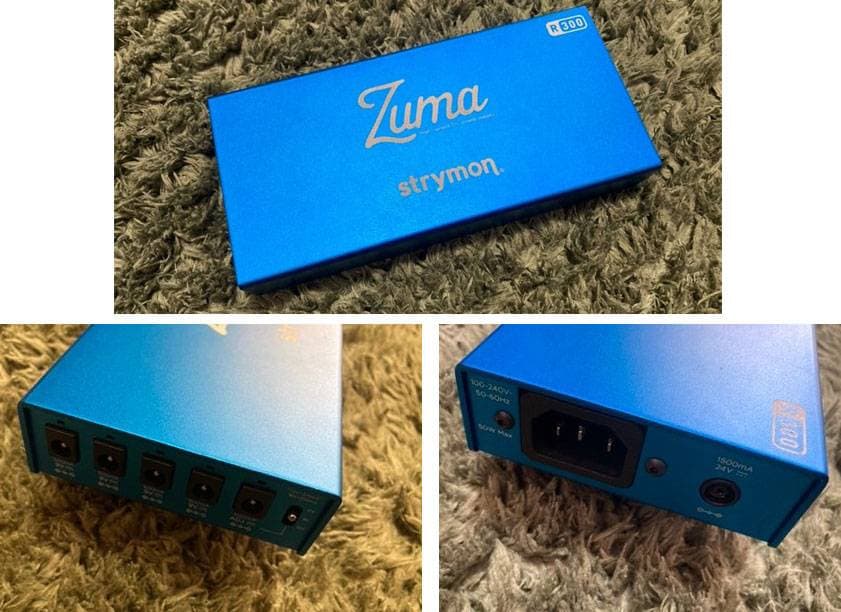
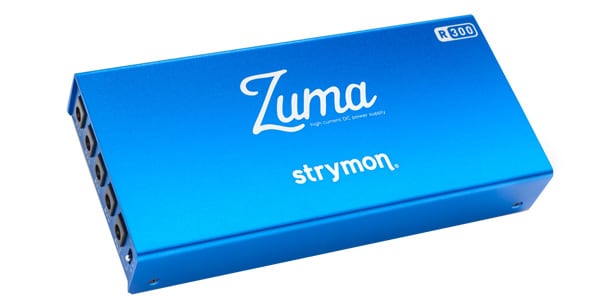
For the main power supply, I chose the Strymon Zuma R300. Each port on this power supply supports high current output of 500mA and can supply power with ultra low noise. I measured the output voltage to be 9.35V, which is equivalent to the voltage of a 9V battery with very little energy used.
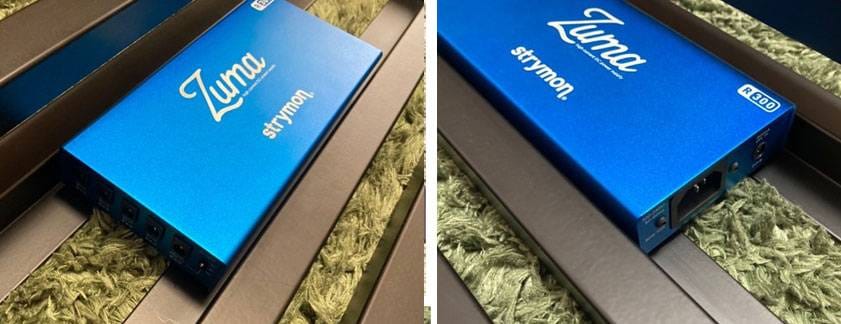
The Zuma R300 can be installed on the Pedaltrain to fit just right.
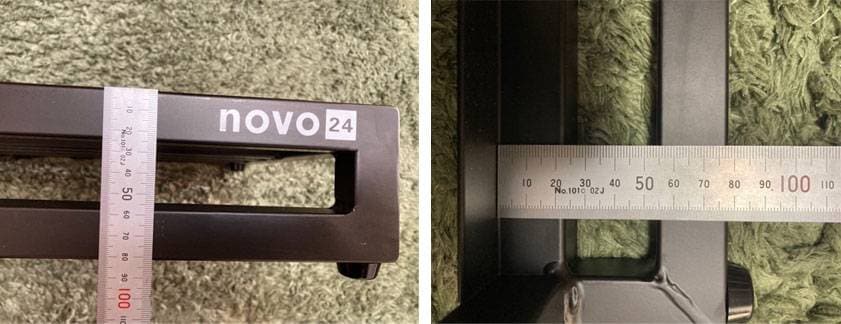
I measured the dimensions on the back and found out the widths between the rails were narrow except for the spot where I temporarily placed the Zuma R300. The tighter space will limit which pedal sizes that I can place into the board.
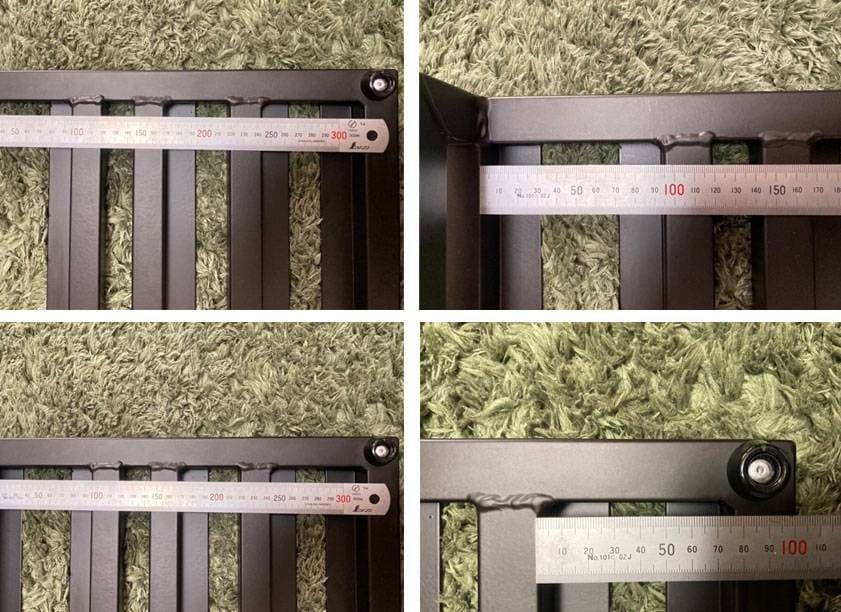
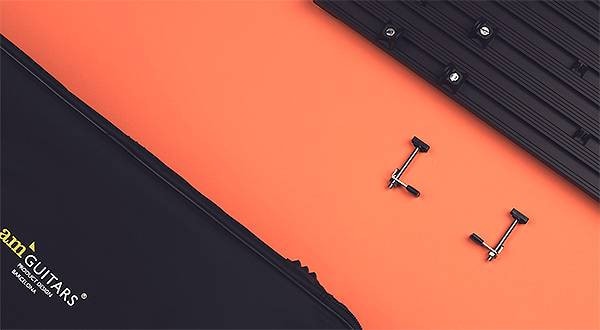
The highest part is about 80mm, so I’m going to make the empty space in the center more functional.
The body of the Pedaltrain is made out of aluminum alloy, which is also used in aircrafts, making this pedalboard both sturdy and light. For the next edition, I plan to build the power supply section with the Zuma R300 as the main unit. You don't want to miss it!
PEDALTRAIN / PT-N24-SC NOVO 24 w/soft case
STRYMON / TimeLine
STRYMON / FLINT
STRYMON / Zuma R300


 はじめてのエフェクターは GT-1 にしよう
 第2弾 あなたのエフェクターボード見せてください
 【初心者向け】エフェクター講座
 あなたのエフェクターボード見せてください
 エフェクター編
 エフェクターのつなぎ方