Hello.
I’m the person who had the thumbnail image for this blog post created by AI.
The other day, I was using AI at work to compare the specifications of several different products.
AI really is incredibly useful, since you can use it for all sorts of things.
Then, completely out of nowhere, the AI suddenly asked me if I wanted to try creating an illustration. I thought, “Whoa, what’s with the sudden change of heart? And you sound awfully confident—can you actually do it?” Since I happened to have a photo of a router and a photo of a battery, I uploaded the two images and asked, “Combine these photos and create the most powerful and wild illustration you can.”

And this is what it came up with.
I thought, “Wow, that’s pretty amazing,” and left it alone for a while. But during my break, I suddenly wondered, “I wonder if I can replace the old guy with Sound House’s female character?” So I tried it, and somehow it worked pretty well. From there, I got carried away and made a few little adjustments during my breaks, and that’s how the thumbnail image for this blog post came together.
Man, it really is amazing.
There’s no way I could draw something like this myself.
However, while AI is certainly convenient, it is also true that various issues, including copyright concerns, are arising in many places surrounding AI-generated illustrations and music...
I think there is also the matter of moderation on the part of the people using it, but it feels like there are still a lot of challenges to address.
That said, you can’t learn how to use something without actually using it, so for now, I’m going to have the girl shoot beams from her eyes and get into the main topic.

Okay, this time, under the title “Building a Pedalboard from Lumber Bought at a Home Improvement Store. - Part 2”, I’ll continue from the previous installment, starting after the temporary assembly of the equipment.
First, I’ll drill the holes in the parts that will serve as the board’s feet, and countersink them so that the heads of the screws won’t stick out.
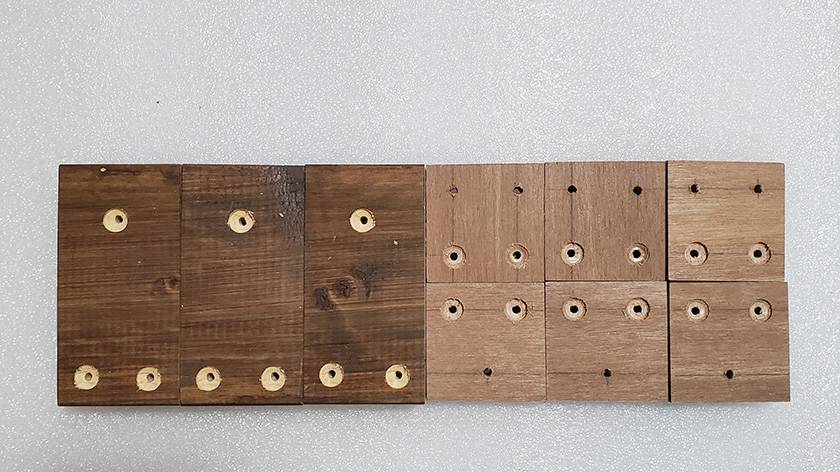
And next, what you’ve all been waiting for: the router makes its appearance.
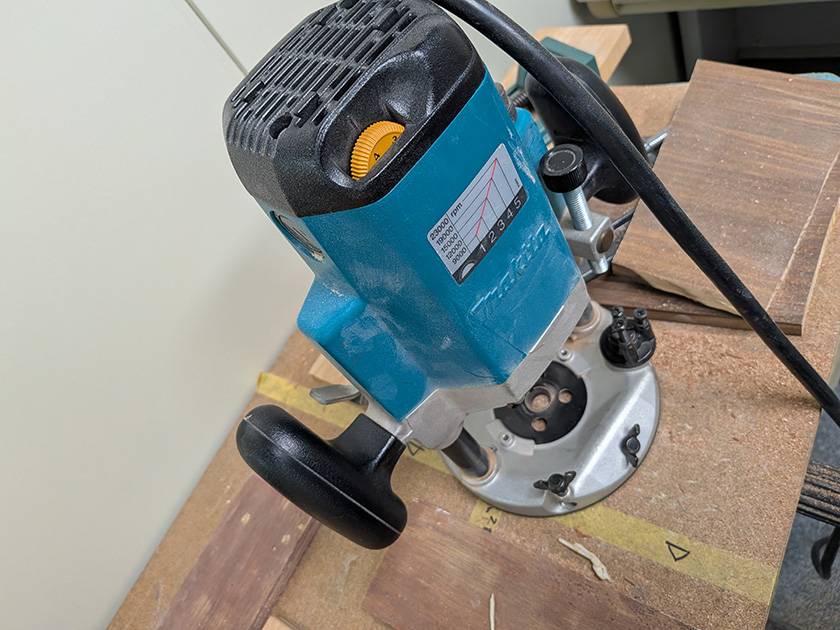
No matter how many times I see this shape, it still appeals to the male side of me.
So cool!
For those who aren’t familiar with it, let me briefly explain. At the center of this machine is a cutting bit shaped something like an ‘Oyatsu Calpas’ snack. By spinning it at high speed, this handy machine can perform all kinds of woodworking operations, such as cutting grooves, drilling holes, and chamfering edges. This time, I’m going to use it to cut long horizontal holes and give the board a design similar to a slatted board or a Pedaltrain.
Normally, when using a router, you almost always use a jig—a guide suited to the shape you want to cut. But this time, all I want to do is cut a straight, horizontally elongated hole (groove), so I’ll just find something long and straight lying around, attach it with double-sided tape, and use it as a substitute guide.
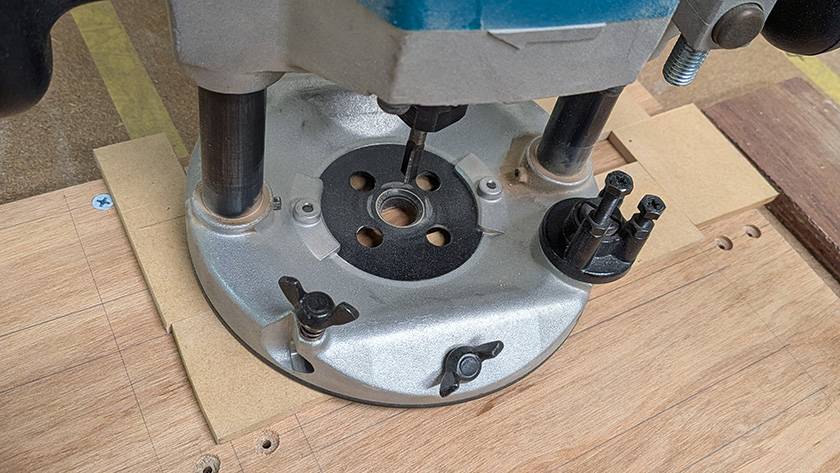
Now that everything is ready, all that’s left is to fire up the router and start cutting.
Here’s what it looks like when it’s finished.
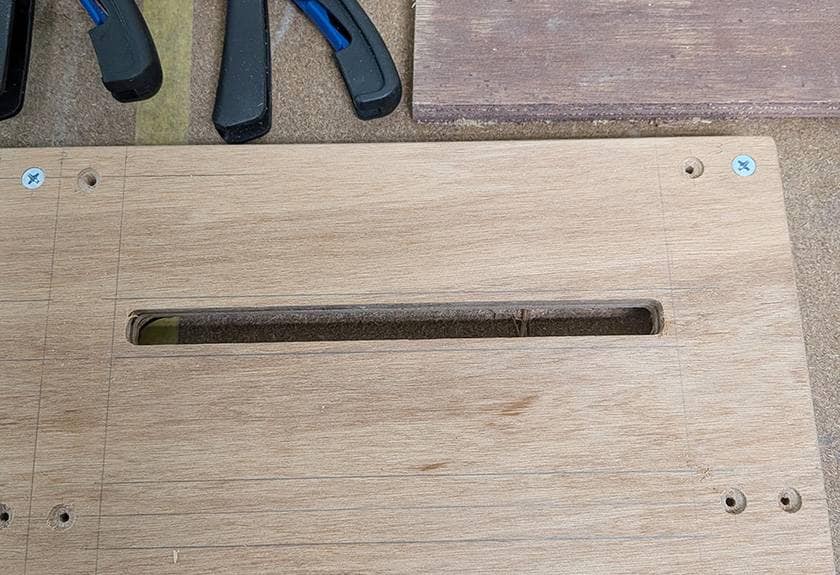
It came out nice and clean like this.
If someone told me to do this by hand without any machinery, well, that would be pretty much impossible, wouldn’t it?
Machines really are something else.
I’m grateful for the power of science.
This time, I need to make six identical holes, so I’ll keep the machine going. Once all the holes were finished, it looked like this.
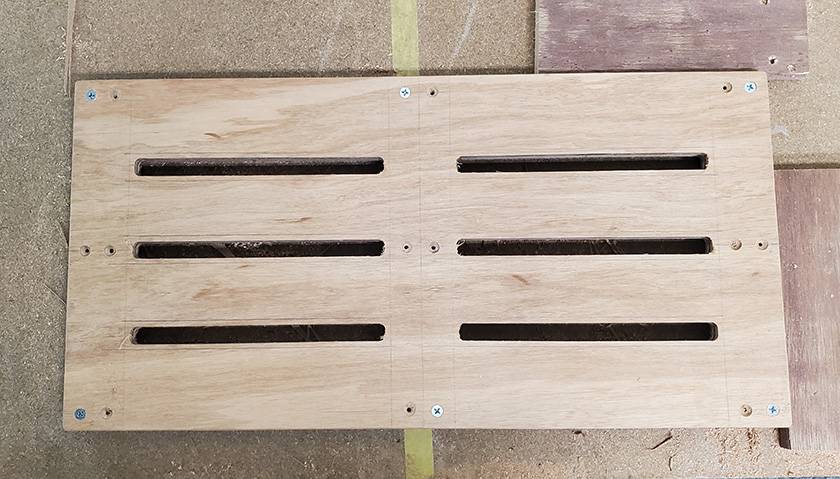
Doesn’t it look a little more like an effects pedalboard when viewed from above?
It’s kind of exciting.
And while I was cutting the grooves with the router, I noticed a rather nice-looking piece of 2×4 lumber lying in the corner of the room. I measured it just for the heck of it, and it turned out to be exactly the right size for the board’s feet.
So, I decided to cut it down to size.
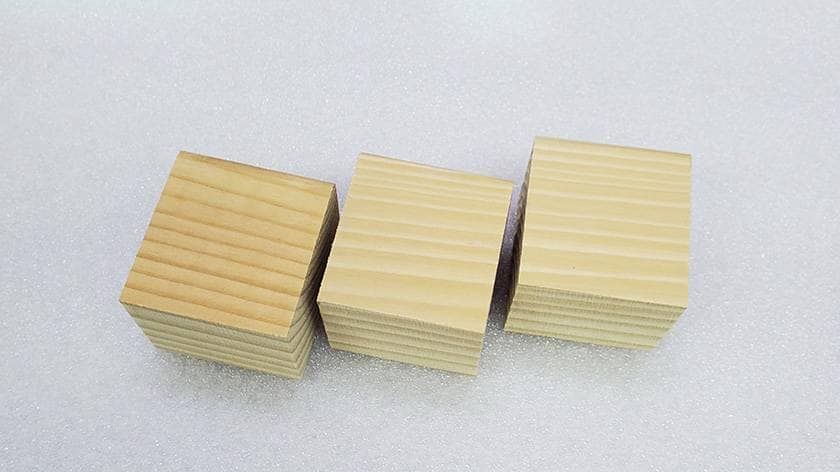
I had already made the parts for the feet, so it did feel a little wasteful, but fewer parts make assembly easier and allow you to put everything together more cleanly. So I thought, “Well, whatever,” and moved on to the next step.
Once the cutting was finished, I sanded the entire piece of lumber with sandpaper. I removed the rough, fuzzy edges left by the router and rounded the corners to clean everything up.
And then, for the time being, I did a temporary assembly.
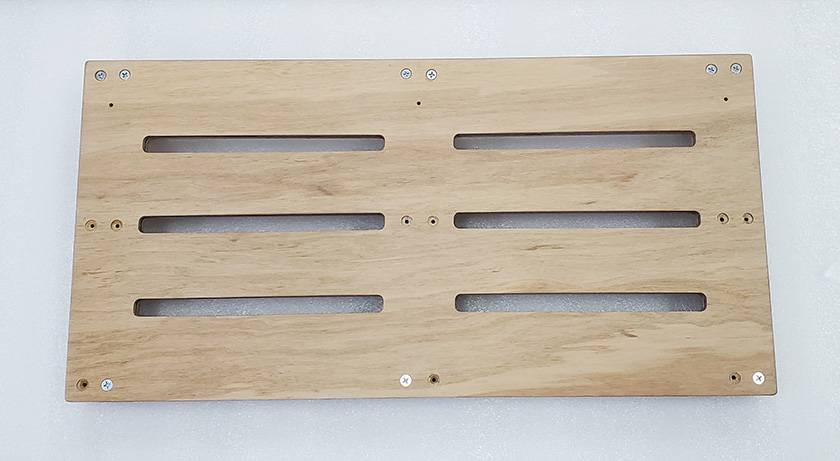
This is what it looks like from the side.
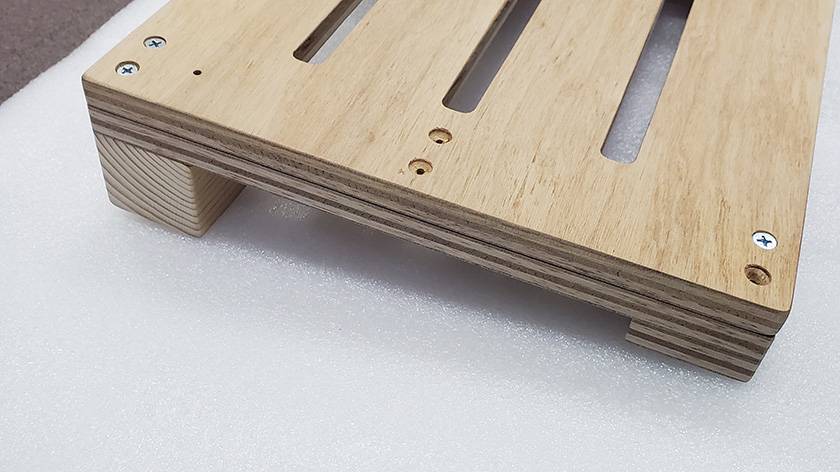
There are some small gaps around the front corners, but the sides of the lumber are relatively even, so let’s call it good enough for now.
After the temporary assembly, I glued everything together firmly with wood glue.
In the end, I was going to secure it with screws anyway, so I thought I might not need to glue it. However, since I still had a painting step coming up to smooth out the surface of the plywood, I decided to glue it just to be safe.
*Sorry, I forgot to take photos of this part of the process.
And now I’m going to apply paint to the body, which has been firmly secured with glue.
As it happened, I had some lacquer clear lying around the room that I had bought five or six years ago but had never used even once, leaving it abandoned in the corner of my paint supplies. So I diluted it with thinner and applied it with a brush.
Incidentally, the paint sold at home improvement stores as lacquer clear and the products sold as varnish for wood are basically the same thing inside, so it should be fine.
The only differences are things like which solvents they dissolve in, such as water-based, lacquer, or urethane. Anyway, here’s what it looks like after applying two coats of lacquer clear with a brush.
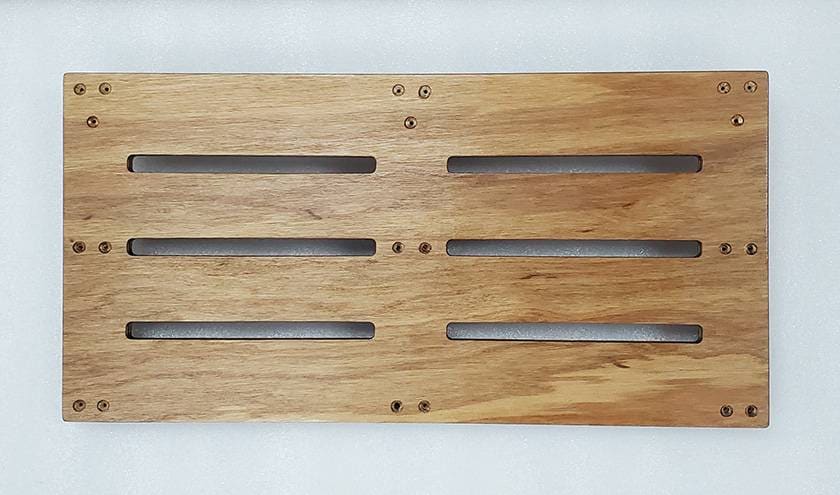
The color has become darker and it has developed a nice sheen compared with before the paint was applied, giving it a bit more of a furniture-like appearance.
From another angle, it looks like this.
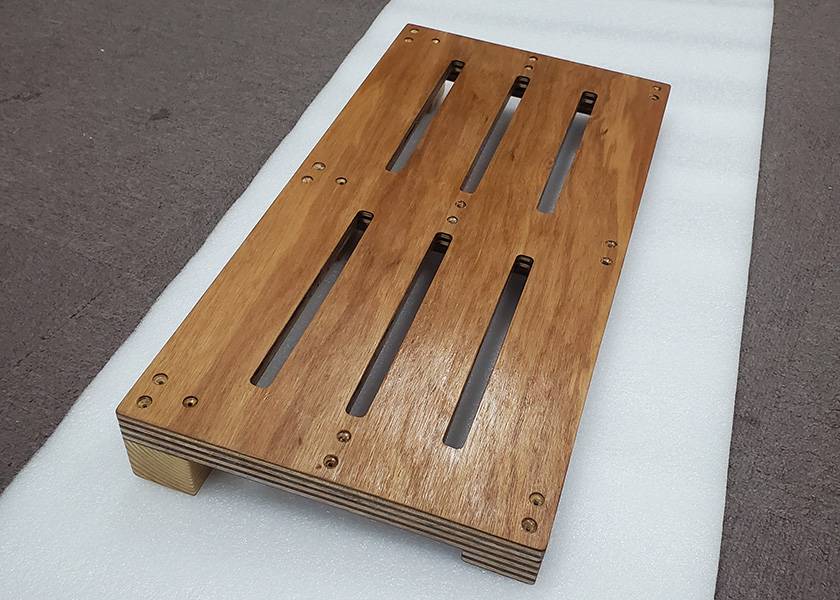
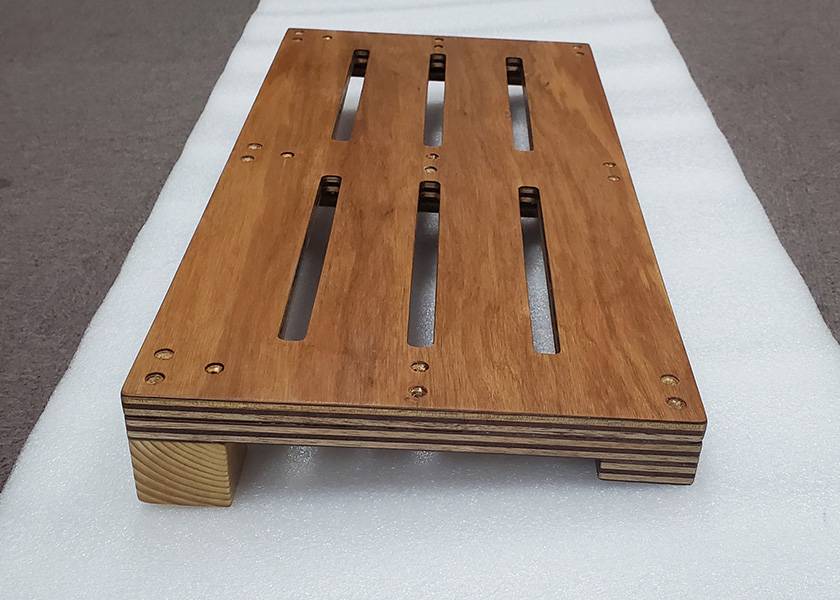
To the touch, the roughness is gone and the surface feels smooth.
With this finish, I don’t think there will be any concern about Velcro coming off when I attach it, and it should also prevent bits of wood from getting into the effects case.
I’m almost there, but that’s all for this time.
So, what did you think?
Personally, just like last time, because I didn’t properly plan everything out before starting, the work has been a bit of a case of doing things after the fact. But it’s finally starting to take shape somehow, so I’m feeling relieved.
And while I was taking photos in the office for this blog, one of my senior coworkers said, “Aren’t you going to spray-paint it? Since you’ve gone this far, you might as well spray it with some color.”
To be honest, I was planning to just attach the rubber feet and quickly wrap things up at this point. But when someone says something like that, it makes you want to spray-paint the thing, doesn’t it?
However, if I’m going to spray-paint it, there will be all sorts of additional preparation to do... So, while thinking, “Ah, I’ve fallen behind schedule again,” I’ve decided to spray it with color and see it through to the end.
I guess planning really is important.
The content ends up being a bit of a mess every time, but thank you very much for reading all the way to the end.
Well then, see you again on the Sound House Staff Blog.
Goodbye.
*The illustrations featured in this article were created using generative AI and are fictional images. They have absolutely no connection to any actual people, companies, or products.






 ELECTRO-HARMONIX 定番エフェクターブランド
 【初心者向け】エフェクター講座
 あなたのエフェクターボード見せてください
 エフェクターのつなぎ方
 エフェクターの種類
 Discount Sale
 Outlet
 New Arrivals
 Podcast (streaming)
 Headphones / Earphones
 Microphones
 Wireless Equipment
 Speakers
 Power Amps
 Mixers
 Processors
 Portable PA Systems
 Recorders
 Karaoke
 Guitars
 Basses
 Ukuleles
 Drums & Percussion
 Pianos / Synthesizers
 Wind Instruments
 Stringed Instruments
 Japanese Instruments
 Harmonicas, Other
 Software
 DJ & VJ
 Stands
 Cables & Connectors
 Racks & Cases
 Lighting
 Stage & Truss
 Video Equipment
 PC PERIPHERALS
 Power Supplies
 Studio Furniture
 Household Items, Other
 Alcoholic Beverages