Hello.
So, my refrigerator broke down the other day.
When I got home from work and opened the fridge to make dinner, I felt a sudden sense of unease.
"...Wait, I don't think it's cold in here."
Having a bad feeling, I opened the freezer, and there I found frozen food items lying limp, unable to stand on their own, and meal-prep containers soaking wet with condensation.
Thinking, "It was working fine this morning," I tried unplugging and plugging it back in for the time being.
It started humming with a powerful "vroom," and just as I thought, "Is it gonna make it?!", there was a dry "click" sound. After that, it was just a repeat of "vroom, click, vroom, click."
...It was then that I realized….
The compressor had officially died and gone to the stars.
Well, it can’t be helped when home appliances break, but the problem was the timing.
The day before the fridge died, I had been lured in by a discount sticker and bought a large pack of Japanese beef slices—something I usually pass on because "it's normally too expensive"—but I was feeling in high spirits and bought it anyway.
When I hurriedly pulled it out, the fat on the surface was slowly starting to melt; it looked exactly like "meat that was ordered at a Yakiniku restaurant but left sitting there because the conversation was too lively to even put it on the grill, looking lifeless as if its soul was drifting away."
I had no choice but to eat it, so I cooked it and ate it immediately.
As for the taste, I think it was probably delicious.
A few days later, I bought a new refrigerator, but the timing was terrible.
Since I bought it in late April, due to a combination of the holiday rush, delivery schedules, and whatnot, it won't arrive at my house until the second week of May.
This is basically a "Yakuman" (total disaster).
I’ve been cooking for myself ever since I started living alone, so spending several weeks without a fridge is quite uncharted territory for me.
I’m sure there are plenty of people in the world who live without a refrigerator, so it shouldn't be a big deal, but I’m still a bit anxious.
You hear things like song lyrics or those famous quotes from who-knows-where that say, "People only realize how important something is when they lose it," but I never imagined that in my case that it would be a refrigerator.
I plan to take very good care of my new one.
Now, this time, the content is about doing the wiring for the effects pedal I started building in the previous article and finishing it up!!
Since I spent quite a while writing about something completely unrelated to the main topic, let’s pick up the pace and get into it with some energy.
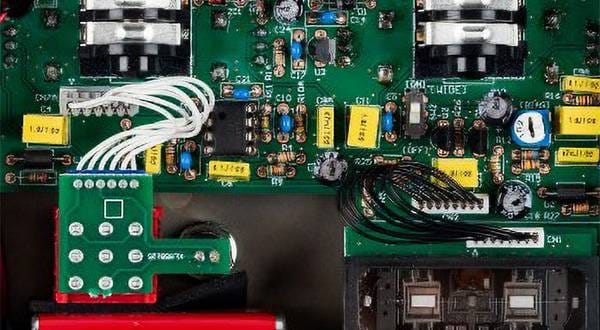
First, here are the parts that will be wired and installed this time.
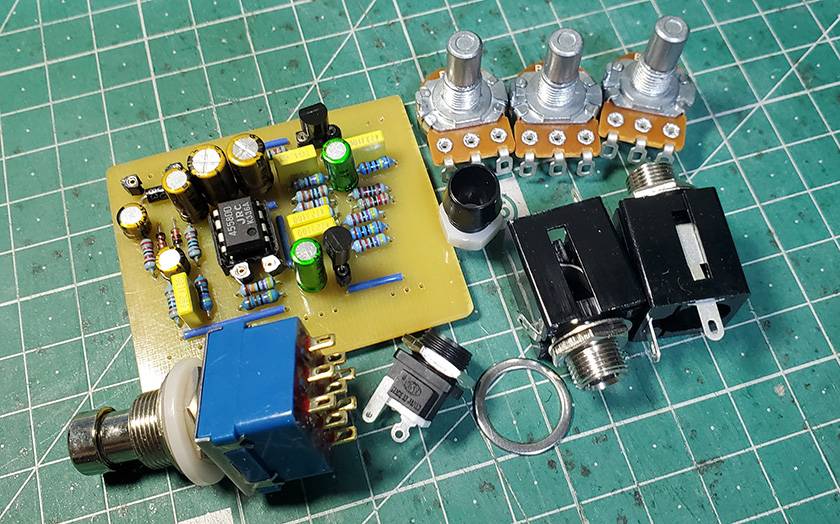
I had a circuit board that I had already made, so I’ll be using that.
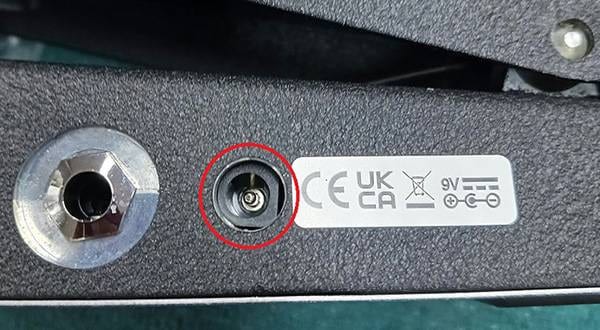
Also, I didn’t realize it when I took this photo, but for this build, I had drilled the holes for a configuration that doesn't include a battery in the case, so the DC jack will be changed to a different one upon completion.
First, I’ll do a temporary assembly,
Then, I’ll measure the length of the wiring material by feel to look "about right" and prepare the necessary amount? Number of wires?
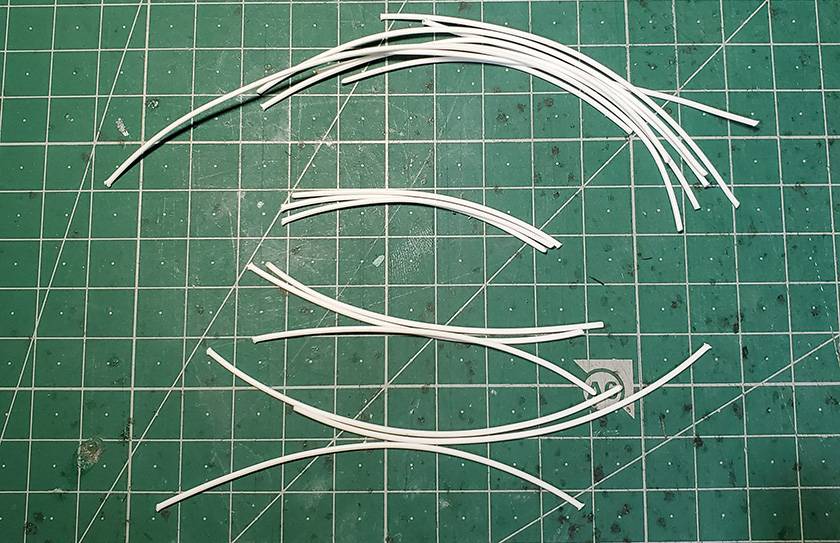
I think sorting them by length and where they will be used at this stage makes the work later much easier.
Next, I’ll perform "pre-soldering" (tinning) on the wires and parts.
I trim the wires to a certain length, strip the insulation, and apply solder right down to the base where the inner wire is exposed.
As shown in the photo below, it’s quite easy to work if you spread several wires out in a fan shape.
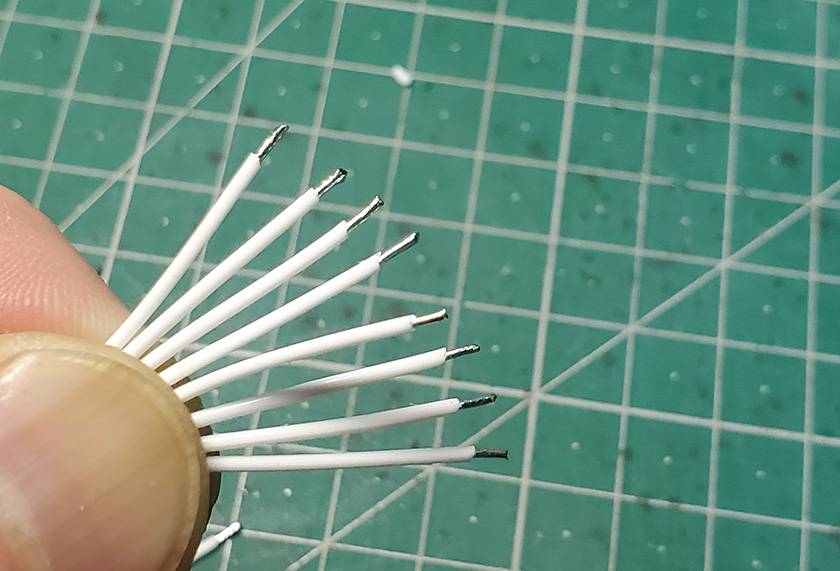
I really wanted to take a photo of the actual work in progress, but since both my hands were occupied, it didn't go very well. If I have another chance, I’d like to take proper photos of the process and introduce it like, "It's easy if you do it this way."
Here are the other parts.
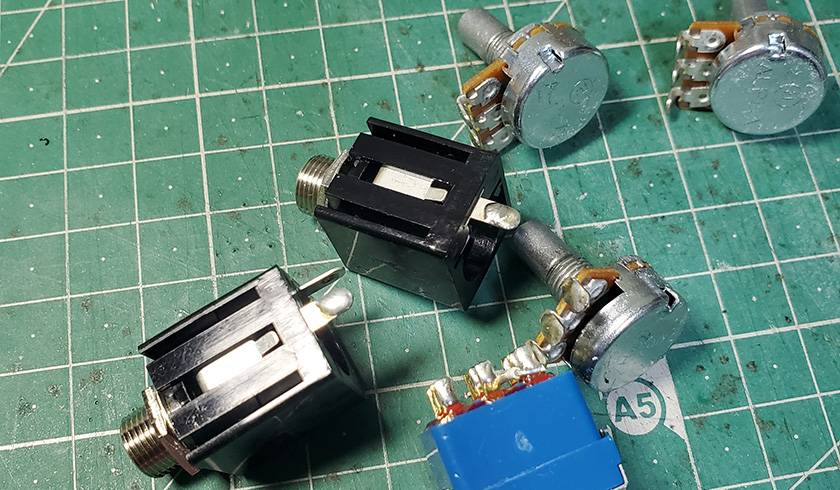
Once that's done, I attach all the wiring material that can be pre-connected.

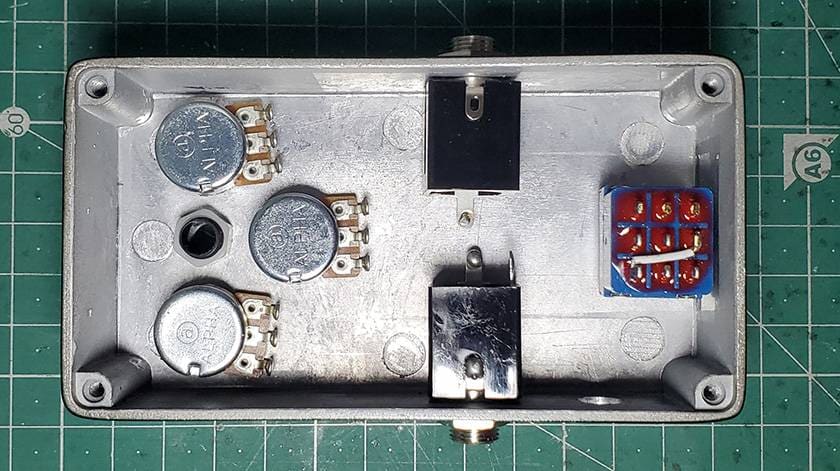
Then, after doing all the wiring and whatnot, it ends up looking like the photo below.
In my method, I wire and install the pots and LEDs at the top of the effects unit first, and after they are firmly secured, I handle the wiring and installation for the jacks and switches.
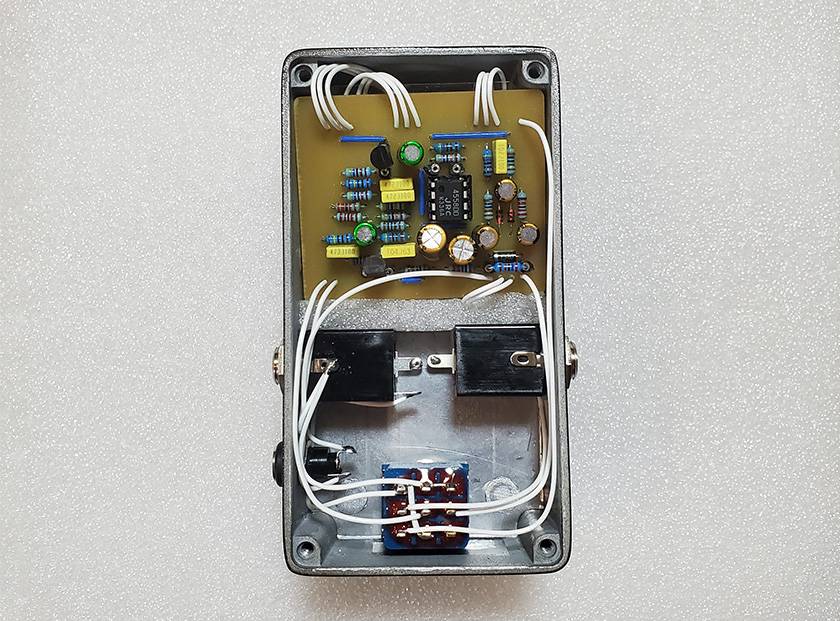
Since the holes were drilled for a configuration that doesn't include a battery this time, there is a bit of wasted space in the middle. It makes me feel like I could have arranged the parts a bit better.
Also, I had originally laid out the top of the circuit board and the terminal connections so they would look clean when joined, but since I prioritized playability and changed the placement of the labels during painting, the wire routing isn't exactly "smart."
There are endless other points I could reflect on, but writing a letter of apology on a company blog wouldn't do much good, so I’ll leave it at that.
Additionally, I’ve sandwiched a plastic plate between the circuit board and the parts.
I also put a sponge in the empty space so the board doesn't shift around.
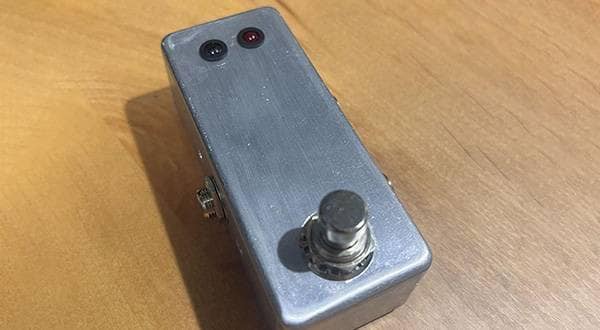
And here is the finished product.
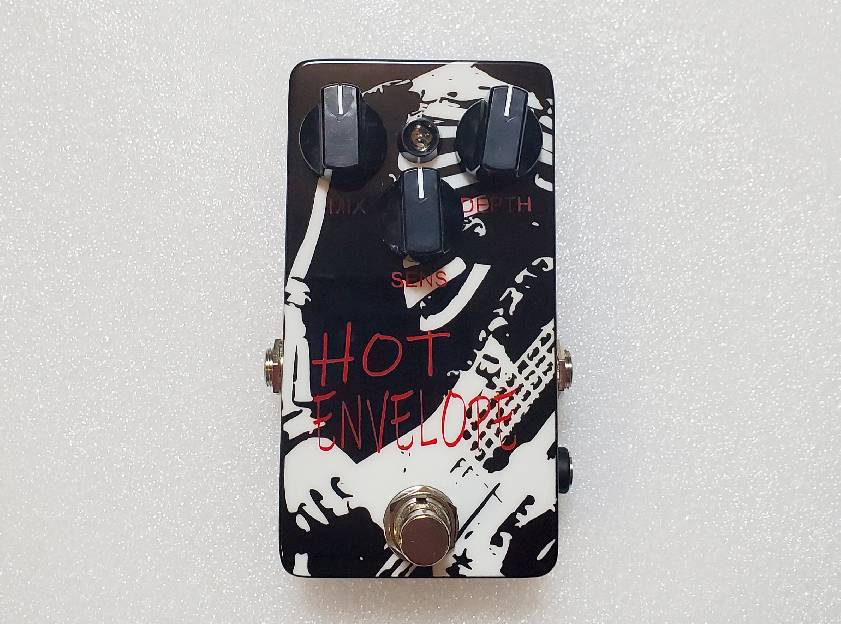
The appearance is decent enough, so I think it’s fine.
As for the sound, I wasn't able to record it this time due to various time-related circumstances.
I apologize for this lapse in discipline after making a machine specifically designed to change sound, but for now, it's finished, so that’s it for this blog post.
What did you think?
This time, there was more talk about the broken refrigerator than the effects pedal—or rather, it became the main topic of this article—but well, that was a major ordeal, so I ended up writing about it with a lot of heat.
However, if I work hard just a little longer, my new fridge will arrive, so I’m going to live each day thinking positively with that as my hope.
Come to think of it, our company also handles refrigerators. If your fridge has broken like mine or if you are considering buying a new one, do check them out.

Despite the nature of this blog, I would be happy if those who read it gained even a little interest in effects pedals.
Thank you for reading until the end.
Let’s meet again on the Sound House Staff Blog.
Goodbye.


 ALLPARTS特集
 ギターパーツの沼
 【初心者向け】エフェクター講座
 あなたのエフェクターボード見せてください
 エフェクターのつなぎ方
 エフェクターの種類