It’s cold—no, it’s too cold. If it’s this cold in December, what on earth will January and February feel like? At times like this, owning a tube amp is a win-win: you can keep warm while playing guitar.
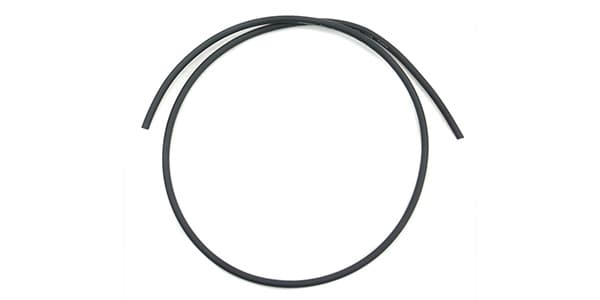
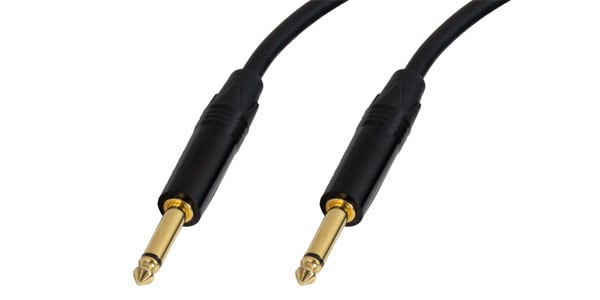
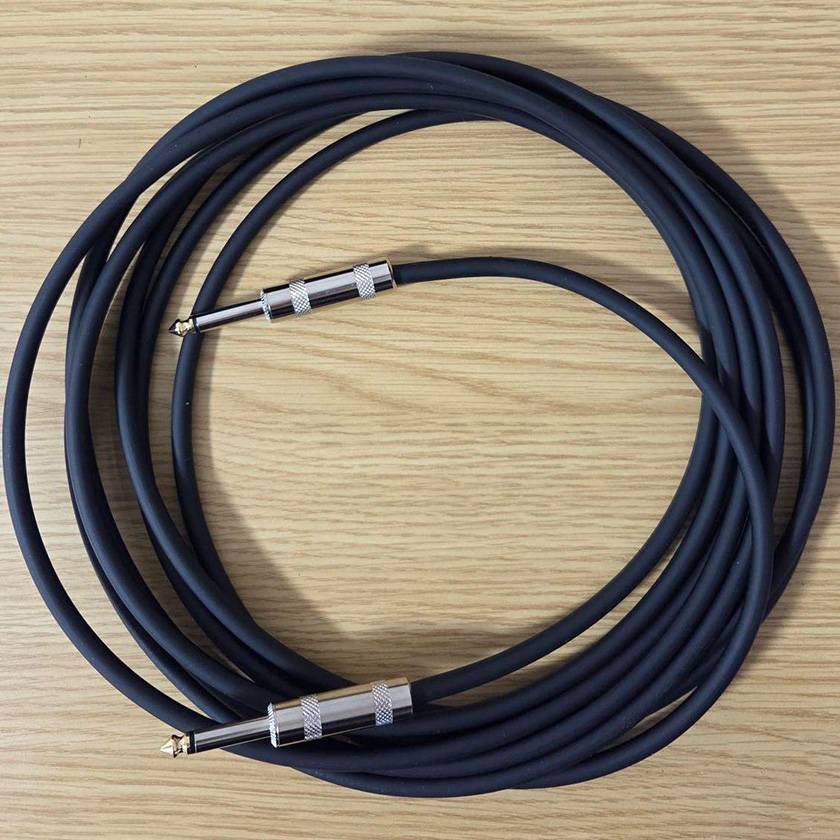
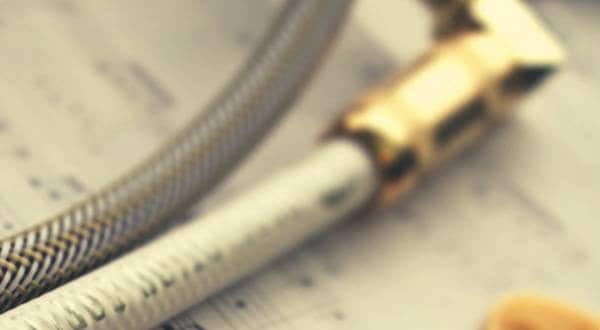
Now then, this time I would like to make my own guitar instrument cable. The cable I’ll be using for this build is this one!
CLASSIC PRO / HGC6N Bulk Instrument Cable 1m
Are you familiar with Classic Pro’s high-end cables? Most of you are probably familiar with this particular product.
CLASSIC PRO / HGC050 High-End Instrument Cable (Shield)
This HGC6N is essentially the same cable sold by the meter, cut to length in 1 m units.
Many of you might think, “Making a cable sounds difficult…,” but it’s actually surprisingly easy. And on top of that, there are some great advantages.
- Advantage No. 1
- You can make the cable to your preferred length.
- Advantage No. 2
- It’s cheaper than buying a ready-made cable.
- Advantage No. 3
- Because you’re free to choose the combination of connectors and cables, you can create setups that don’t exist in off-the-shelf products. (You can fall deep into the cable rabbit hole.)
What do you think? It’s nothing but benefits!!! It’s true that it takes some effort and time, but I’m the type who actually enjoys that. Making patch cables for a pedalboard, for example, is incredibly fun.
Well, enough talk—let’s get started right away.
The materials used this time are the following two items.
Assembly Procedure
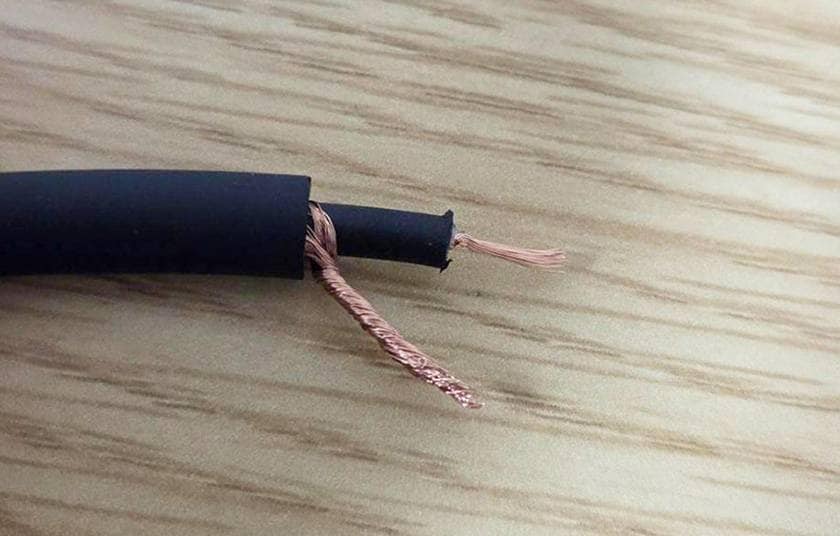
1. Strip the cable jacket. This time, about 13 mm was stripped.
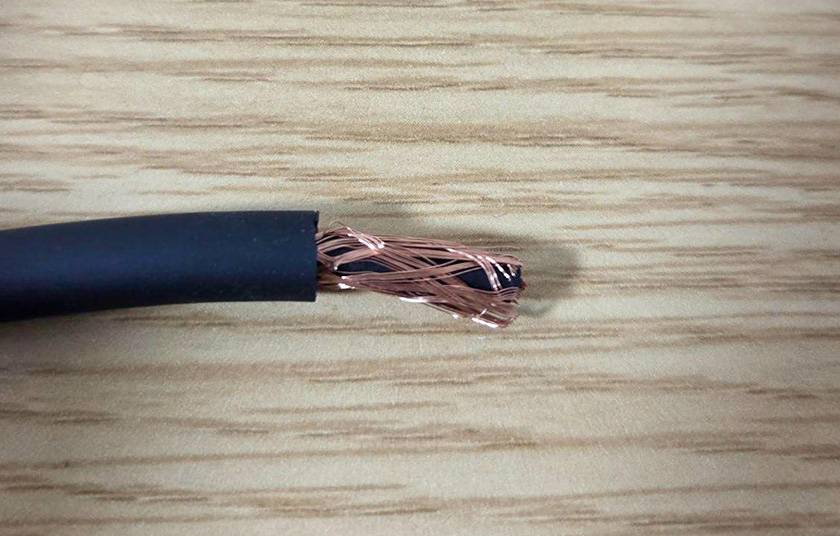
Use a cutter to make a cut around the jacket, then peel it off with pliers or similar tools. Be careful not to insert the blade too deeply, as it may cut the copper wires. It’s best to work gradually while checking the condition.
2. Gather the shield wires together and twist them.
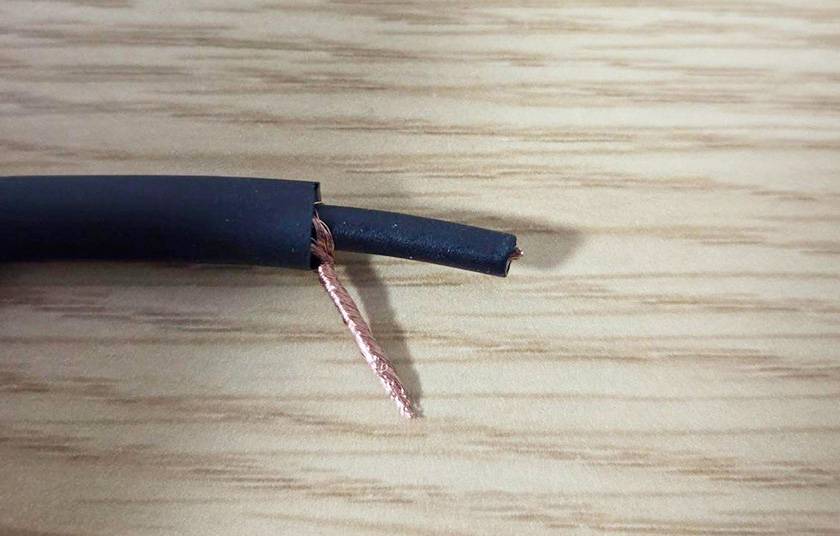
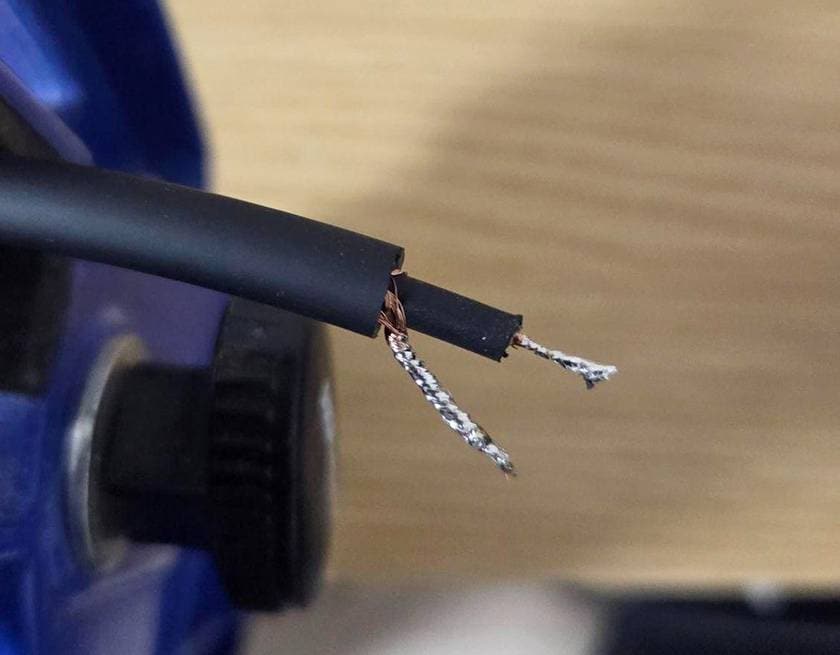
3. Strip the insulation from the core wire.
After stripping the insulation, twist this as well. Having a cable stripper makes it easy to remove the insulation.
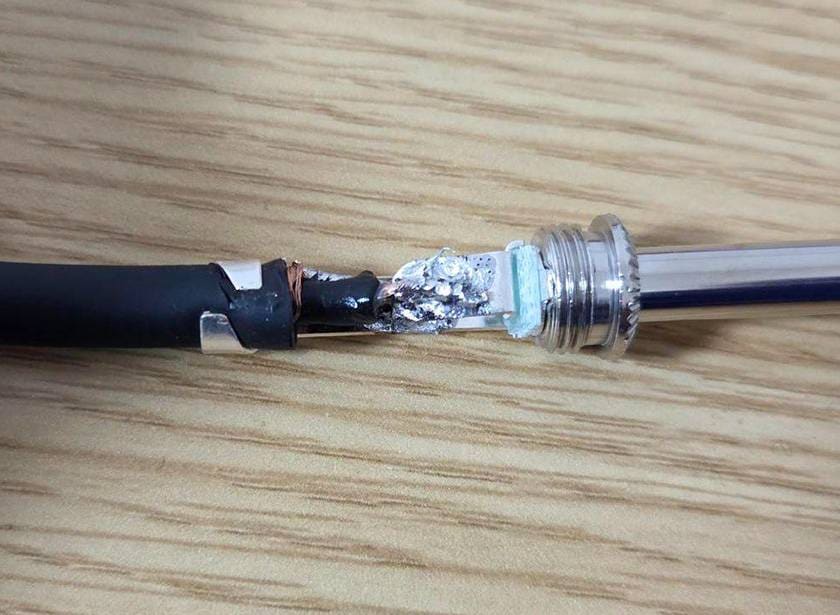
4. Apply solder to the shield wire and the core wire.
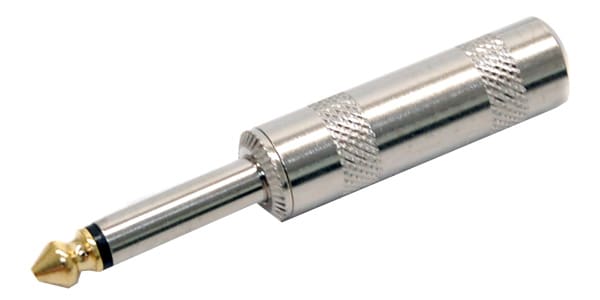
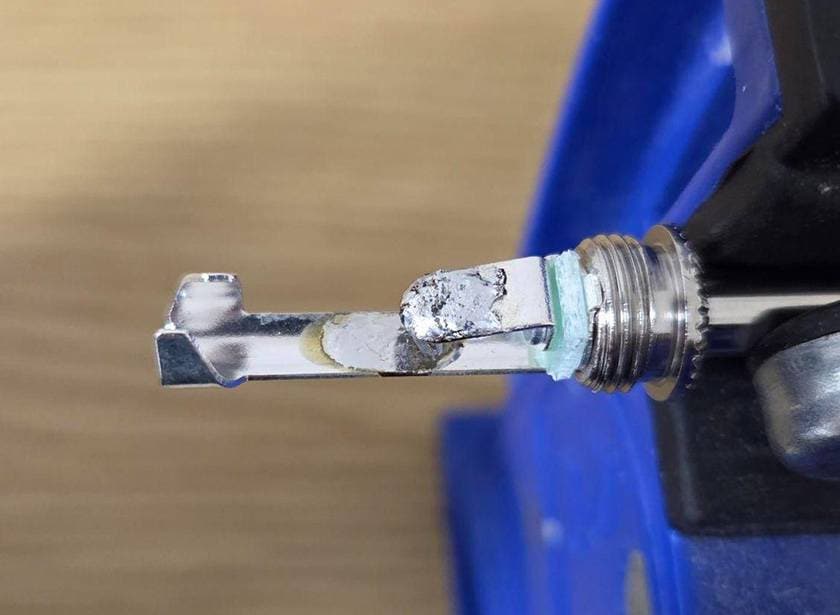
5. Disassemble the plug and apply solder to the tip and the sleeve.
Try fitting the cable in place and apply solder to the points where it will be attached.
6. Solder the shield and the plug together.
If you take too long, the insulation may melt, so try to work as quickly as possible!
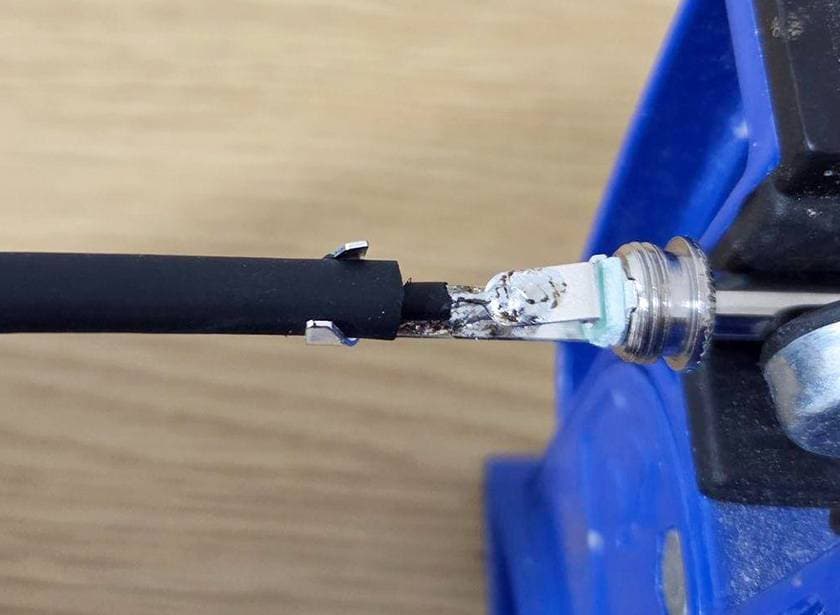
I’m not very good at it, so I ended up melting it a little…
7. Crimp the base part with pliers.
8. I forgot an important step…
Actually, the black coating around the core wire acts as an insulator. If it makes contact, it can cause the sound to become weak, so be sure to remove it with a cutter around step 4!
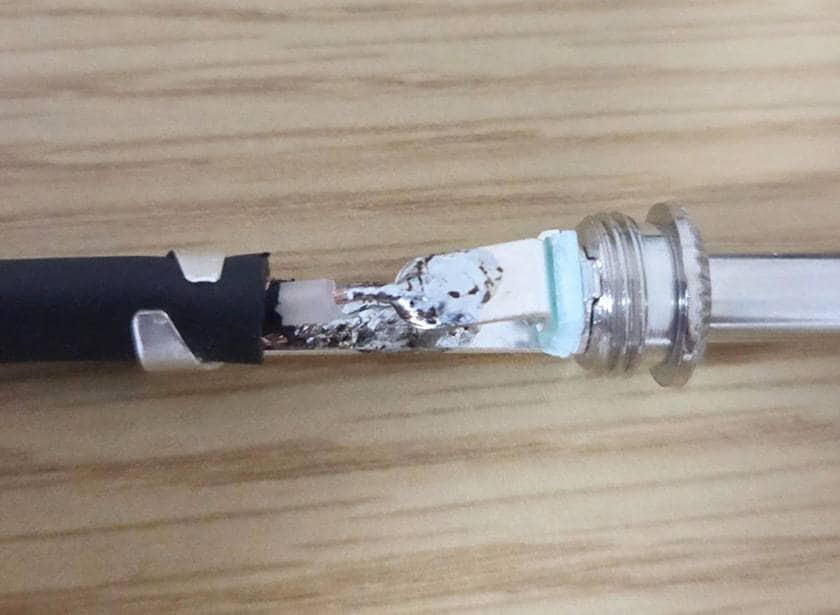
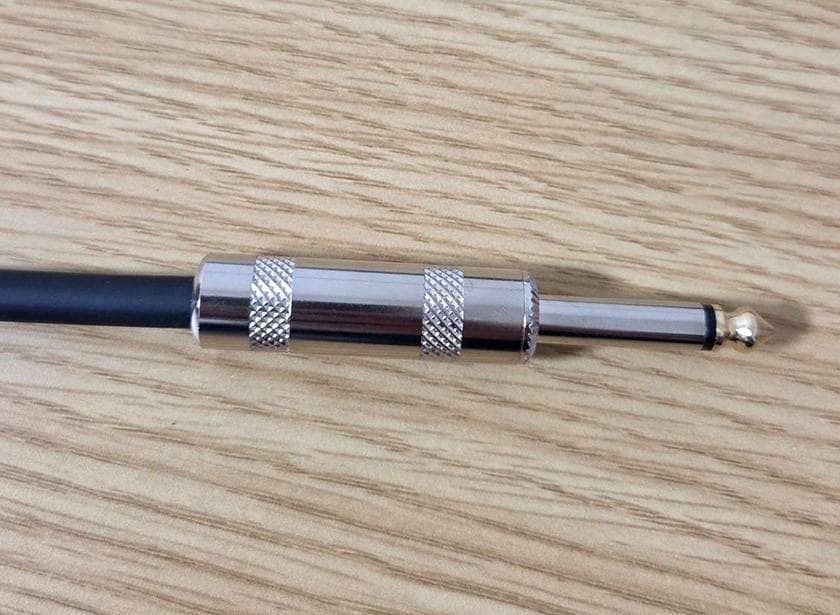
9. Tighten the cap.
10. Make the other side in the same way.
At this point, be sure to slide the cap on before soldering! If you forget, you’ll have the extra hassle of removing what you already attached.
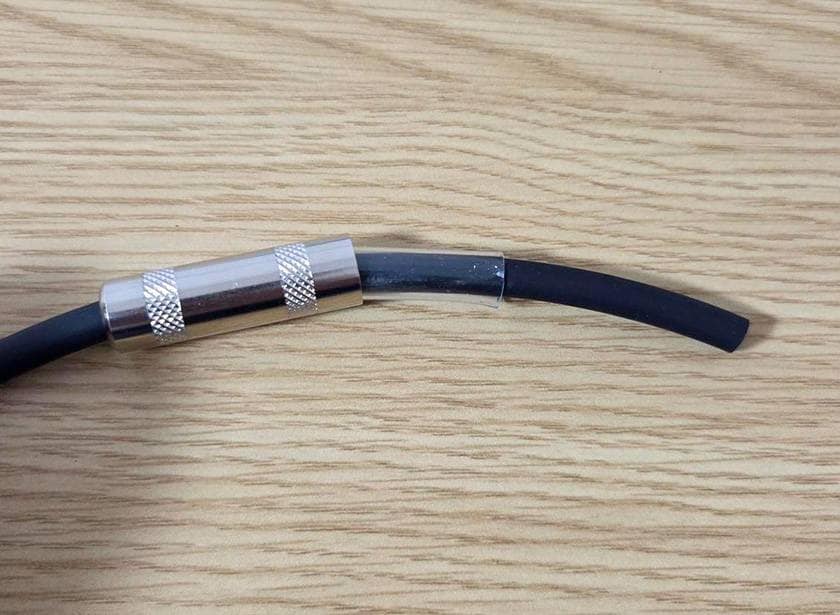
11. Check continuity with a tester to finish!
Now then, let’s try playing the guitar with the completed cable right away!
Yes, yes—it feels great! I compared it with a ready-made cable, and it works perfectly without any issues. This time I made a 5 m cable for ¥1,800 (tax included), so compared to commercially available products, I think it’s quite a bargain. It’s true that at first you need to spend some money to get a soldering iron and tools, but once you have them, you can make all your own cables in the future, such as patch cables when assembling a pedalboard, so I think you’ll easily get your money’s worth.
Next time, I’m thinking of making various cables myself and comparing their sounds. I’m planning to compare the one I made this time with the cable below as well, so stay tuned!


![How to Make a Shielded Cable for Beginners - An Easy-to-Understand Guide on Soldering [Implementation]](/contents/uploads/thumbs/2/2022/4/20220411_2_17445_1.jpg)
 CLASSIC PRO
 ギターケーブルの作り方
 ケーブルの選び方
 お手入れに必要な道具
 エフェクターのつなぎ方
 ケーブル購入ガイド