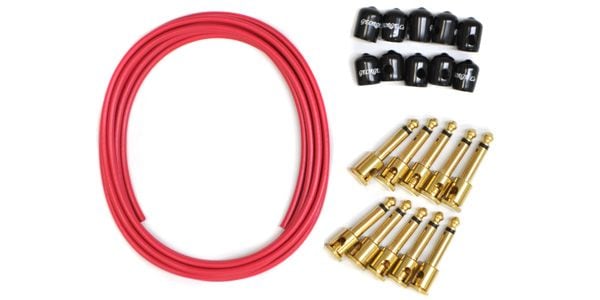
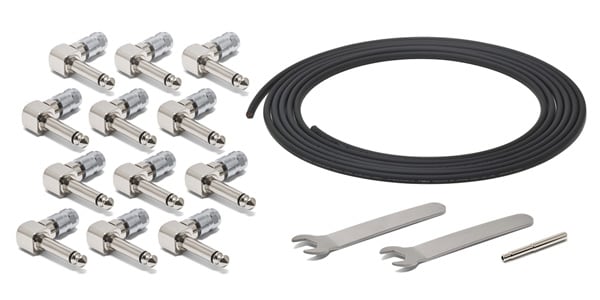
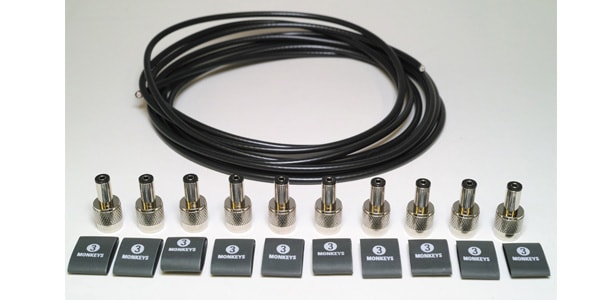
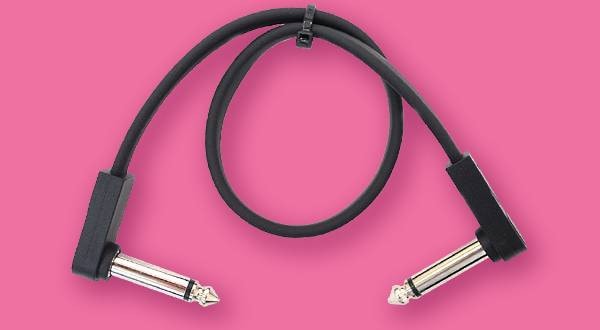
Many guitarists and bassists prefer using solderless cables for wiring their pedalboards.
Or perhaps, there are many of you who are considering switching to solderless cables.
I used to wire my pedalboard with George L’s solderless cables.
Since you can freely adjust the length of the cables, it’s easier to manage the layout of your pedalboard, and it looks sleek, making it quite enjoyable to use.
However, while it’s fun, I did experience some failures.
Though everything worked fine at home, when I used them during rehearsals or performances, sometimes there would be no sound output. After investigating, I found that the solderless cables were not conducting properly.
This issue was caused by mistakes I made during the assembly process, where the movement and impact of the pedalboard during transport led to connection issues.
From this failure, I learned some important points to consider when assembling solderless cables, and I’d like to share them with you.
01 Trim the Cable Ends Neatly
First, the basics. When you cut the cable with wire cutters, the cross-section tends to look like this:
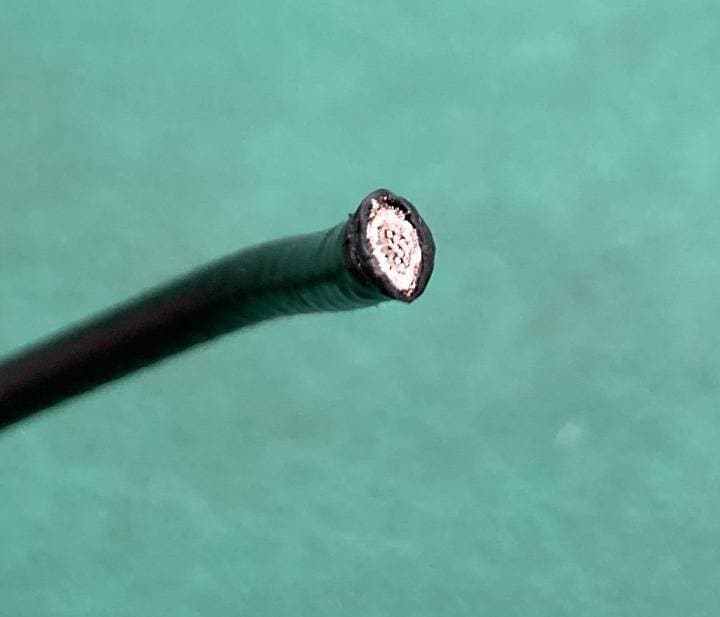
As you can see, it becomes oval-shaped.
Inserting it into the plug like this can lead to connection problems.
Before inserting it into the plug, make sure to shape it properly.
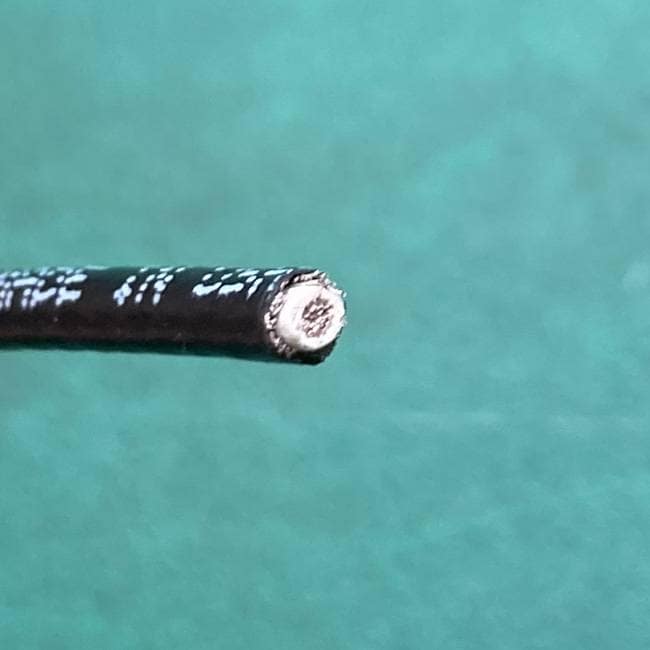
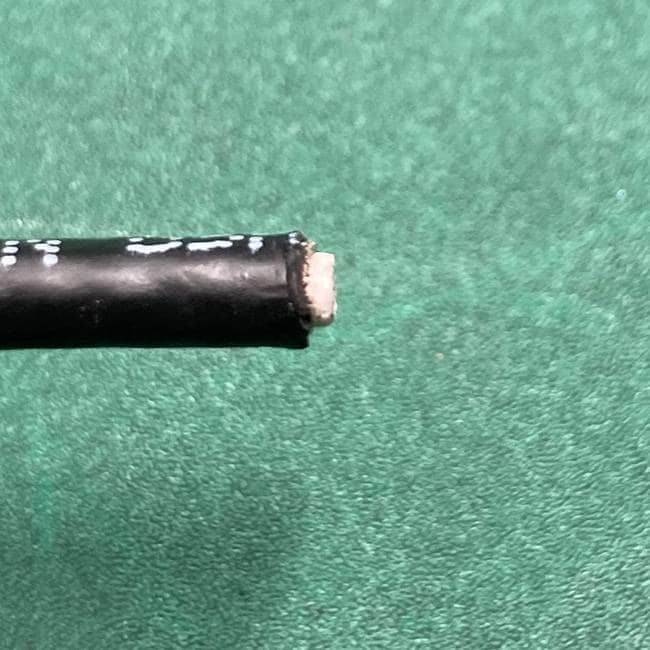
If the insulation or shielding is longer than the core wire, trim them so they’re shorter.
02 Insert the Cable Vertically into the Plug
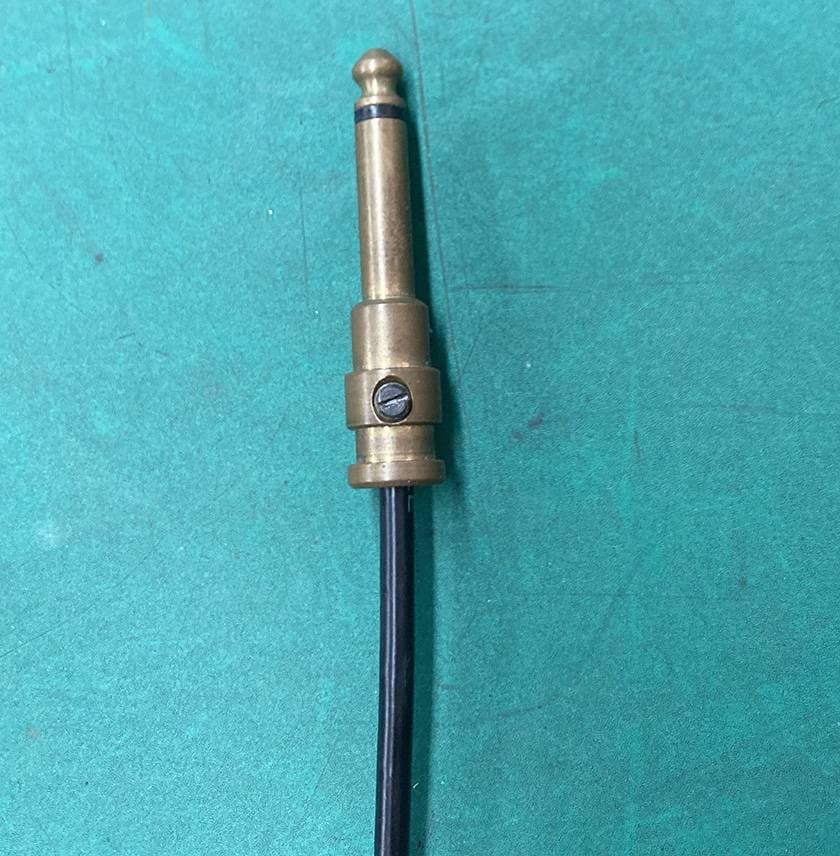
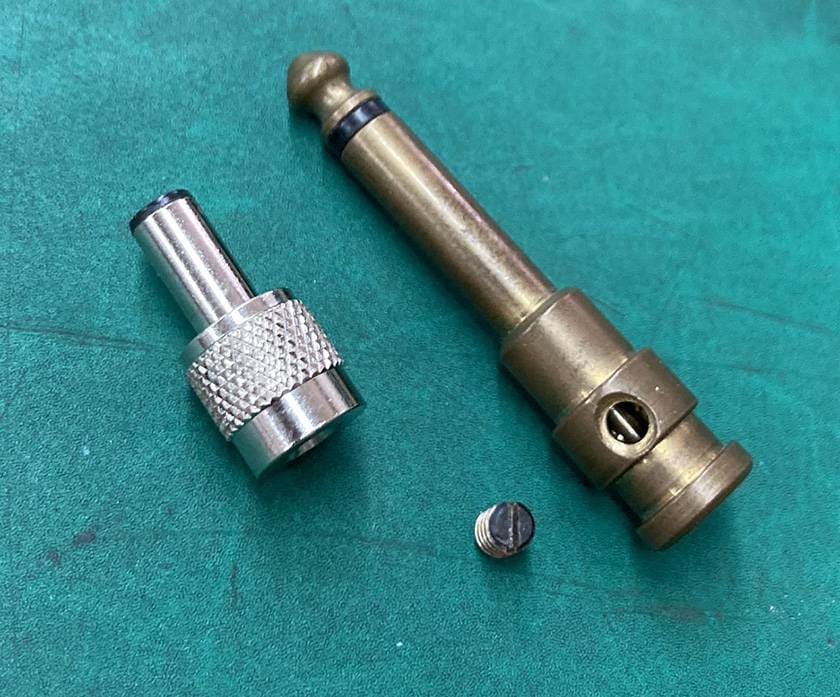
The plugs of solderless cables have needle-like contacts that connect to the core wire.
Since cables often have bends, inserting them at an angle can cause connection problems, so be sure to insert them straight.
03 Tighten Screws with Appropriate Force
Whether it’s a type with set screws, caps, or cables that you twist, applying the right amount of pressure is key. Over-tightening or under-tightening can lead to broken cables or loose connections, resulting in poor contact.
04 Don’t Over-Tighten
The tip of a solderless cable is connected to the internal needle section. The sleeve makes contact with the shielding by cutting through the insulation when the screw is tightened, allowing for proper conduction.
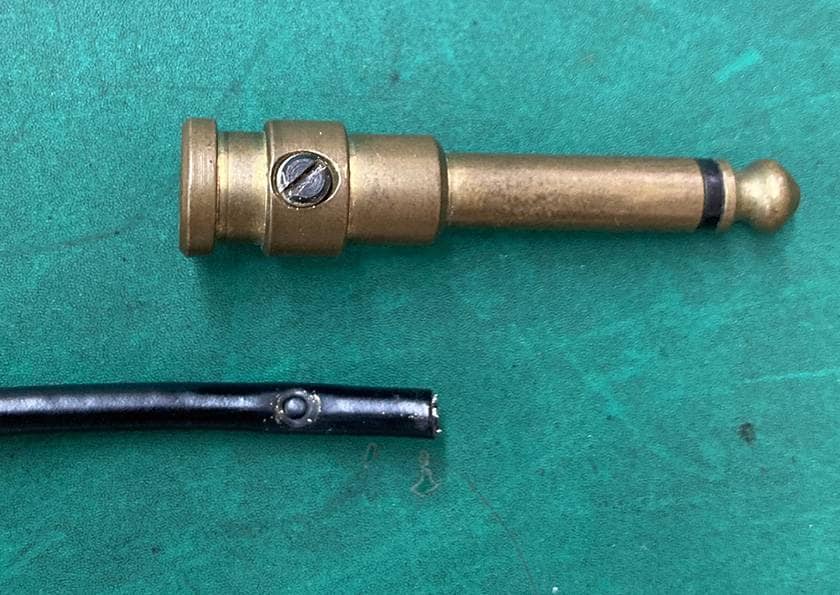
You’ll notice marks where the screw has pressed into the shielding.
Re-tightening too many times can cause excessive damage to the insulation and shielding, leading to connection problems. If you need to re-tighten, it’s better to cut off a small portion of the cable’s tip before proceeding.
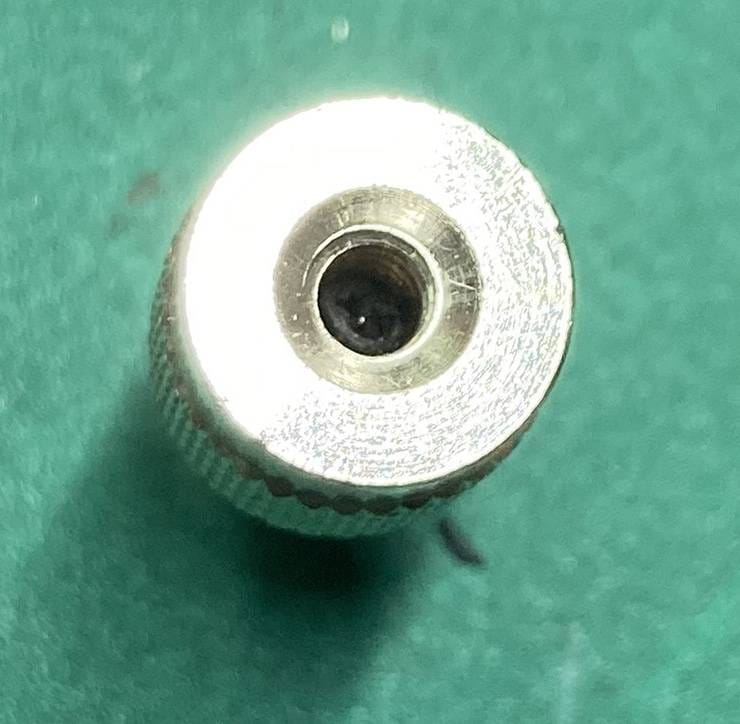
05 Check for Debris
Sometimes, small pieces of insulation or shielding can get stuck inside the plug. Even a tiny amount can prevent the tip from making contact with the core wire or cause a short between the tip and sleeve.
Here’s an example.
It’s a bit hard to see, but there’s insulation stuck inside.
Using a fine-tipped tweezer or needle, you can pull it out...
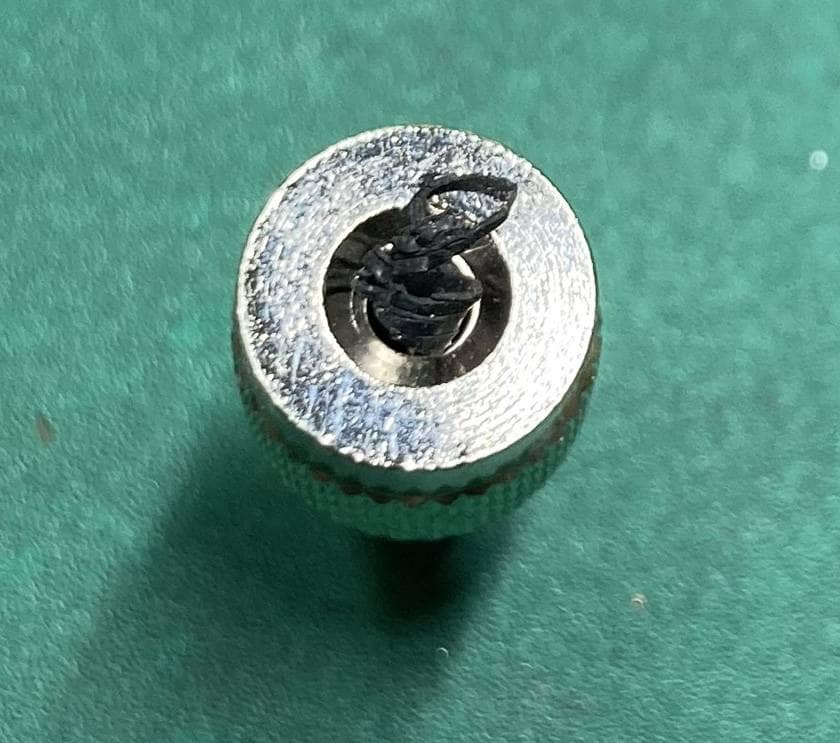
A substantial amount of insulation came out, which was the cause of the poor connection.
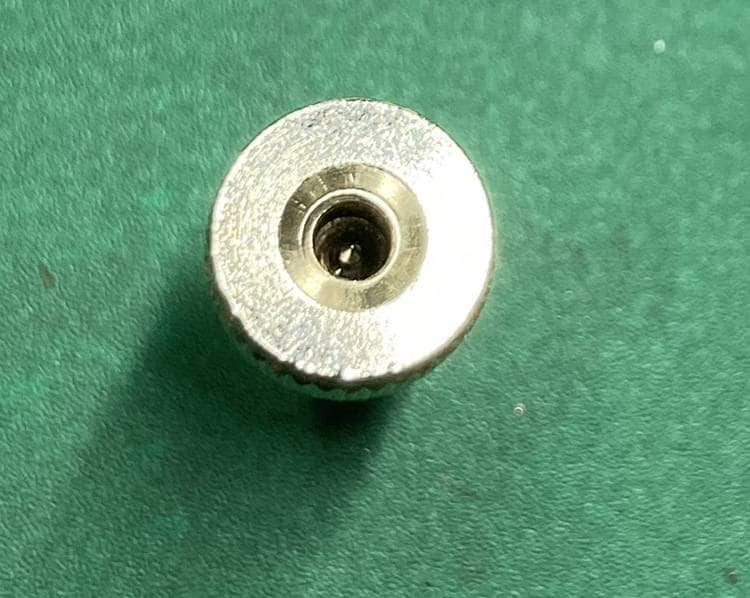
こAfter reconnecting the cable in this condition, conduction was restored without any issues.
If you’ve gone through steps 1 to 4 and still have no connection, it might be worth checking for debris.
06 After Assembling
The most common time for connection issues to arise is immediately after you’ve packed up your pedalboard and moved it. While solderless cables have the advantage of allowing you to easily create cables to your desired length, they don’t match the durability of soldered cables.
If you understand this trade-off and decide to use solderless cables, it’s a good idea to secure the cables inside your pedalboard to prevent them from moving around.
The way you handle the cables after assembly is up to you, so feel free to get creative.
That’s all for the tips on assembling solderless cables!


![How to Make a Shielded Cable for Beginners - An Easy-to-Understand Guide on Soldering [Flat Plug]](/contents/uploads/thumbs/2/2022/6/20220609_2_18213_1.jpg)
![[Beginner-Friendly] Part 5 - Pedalboard Gems: A Slightly Nerdy Effects Pedal Guide: Patch Cables](/contents/uploads/thumbs/2/2018/8/20180828_2_4020_1.jpg)
 ギターケーブルの作り方
 ケーブルの選び方
 エフェクターのつなぎ方
 エフェクターの種類
 虎の巻 ケーブル講座
 ケーブル購入ガイド