It’s already September, and it feels like we’ve just gotten past the peak of summer. How is everyone doing? As for me, I can’t stop thinking about the Sprinters Stakes, the race that marks the beginning of autumn GI at the end of September.
...But let's set that aside and get to the main topic.
In this year's sweltering summer heat, our instruments have had to endure just like we have. Unfortunately, it’s not always feasible to keep them in air-conditioned rooms year-round, which can be quite frustrating. To make matters worse, I’ve been neglecting them for most of this year, and some of the strings have even broken. This won’t do, so I plan to replace the strings and, while replacing the strings, I also plan to perform a general adjustment and maintenance of each part, using this as a memo for reference.
Introducing the instrument to be repaired.
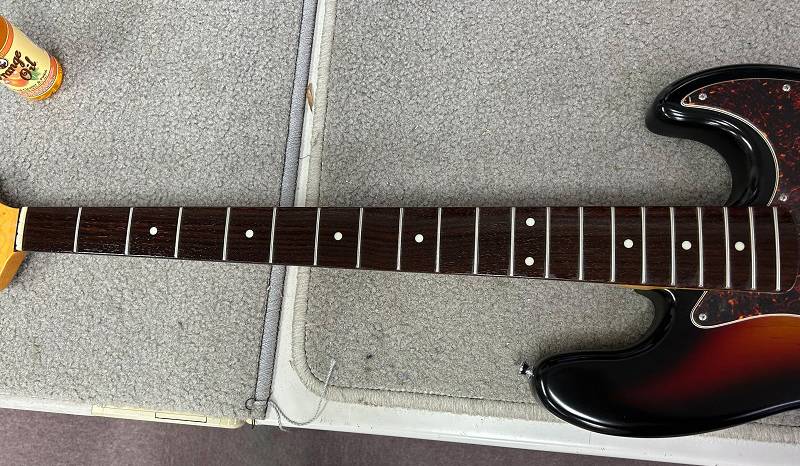
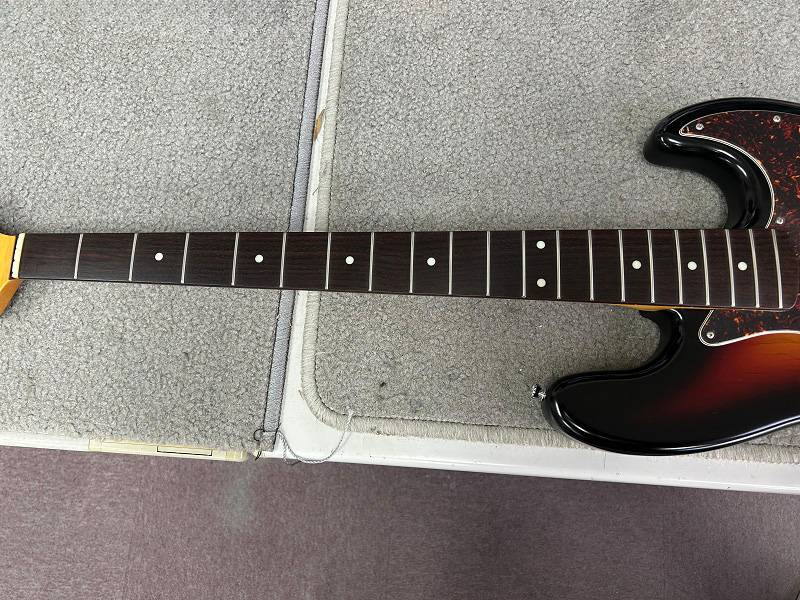
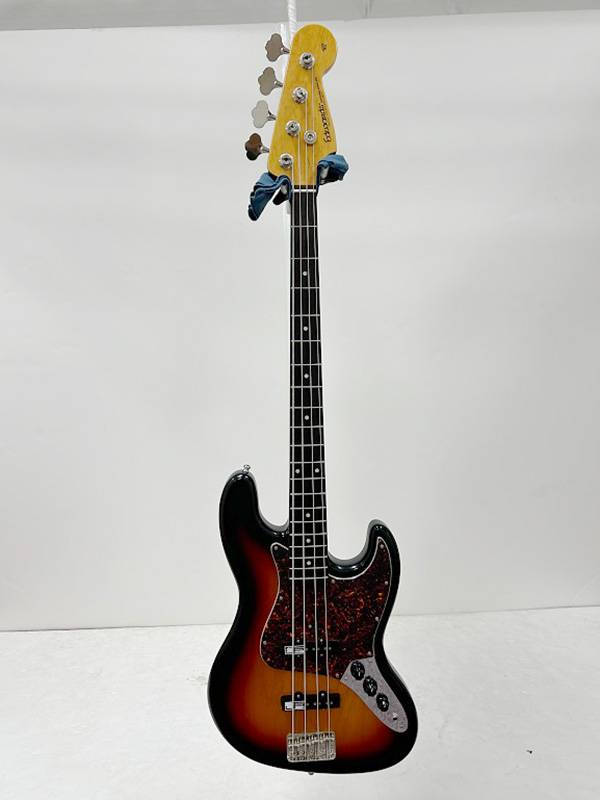
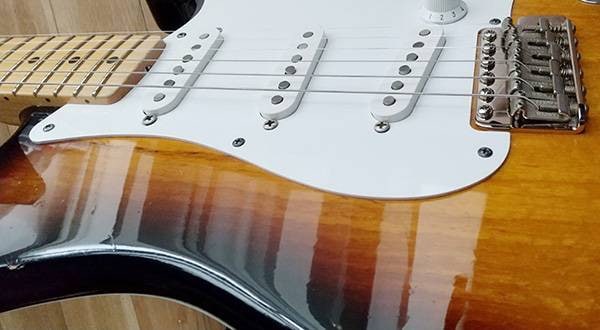
This is the bass that will be repaired this time.
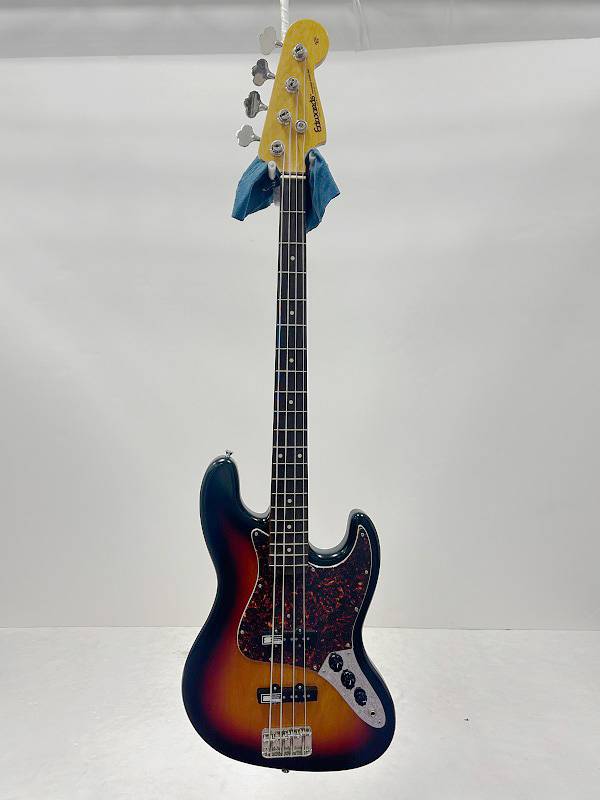
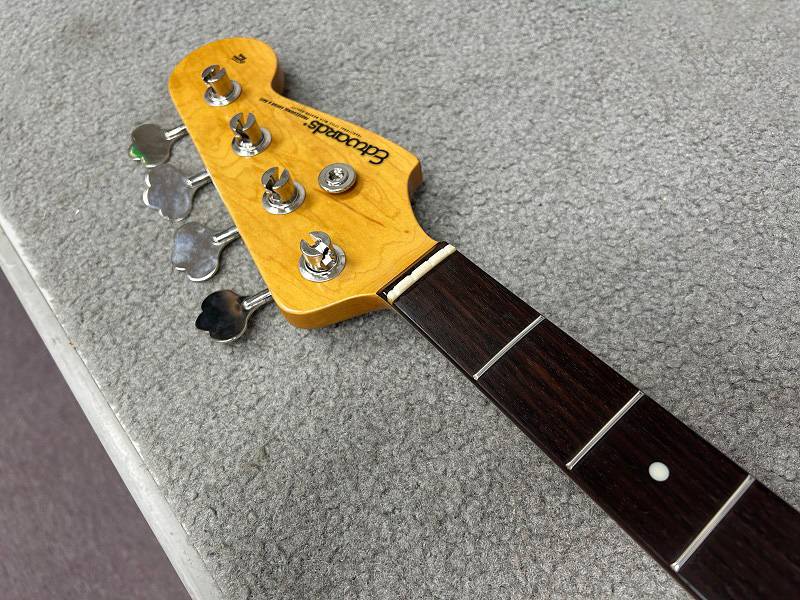
This is a standard Edwards JB-type bass. Remarkably, since purchasing it second-hand, I haven’t done anything to it—no cleaning, no string changes, not even tuning. In fact, I haven’t touched it at all. So, first things first: I need to check its condition. I’m starting to get a bit anxious at this stage, unsure if it will even produce sound.
Task 1: Condition Check
The general workflow is as follows: Condition Check ⇒ Adjustment ⇒ Cleaning.
Let’s move on to the condition check. The main points to review are whether parts need replacing, the state of adjustments, and if there are any external or body damages that require repair. Additionally, if I discover that parts need replacing or if there are other issues during this stage, I’ll address them immediately. Which means I will proceed to the next step only if the instrument is in a functional state. So, let's start by examining the appearance.
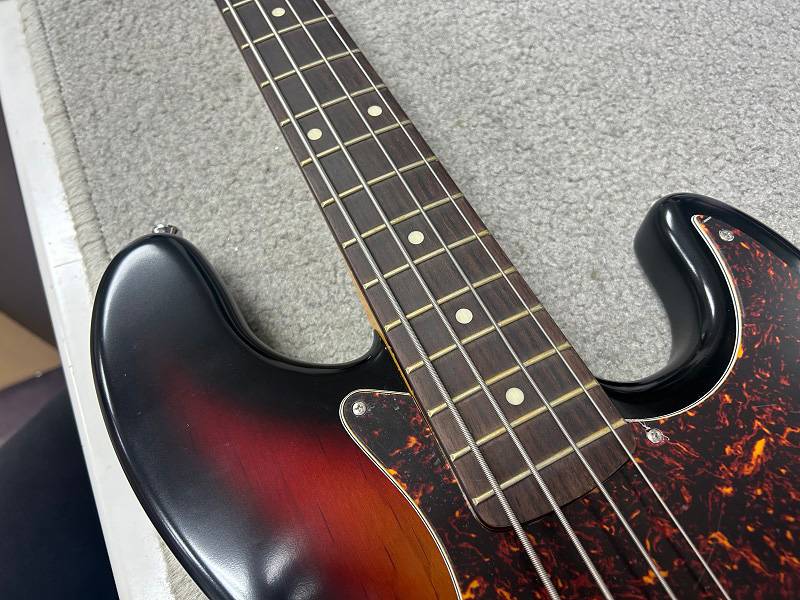
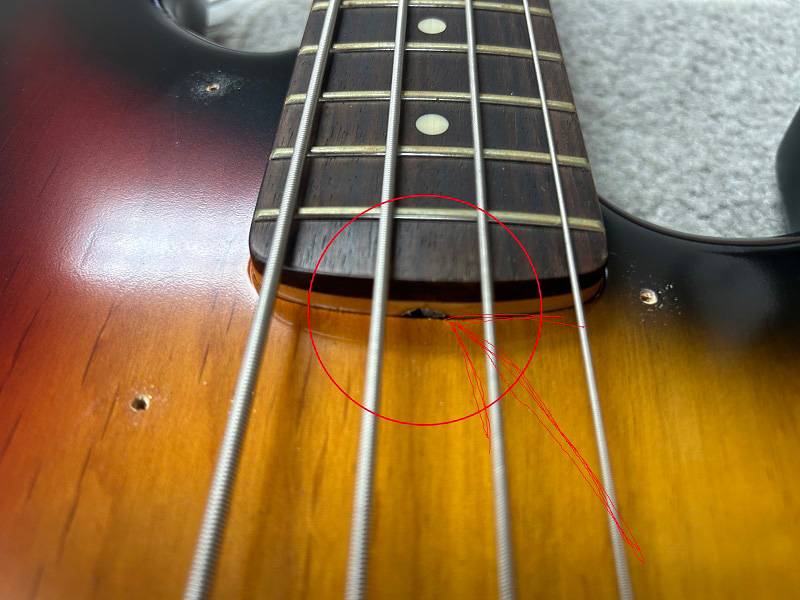
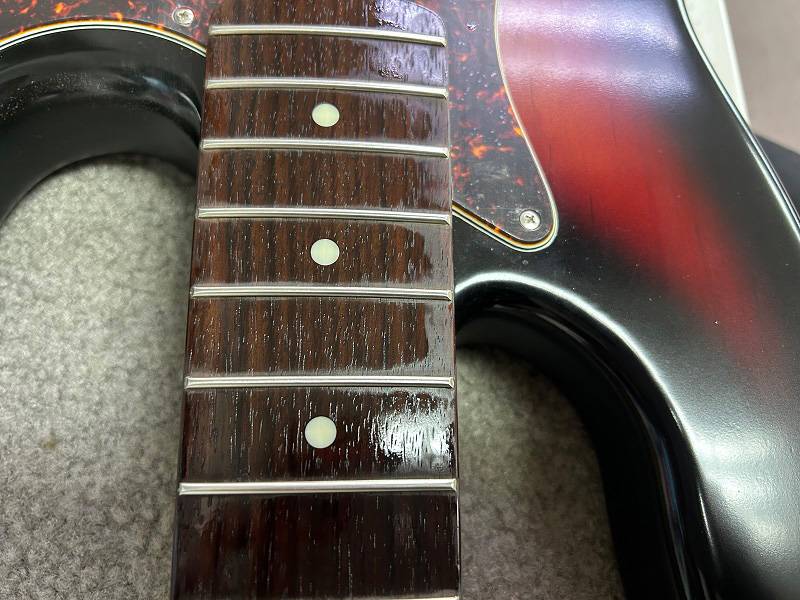
The frets are extremely dirty, almost on the verge of rusting, so they need to be cleaned thoroughly. Other than that, the bass was relatively clean, so it seems that only cleaning is necessary and no further repairs are needed.
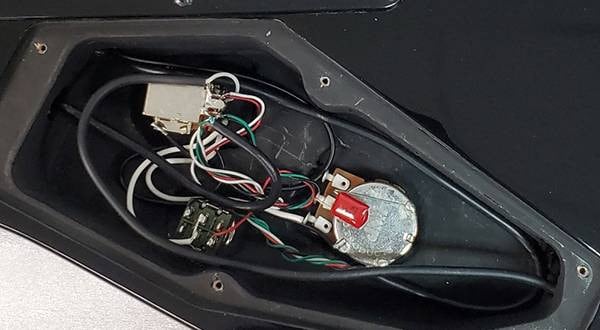
Next, we need to check if the parts are functioning properly, but… my bad feeling was right. No sound is coming out. Let's take a look inside.
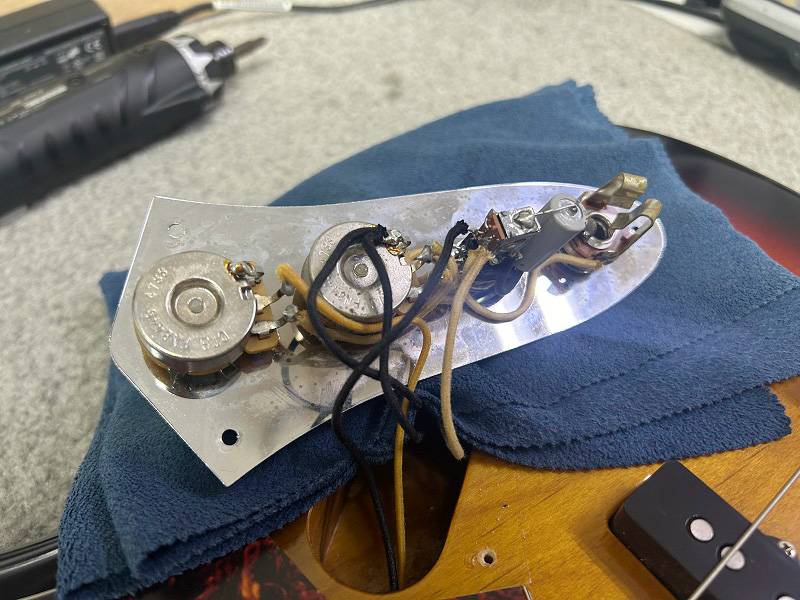
The corrosion on the jack terminals suggests many years of neglect, but there doesn’t seem to be any visible abnormalities. Measuring continuity at various points also shows no particular issues, except for one location.
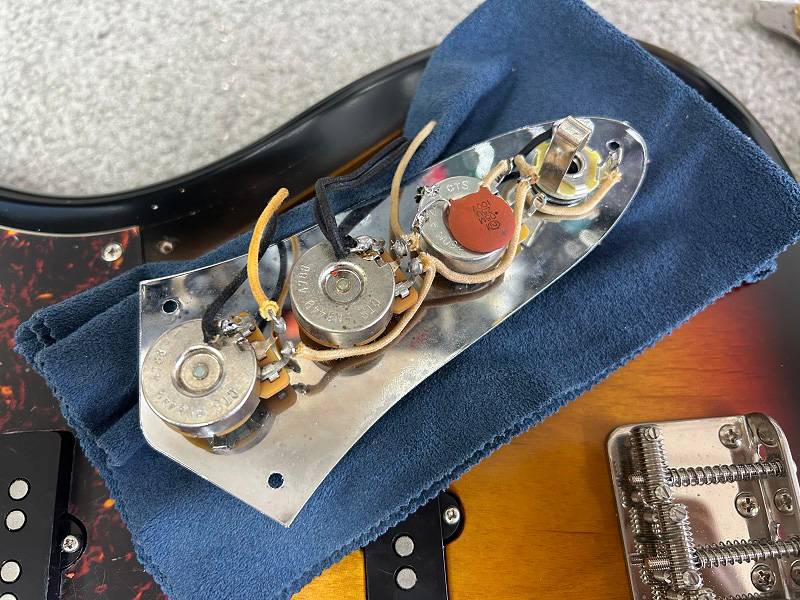
First, I made some quick repairs. I replaced the tone pot with a standard one, the jack with a new one, and the capacitor with a Sprague ceramic one. The direct cause of the sound issue was a faulty jack connection; continuity was lost at the jack terminals.
The neck has quite a bit of relief, the action is high, and the other parts are in good condition. Overall, it’s in the state you’d expect from a neglected used instrument. This is about all that can be checked for now. Having fixed the problem, let's move on to the next task.
Task 2: Adjustment
I mentioned earlier that “the neck has quite a bit of relief, the action is high, and the other parts are in good condition.” However, after measuring, the string height at the 7th fret with the 11th and last frets pressed is 1.8mm for the 4th string, and the usual string height at the 12th fret is 3.5mm for the 1st string and 4.0mm for the 4th string. In simple terms, the action is excessively high and the instrument is practically unplayable. It needs to do something.
By the way, the order of adjustments is: neck relief ⇒ action ⇒ pickup height ⇒ intonation. This process remains the same for regular adjustments, so it's helpful to remember.
This particular instrument has a truss rod that is…
located here, at the neck heel, so you’ll need to remove the neck to make adjustments. For truss rods with a cross pattern like this, never use a Phillips screwdriver! Instead, use a properly sized flathead screwdriver or an offset driver, such as the Montreux’s Swiss Tools Offset Driver [8385].
With the adjustments completed, all that’s left is the cleaning!
Task 3: Cleaning
The fingerboard will be maintained with orange oil (Howard’s Orange Oil).

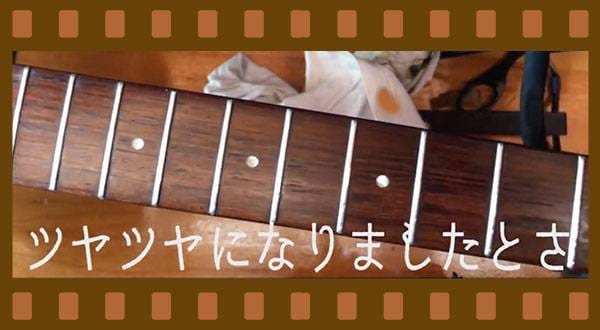
First, I cleaned the fingerboard and frets. This time, the dirt on the fingerboard and frets was quite stubborn, so I used sandpaper as part of the cleaning process.

After sanding the scratches, apply the orange oil.
Dispense a suitable amount onto the fingerboard and spread it evenly. I usually do this with my fingers.
After letting it rest for about 15 minutes, once the absorption stops and it looks like this,
wipe off the excess with a cloth or similar material to finish. The fingerboard is now clean. If the dirt doesn’t come off completely, you might need to repeat the process of applying oil, letting it sit, and wiping it off several times, but this is the basic procedure.
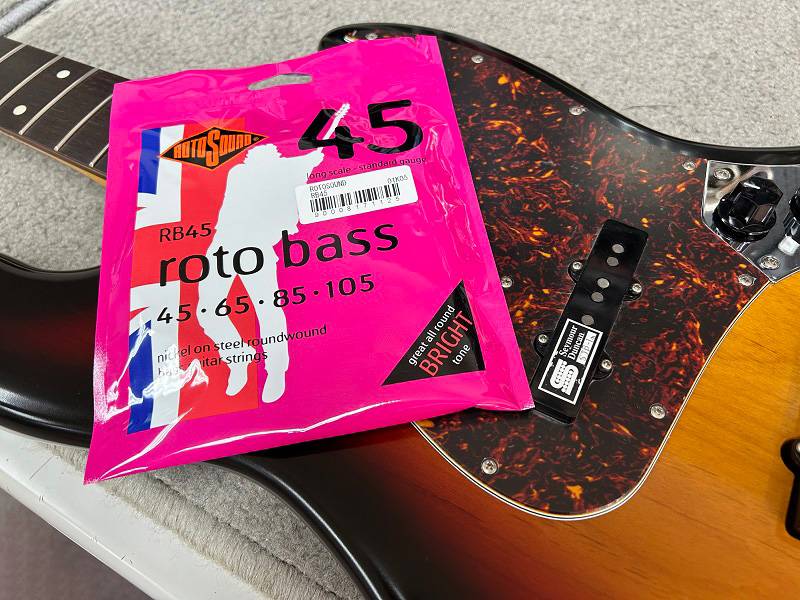
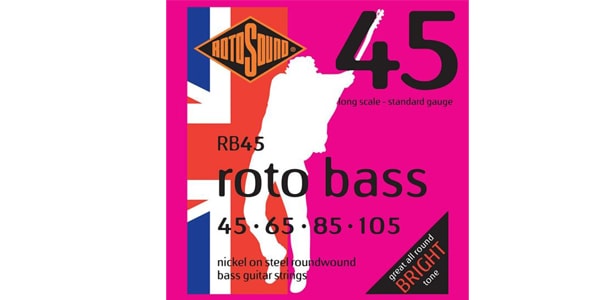
Next, put on the strings (Roto sound’s Roto Bass RB45),
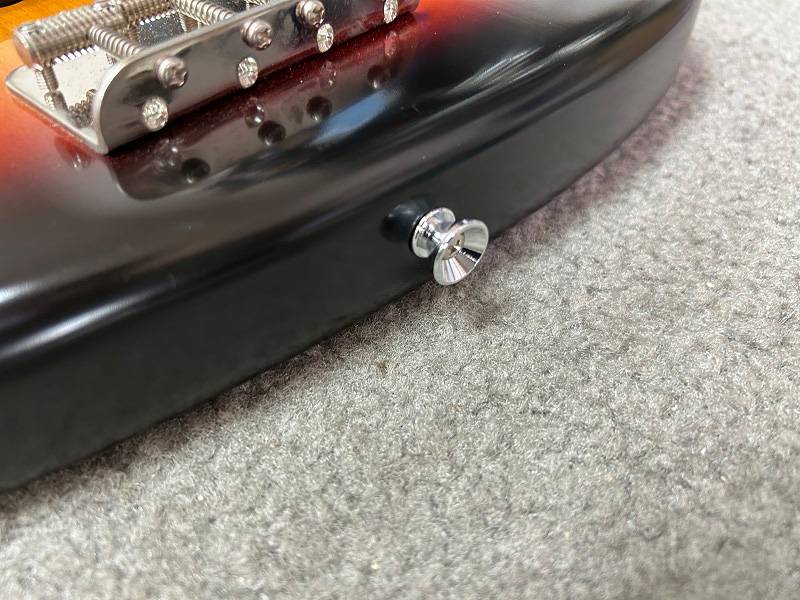
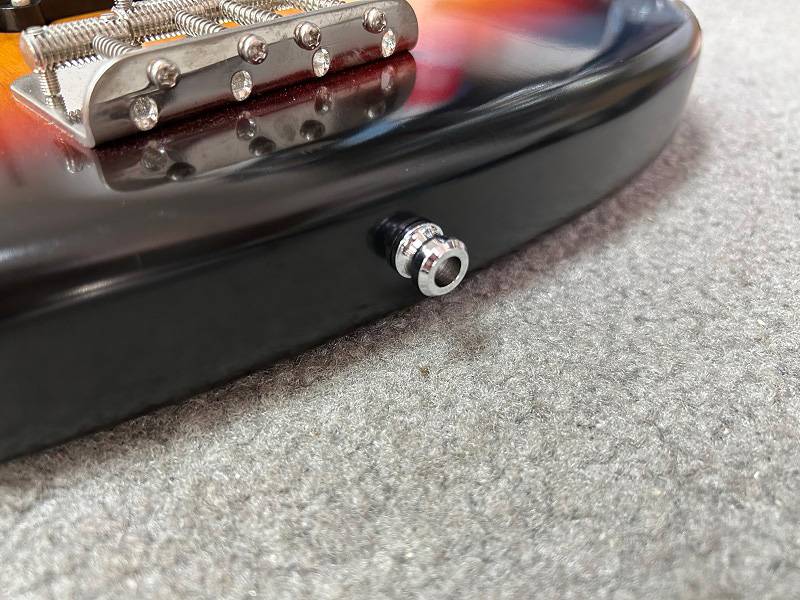
replace the endpin, and perform a light adjustment check...
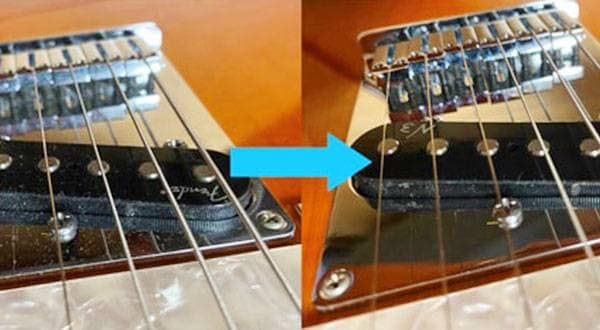
How does it look? I have a feeling that it might be slightly better, but it's hard to tell just by looking at it…
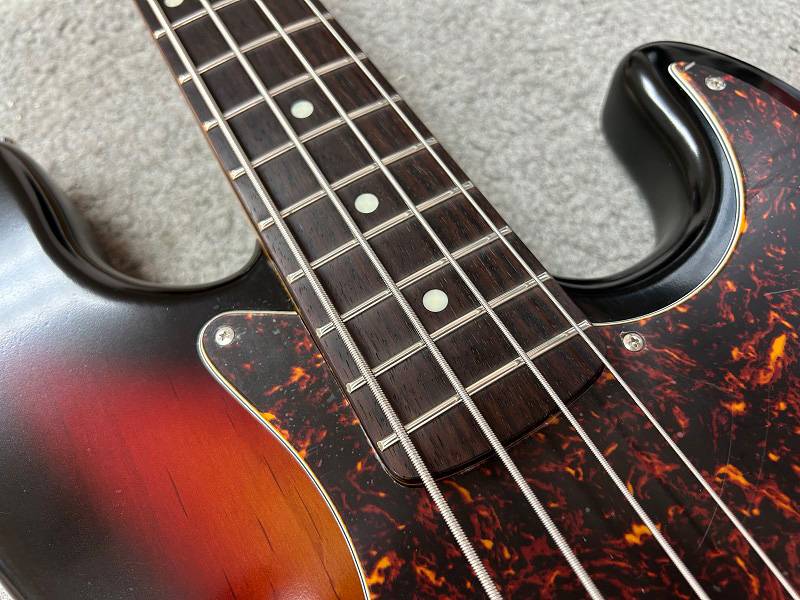
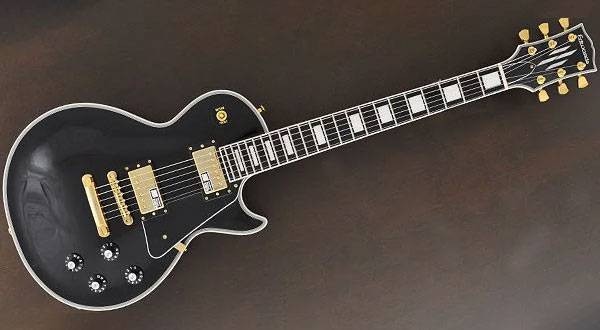
Upon closer inspection, it looks much cleaner! The work is complete!
When it comes to a '60s JB type in a 3-tone sunburst finish, I personally think of characters like Mio Akiyama from K-On! and Ken Sakurai from THE ALFEE. For a '70s model, Geddy Lee of Rush comes to mind. As for Jaco Pastorius, he’s more strongly associated with fretless and pickguard-less basses rather than sunburst finishes. Although many people use the JB type, I believe that very few have a sunburst finish as their defining image. I’d love to hear who comes to mind for you!
Here's the song for goodbye.
■ Brave Love Galaxy Express 999
See you next time!
(2024-09-12 published 2025-02-03 updated)


![MONTREUX / Swiss Tools Offset Driver [8385]](/images/shop/prod_img/m/montreux_8583.jpg)


 DIY ギターメンテナンス
 ベース弦の選び方
 ネックの調整方法
 ベース弦の張り替え方法
 ベースのクリーニング方法
 お手入れに必要な道具