For drummers, practicing at home can be challenging. Is there a way for us to be able to practice at home?...
In my last blog, I was able to string mesh heads on a compact traveler, so now it's time to assemble the hardware.
I tried to set it up in my own style. Please take a look at it for reference.
This blog is a continuation of the previous one, so I would appreciate it if you could read the following blog before reading this one.
⇒ Using Compact Traveler at Home ① - Can the Mesh Head be Used? ~
Now, I will continue to use the following compact traveler.
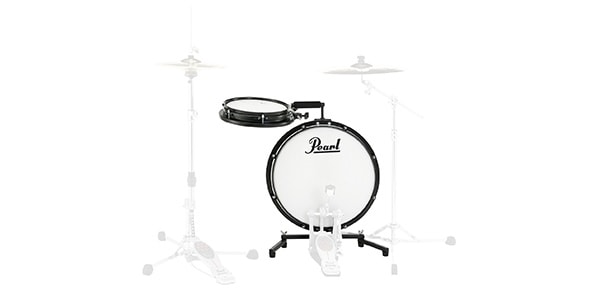
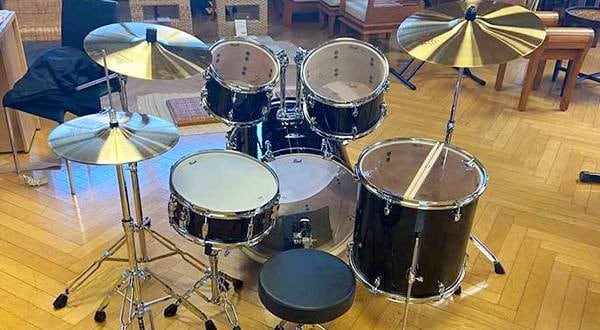
PEARL / PCTK-1810BG Compact Traveler
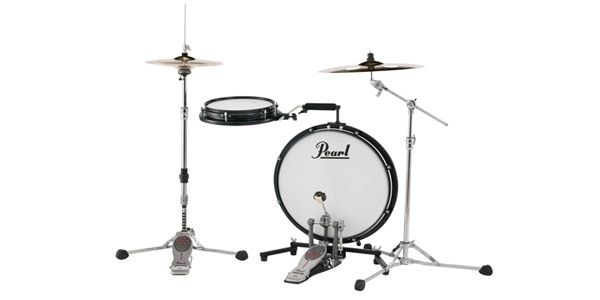
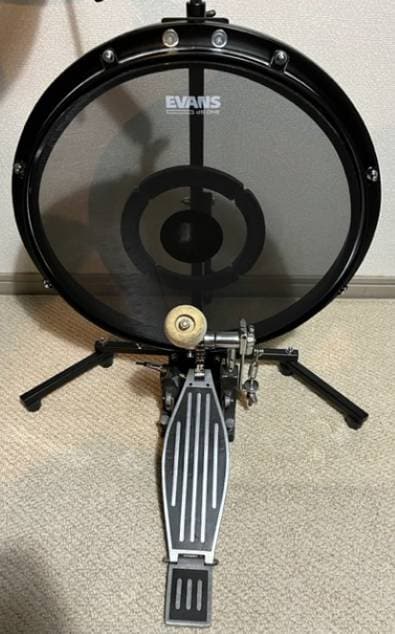
First, attach the pedals to the bass drum. The Compact Traveler has a thin bass drum, so it can be set up close to the wall.
It is no exaggeration to say that this is the biggest advantage of choosing the Compact Traveler!
Next, I will install the toms.
In this case, I will set up the high toms with the rod facing up for mounting the snare drum.

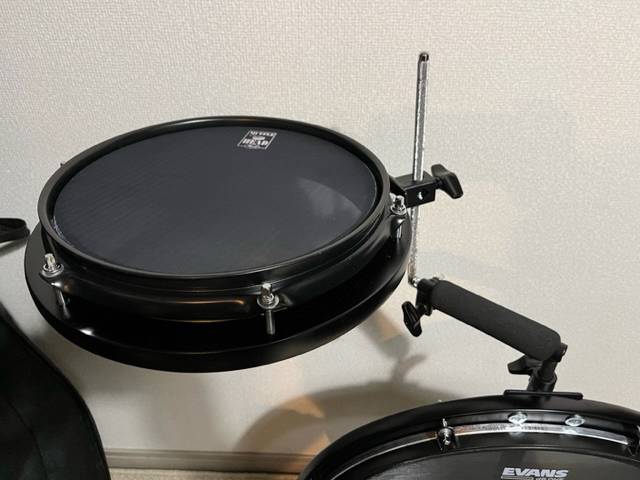
This mounting method is especially recommended for those who want to set the tom's hitting surface flat! I found it very easy to adjust the height.
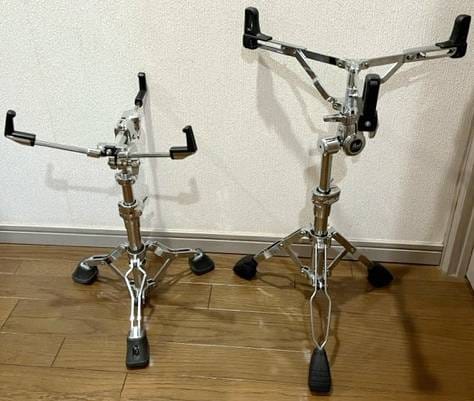
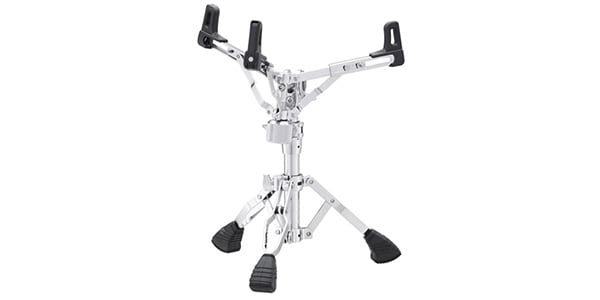
Once the high toms are mounted, the next step is to prepare two snare stands.
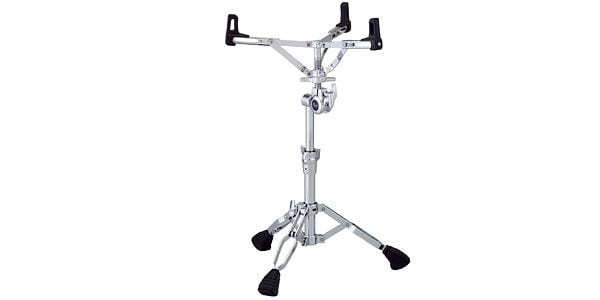
One is a regular snare stand that can hold a 14-inch snare. (Left image)
The other stand is a special stand called S-1030, which can be used to mount up to a 16-inch snare. (Right image)
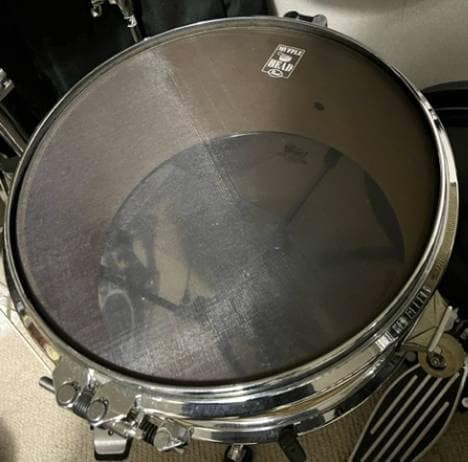
First, attach the snare drum to the regular stand.
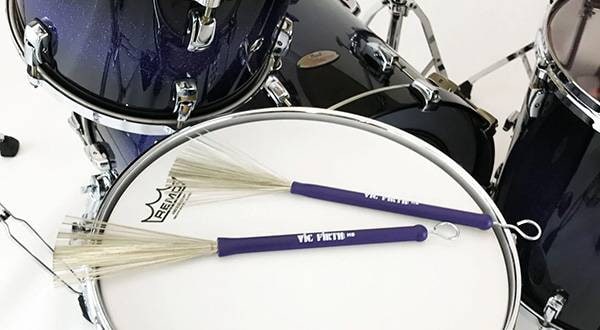
This time, I prepared a 14-inch snare drum with a mesh head so that I can get as close to playing an actual snare as much as possible! Since there is no need to be particular about the sound, any 14-inch snare will do here. I was particular about the size of the snare this time, since I practice a lot.
Now, I prepared another stand that can hold a 16-inch snare.
I will set up a floor tom here!
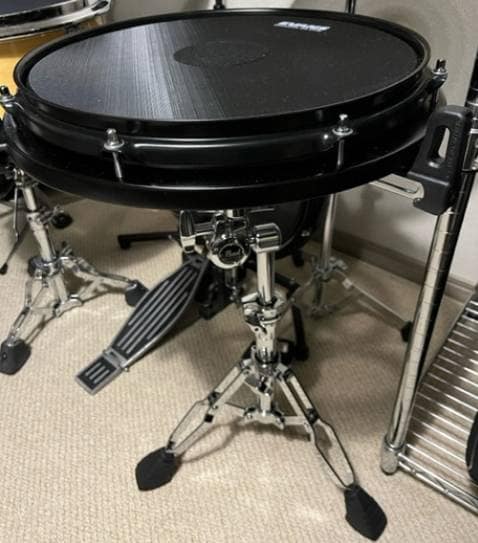
Why don't you attach it with the included clamps? You may be thinking, "Why not?" But this time, I attached it to a snare stand for stability.
It doesn’t shake even when I hit it very hard, so I can hit it without any worries.
Next, let's assemble the cymbals.
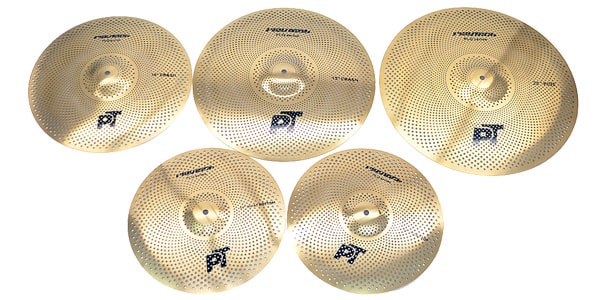
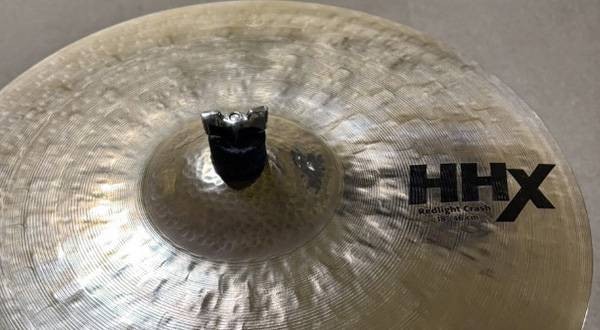
This time I will set up one top cymbal, one ride cymbal, and one set of hi-hat cymbals, but I will do the muffled cymbals first.
I recommend these cymbals because they have more resonance than rubber pads and the hitting feel is more realistic.
PLAYTECH / PLQ Reduce Volume Cymbal Golden
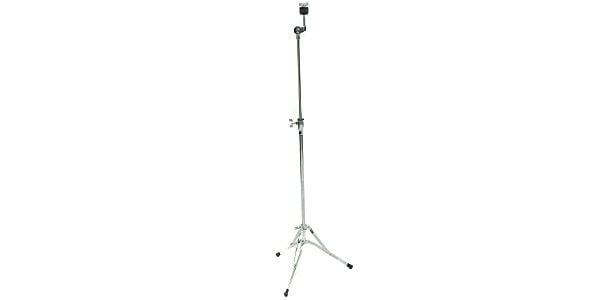
For the top cymbal stand, I selected a flat-based cymbal stand to avoid interference with the hi-hat stand and snare stand. For the ride cymbal stand, I used a regular cymbal stand because I plan to use a stand closer to the flat bass drum foot.
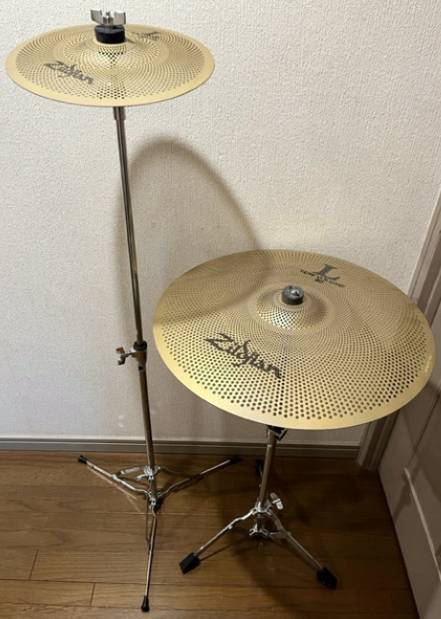
The cymbals will also be placed on a hi-hat stand.
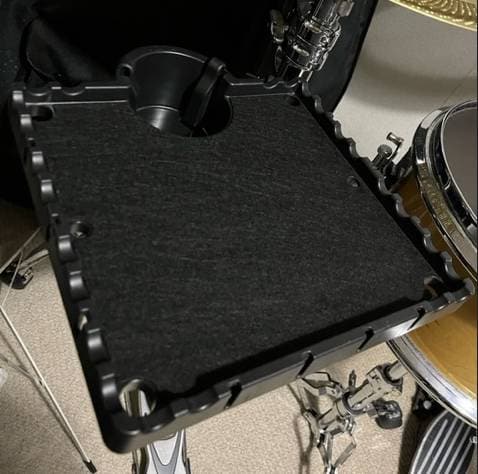
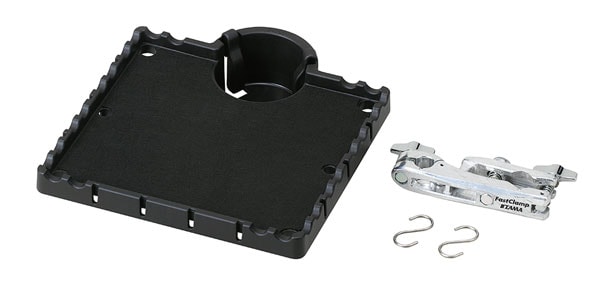
A table is clamped to the sturdy hi-hat stand so that a metronome and stand can be placed on it!
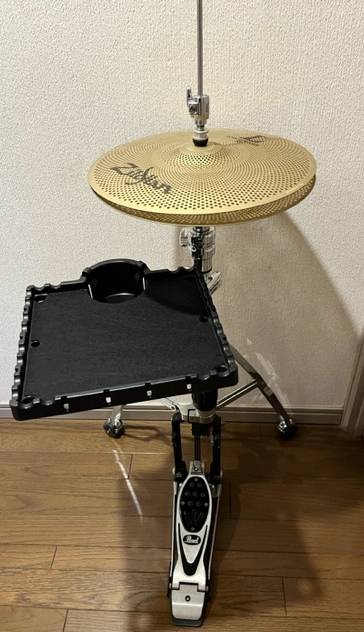
The table is very easy to use, so I will show it to you.
The drink holders and the recesses where the sticks don't roll around are great. If you are interested in this product, please contact us at Sound House!
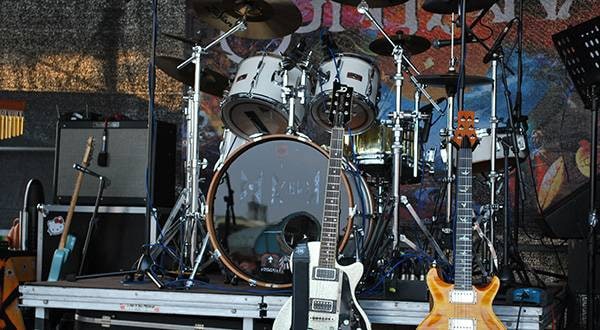
And here is the finished product!
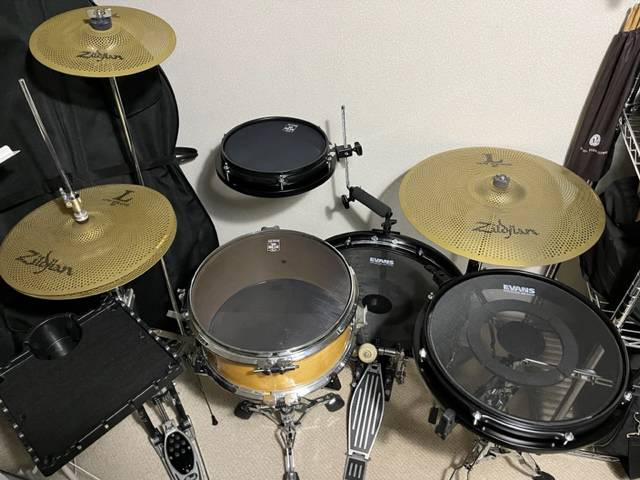
How do you like it? This setting has not been altered from its original form, along with a variety of other innovations!
It was quite generous of me to leave one snare drum pad to complete the set up! LOL!
The way a drummer sets up his drums varies from person to person, but we hope you found at least one thing you liked about it.


![Recommended! Drum Training Pads [2023]](/contents/uploads/thumbs/2/2021/12/20211202_2_15486_1.jpg)
![[2026 Latest Edition] Recommended Drumheads](/contents/uploads/thumbs/2/2021/11/20211126_2_15268_1.jpg)

![[2024] Introducing Snare Head Recommendations](/contents/uploads/thumbs/2/2019/2/20190226_2_5645_1.jpg)
 おすすめ電子ドラムセット
 ドラムのフィニッシュとサウンドの関係性
 ドラムヘッドの種類
 ドラムの各部名称
 基本的なドラムセット
 ドラム初心者講座