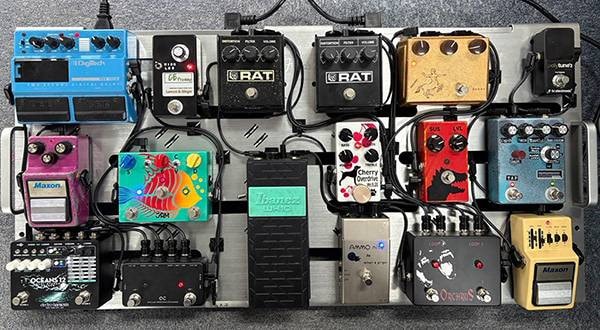
It’s been so cold lately, but I hope everyone is doing well. I have this tendency to suddenly get the urge to build a pedalboard every few months, and just recently, that desire has bubbled up again. While I have reasons like my current board is too big and heavy or I’m wanting something more compact, the main reason is that I just enjoy building the board itself (lol).
So, let’s get started! For the basic setup, I’ve been referencing this blog.
⇒ Reference Blog: "A Huge Pedalboard Built by a Sound House Staff Member"
This blog starts from when I already decided on the layout.
For the base of the board, I’m using plastic cardboard that you can find at a hardware store.
This material makes it easier to reorganize the board the next time you need to, and the horizontal lines also serve as a convenient guide. That’s why I always use this as the base.
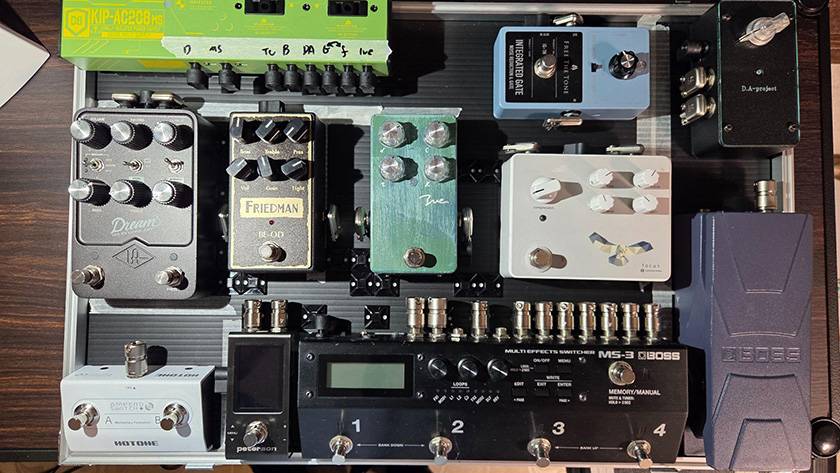
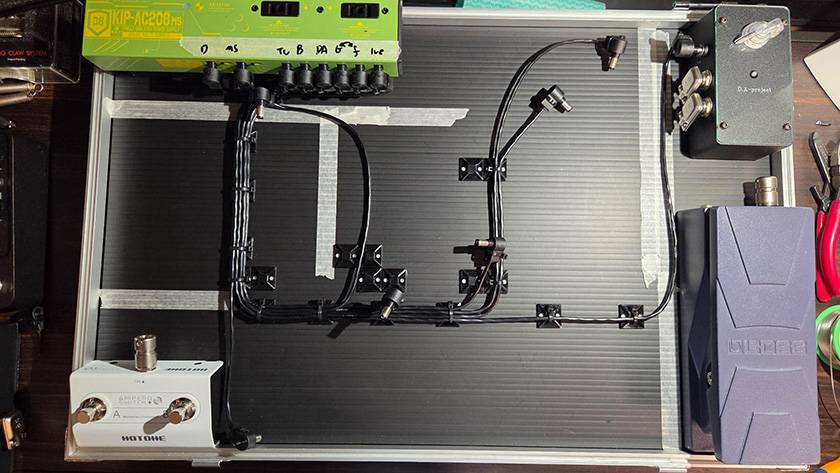
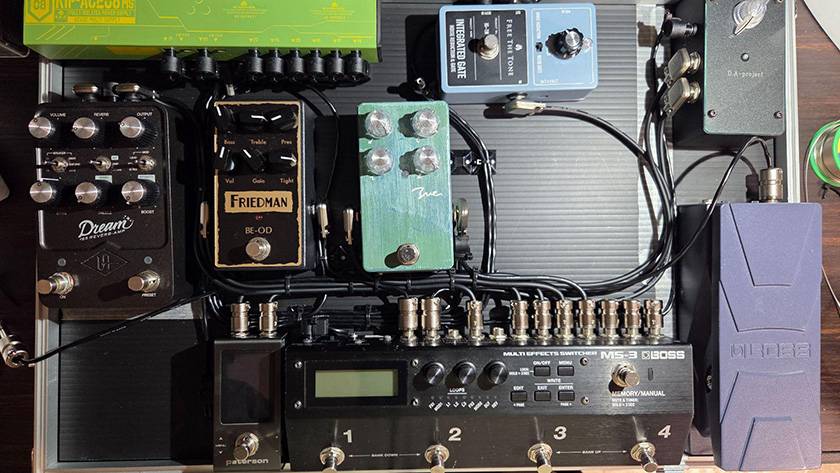
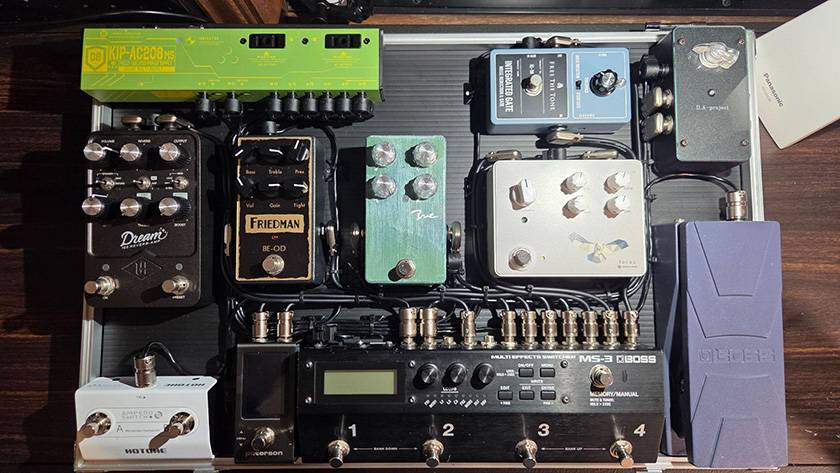
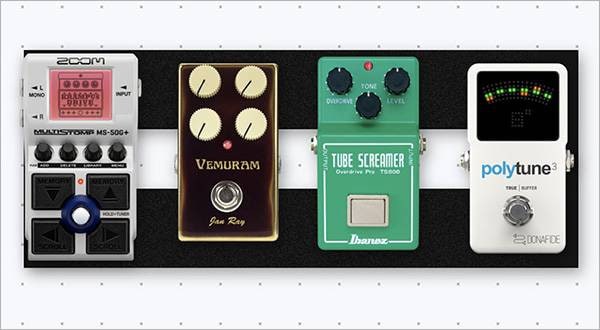
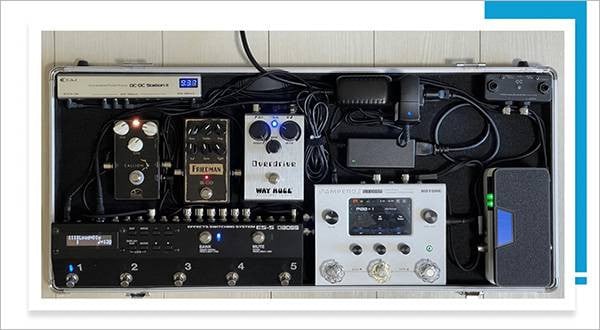
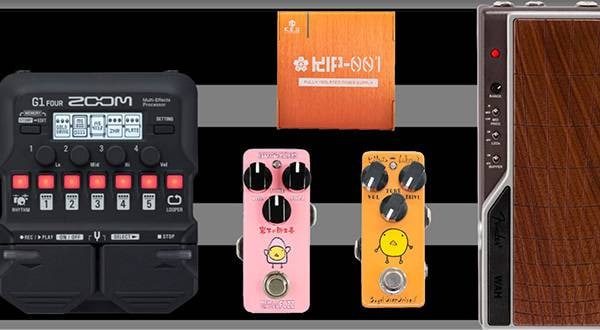
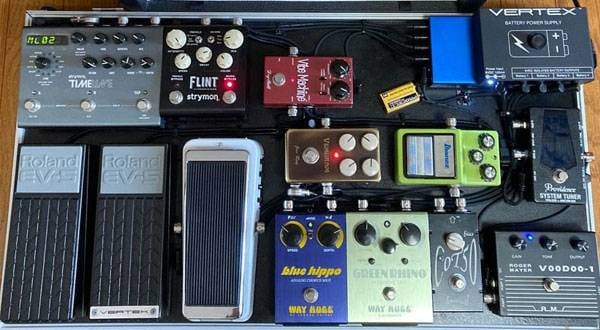
I will assemble the board with this layout. The connection order is as follows:

Input (Junction Box) → ① Tuner → ② Noise Gate → MS-3 →
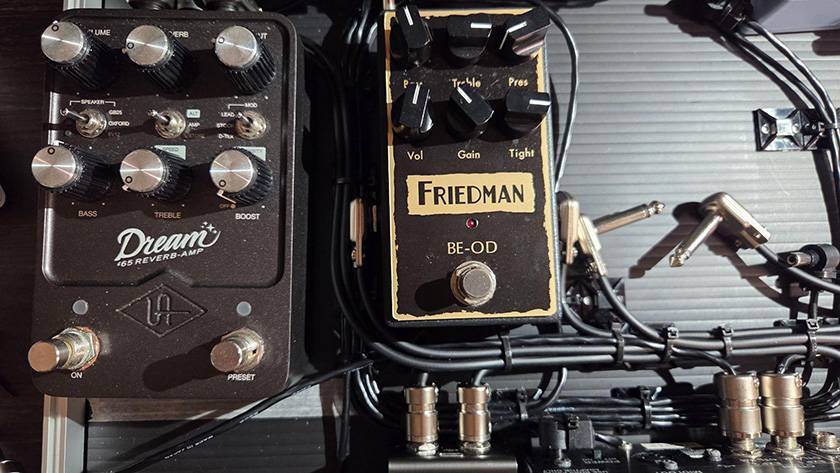
③ Focus (Loop1) → ④ Ive (Loop2) → ⑤ BE-OD (Loop3) → ⑥ Dream65 → Output
The EV-30 and Ampero Switch+ are connected to control the MS-3 using TRS cables. But! Actually, the Ampero Switch+ cannot be used for changing the MS-3’s bank settings. I won’t realize this disaster until later on. Everyone, please make sure to do a proper functionality check before you start building your board...
Creating DC Cables
First, let’s wire the DC cables. I’m using a commercially available DC plug and the following product for the DC cable:
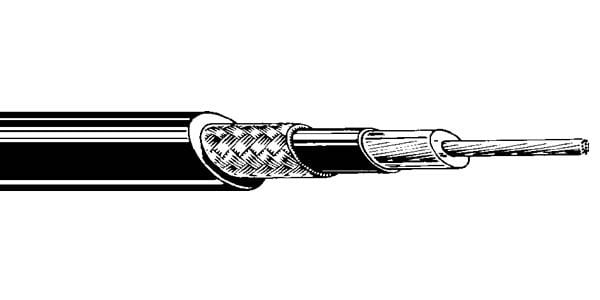
CANARE / L-2B2AT BLACK 1m (sold by the meter)
This cable has 2 cores plus shielding, so I’m using the two core wires and cutting off the shielded part.
I created a total of 8 cables, and this is the result after wiring them.
To keep the wiring as neat as possible, I created one thicker main line, and from there, it branches off. I also thought of two things to ensure the branches look clean:
- When branching, make sure the wires don’t cross vertically, so I placed the longer cables underneath.
- To avoid crossing cables when branching, I decided the positions of the DC jacks accordingly.
For the power supply, I’ve noted down the best jack to use based on these two conditions.
Creating Patch Cables
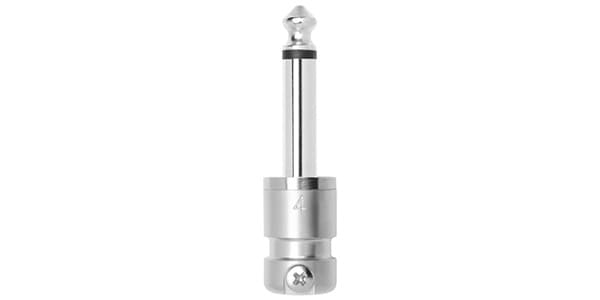
The plugs and cables I used are as follows:
The KMMK Solutions plugs—don’t they look super cool, with that rugged design? Of course, black is great too, but I prefer the plugs to stand out, so I chose silver for this build.

Just like with the DC cables, I wired the patch cables starting with the longest ones.
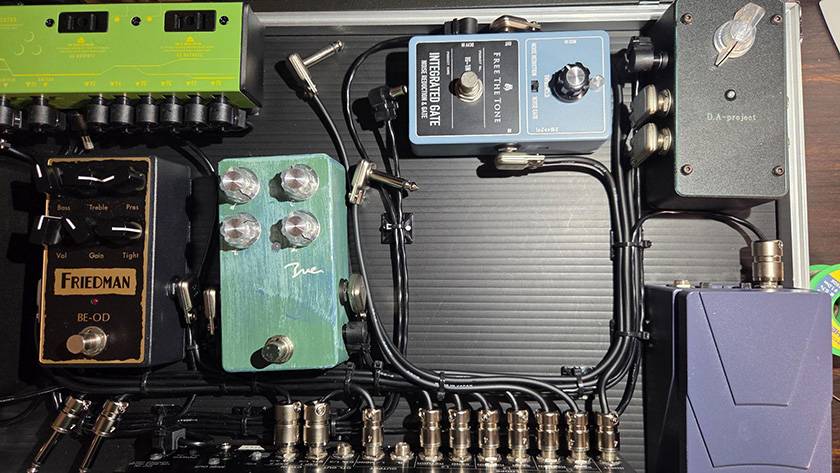
Progress So Far ①
Progress So Far ②

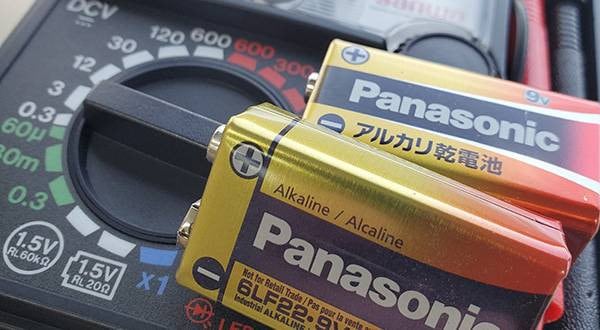
I handle the creation, wiring, and organizing of cables simultaneously in this way. The reason is that as the number of cables increases, the wires tend to overflow and get tangled up. However, keep in mind that you’ll be organizing the cables without checking whether the sound works yet, so there’s a chance you might need to undo the cables if no sound comes out after completion. (Of course, I’ve already tested the cables for continuity with a tester.)
Progress So Far ③
Progress So Far ④
All Cables Completed
Creating TRS Cables
This time, I also created TRS cables to connect the EV-30 and Ampero Switch+, which I’m using for external control of the MS-3. I used the same materials for the patch cables as well as the CANARE L-2B2AT that I used for the DC cables.
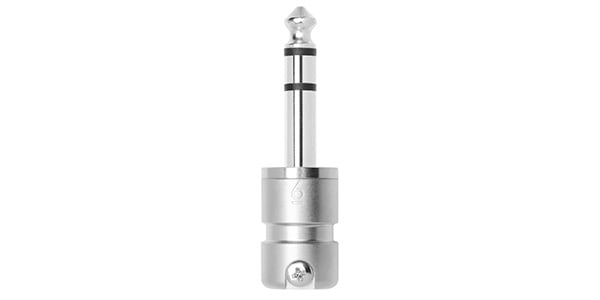
CANARE / L-2B2AT BLACK 1m 切り売り
When I created the DC cables, I cut the shielded wire, but for the TRS cables, I’m using 2 cores + shielding (a total of 3 wires). There aren’t many small TRS plugs available, so the KMMK ones are really convenient. While they’re slightly larger than typical mono phone plugs, they’re not too noticeable, and they blend well with the overall balance, which is great.
Now, here’s where the issue I briefly mentioned at the beginning comes up. Yes, the Ampero Switch+ cannot be used for bank switching on the MS-3. However, the key point is that it can still be used for other functions (like turning specific effects on or off). The issue only arises when trying to use it for bank switching. When I tried it for that purpose, the behavior seen in the video occurred:
I press the switch, the bank keeps scrolling endlessly.
I press the switch, the bank keeps scrolling endlessly. pic.twitter.com/QIjInwxvWz
— Sugi@音家 (@TKT_SoundHouse) February 14, 2026
Upon further research, it seems that this is due to a polarity issue. The MS-3 is designed to be compatible with normally closed switches, while the Ampero Switch+ is a normally open footswitch, which causes this issue. For a better understanding of the difference between normally open and normally closed switches, check out the blog linked below. It’s really easy to understand.
Since there was a polarity switch setting on the MS-3, I tried switching it, but it still didn’t work as expected.
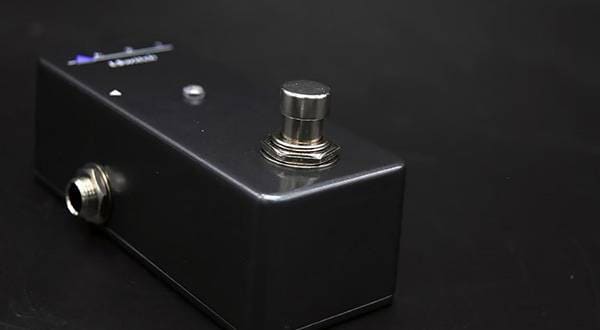
What was I to do? There’s no space for an FS-7, and I really love the look of the Ampero Switch+… So, I decided to modify it a bit and make it work. I bought a normally closed, momentary switch, rewired it, and successfully got it to switch the banks.
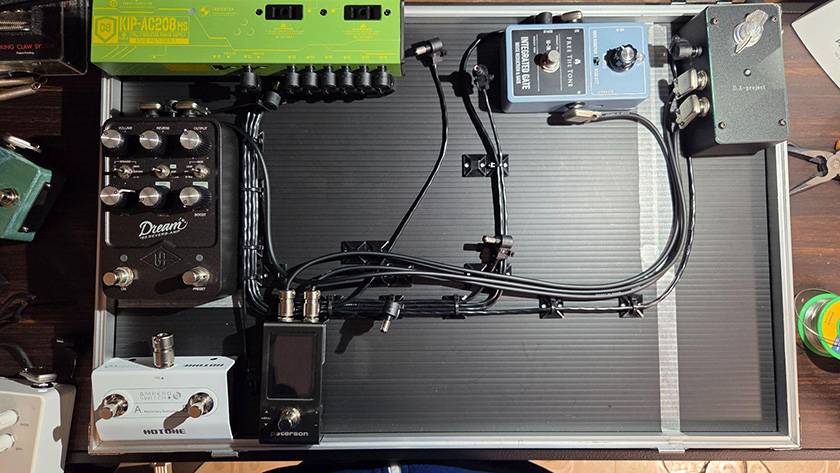
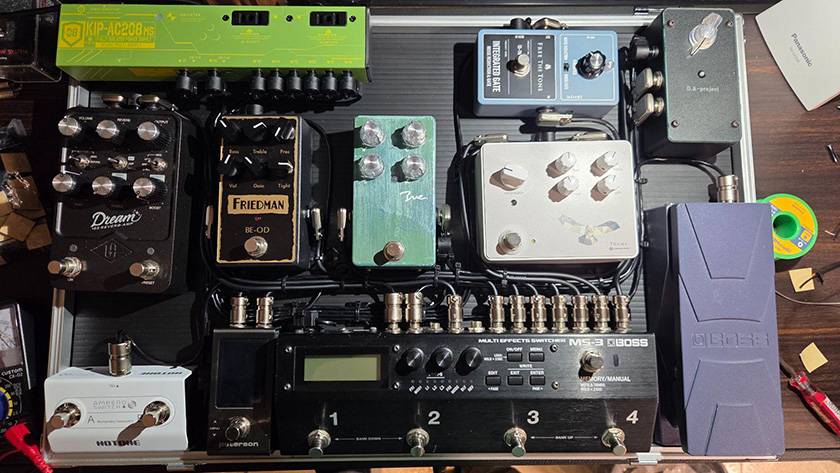
Secured and Completed!
There was a bit of a hassle, but I secured everything with Velcro, and it's done!
Personally, I'm really satisfied with how neatly the wiring turned out.
— Sugi@音家 (@TKT_SoundHouse) February 14, 2026
For this build, my goal was to make the board as compact as possible while still being able to produce my favorite sounds and handle a wide range of tones. Although it’s more compact than the previous one, it’s still a bit heavy to carry around...
But since my desire to build a pedalboard has been fulfilled for now, I’m really happy with the result!


 【初心者向け】エフェクター講座
 ギターケーブルの作り方
 あなたのエフェクターボード見せてください
 エフェクターのつなぎ方
 エフェクターの種類
 虎の巻 ケーブル講座