This blog series has covered, from the first post onward:
- Peg fitting and string hole placement
- How strings are wound onto the instrument
- Nut shape
- Condition of the nut slots
- Fingerboard condition
- Bridge height, shape, and fitting
- Sound post shaping, length, fitting, and positioning
- Tailpiece
- Tailgut length
- Endpin and chinrest fitting
This time, we’ll focus on points 3 and 4: the nut.
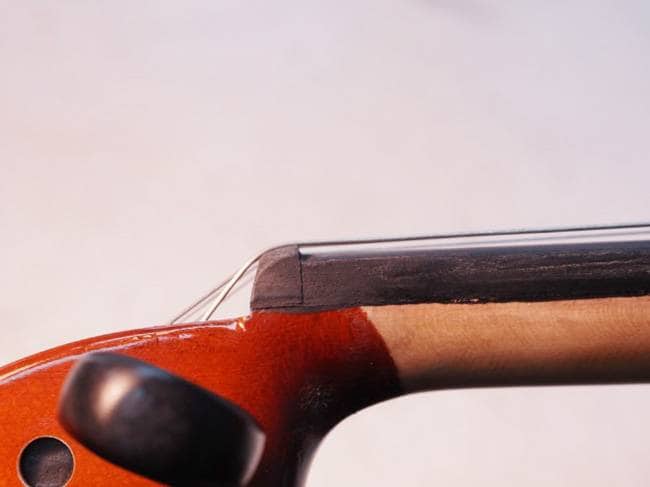
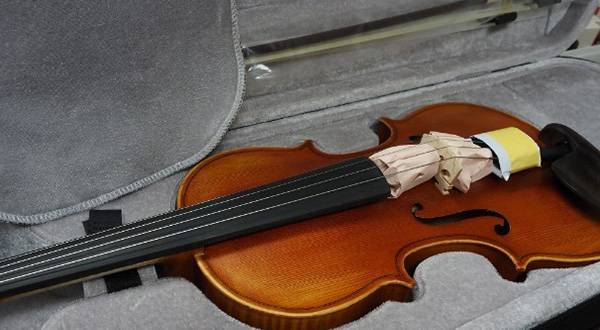
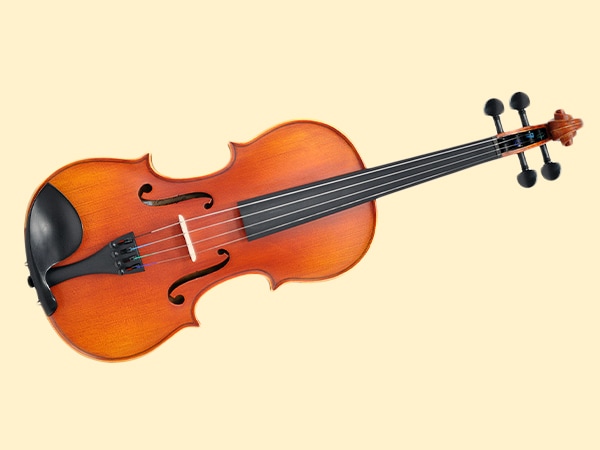
Take a look at the following image:
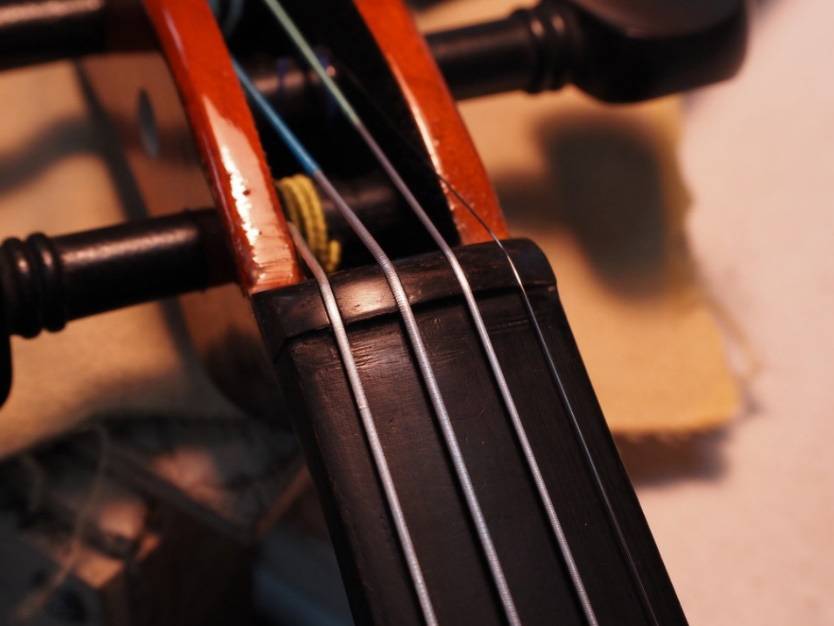
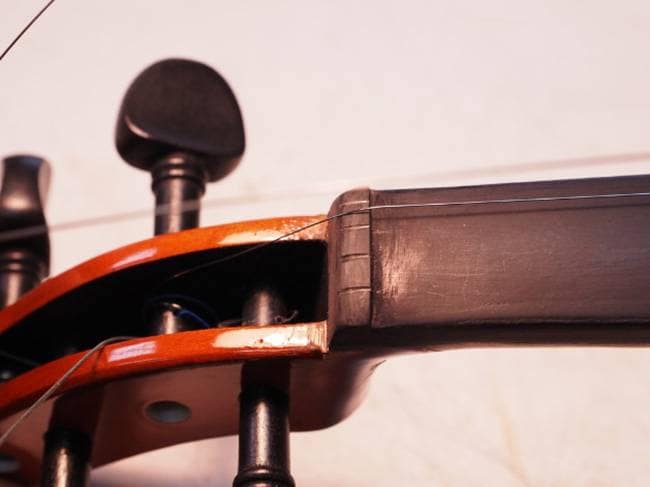
While the lighting and color tone in the next image might give a different impression, it’s a close-up of the same violin around the nut area:
In this post, I’ll walk you through the process of adjusting the nut.
In the previous blog post, “How to Get a Good Sound Out of A Cheap Violin [Part 2]: Strings Are the Key! The Relationship Between How Strings Are Wound on the Pegs and the Upper Nut”, I replaced the strings with a set of PLAYTECH PVS300. We also discussed how the thickness of the new strings differs from the originals. Because of this difference, it’s naturally necessary to adjust the string slots in the nut.
In practice, opinions vary on how string grooves should be shaped.
Some prefer them shallower, others deeper.
- Deeper grooves can suppress unnecessary vibrations, leading to a more focused, tighter tone.
- Shallower grooves allow freer string vibration, which can increase volume and resonance.
It comes down to personal preference and how one perceives their ideal sound.
Let’s set aside the somewhat subjective issue of sound for now and focus on this important point: narrow string slots in the nut can damage the winding of the strings, so it’s better to adjust the slots to an appropriate width.
Technically, as long as the slots are there, you should be able to play. However, if the grooves are too narrow, the strings experience stress. On the other hand, excessively wide grooves aren’t ideal either, but a bit of extra space generally doesn’t cause problems.
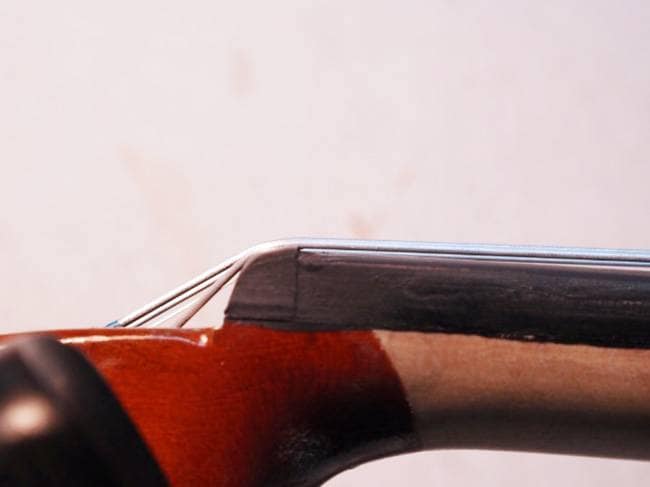
My ideal string slot shape is one where the bottom half of the string is nestled into a slightly deep U-shaped groove, leaving just enough clearance so the string can slide smoothly without binding.
The string slots on the nut of this PVN244 are a bit shallow, so I will modify them to better fit the PVS300 strings I’m using.
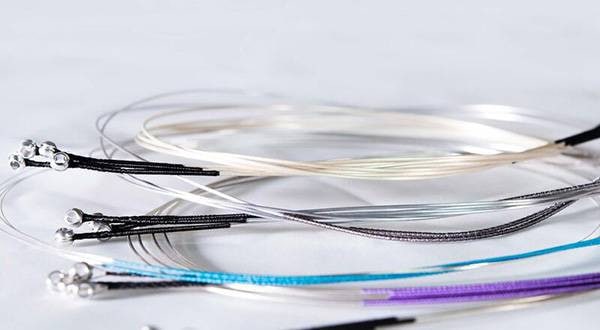
Here’s a comparison showing the PVS300 string on the left alongside the original string. You can see the difference in thickness.


If you string the PVS300 without adjusting the nut, here’s what happens.
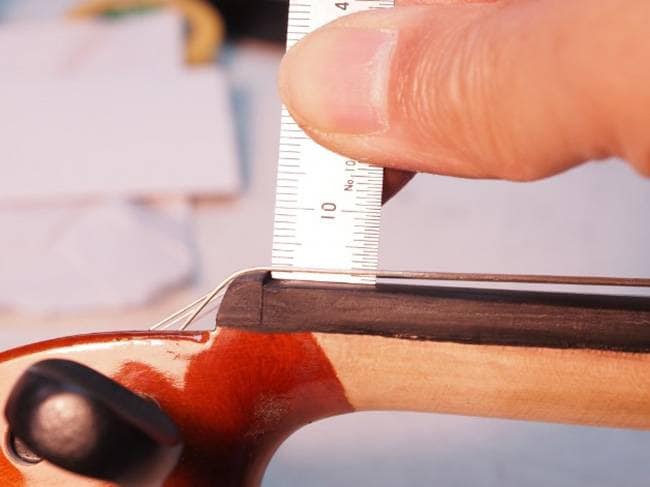
Because the nut is a bit too high in this state, I will file it down to lower the overall height.
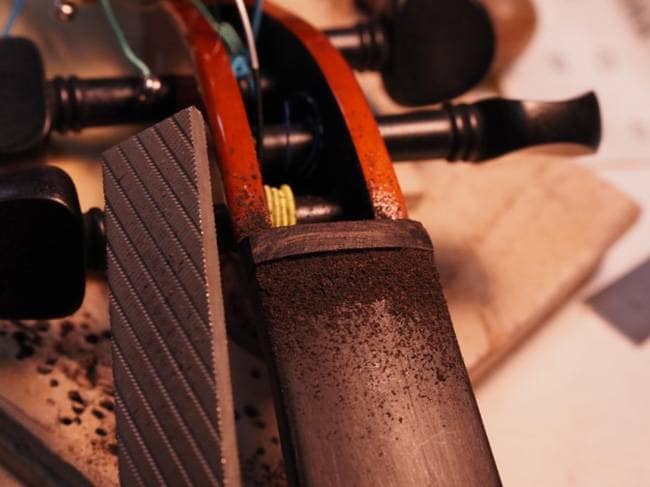
I filed the shape with a rasp,

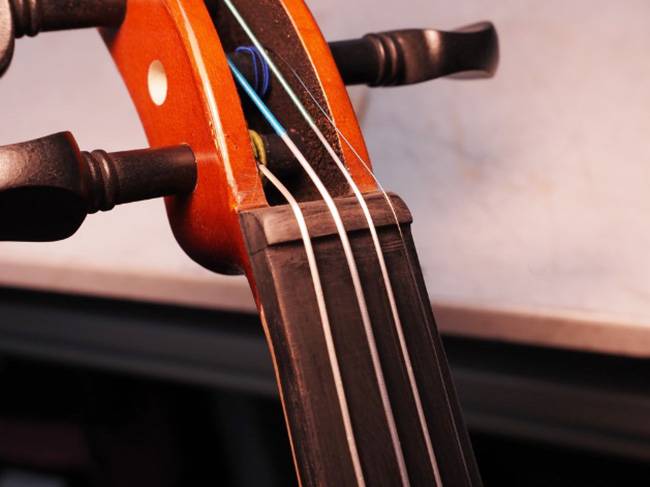
After polishing, I cut the string slots…
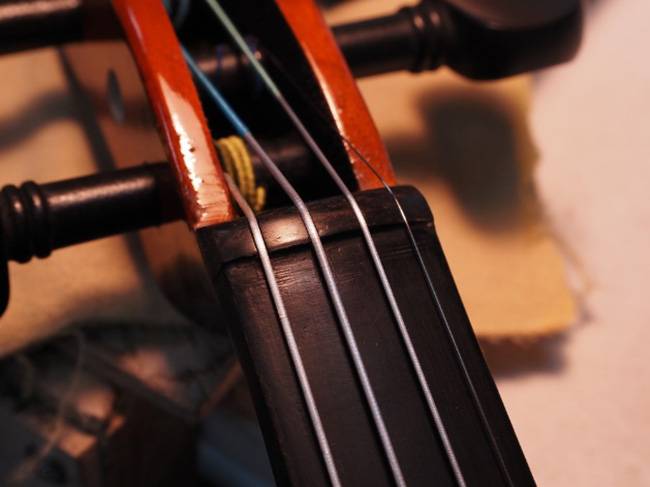
And finally, after stringing up the violin, setup is complete.
Before
After
Before
After
The nut height has now been properly adjusted.
Explaining how to do this in detail sounds like a long and complicated process, but once you see the finished state, it can be summed up simply as:
“The strings are properly wound on the pegs, and the angle at which they pass over the nut is within an appropriate range.”
Many might think, “Is that all there is to it?”
However, whether this is done or not actually makes a surprisingly big difference in the violin’s resonance.
It can be quite difficult for an individual to personally experience this difference by adjusting their own instrument, but based on my experience, this is an undeniable fact.
So even just having this knowledge is valuable.
This blog post ends here.
I know it’s a bit long and maybe repetitive, so if you’re feeling tired, that’s understandable. But for those with patience, please stick with me for the next posts because I think that they will definitely be helpful!
Actually, I was certainly going to say that, but better not make such promises just yet.
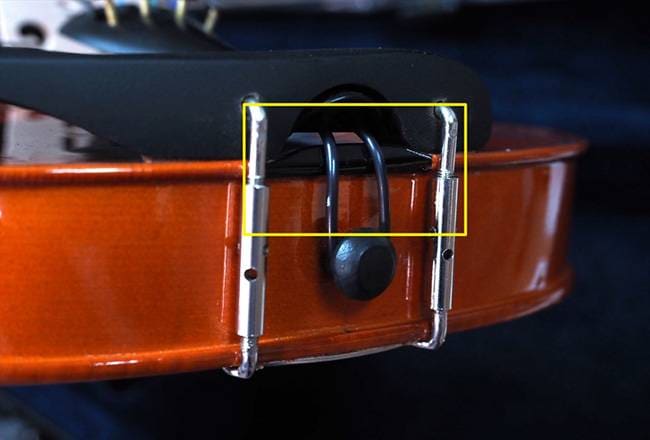
Oh…but what about the lower nut?
Right, I almost forgot.
The lower nut is here—on the violin body, below the top plate. It’s located under the chinrest and tailpiece, so it’s hard to see, but that’s what we call the “lower nut”.
See you next time!


![[2025 Ed!] Best Bang for Your Yen! 7 Recommended Violin Strings!](/contents/uploads/thumbs/2/2025/5/20250521_2_31488_1.jpg)
![How to Get the Best Sound Out of a Cheap Violin [Part 2] Strings Are the Key! The Relationship Between How Strings Are Wound on the Pegs and the Upper Nut](/contents/uploads/thumbs/2/2025/5/20250508_2_31369_1.jpg)
![How to Get the Best Sound Out of a Cheap Violin [Part 1] What Makes for a Good Sound? Who Decides?](/contents/uploads/thumbs/2/2025/4/20250409_2_31047_1.jpg)
![[Electric Violin] Trying Out the PLAYTECH PSV100BR](/contents/uploads/thumbs/2/2024/10/20241025_2_29090_1.jpg)
![[String Instruments] Introducing Recommended Violin Sets](/contents/uploads/thumbs/2/2024/5/20240516_2_26873_1.jpg)
 バイオリン 入門ガイド
 バイオリン弦 セレクター
 バイオリンスタートガイド
 PLAYTECH 弦楽器
 バイオリンの手入れ
 バイオリンの弦交換