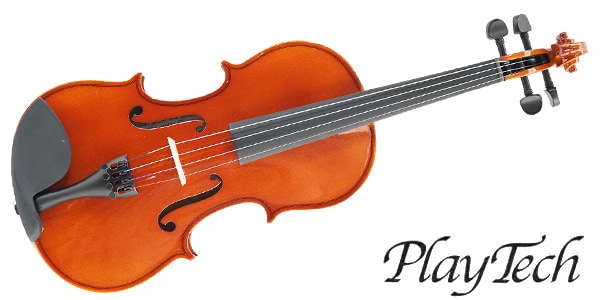
The instrument that’s being featured in this blog is the PLAYTECH PVN244.
A solid wood violin at this price? It has a great sound and has a great reputation.
A solid wood violin at this price? It has a great sound and has a great reputation. In my previous blog post, "How to Produce Good Sound with an Inexpensive Violin [Part 1] What is Good Sound? Who Decides?" I summarized it by saying:
"In a nutshell, what matters is the balance of the instrument.
If all parts are correctly set up and the strings are able to fully release their energy, the result will be a rich resonance without any loss.
It seemed like a fitting way to sum things up.
But this is an obvious point.
And, it's precisely this balance that is difficult to achieve, which is why both you and I are struggling with it.
And today, I’ll get straight to the point.
"Think with your hands."
That's right. When it comes to musical instruments, no matter how much you think about it, the sound won't change at all. The key is to get your hands involved. Let’s dive right in.
In my previous blog, I divided it into 10 categories:
- Peg fitting and the position of the string holes
- How the strings are wound onto the instrument
- The shape of the top nut
- The condition of the string grooves in the top nut
- The condition of the fingerboard
- The height, shape, and fitting of the bridge
- The shaping, length, fitting, and position of the sound post
- The tailpiece
- The length of the tail nylon
- The fitting of the endpin and chin rest
It would be ideal to proceed in this order, but since instrument adjustments involve many interconnected factors, please understand that some variations in the order may occur.
The Big Question: What kind of strings to use?
Strings can be categorized into steel strings, nylon strings, and gut strings. Generally, the most common type used by students is nylon, followed by steel, with gut strings being used less frequently.
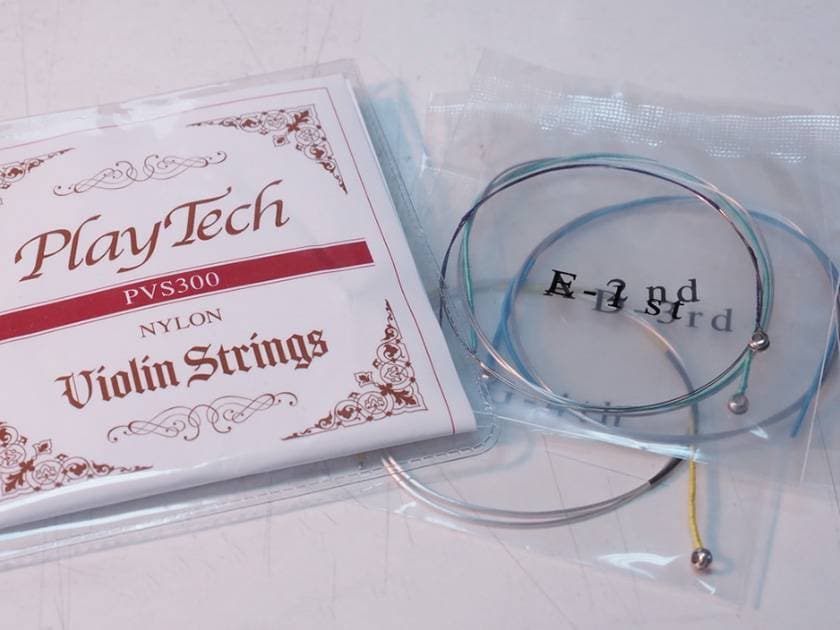
This time, I will be using the PLAYTECH PVS300 (nylon strings).
Why is it necessary to decide which strings to use?
Strings vary in thickness depending on the type and manufacturer. Because of this, you need to consider adjusting the instrument according to the thickness of the strings you are using.
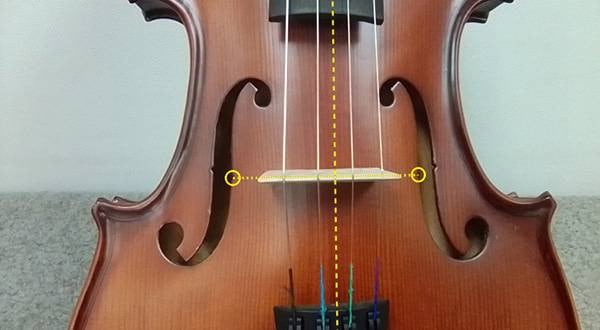
First, let's measure the thickness of the strings.
Here is the actual measured data for the string thickness of the factory-installed strings (steel, nickel-wound) that come with the PVN244, and the PLAYTECH PVS300 (nylon core with aluminum or silver winding).
| Attached strings | diameter(mm) | PVS300 | diameter(mm) | |
|---|---|---|---|---|
| E | steel | 0.25 | steel | 0.25 |
| A | Wire core:steel Winding Nickel |
0.38 | Wire core:Nylon Winding:Aluminum |
0.65 |
| D | Wire core:steel Winding Nickel |
0.50 | Wire core:Nylon Winding:Aluminum |
0.85 |
| G | Wire core:steel Winding Nickel |
0.70 | Wire core:Nylon Winding:Silver |
0.82 |
The E string is the same steel string on both, so it’s identical.
However, when we compare the A, D, and G strings, you can clearly see that their thicknesses are quite different.
Additionally, the structure of the strings differs as well—the core and winding materials are not the same—so their elasticity (flexibility, bending, and susceptibility to breakage) also varies, and naturally, the sound quality differs too. For instance, the D string is thicker than the G string due to the material of the winding, whether it’s light aluminum or heavier silver.
It is often said that switching to nylon strings will give the violin a warmer, more traditional sound. This explanation is partly correct, but it’s not necessarily true that nylon strings are always superior to steel strings. Structurally, steel-core strings can be made thinner and have slightly stronger tension, which results in a clearer, more distinct sound that some people prefer. Steel strings also generally have a higher volume and can create a more vibrant tone.
Thus, since the thickness and characteristics of the strings vary depending on the type, the instrument should ideally be adjusted to suit the specific strings being used. Now, let’s continue the discussion using the PVS300 strings (nylon strings).
How to Wind the Strings onto the Pegs
It sounds simple enough to just remove the steel strings and replace them with nylon strings, but there are a few points to consider.
Does the string fit into the peg hole? (Is the hole not too narrow?)
If the original hole is too narrow for the string to fit, you’ll need to widen the hole. Use a 1.5mm drill to make the hole larger. If you're not confident in doing this, it's best to have someone with experience do it, or you can contact Sound House’s support for assistance.
Does the string fit into the slit of the tailpiece anchor?
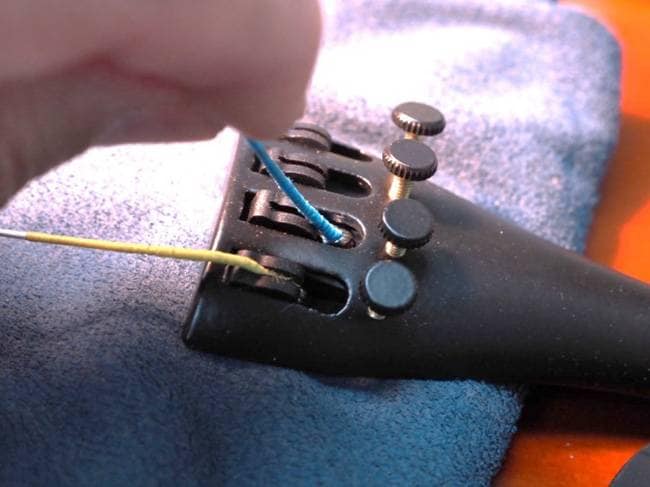
If it doesn’t fit easily, you can gently pinch the decorative thread near the ball end with pliers to help it fit. Never use a screwdriver to widen the slit (it may crack the tailpiece).
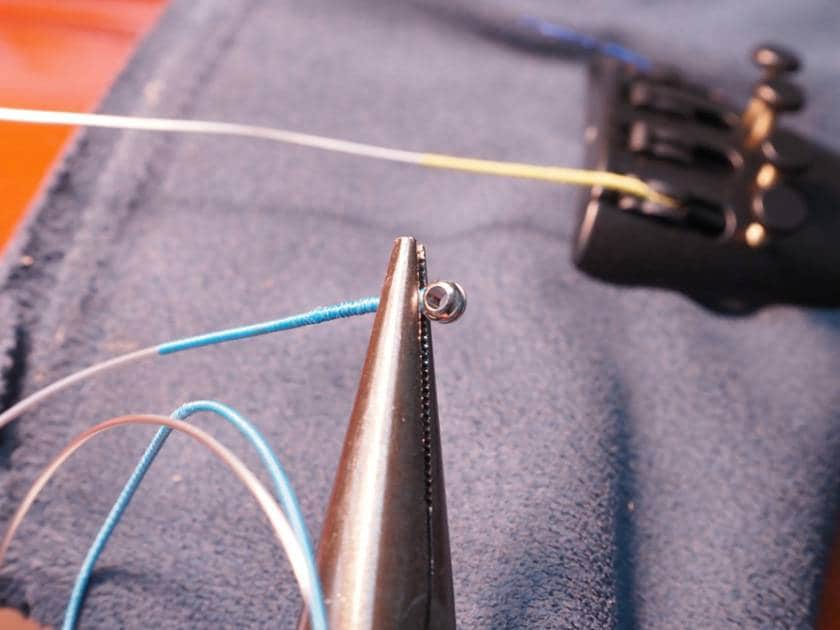
Also, when inserting the ball end, you can use a chopstick as a helpful tool to assist with the process.
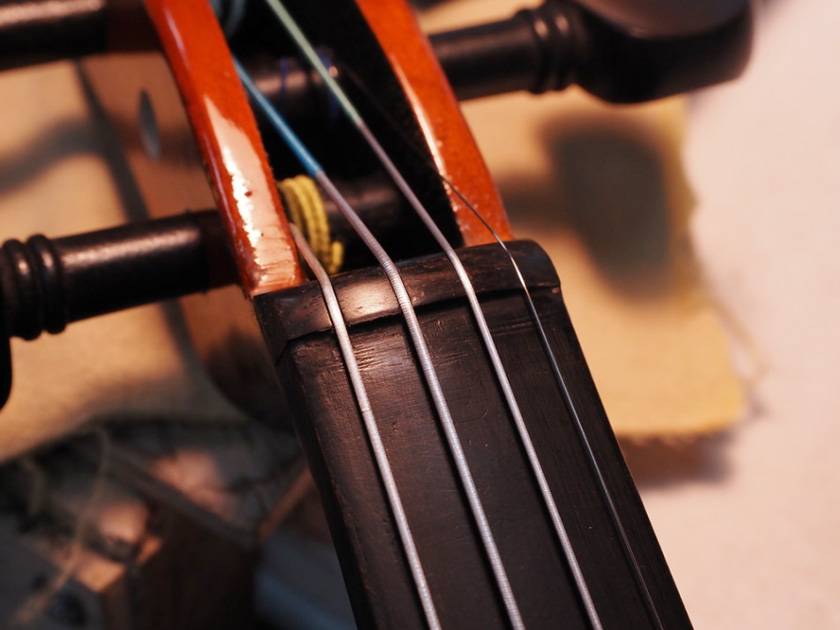
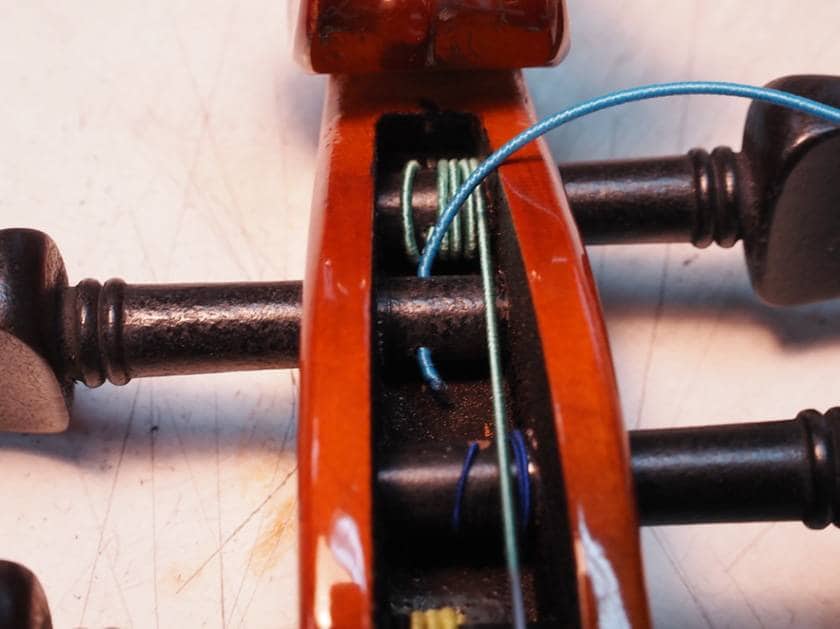
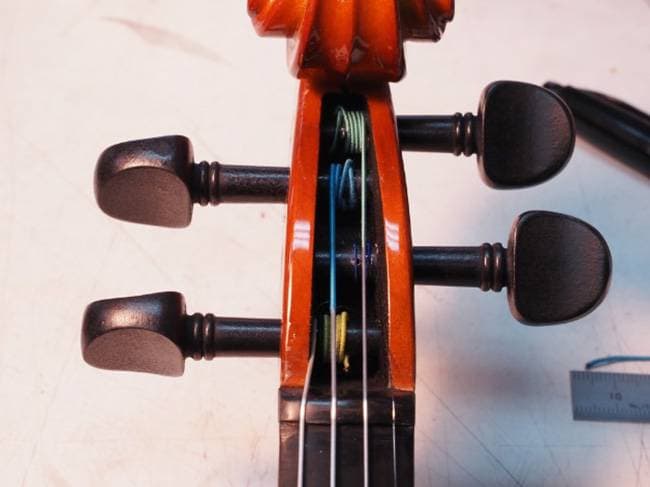
How the String is Wound on the Peg and the Angle from the Nut
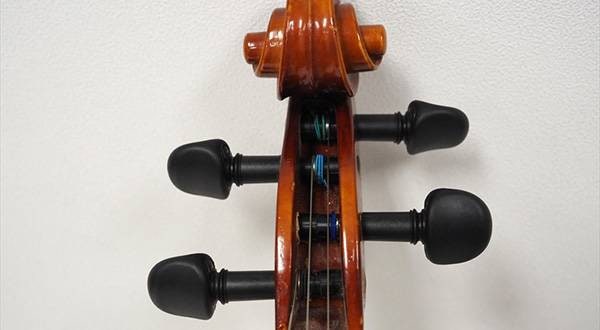
This is an image after the PVS300 strings were installed. At first glance, there doesn’t seem to be any noticeable issues, but take a closer look.
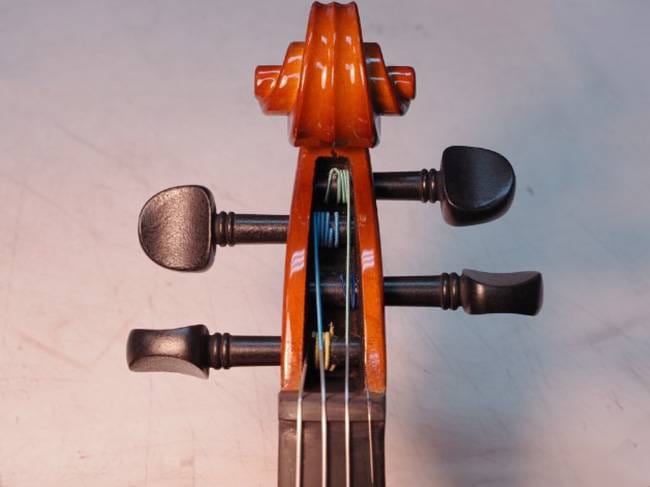
Is the angle from the nut to the peg within the ideal range?
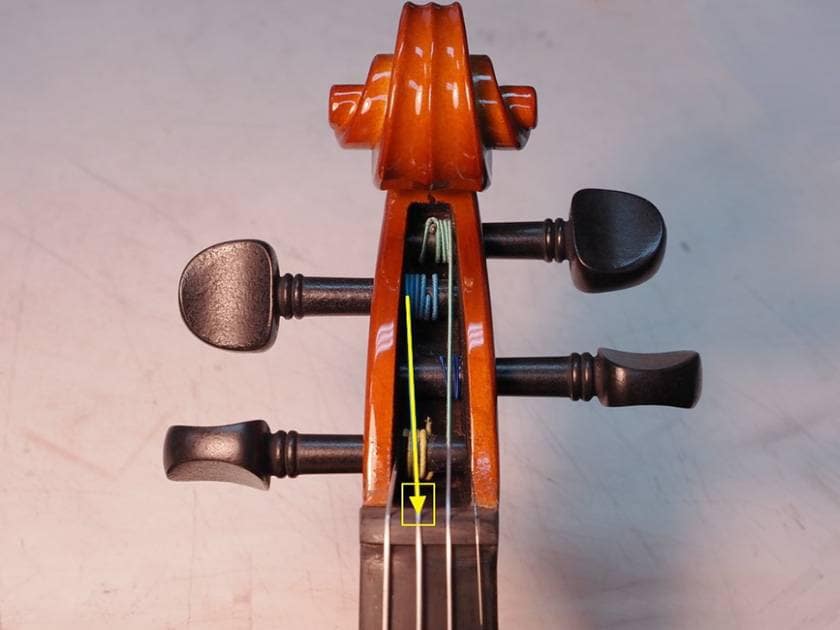
As indicated by the arrow, the D string is slightly angled toward the nut, which is something we want to correct. If you look at the instrument from the front and notice that the string is sharply bent at the nut, this will cause the string to wear out more quickly. To fix this, you may need to adjust the string length, reposition the peg hole, or sometimes both.
How to Adjust the Angle
First, remove the string from the peg and measure the distance from the string's tip to the position of the peg hole.
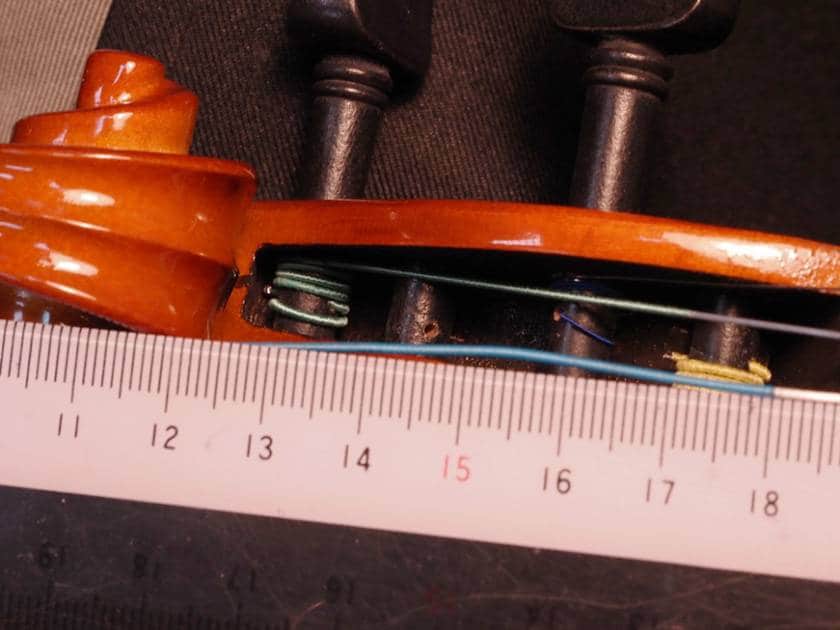
In this case, it was 145mm.
Looking at the previous image of how the string is wound on the peg, we can see that it has been wrapped around the peg about 5.5 times.
To adjust the angle, cut the string slightly to shorten its length, reducing the number of turns, and decreasing the angle toward the nut.
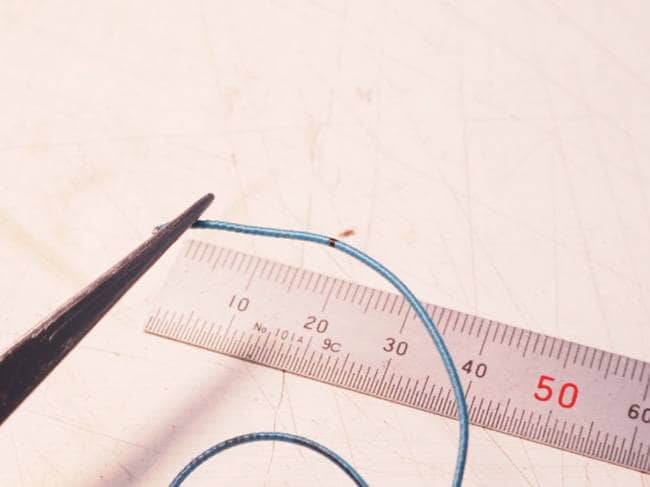
The peg’s diameter was 7.25mm, so one complete turn of the peg is approximately 22mm. In the image, I marked with a marker where to cut the string. In the end, one full turn wasn't enough, so I cut two full turns.

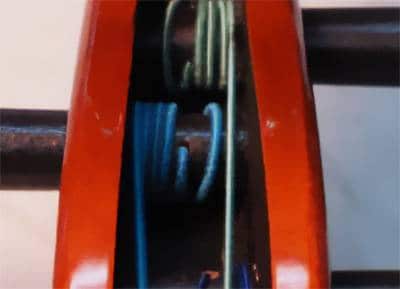
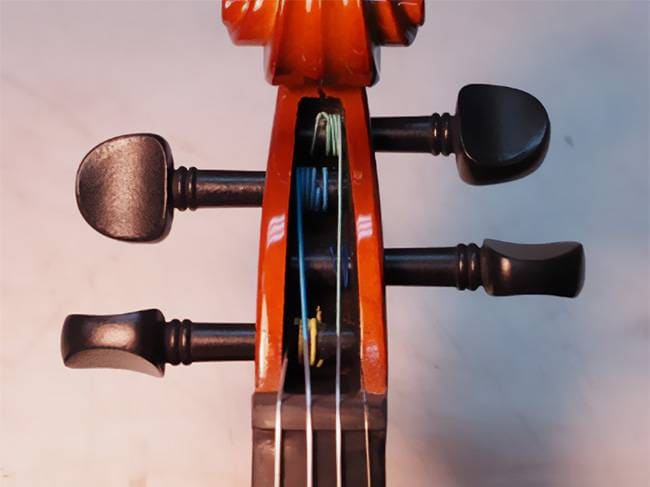
Once the cutting is done, wind the string back onto the peg.
[After Adjustment]
[Before Adjustment]
This is the image after the adjustment (on the left). Please compare it to the image before the adjustment (on the right).
Adjusting the string length and correcting the angle at the nut might seem insignificant, and it's not often discussed. However, I believe you'll definitely notice a difference in the sound before and after making the adjustment.
It’s similar to the placebo effect—some might say, “Of course, once I make the adjustment myself, the result is going to sound better!” Yes, that's true. If there were a comment section for this blog, I’m sure such comments would appear.
However, even with that in mind, I believe it’s far more rewarding to think for yourself, judge for yourself, and then make the adjustments yourself, or arrange for them, so that you truly feel that the sound has improved. How do you feel about that?
Today, you’ve taken the first step toward achieving the best sound from the most affordable instrument in the world (well, maybe not the absolute best, but close enough!). Please continue to follow this blog, where I will never ask for extra fees along the way.
Preview
Once the check around the peg is complete, the next step is the nut adjustment. However, for the sake of the blog's flow, I am using images of the nut adjustment that I already finished this time.
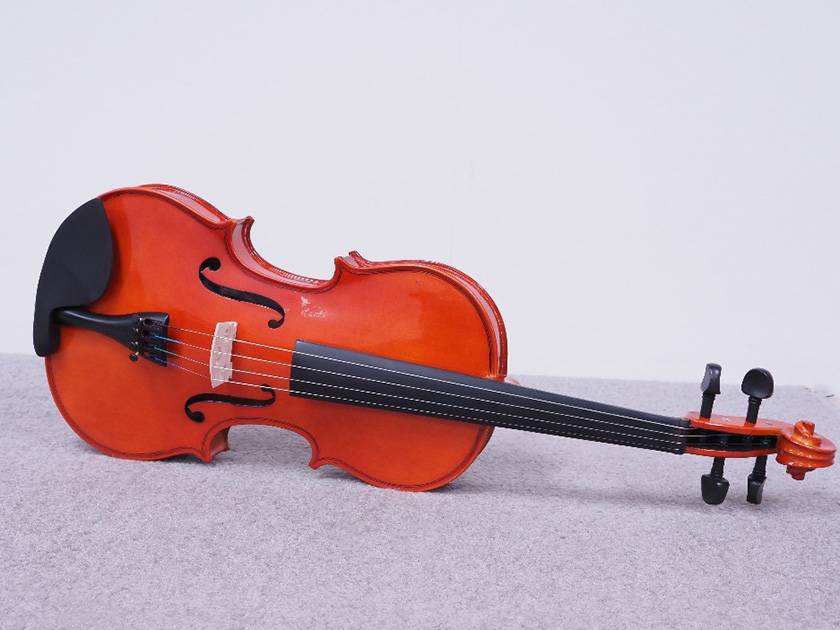
Here is an image of the nut before the adjustment.
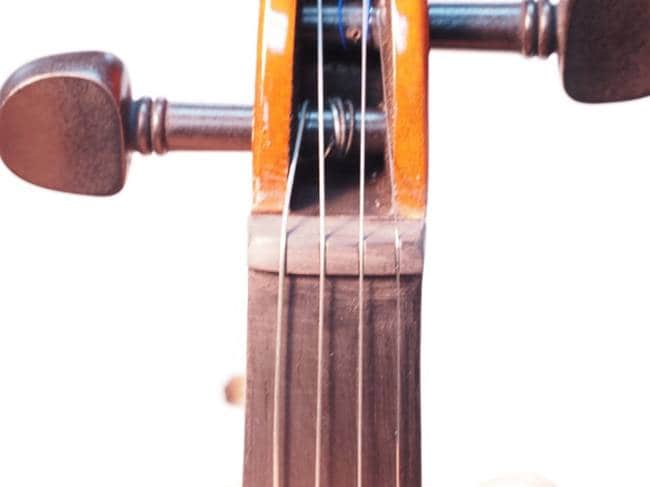
Due to the lighting conditions during the shoot, the violin might look different, but it’s the same instrument used in the previous images.
In the next blog, I will explain the process of how to adjust the nut. Stay tuned!


![How to Get the Best Sound Out of a Cheap Violin [Part 1] What Makes for a Good Sound? Who Decides?](/contents/uploads/thumbs/2/2025/4/20250409_2_31047_1.jpg)
![[Standard Maker] Pirastro 7 Recommended Strings for Stringed Instruments!](/contents/uploads/thumbs/2/2025/1/20250130_2_30349_1.jpg)
![[String Instruments] Top 10 Recommended Violin String Sets](/contents/uploads/thumbs/2/2024/6/20240617_2_27226_1.jpg)

 バイオリンスタートガイド
 PLAYTECH 弦楽器
 バイオリンの手入れ
 バイオリンの弦交換
 バイオリンの調弦 チューニング
 弦楽器 初心者講座