Hello!
Last month, a junior colleague recommended that I watch all 26 episodes of Adventures of Gamba. After binge-watching it, I had a discussion with him, and he pointed out several things I missed, likely because I watched it all at once.
So, I’ve been rewatching it this month and have been completely immersed in Adventures of Gamba.
Initially, I thought Ikasama was a really cool character, but on my second viewing, I’ve grown fond of Gakusha’s confident blunders.
Now, this is the fifth blog post about pickups. If you’ve been following from the beginning, you should be quite knowledgeable about pickups by now. You might even be thinking, “It’s time to try replacing them myself.”
So, today’s post covers what to check before installing a newly purchased pickup.
I’ve always wanted to write about this.
The reason is that installing a pickup involves cutting wires, soldering, and sometimes expanding mounting holes, so if you find any defect after all of this, replacing pickup is often considered ‘modification’ and not eligible for returns or exchanges of the guitar.
Therefore, it’s crucial to check everything before installation.
When unmodified, most sellers will accommodate returns or exchanges.
Even though there are many articles about pickups in books and on the internet, they rarely mention this, so I’ve been eager to share this with you.
If a product is found to be defective after installation, most sellers won’t provide support due to the modifications, leaving a bad taste in your mouth.
To avoid such experiences, today’s content is extremely important.
○ Visual Inspection
The first thing to do after purchasing a pickup is to visually inspect it!
Do it thoroughly, as if you were trying to see through it.
This applies to any product, really.
Here are specific things to check:
- ① Overall Appearance
- ② Included Accessories
- ③ Pole Piece Spacing
- ④ Checking for Broken Enamel Wire or Wirings
- ⑤ Soldering Condition
- ⑥ Wire Length
① Overall Appearance
Examine the entire pickup.
Of course, check for scratches, but also ensure that the contents match the box description. For example, you might buy a zebra pickup only to find that it’s actually a reverse zebra inside. It's important to verify that the packaging and the actual product match.
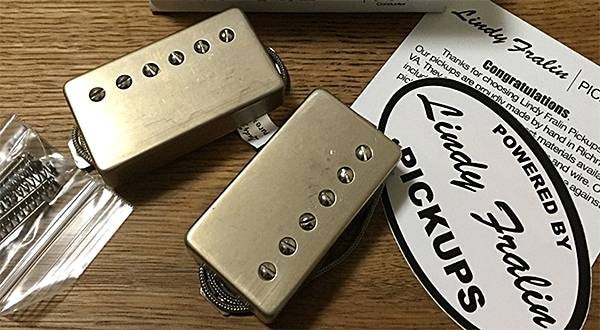
② Included Accessories
Sometimes, the manufacturer’s website doesn’t list the details of the included accessories, so comparing with the website isn’t always foolproof. However, as an example, here’s what you should check for.
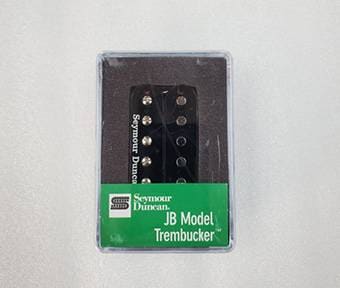
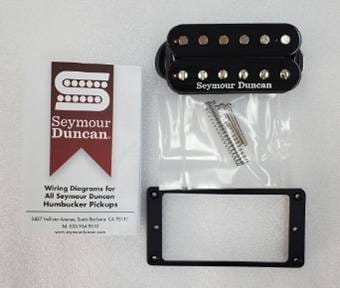
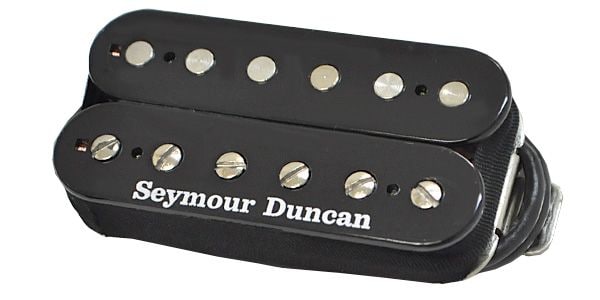
For instance, a Seymour Duncan TB4 should include instructions, 2 mounting screws, 2 springs, and an escutcheon.
Generally, if these items are in the box, there shouldn’t be any issues. However, note that only the TB and some specific models from the same manufacturer include an escutcheon.
Additionally, depending on the manufacturer, single-coil pickups may come with either springs or tubes.
There are cases where accessory contents may change or be reduced during production batch transitions, so I can’t guarantee that this step is completely safe as I mentioned earlier.
However, if there’s only one screw included, or if a neck and bridge set only has two springs, that’s clearly abnormal.
In such cases, contact the retailer or manufacturer immediately.
③ Pole Piece Spacing
For point ③, it is similar to point ①, but sometimes you might purchase a pickup intended for the neck position only to find that it is actually for the bridge position, even though the box correctly states it’s for the neck position.
Additionally, there are cases where someone intended to buy an SH4 but accidentally bought a TB4 instead.
If you notice such issues after installation and reach out, it might be too late to fix it. However, if you catch it right after purchase and take action, it can be resolved.
It’s best to check thoroughly to avoid unnecessary expenses and mental stress.
④ Checking for Broken Enamel Wire or Wirings
⑤ Soldering Condition
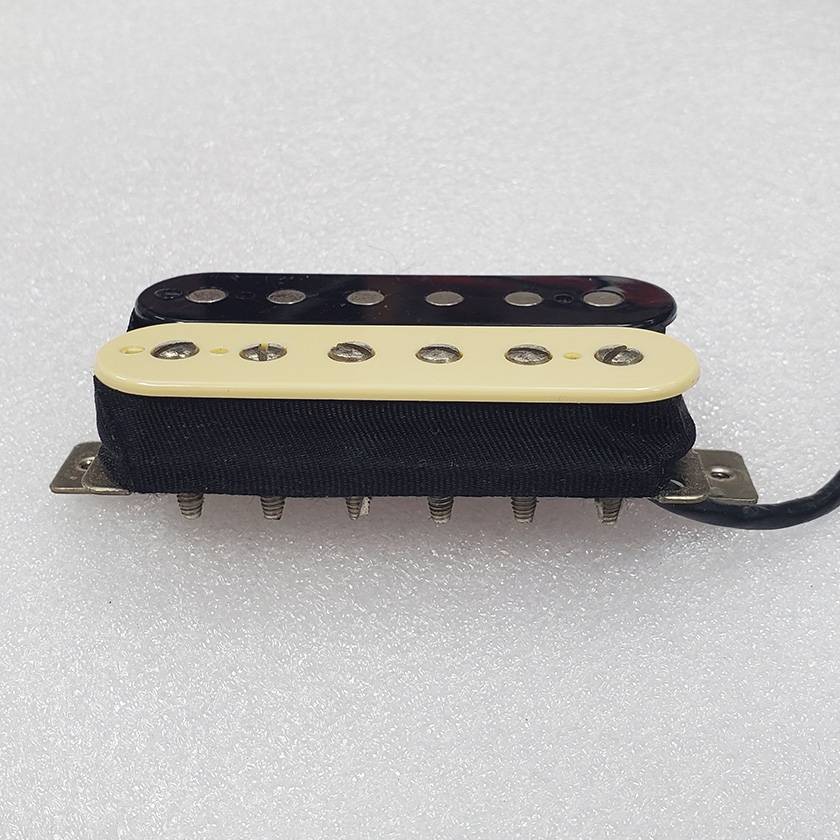
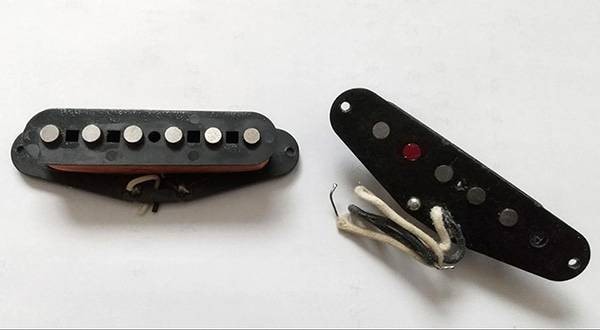
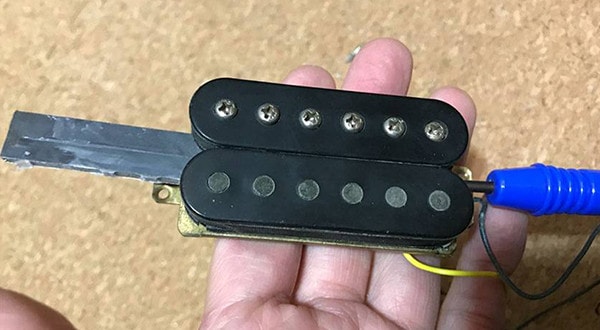
First, take a look at the pictures.
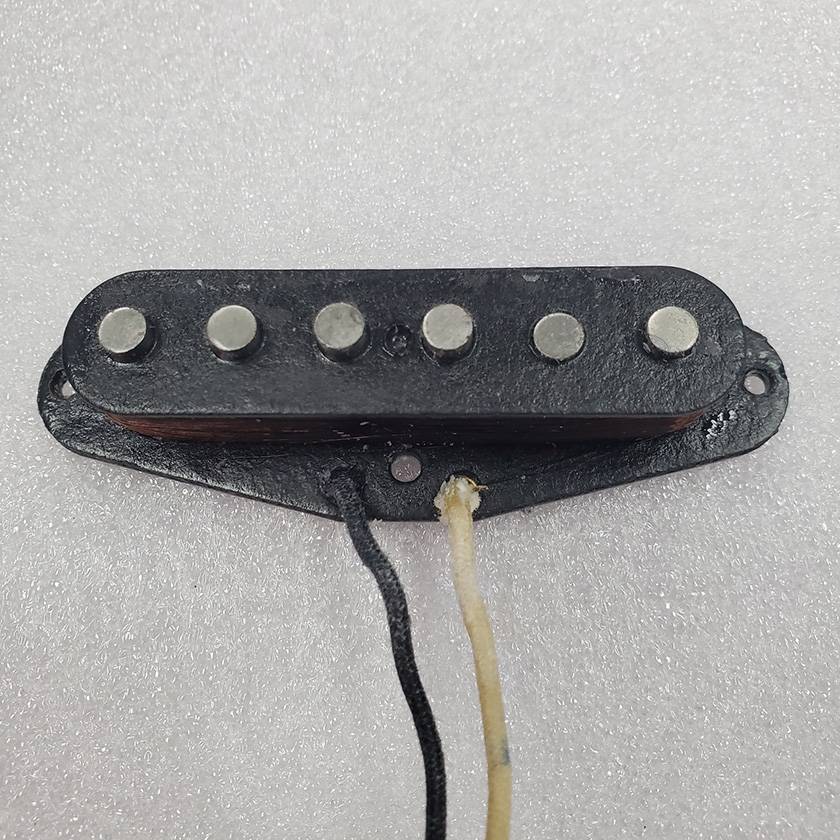
This pickup might look perfectly fine at first glance, but if you examine it closely...
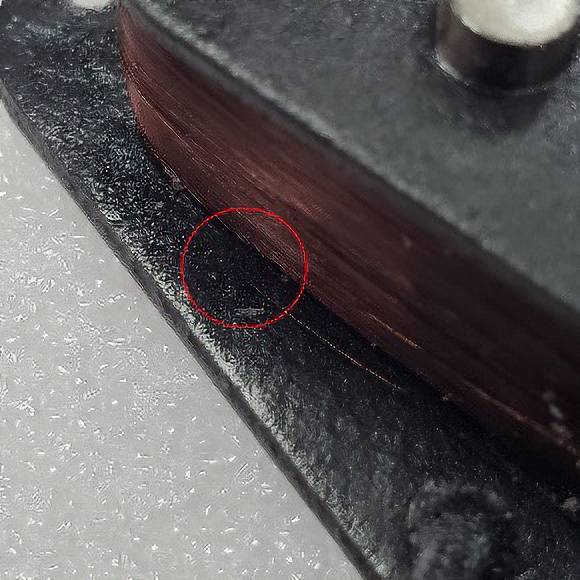
It has a broken wire.
This is clearly a defective product, so you should contact the retailer immediately.
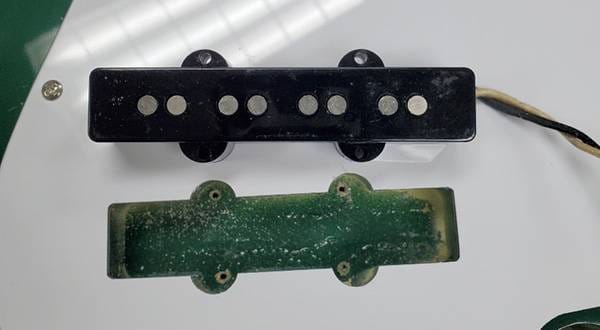
Additionally, you might encounter cases like this:
Sometimes the enamel winding is not done properly.
Even if you install it in this condition, it might produce sound, but often the enamel wire can be loose in other places, leading to unstable output or easily breaking under certain conditions.


Even if the pickup is working, knowing that the enamel wire inside is loose can be detrimental to your mental well-being.
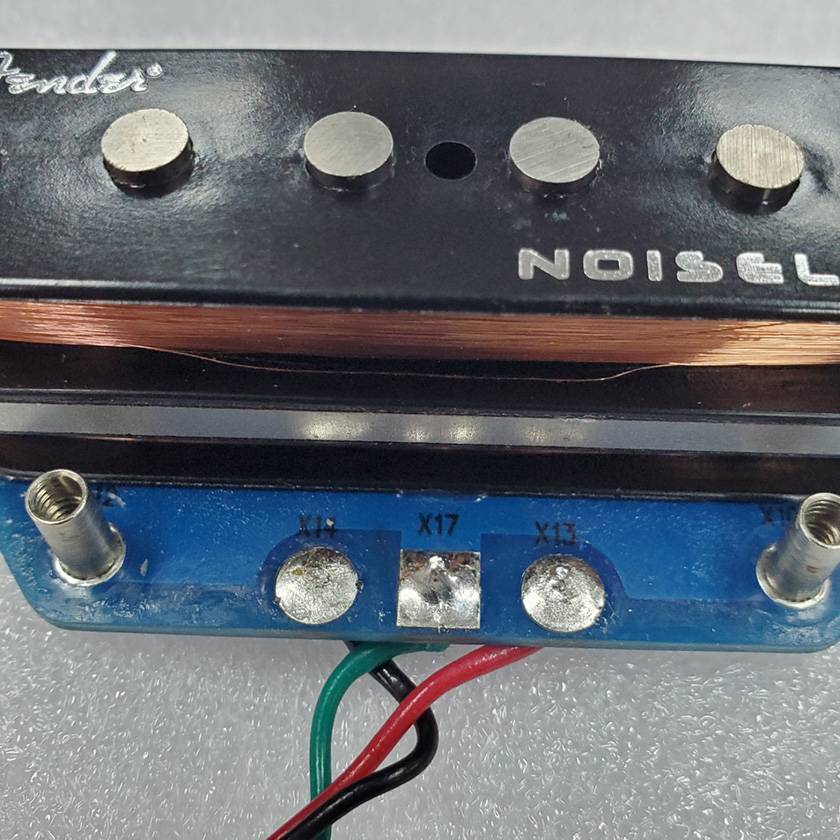
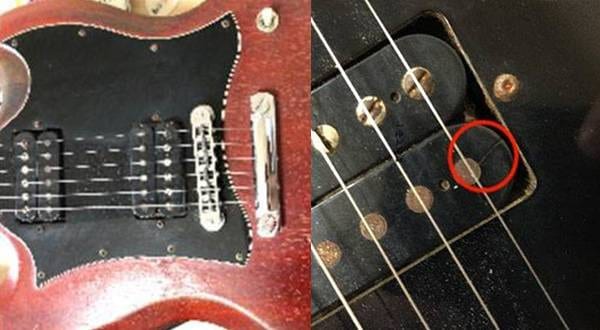
Next, check this part.
The enamel wire and wiring are soldered here.
Naturally, if this part isn’t properly wired, the pickup won’t produce sound, so make sure to check that the wiring isn’t coming loose.
Also, this part:
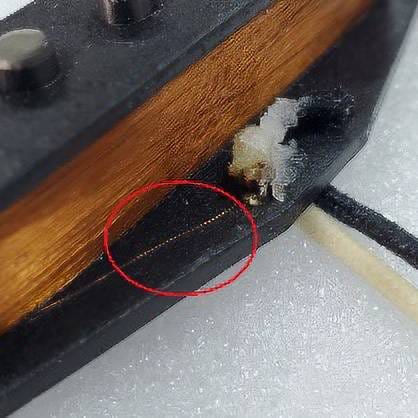
This area is also prone to higher rates of breakage, so it requires careful inspection.
For humbuckers:
Humbuckers are typically wrapped with insulating tape around the coils.
While checking for broken enamel wire is important, removing this tape for inspection can lead to complications. If the tape is removed and the wire is found to be broken, the manufacturer might claim that the damage occurred when the tape was removed, making it difficult to prove initial defects.
Therefore, if you suspect a break, it is recommended not to remove the insulating tape if you plan to request a return or exchange.
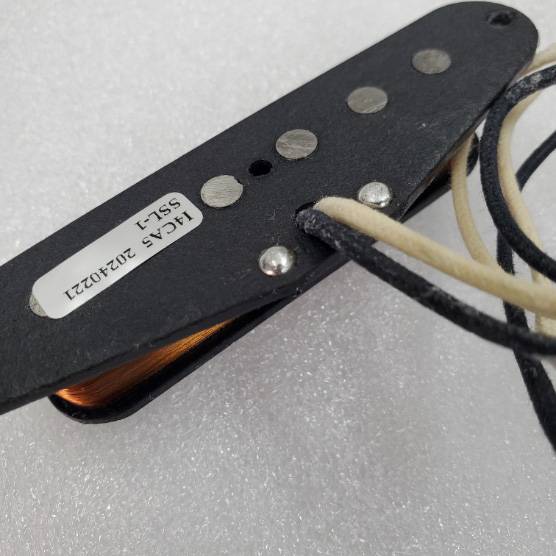
⑥ Wire Length
This is as shown in the picture.
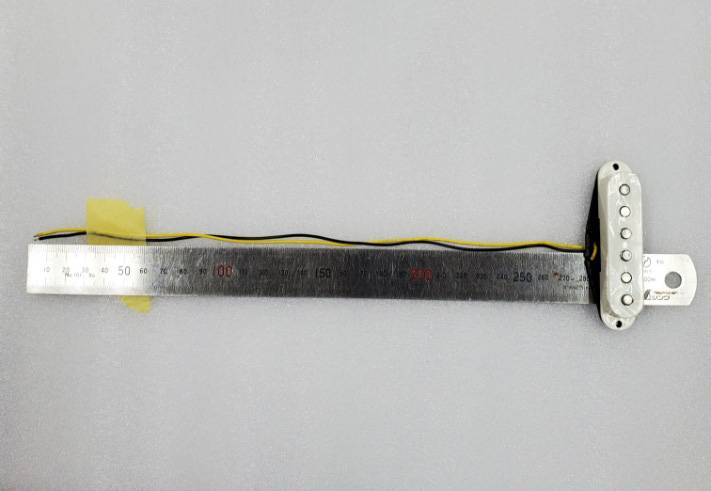
If the wires are too long, you can simply trim them, so there’s no problem there. However, it’s quite rare, but sometimes the wires might be too short.
In such cases, this could cause issues with wiring, so it’s a good idea to check this as well.
As a side note, here is one of the most common inquiries about pickups we receive from customers.
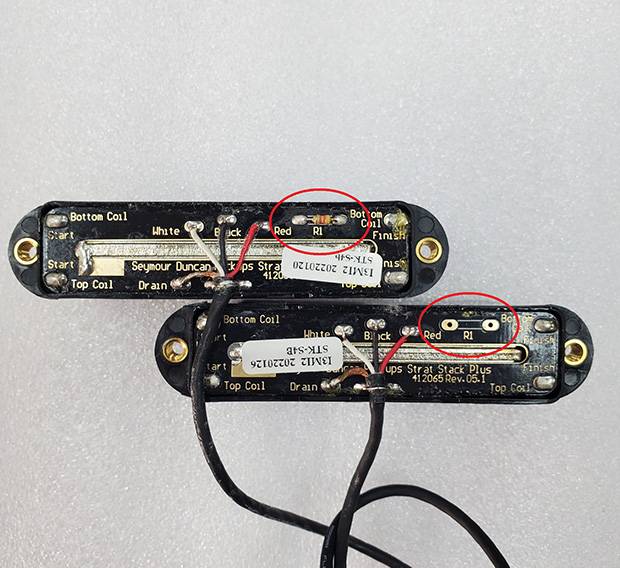
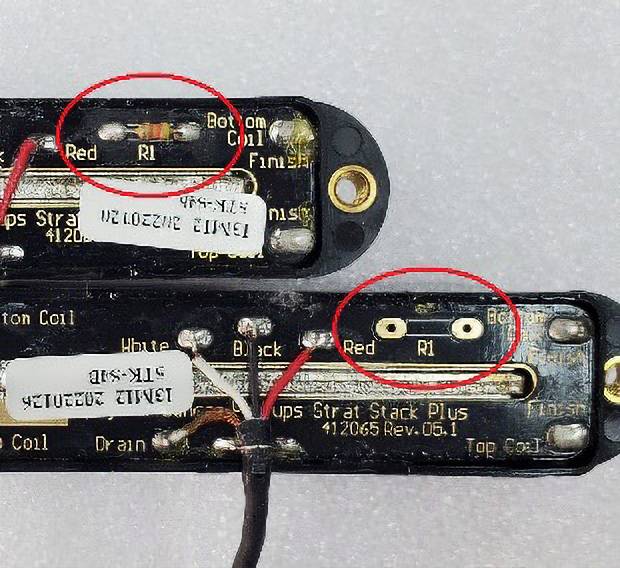
Pictures show the back of the Seymour Duncan STK Series pickup and you’ll see that some have resistors and some don’t.
This often leads to questions, especially from customers who purchased a set.
Other inquiries include questions like “The resistance values of resistors on the three pickups are different. Does that mean they’re defective?”
However, this is a design specification and there is no issue with it.
The reason for having different resistors or having some pickups with resistors and some without is to balance the DC resistance values of the pickups.
The STK Series is a stacked type single-coil pickup with two single-size coils stacked vertically.
Due to the construction, there can be variations in the resistance values of these coils.
To adjust for these variations, resistors are added to the bottom coil based on the resistance value of the top coil.
Naturally, if the resistance of the two coils falls within the product specification range, then no resistor is needed on the bottom coil.
This might be a bit complex if you’re not familiar with the construction, so I’ll write another post specifically about stacked pickups to explain this in more detail.
In summary, whether or not resistors are present and their differing values do not indicate a defect, as long as the pickup’s DC resistance values fall within the product specification range.
Well, the next thing to check is... but this has become a bit long, so let’s wrap it up here for today.
I was surprised that just the section about visual inspection took so long!
However, verifying things before installation is that important.
There’s still a lot more I want to share about what to check after purchasing a pickup, so I hope you’ll read the next blog post as well.
See you again on the Sound House Staff Blog.
Goodbye!


 ピックアップ交換大作戦!
 DIY ギターメンテナンス
 ピックアップの種類
 ピックアップの種類(アコースティックギター)
 ピックアップの種類(エレキギター)
 ギターのお手入れ