Previously, I wrote a blog post about the PA systems found in studios.
⇒ Common Music Studio Troubles: Thinking About Why the Microphone Doesn’t Produce Sound Vol. 1
Now, let me continue with this topic.
For those who find themselves saying, “I don’t really understand how to use a mixer” or “It’s too difficult to understand even after reading the manual”, this guide will provide a simple explanation of mixers that even absolute beginners can understand.
1. What is a Mixer?
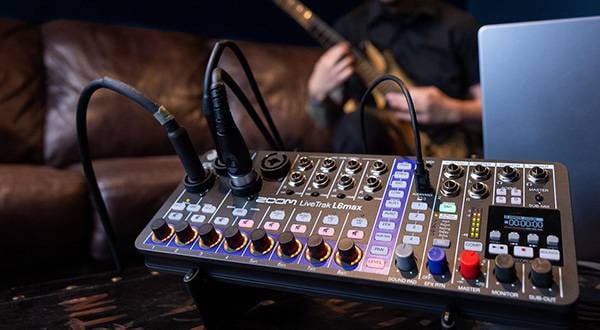
Simply put, a mixer is a device that combines multiple audio sources and outputs them to two speakers. Each input point is referred to as a channel, labeled as 1ch, 2ch, 3ch, and so on. Mixers come in various forms, but the most common design has channels arranged vertically.
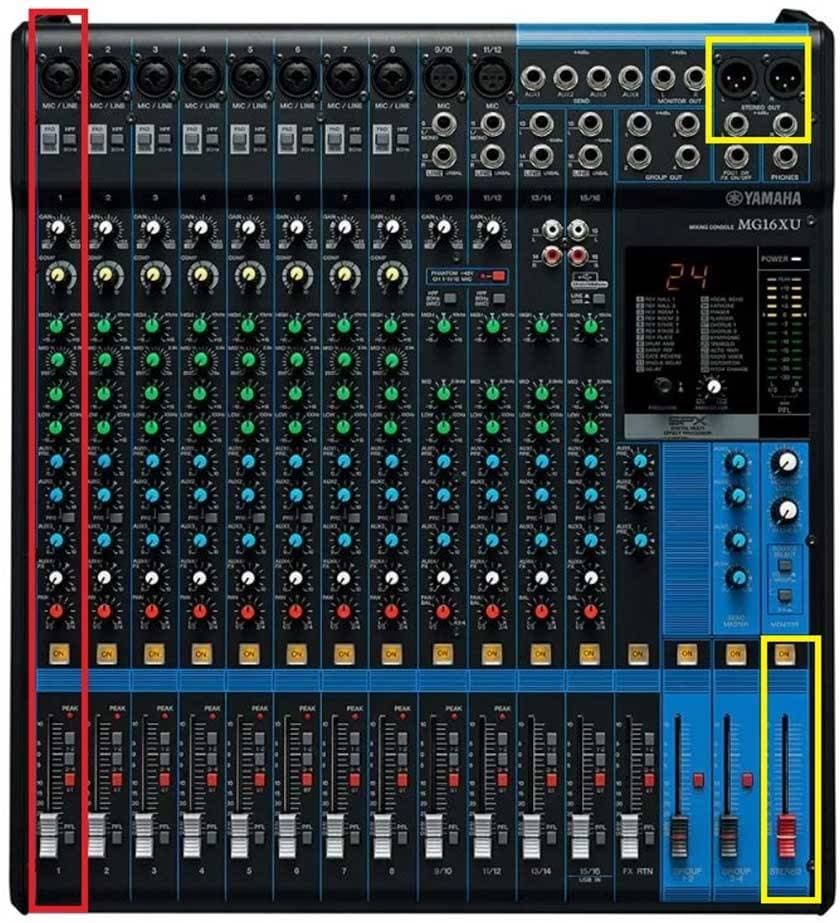
The red-squared section in the picture above is channel 1.
The simplest explanation of a mixer is that it combines the sounds from each channel, adjusts the volume and tone, and then outputs them to the L and R main outs (MASTER OUT), squared in yellow.
The sliders at the bottom, which move up and down, control the volume for each channel. Even if you’re not familiar with mixers, you can probably understand this part intuitively. The knobs and buttons above these sliders, however, can be confusing. Though the types of knobs vary by model and manufacturer, the basic concepts are the same. It’s important to understand what each one does.
2. Choosing the Input Jack
When you think, “Let’s plug in the cable!” you might find that the mixer has several input jacks.
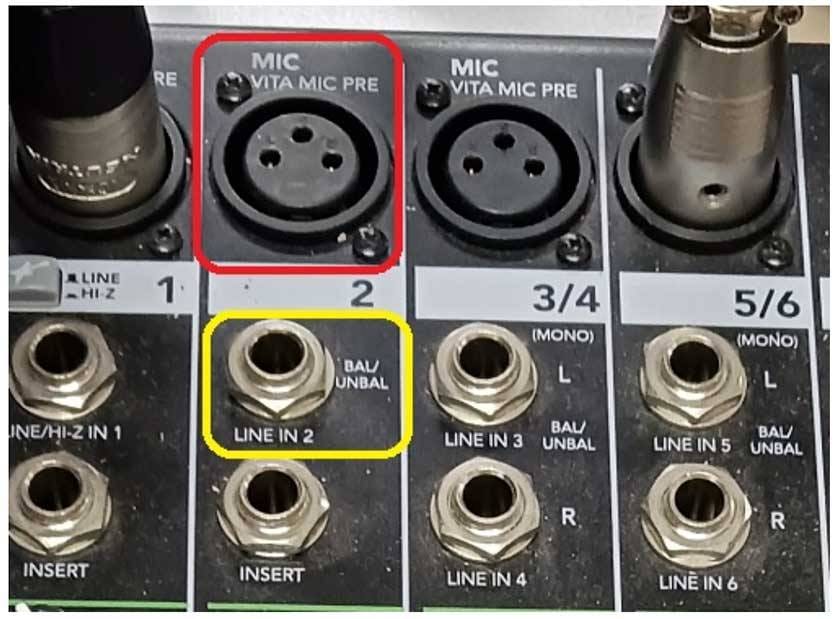
Basically, you should plug the microphone into the XLR jack, squared in red above.
Sometimes, you’ll see setups where an XLR (female)-phone cable is used to connect to a phone jack, but:
CLASSIC PRO / MIP050 Microphone Cable 5m

Using XLR will give you a louder, clearer sound with less noise.
This difference arises from the concepts of “balanced signals vs. unbalanced signals” and “mic level vs. line level,” but since this explanation is for beginners, I won’t go into detail here. If you’re interested, you can read more in the following articles:
⇒ Why Balanced Connections Resist Noise
⇒ What is Balanced Audio?
Just remember that using an XLR connection for the microphone will give you ‘better sound’. If you ever have the chance, compare an XLR-XLR cable with an XLR-phone cable, and you’ll be surprised by the difference in sound quality. Also, if you use a condenser microphone, it won’t work unless you use an XLR-XLR cable.
3. Adjusting Input Levels
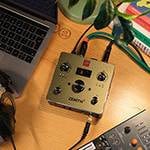
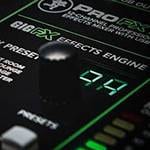
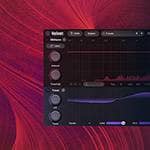
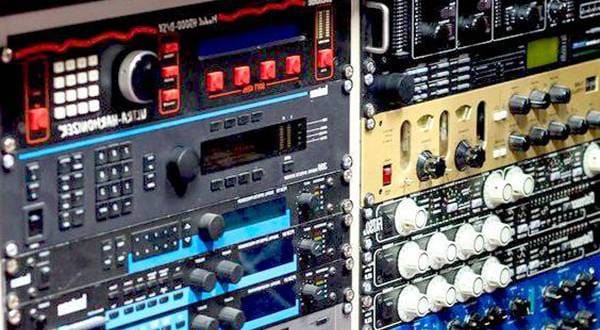
Most of the time, there’s a gain adjustment knob just under the input.
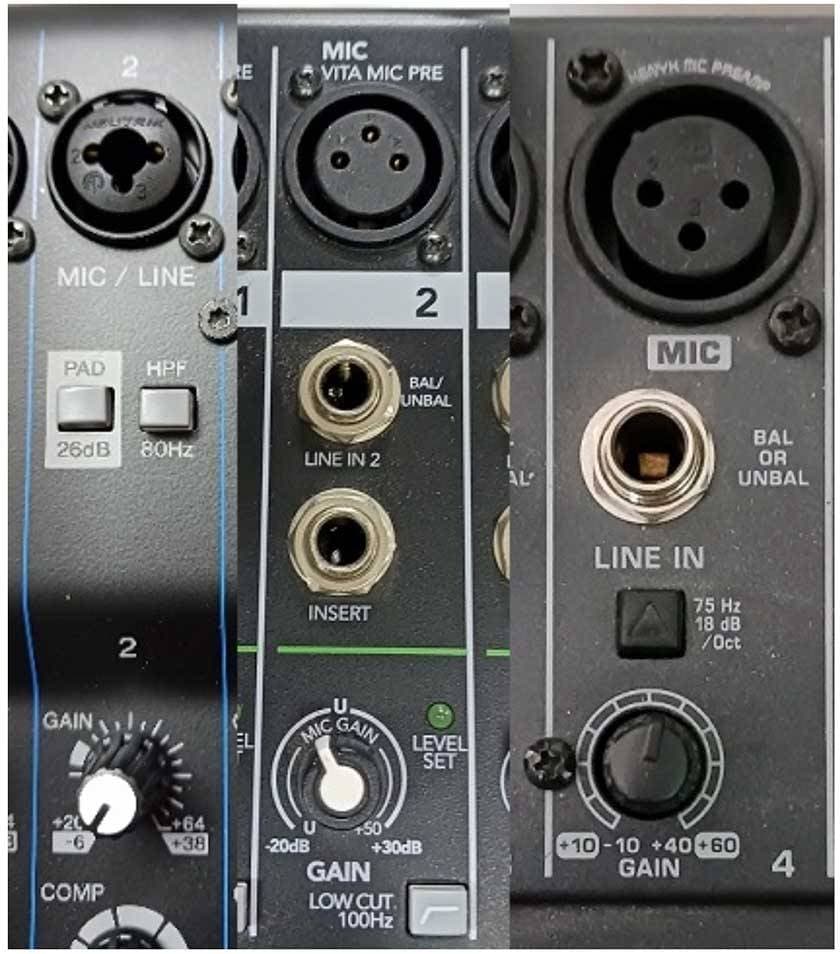
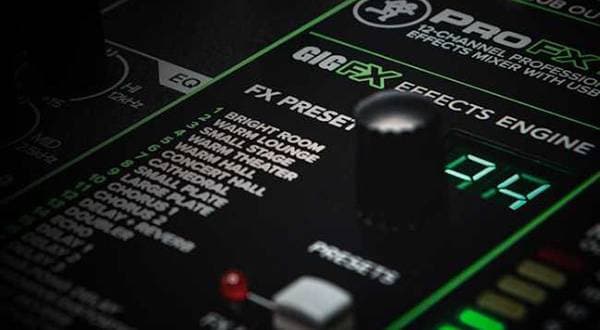
I took pictures of three different mixers.
Sometimes there’s a switch, but the gain knob is usually located just below the input.
‘Gain’ refers to the ‘input level’ adjustment.
If you’re thinking, “Input level? I max out the knobs on my guitar amp, so I should do the same with the mixer,” let me explain briefly. Mixers are different from guitar amps, so you never want to max out the gain on a mixer.
When you speak into a microphone, the sound waves are converted into electrical signals inside the mic. If the mic is connected to the mixer, these electrical signals are input and are amplified by the gain knob’s circuit.
You won’t hear any sound if you connect the mic directly to passive speakers or headphones. The audio electrical signal entering the mixer needs to be amplified for further processing.
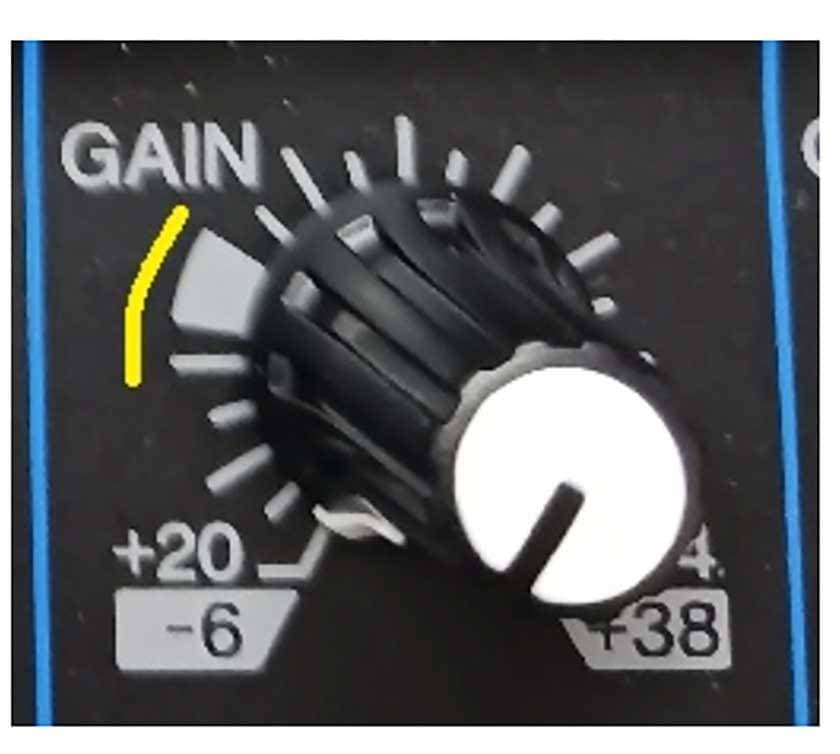
As you increase the gain, the sound becomes more robust. If you increase it too much, the sound will distort, and noise will also increase.
With analog mixers, there are various ways to set the gain, such as matching it to 0dB on the level meter. But for this topic, “What should we do if there’s no sound?” simply remember to connect the mic, start speaking, and gradually increase the gain to around the 9-10 o’clock position.
However, when connecting line signals, you might find the sound distorting even with minimal gain. Line signals are used for devices like keyboards or MP3 players.
This is due to the difference between mic level and line level mentioned earlier. The electrical signal produced by speaking into a microphone is quite weak and small, so increasing the gain doesn’t cause distortion. However, line signals have an output about a thousand times stronger than microphone signals, leading to distortion.
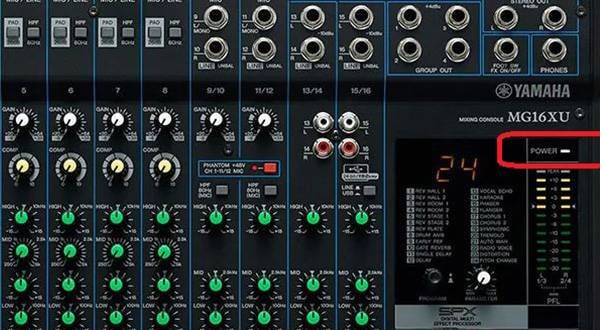
For example, Yamaha’s MG Series mixers have two switches just under the input.
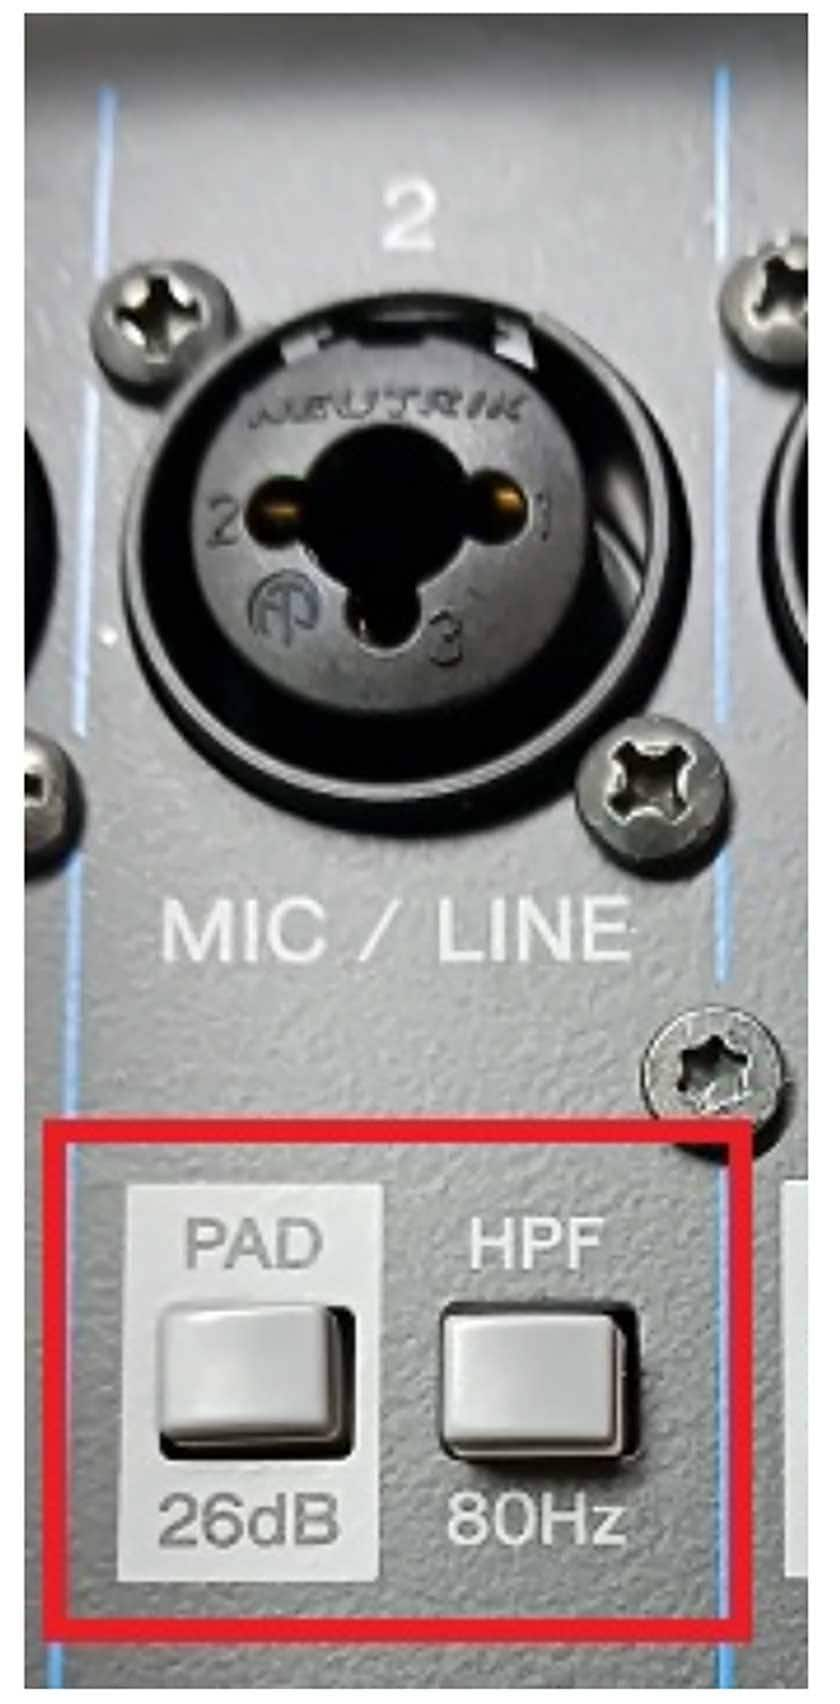
The switch on the left labeled PAD is used to prevent distortion when dealing with line signals. Turning the PAD switch on reduces the input level by 26 dB.
This means that if you connect a microphone and there’s no sound, you should check if the PAD switch is on. If it is, don’t just switch it off immediately. First, lower the gain, then turn off the PAD switch, and finally, gradually increase the gain to around the 9 o’clock position.
The HPF switch next to it is a high-pass filter switch that cuts low frequencies. The specifics of its use will be left out for now.
Each knob and switch has a purpose. If you’ve been randomly adjusting things without understanding, take the time to learn what they do.
There are more detailed explanations available in books about mixers, so if you’re curious and want to learn more, exploring further can lead to some interesting discoveries.


![[Guitar Guide] 3 Essential Studio Practice Etiquette Rules](/contents/uploads/thumbs/5/2022/4/20220419_5_17560_1.jpg)

![[ Audio tip] How to use the SHURE SM58 standard microphone efficiently.](/contents/uploads/thumbs/5/2019/10/20191002_5_7930_1.jpg)
 自宅スタジオの作り方
 簡易PAシステム タイプ別おすすめランキング
 人気スタジオモニター徹底比較
 ワンランク上のボーカルマイク選び
 簡易PAセットとは
 PAシステム講座