This is the second part of my soundproof room project.
In this edition, I will continue from where I left off last time at creating the floor.
I’m going to finish the walls and ceiling!
[DIY] Creating a Soundproof Room - Part 1
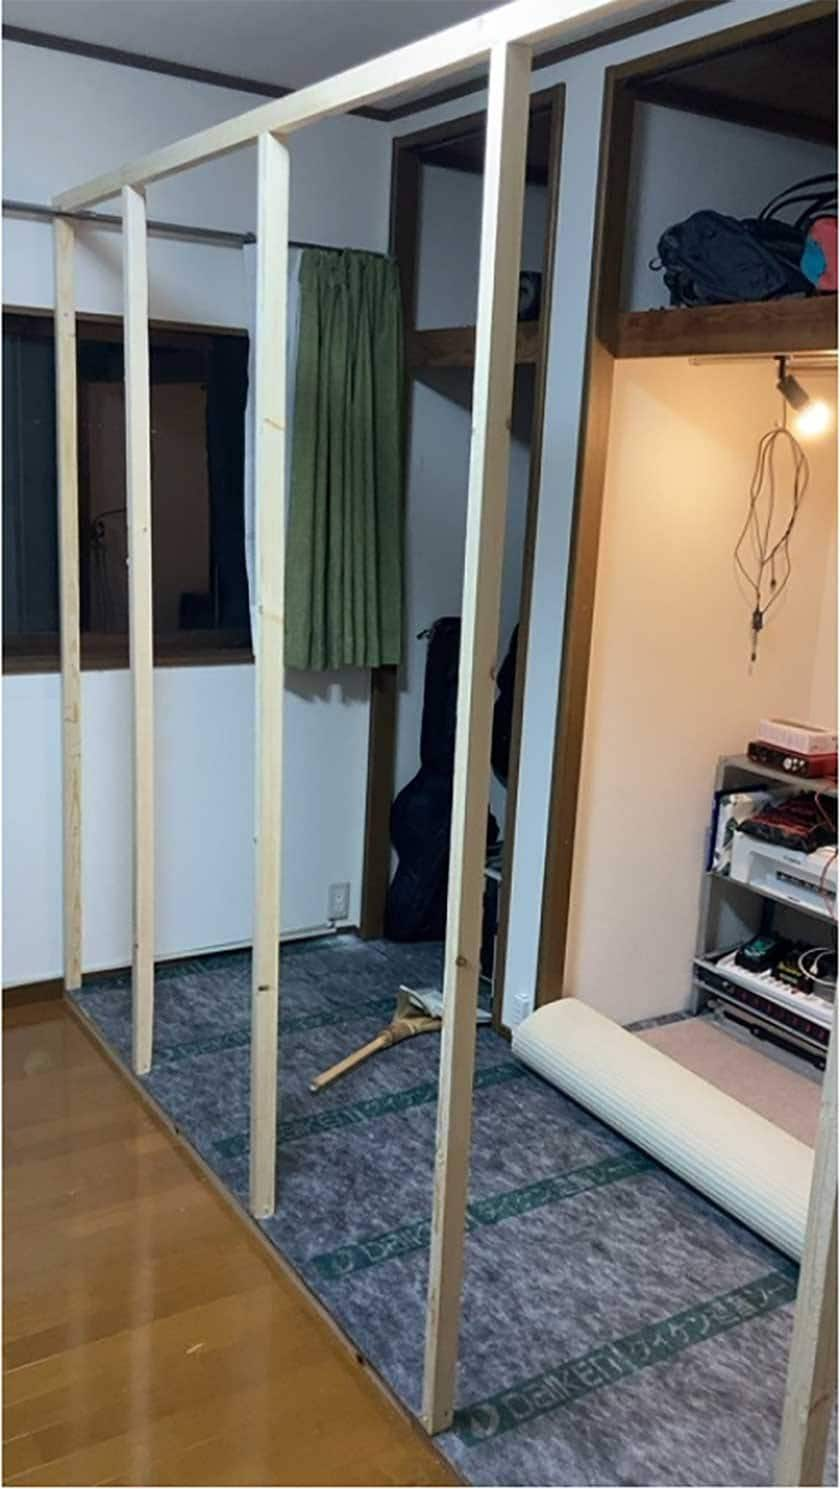
First, I’ll install the vertical studs.
I used 30 mm x 40 mm x 2000 mm lumber for this.
For better strength or wall thickness, thicker wood would be ideal.
However, to keep within budget, I opted for this size.
These studs are sold in bundles of six at hardware stores for about 1,500 to 2,000 yen. Buying individually would be more expensive, so I bought two sets for twelve studs.
Setting the stud spacing to 330 mm or 450 mm will ensure that 910 mm wide panels align with the studs, making assembly easier.
Due to budget constraints, the spacing here is 600 mm, so I couldn’t include one more stud.
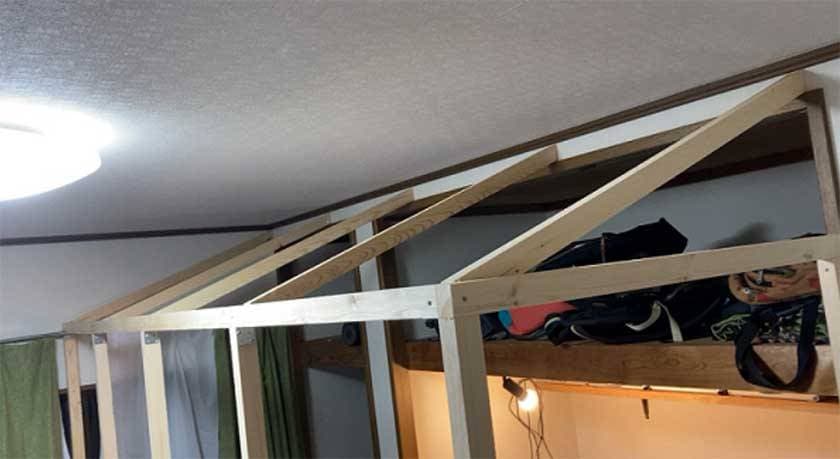
Next, I’ll build the ceiling to match the studs.
To utilize the upper part of the closet, I adjusted and cut the wood to fit diagonally.
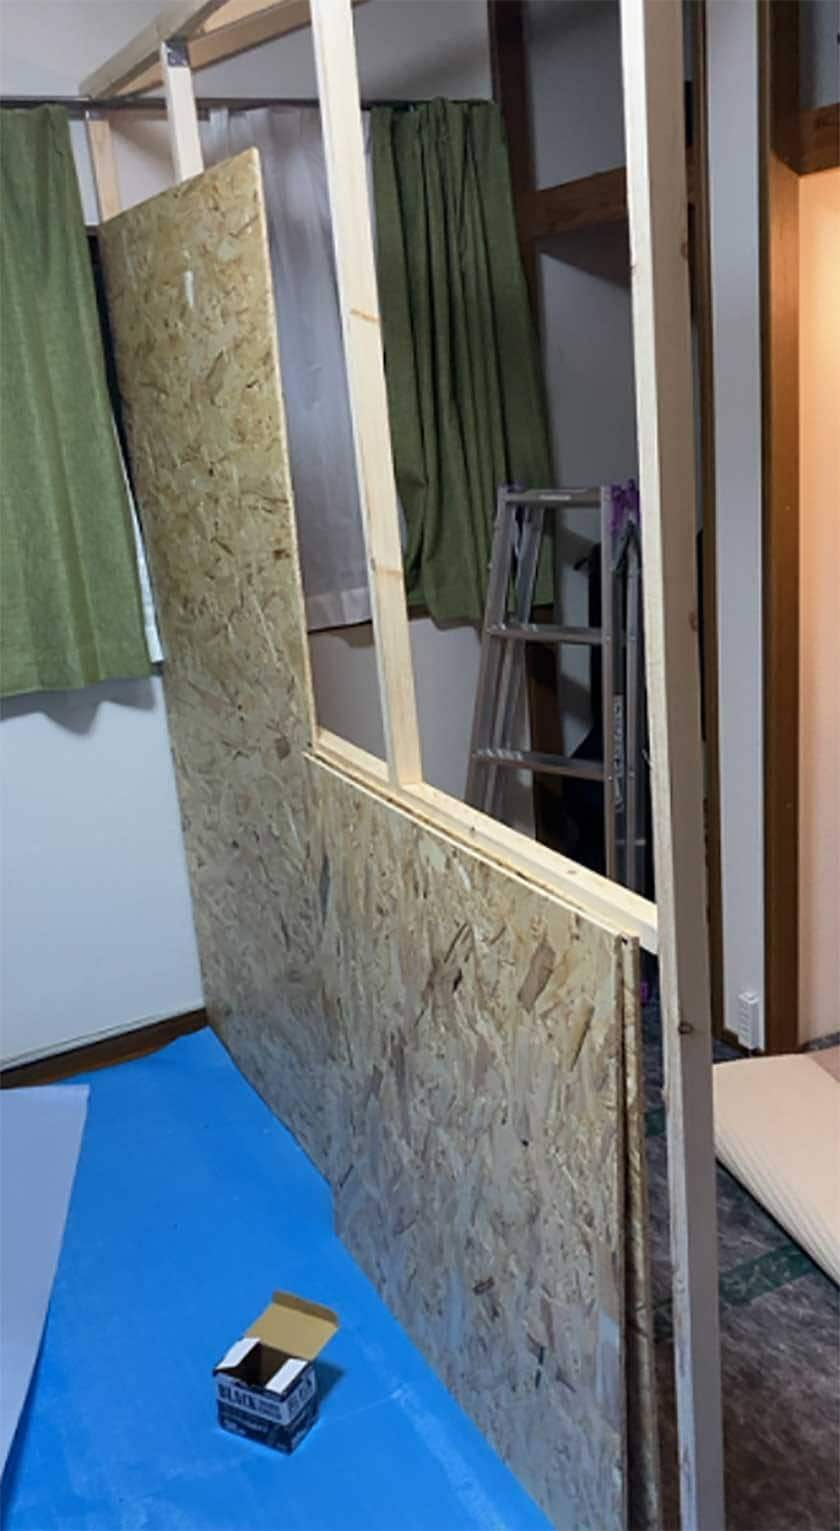
With the frame completed, I’ll attach the wall panels.
I used OSB (Oriented Strand Board) for this. OSB provides a good finish without needing painting or wallpaper.
Although gypsum boards are commonly used for DIY soundproof rooms, they are difficult to handle and are considered industrial waste when discarded. Considering the potential need for future modifications, I chose OSB for this project.
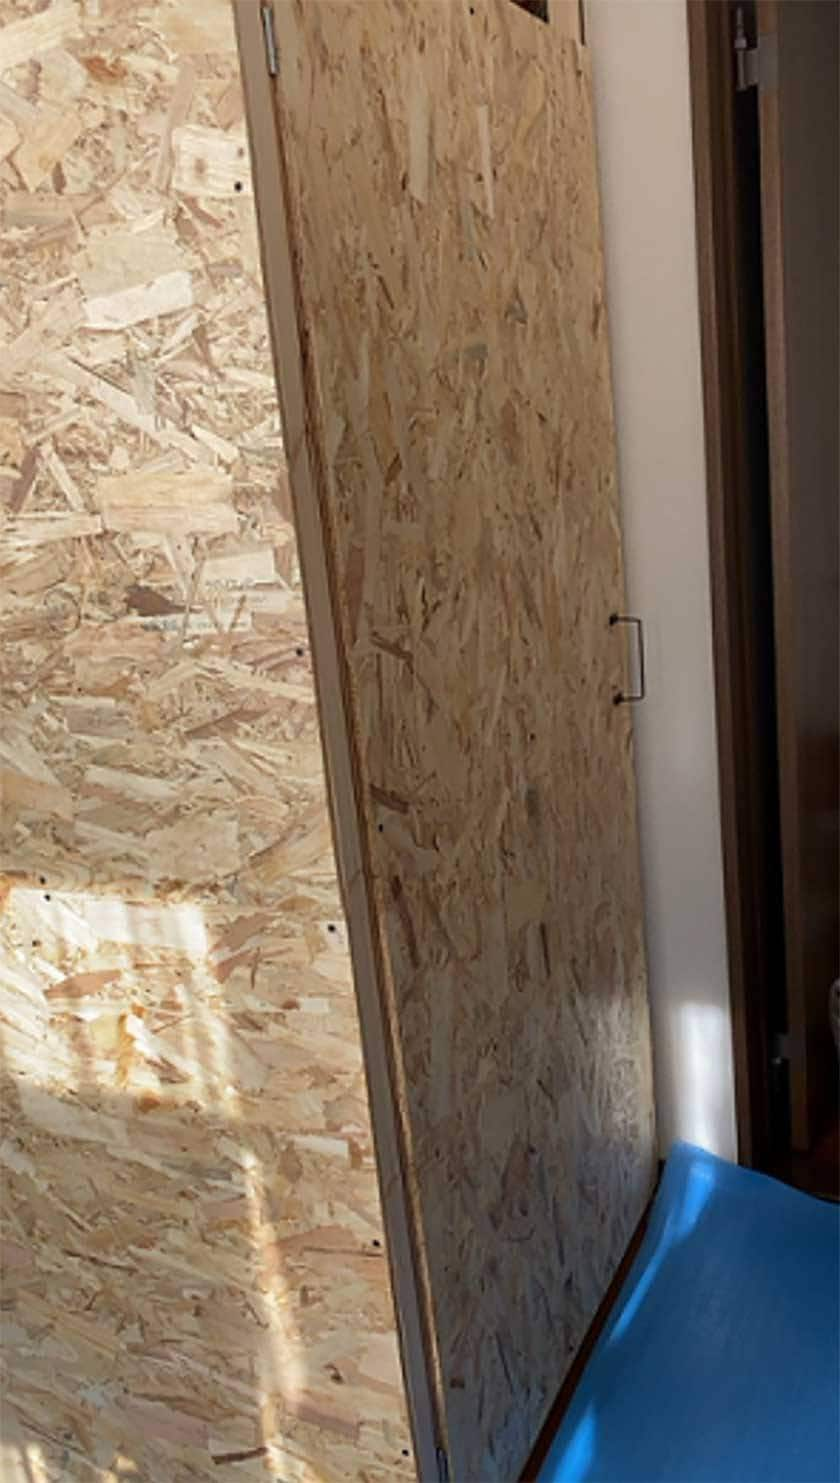
I also installed the door. I made a frame from the same lumber as the studs, covered it with OSB, and attached it with hinges to create a swinging door.
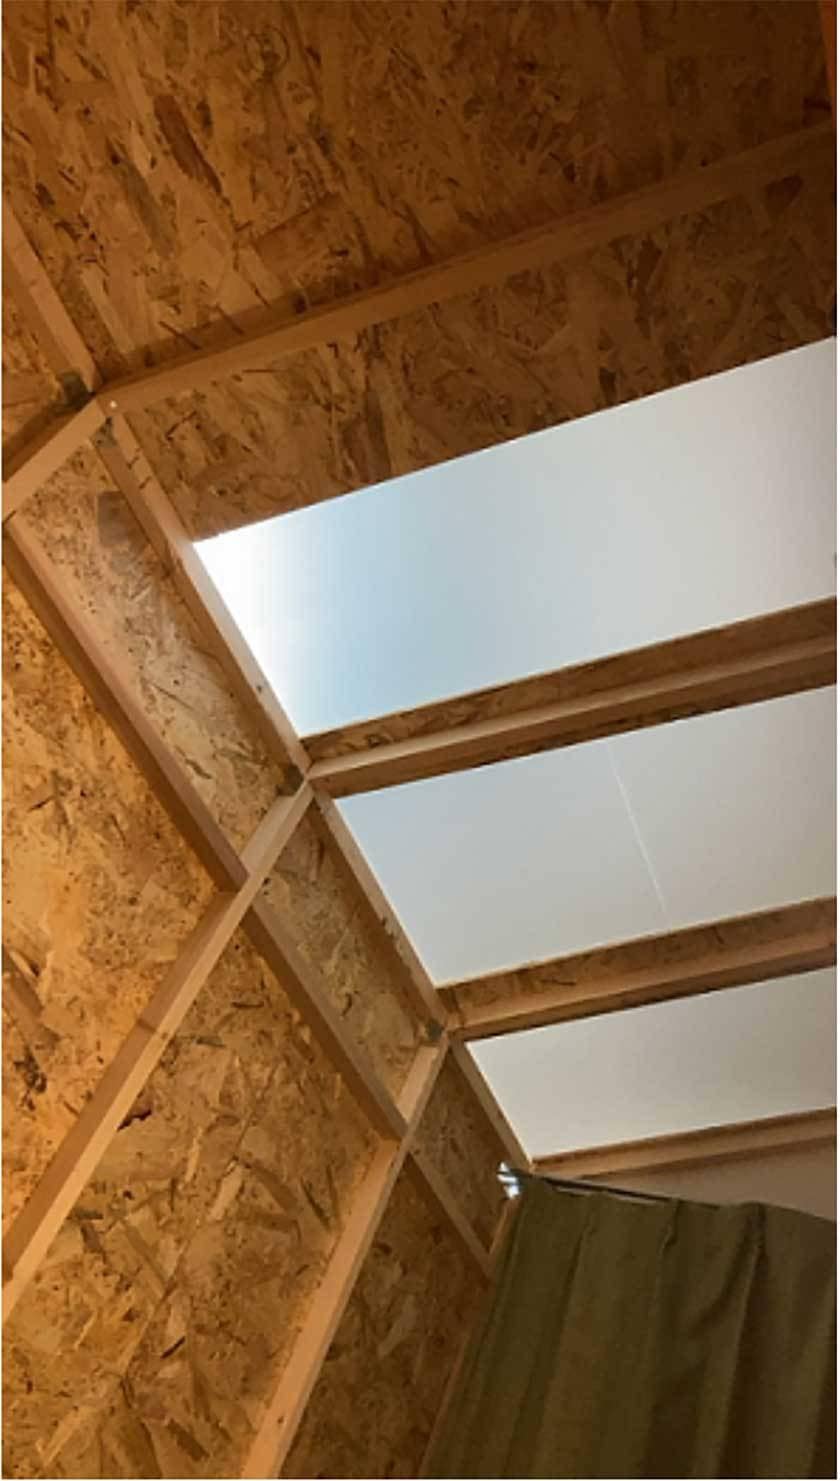
Finally, I’ll assemble the ceiling.
Half of it will be OSB, and the other half will be made from light-permeable plastic corrugated board.
Soundproof rooms often have a dark, cramped feel, so I opted for this modification to brighten the space. Although it may slightly reduce the soundproofing effectiveness, it should improve the overall mood.
I haven’t covered the windows either. I’ve moved the curtain rail to avoid interfering with the studs and walls.
Curtains also have sound-absorbing properties, so I plan to compare the room’s acoustics with and without them.
In most cases, a ventilation fan is needed for a soundproof room or booth, but having windows makes ventilation easier.
Fortunately, there are no neighboring houses on the window side, so I felt comfortable with this choice despite potential minor reductions in soundproofing effectiveness.
This time, I’ve completed the walls and ceiling, albeit in a somewhat simplified manner.
For better soundproofing, adding soundproofing materials to the walls and insulation like rock wool could be beneficial. However, since the project aims to test soundproofing effectiveness within a budget, please view it with that in mind.
In the next edition, I’ll install sound-absorbing materials and measure sound levels to compare the soundproofing effectiveness.
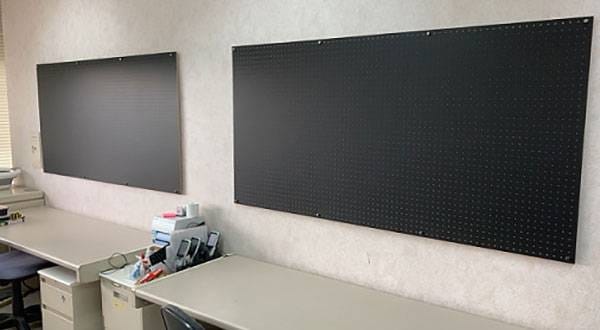
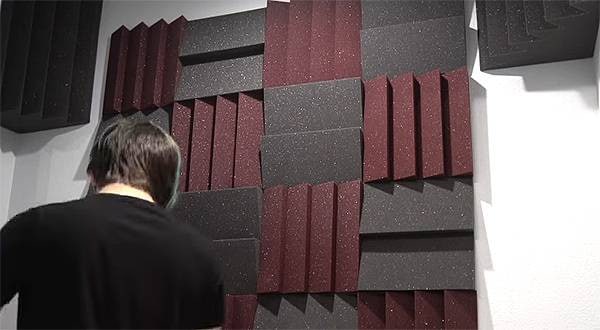
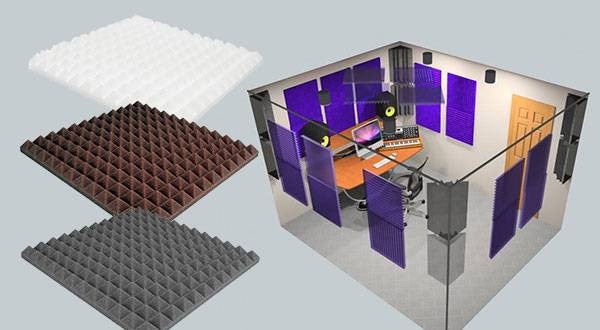
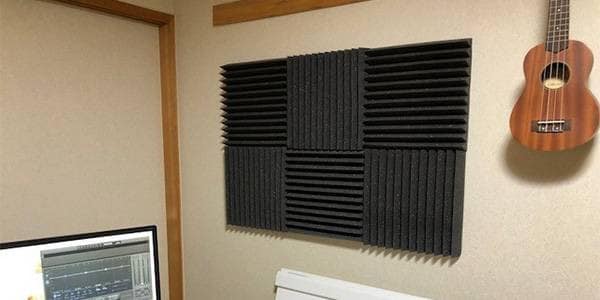
For more information about sound-absorbing panels, check out the related pages ↓


 スピーカースタンドの選び方 K&M編
 SONEX 吸音材特集
 スタジオモニタースピーカーを選ぶ
 ラック・ケースセレクター
 スピーカーとパワーアンプの選び方
 人気スタジオモニター徹底比較