In the previous article, I introduced the role of junction boxes and recommended some popular models.
This time, I’m taking on the challenge of building a junction box using only parts available from Sound House. Even if you're only a beginner, don’t worry—this project is simple enough to try with minimal tools and a bit of curiosity. If you’ve ever thought, “Maybe I’ll give it a shot,” this is the perfect opportunity to step into the world of DIY.
Parts and Tools I’ve Prepared for Building a DIY Junction Box
Build a Junction Box for Under 3,000 Yen! Affordable and Practical
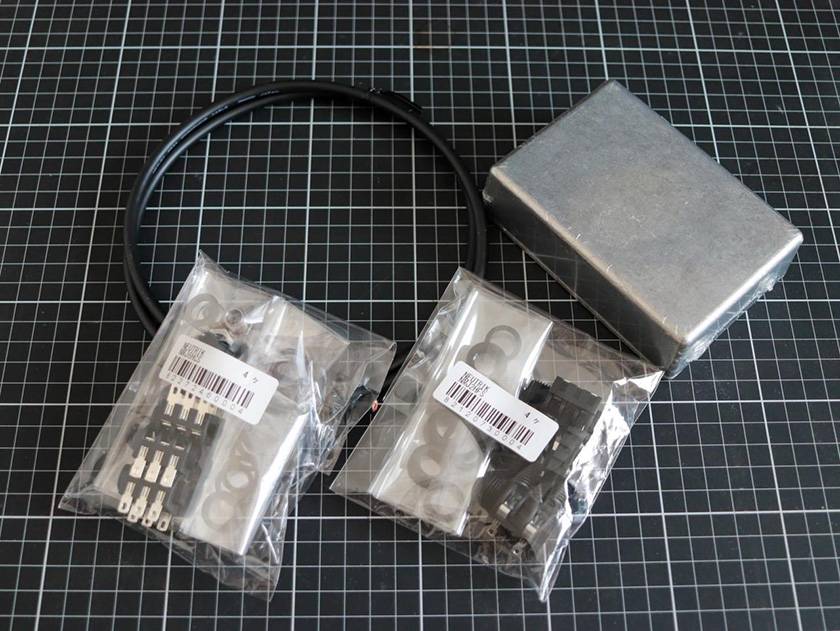
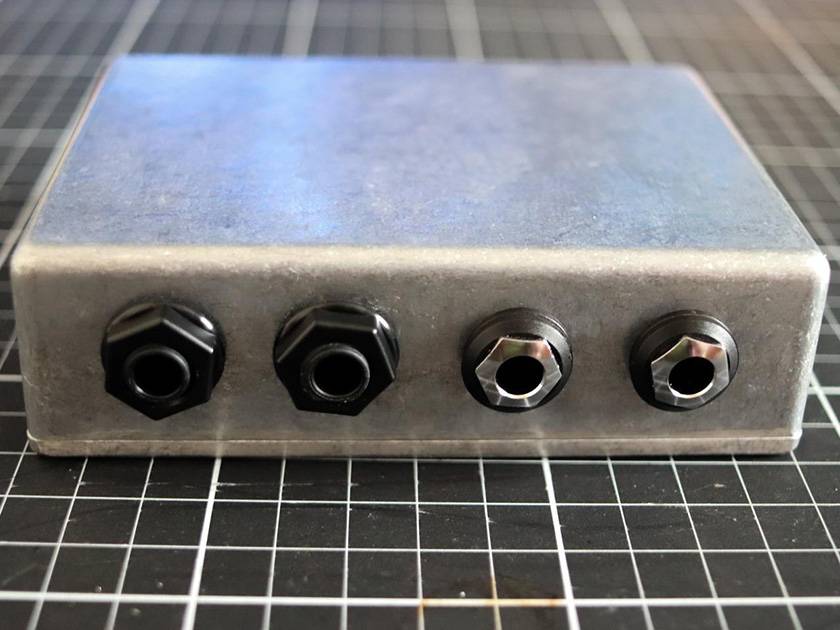
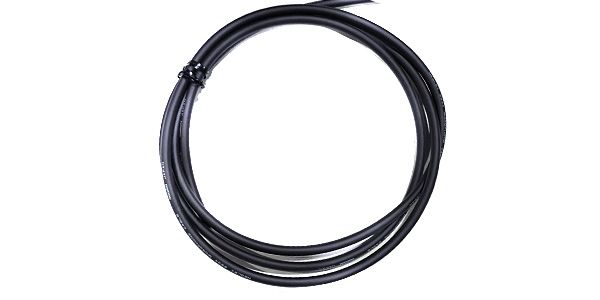
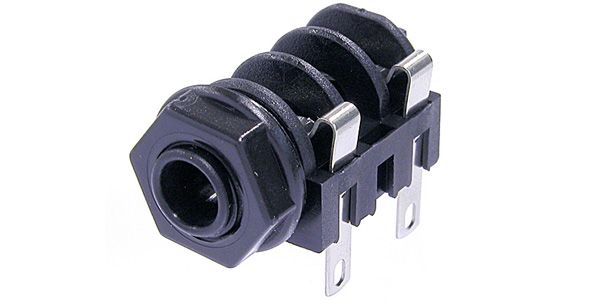
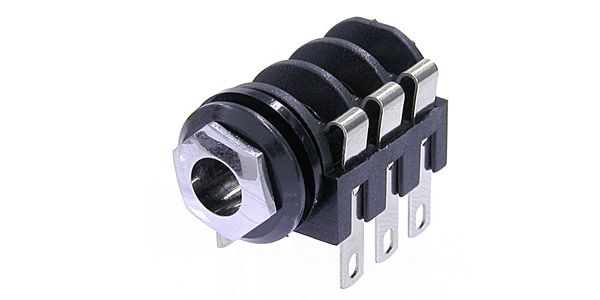
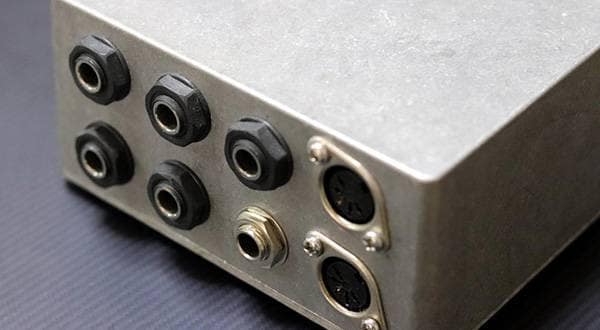
For this DIY project, the junction box will be designed to accommodate two TS (mono phone) and two TRS (stereo phone) connections on one side—allowing a total of four cables to be connected. Below is a list of the parts I used for the build along with their retail prices at Sound House.
| Part | Number | Price including tax |
|---|---|---|
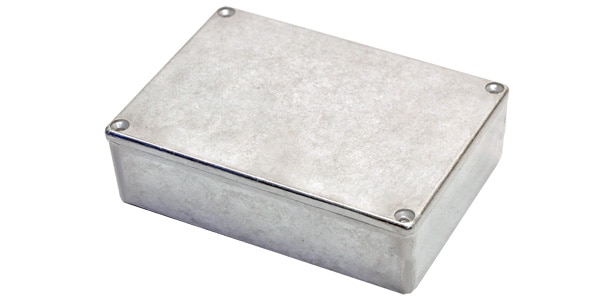
| TAKACHI TD9-12-4N |
1 unit | 1,397 yen |
| NEUTRIK NMJ2HF-S |
4 units | 480 yen(120 yen / unit) |
| NEUTRIK NMJ6HC-S |
4 units | 800 yen(200 yen / unit) |
| MOGAMI 2534(sold by peace) |
1m | 240 yen |
Note: Prices include tax and are current as of the time of writing
The total cost of parts came to 2,917 yen (tax included).
Tools Prepared for DIY
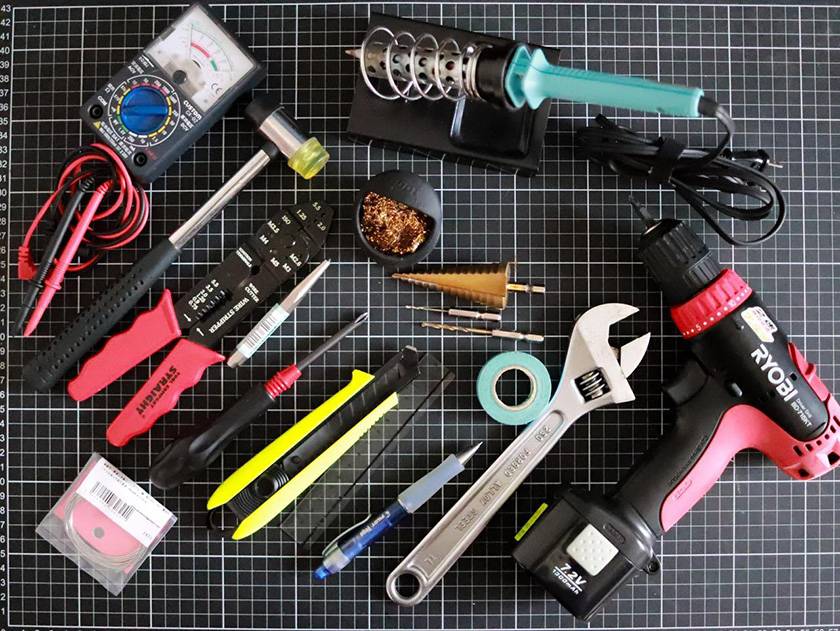
The image above shows the tools I’ve for building the junction box. Below is a summary of each tool and its intended use.
| Tool | Use |
|---|---|
| Tester | Continuity Check |
| Type of Soldering Iron (Solder, Soldering Iron, Soldering Stand, Cleaner) |
Soldering |
| Electric Drill | Drilling Holes in an Aluminum Die-Cast Case |
| Drill, Step drill *Used with Ironworking |
Hole drilled with electric drill |
| Wrench | Tightens Jack nut |
| Phillips Screwdriver | Tightens the screw lid |
| Center punch | Makes holes for the Center of the Drilling Point |
| Plastic Hammer | Punches a hole with the center punch |
| Wire stripper | Peels the cover off the cable |
| Cable cutter | Cuts the cable |
| Ruler, Ball pen, Masking tape | Marks down where you plan to drill |
You can substitute a surprising amount of tools with what you already have—like using a cutter instead of a wire stripper, or a mechanical pencil and eraser instead of a ballpoint pen and masking tape. Start by gathering what you need within a manageable range.
It’s Really That Easy!? How to Make a Junction Box
01 Prepare the Wiring
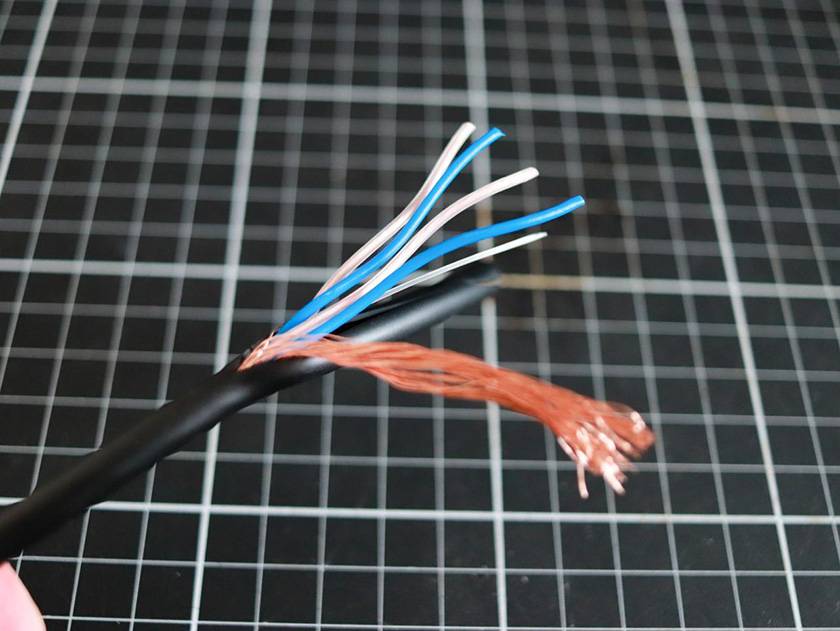
As a sample idea, this time I used a well-known microphone cable called the MOGAMI / 2534 and stripped it down to prepare wiring for the junction box.
The 2534 is a cable with a “quad-core + shield” structure. By making a vertical slit in the outer insulation, you can easily pull out the inner wires. The two pairs of clear and blue wires inside are of high enough quality to be used for internal wiring in a junction box.
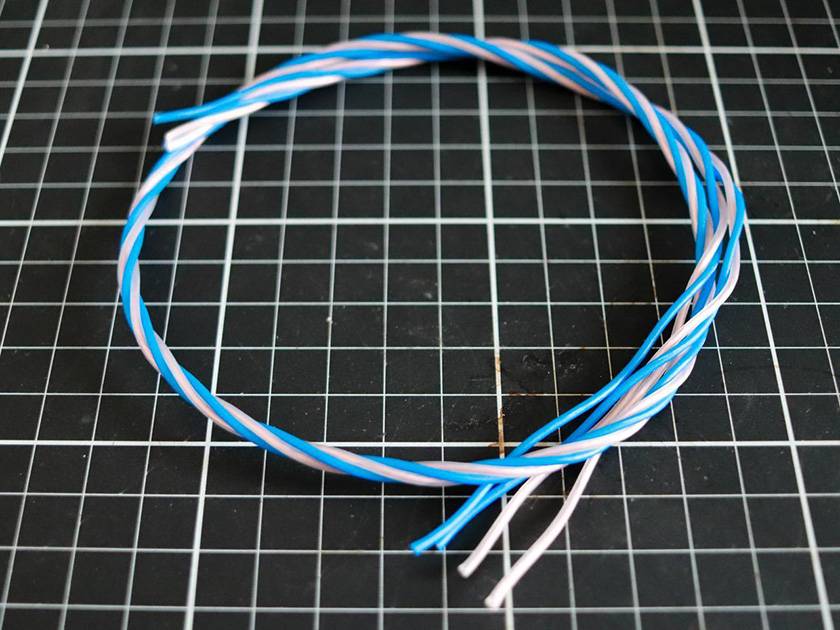
The wire for building the junction box is ready. When you actually pick it up and handle, it feels soft and seems easy to work with.
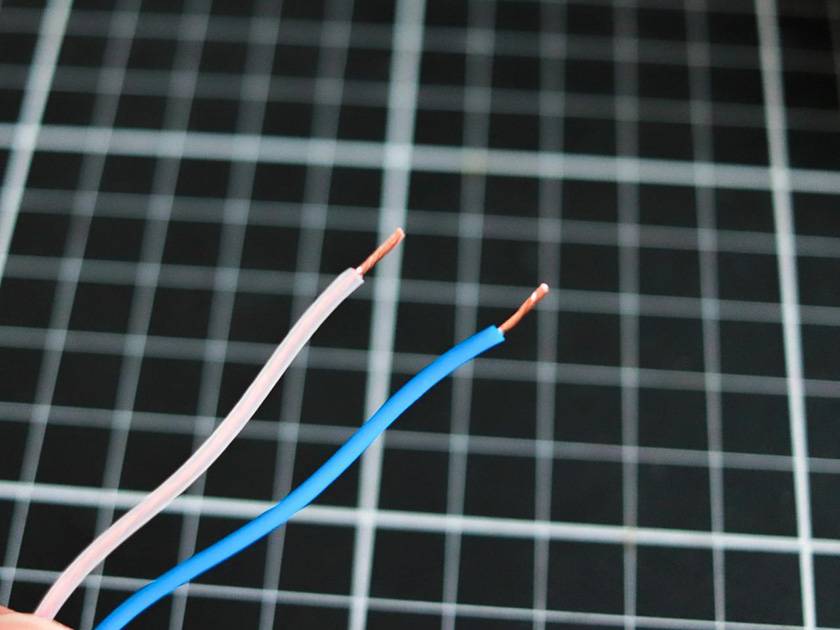
Using a cutter or wire stripper, strip about 5mm of insulation off the ends of the wires.
02 Mark the Hole Positions on the Aluminum Die-Cast Case
Next, mark the positions where you’ll drill holes in the aluminum die-cast case (hereafter referred to as "the case").
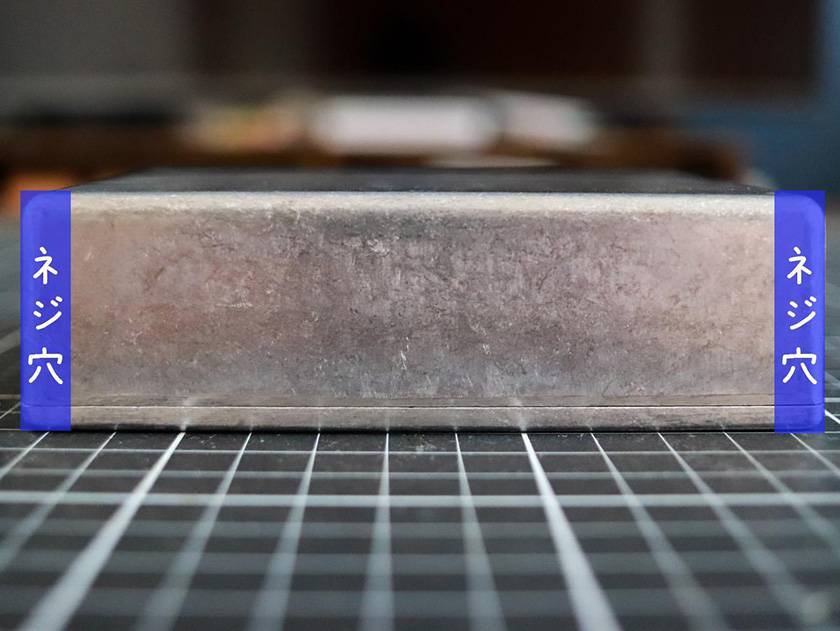
One thing to watch out for: there are screw holes at all four corners of the case for the lid. Be sure to exclude these areas when measuring the usable length. Divide the remaining space evenly to create four equal spaces for the jacks.
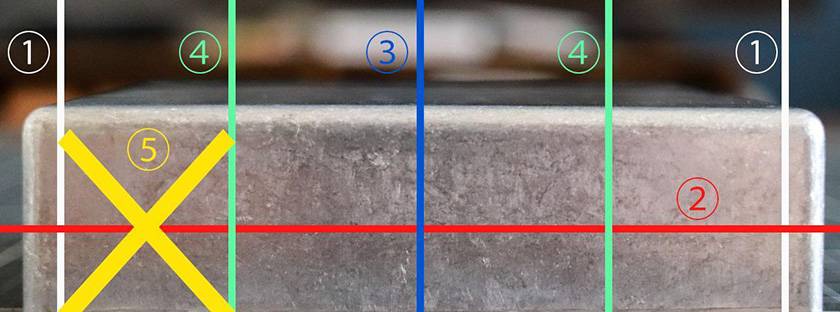
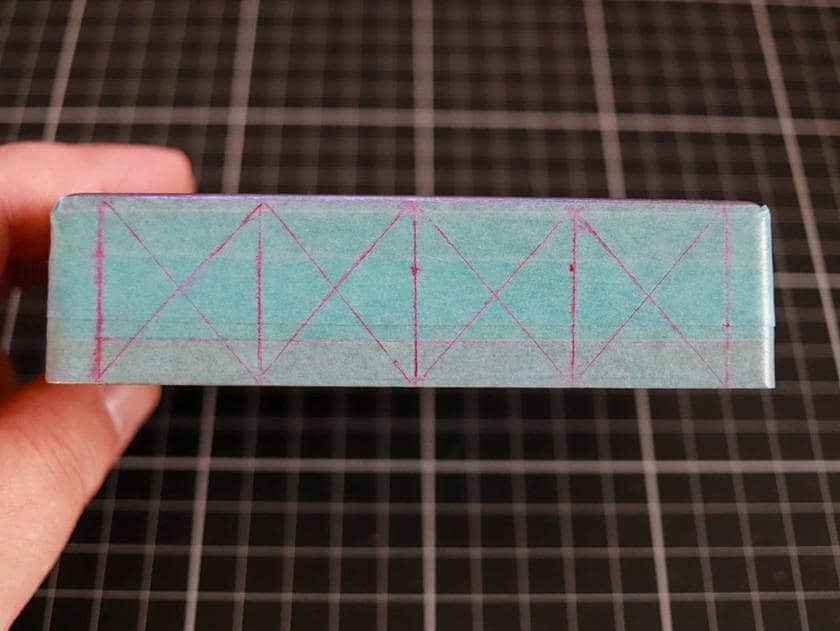
Remove the lid from the case, and apply masking tape to the surface where you’ll be drilling. Then, use a ballpoint pen and ruler to mark the drilling positions. Following the image above, it's recommended to draw straight lines to divide the surface into four sections, then place an "X" mark in the center of each section—this will make the drilling process much easier.
Once your markings are complete, it's time for the actual drilling!
03 Drill Holes in the Case Using a Drill
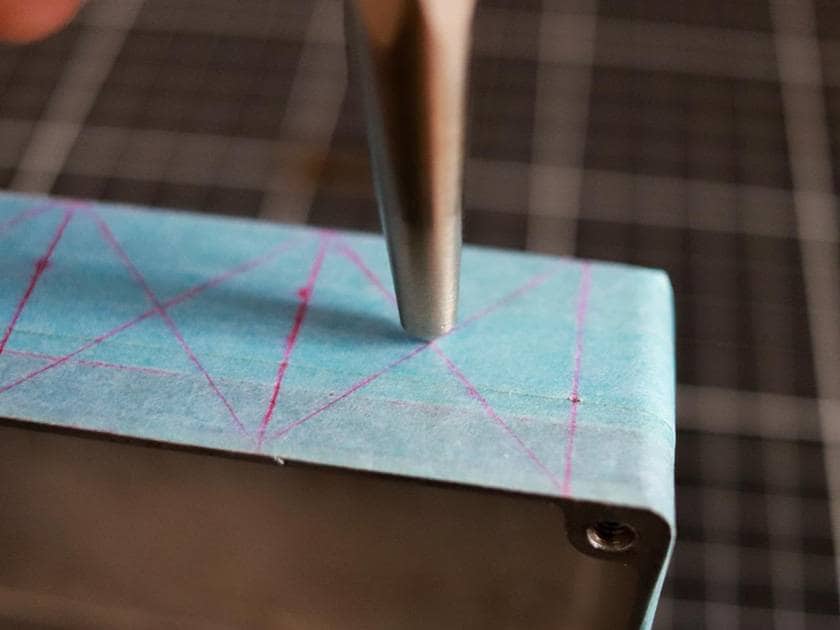
At the center of each "X" mark I made in Step 2, use a center punch to lightly indent the surface. It might seem like a minor detail, but it’s a very important step. This small indentation helps prevent the drill bit from slipping, ensuring that you can drill precisely at the intended spot when using an electric drill.
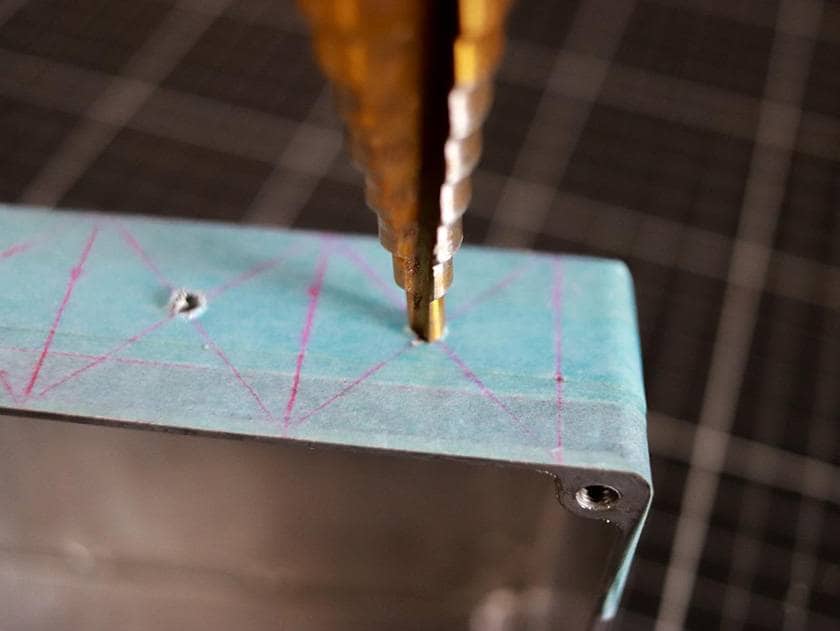
After making a small pilot hole with the electric drill at the indentation created by the center punch, gradually widen the hole using a step drill until it reaches the correct size for the jack to fit. Be careful not to overdrill—work slowly and precisely.
Once the hole is ready, mount the jack. Use a wrench to tighten the nut, but be cautious not to overtighten, as this can damage the components.
04 Connect the Jacks with Soldering
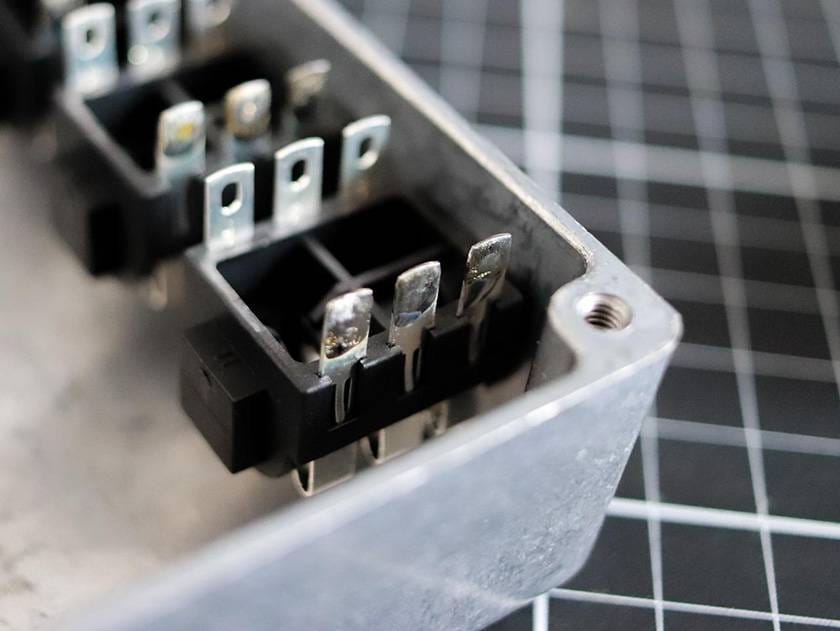
Before soldering, apply a small amount of solder (pre-tinning) to the spots where soldering will be done.
Then, solder the jack terminals and the wires diagonally across from each other. To avoid deforming any plastic parts or insulation due to heat, make sure to work quickly and efficiently during soldering.
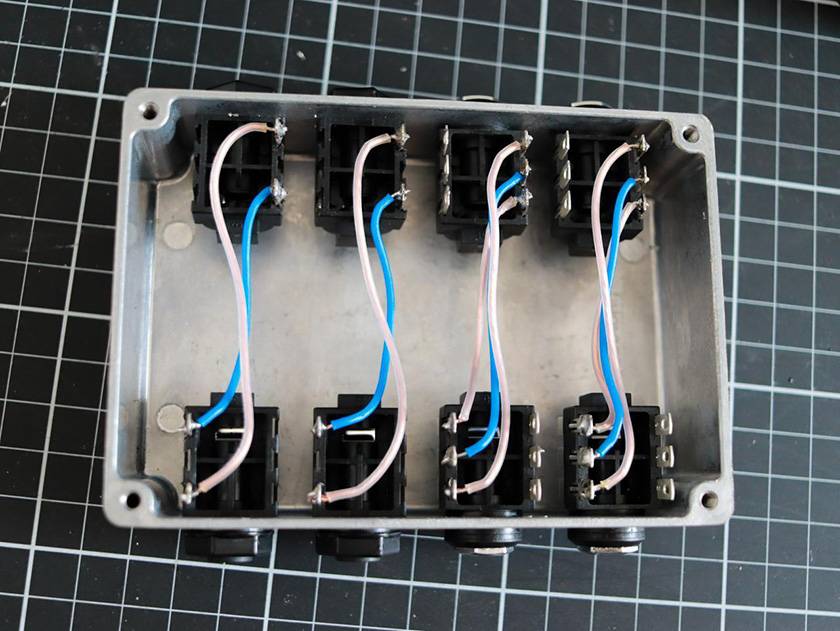
Soldering is now finished!
05 Check Continuity with a Tester
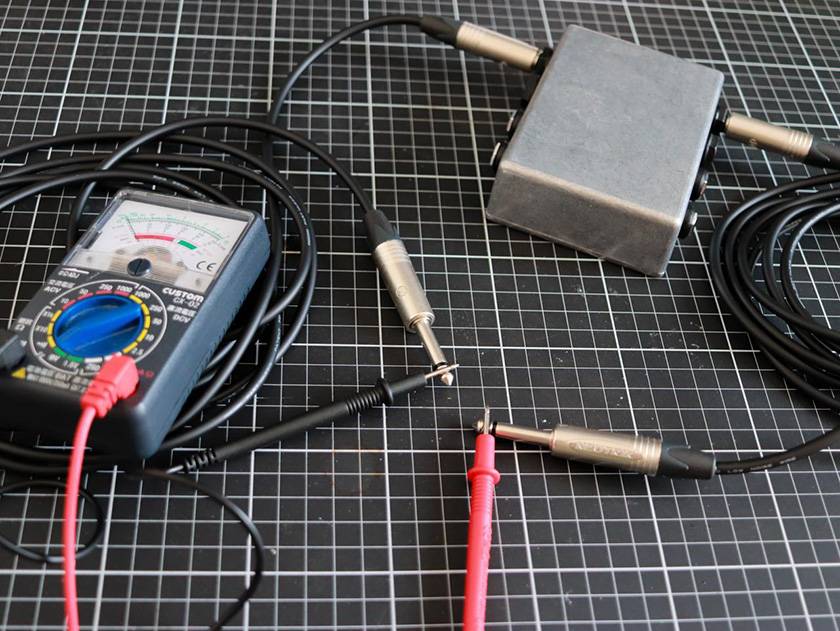
Insert shielded cables into the jacks and use a tester in continuity check mode to confirm whether the electrical connections are working properly. If you hear a "beep" sound from the tester, you're good to go! As long as there's no issue with continuity, your junction box is complete.
06 [Bonus] Add a Custom Sticker for a Personal Touch
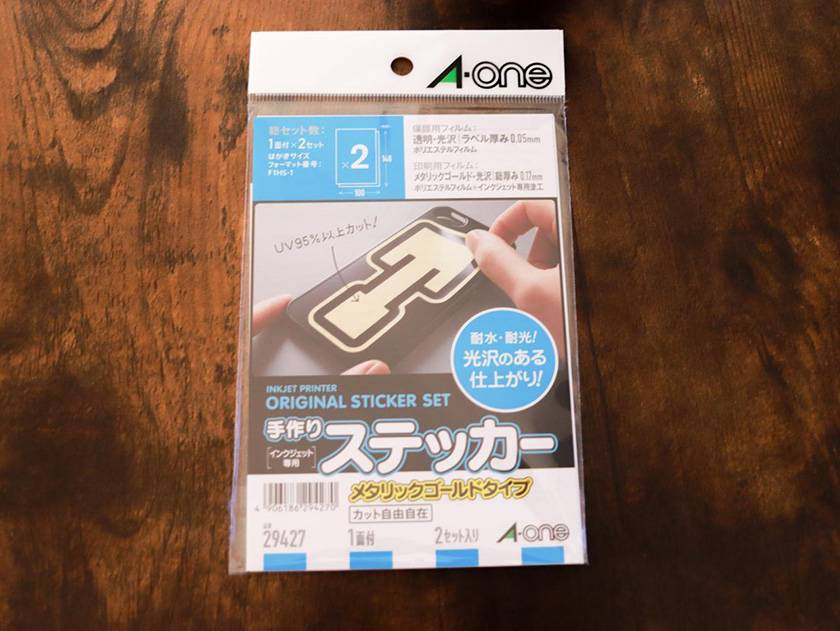
For this build, we used a postcard-sized "A-one / Handmade Sticker (Metallic Gold Type)". It's a convenient item that lets you create beautiful stickers at home with a regular printer. A wide variety is available—from simple white backgrounds to flashy, trading-card-style holographic ones.
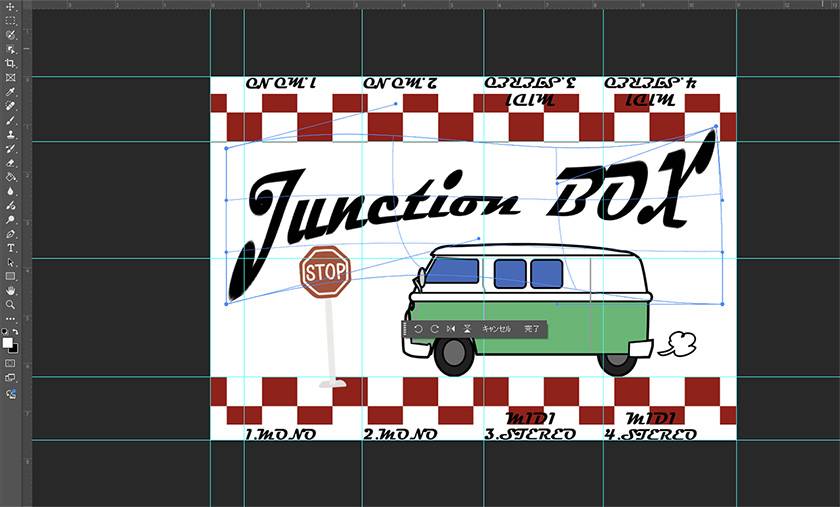
The sticker design was made in photoshop.

Once the design was ready, I printed it first on regular paper to check the position of the text and the size of the illustrations. After making some fine adjustments, here’s the final result with the sticker applied!
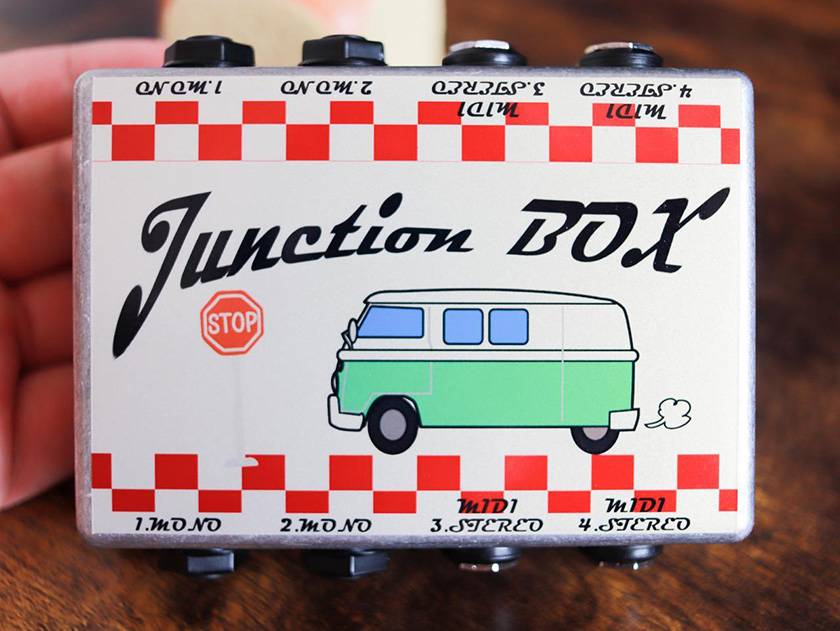
The slightly cheap look is actually super cute. It looks great!
Honestly, the most nerve-wracking part of the entire junction box build was applying the sticker straight…
Give DIY Junction Boxes a Try!
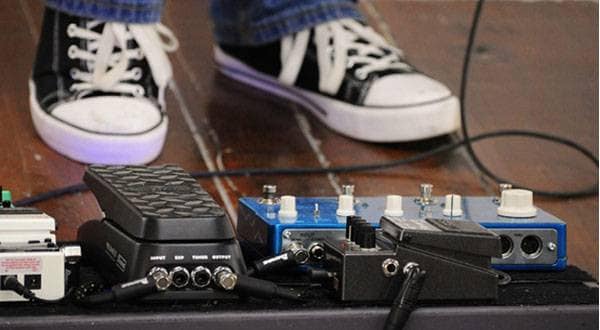
The greatest appeal of building your own junction box is that you can create one that perfectly fits your pedalboard’s size and setup. And it’s really not that hard to make. If you’re interested in DIY pedals, why not consider starting with a junction box as your first project?
The column “sound & person” is made possible by contributions from our readers.
For details on how to submit, click here.


 ギターパーツの沼
 【初心者向け】エフェクター講座
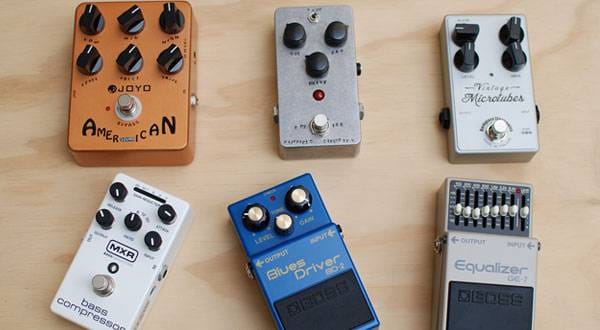
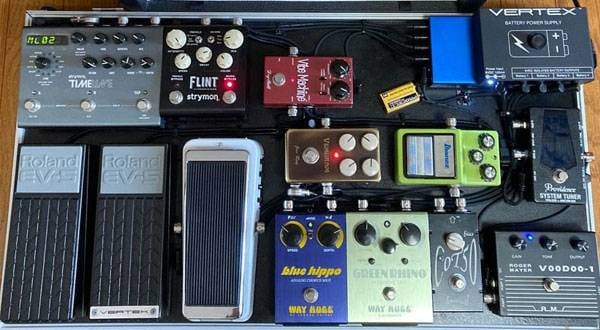
 あなたのエフェクターボード見せてください
 ベース用エフェクターの種類
 エフェクターのつなぎ方
 エフェクターの種類