Hello!
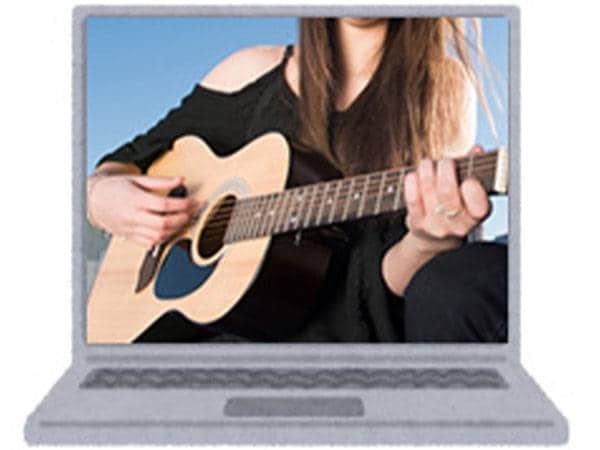
Recently, live streaming and hybrid events that combine in-person and online performances have become more common, and they’re only gaining in popularity. I am also riding the wave as I too have started streaming my performances via Zoom for orphanages and assisted living homes.
I usually stream from home solo using a PC. For this article, I would like to introduce the equipment setup I use for PC streaming, and share some key points I keep in mind when streaming alone. My main streaming platform is currently Zoom, but the setup can easily be adapted for other platforms and apps like Instagram, TwitCasting, and YouTube Live via OBS. I hope you find it helpful!
For those considering streaming from home, I hope this article serves as a helpful reference, and not a gateway into the endless rabbit hole of gear obsession.
Streaming Environment
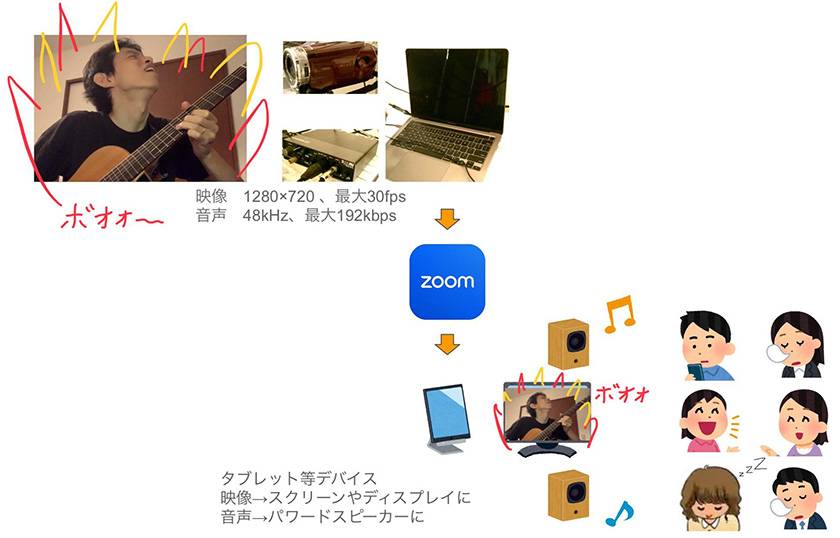
Here’s the video and audio quality I usually use when streaming via Zoom, as well as the environment on the facility’s side where the stream is being viewed.
Video Camera Settings
- 1920×1080 resolution
- Sampling rate: 30fps
- Average bitrate: 24Mbps
Zoom Settings
- Zoom Meeting (Two-way communication)
- Video Quality: 1280×720 (HD mode), sampling rate up to 30fps ※1
(In this case, Zoom recommends a transfer rate of 1.2Mbps) - Audio Quality: Sampling rate 48kHz, maximum transfer rate 192kbps ※1
(Original Sound ON, High-Fidelity Music Mode ON)
At the facility, they typically connect to Zoom using a tablet or similar device, project the screen onto a larger display such as a screen, and output the audio through a powered speaker of around 30W. I usually perform for groups of about 10–30 people.
■ A Diagram of Passionate Streaming
※1 If Zoom detects a drop in processing power or network speed, it will automatically lower the bitrate.
Equipment I Use Regularly
Below is the equipment I use when performing and streaming. It’s a bit detailed, but I’ve listed everything for reference.
Instrument (Audio) Related
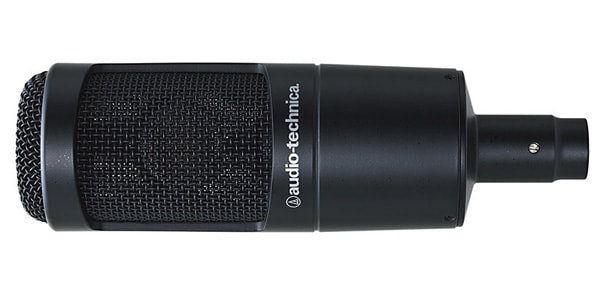
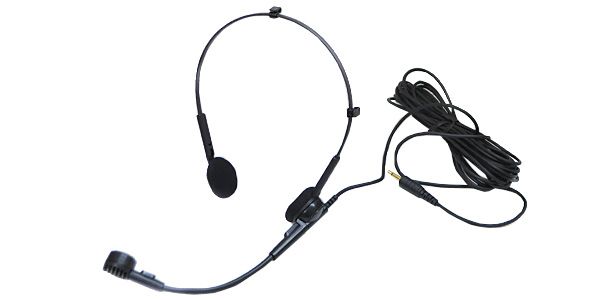
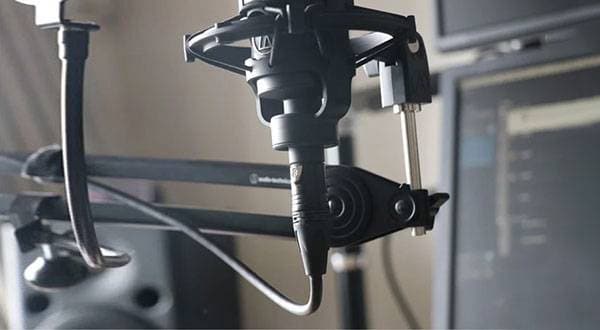
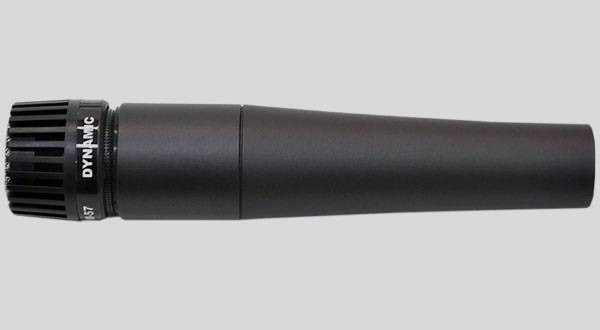
- Condenser Microphone (Audio-Technica AT2035)
➡ When there's rain or construction noise, I switch to a headset microphone (Audio-Technica AT810F) - Microphone to Audio Interface Cable (CLASSIC PRO XLR cable)
- Electro-acoustic Guitar
- Guitar Cable (Shielded)
- Guitar Effects Processor (Line 6 HX Stomp)
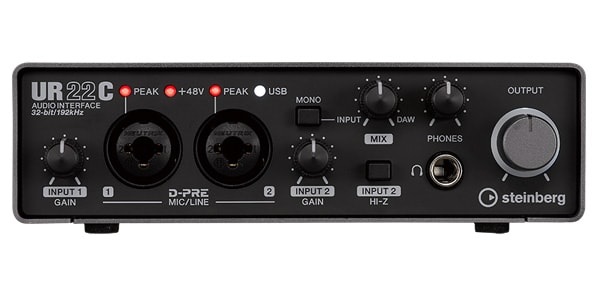
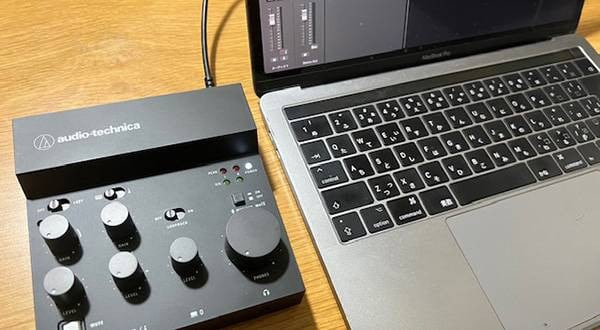
- Audio Interface with 2 or more inputs (STEINBERG UR22C)
- Effects Processor to Audio Interface Cable (CLASSIC PRO TRS cable)
- Guitar Stand (Nice to have, if available)
Video (Visual) Related
- Video Camera with HDMI Output (JVC Everio GZ-E265)
- HDMI Cable
- USB HDMI Video Capture Device (Brand unknown, 1920×1080 @ 60fps, USB 3.0 converter)
- USB Light
- (It’s nice to have if you already have one) Camera Stand or Tripod for the video camera
Performance Monitoring Related
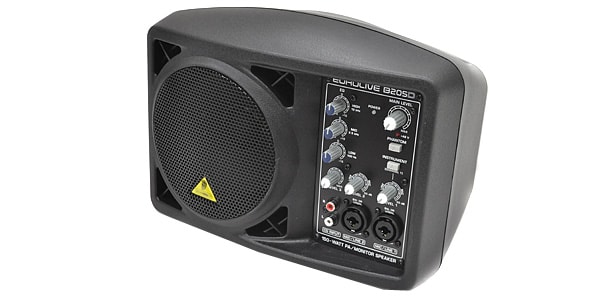
- Powered Speaker (BEHRINGER B205D EUROLIVE)
➡ If monitoring with headphones, use a wired pair (CLASSIC PRO CPH3000) - Cable to connect Guitar Effects Processor and Powered Speaker (TRS phone cable or TRS-to-XLR cable)
PC & Network Related
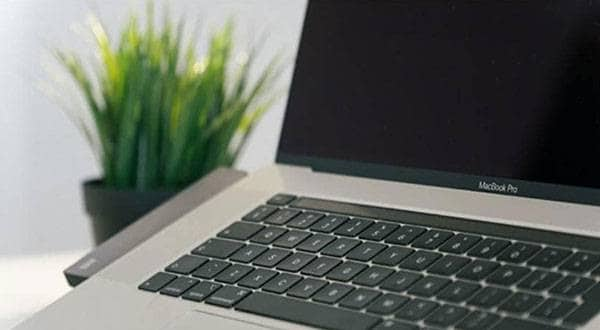
- Laptop (MacBook Pro)
- Category 6 Ethernet Cable (Manufactured by Sanwa Supply)
- Ethernet to USB 3.0 Adapter (Since the laptop doesn’t have a built-in LAN port)
- Router Supporting 1000BASE-T Standard (NEC Aterm WX1800HP)
- Home Internet Connection (Fiber-optic line for apartment buildings)
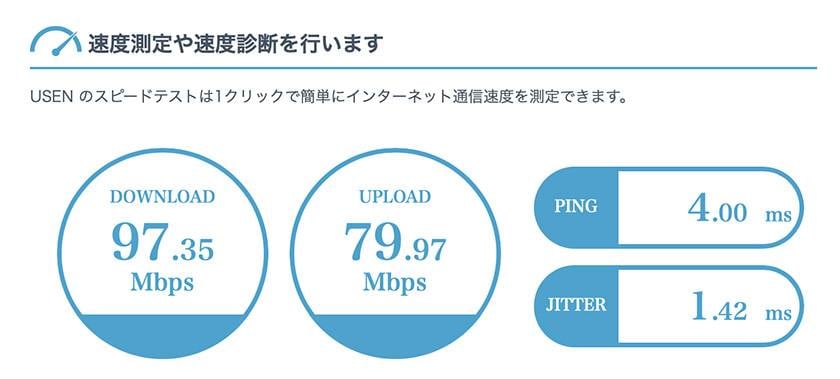
For reference, here are the results of a USEN speed test on my home network.
My streaming setup looks something like this. Everything fits into a space about the size of one tatami mat. No matter what I do, the cables always end up a bit messy, which I think is part of the charm, don’t you think?
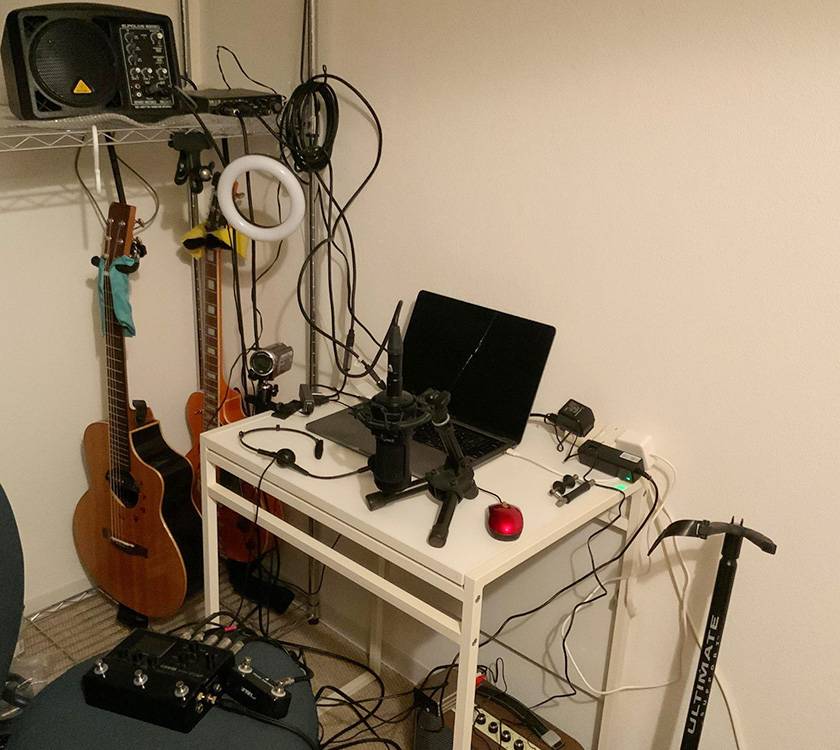
Still, photos of gear… they’re great, aren’t they? Once you start talking about equipment, it’s easy to lose track of time. Just the other day, I found myself going on and on about it, and before I knew it — 30 seconds had gone by! lol
Links to the Equipment Mentioned
STEINBERG / UR22C Audio Interface 32bit/192kHz
BEHRINGER / B205D EUROLIVE Powered Speaker
Headphones (CLASSIC PRO CPH3000)

Wait — you say buying all this is a hassle? You don’t even have internet at home?
Well, that is a problem… What should we do?
Ah, I’ve got it!!
I present to you a futuristic solution: the Tin Can Telephone!
No internet connection, no gear, no cables required — and you can stream to someone a full one meter away!
■ Concept Image of the Futuristic Solution: "Tin Can Telephone"

With this, you too can become a futuristic artist!
It’s so trendy and a total hit with the young crowd!! It’s just super cool!!! SUPER COOL!!!!!!!!!!
...Wait, what were we talking about again?
Setup Introduction
Alright, let’s get to the setup.
First, here’s how all the gear is connected:
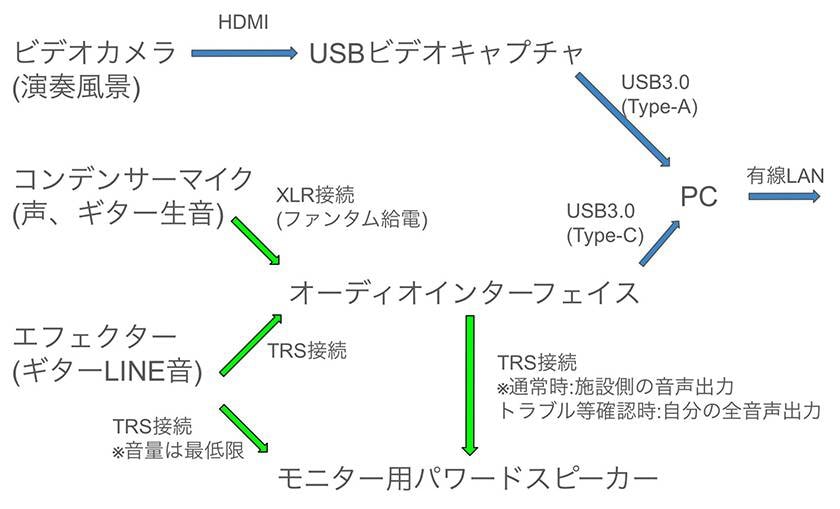
There are countless ways to connect streaming equipment, but my personal approach is:
"Use the video camera only for capturing visuals, record all audio through the audio interface, and use the PC solely for streaming."
With this method, I can minimize unexpected delays caused by fluctuations in the PC's resource usage. It also keeps things simple: adjust the video by tweaking the camera, adjust the audio by tweaking the mic or effects unit. This clear separation makes the setup easier to manage, and I highly recommend it.
※ That said, this setup is largely based on my personal preferences. I won’t go into the alternatives here, but of course there are many other valid configurations depending on your needs and way of thinking. For example:
- Mixing audio captured by the video camera into the stream
- Processing audio (adding effects) directly on the PC
There’s really no limit to the ways you can set things up.
Caution to Take When Setting Up Equipment
When putting together your gear, here are two personal recommendations I’d like to share:
1. Before upgrading video quality or buying a higher-end video camera, focus on proper lighting first
Everyone wants to improve their streaming video quality. But don’t just blindly think that 4K at all costs, only get the highest pixel count, or only a high-speed camera can capture my lightning-fast playing!!” Your PC and network might not be able to handle massive video data smoothly. It’s a shame when people spend over a hundred thousand yen on a super high-end camera only to not get the results they expected.
What’s even more important for video quality is ensuring proper brightness and lighting:
- Adjust your camera position to avoid backlighting from windows or room lights
- Use USB lights or other supplementary lighting
These improvements don’t cost much, but they have a big impact on image quality. After adjusting your lighting, if you still want to improve your video quality, then it makes sense to consider streaming settings, a higher-spec video camera, or a more powerful PC.
2. Avoid using USB or Ethernet cables with outdated standards
When connecting your PC to the audio interface and video camera, be sure to use USB and Ethernet cables that match the latest standards supported by your PC and router.
Do you think all USB and LAN cables are the same and just keep using the old ones? It might seem fine since streaming still works, but hold on a second: Did you know that USB and LAN cables come in different versions and standards, and their data transfer speeds can differ by more than double?
Unlike guitar cables or microphone cables (like TRS phone cables), USB and Ethernet cables don’t add any color or character to the sound. There’s no LAN cable that emphasizes mid-low frequencies or USB cable that makes highs sparkle. Using an old cable won’t give you any vintage warmth either. If the cable is too old, it might cause crackling or glitches that’s more like a retro Showa-era vibe. (But hey, we’re talking about video and audio quality here, not skincare! laughs)
If that’s the case, to avoid unnecessary processing delays, it’s safest to use cables that match the latest standards supported by your PC, router, and other devices. When it’s time to replace cables or change your internet plan, be sure to upgrade your cables as well.
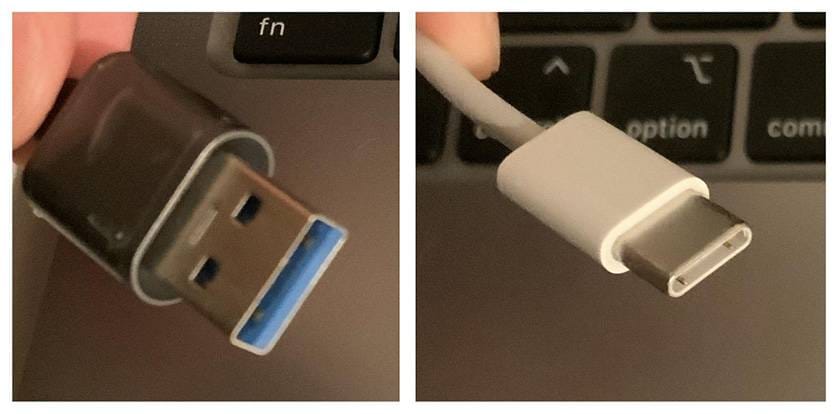
For USB cables, if you’re already using version 3.0 or higher, there’s no urgent need to replace them. However, it’s a good idea to check if you have any cables older than USB 2.0. Type-A connectors (like the one in the image on the left) are version 3.0 if the connector part is blue. Type-C connectors (like the one in the image on the right) are generally version 3.0 or higher. However, occasionally, some Type-C cables may be blue but still use an older standard, or they may be configured to USB 2.0 specs. Always double-check before purchasing.
When it comes to Ethernet cables, use at least Category 5e or higher.
Here’s a rough comparison of speeds to keep in mind:

※ USB 3.1 and later versions have complicated naming conventions, so it’s faster to just check the specifications of the cable you’re planning to use.
After seeing this chart, it’s a bit frustrating to come across people who upgrade their internet plans to “super fast gigabit speeds” but still use Category 5 LAN cables or USB 2.0 Ethernet-to-USB adapters.
Gaaahhhh! it just itches so bad! It’s really bugging me bad!! Wait, it was just a mosquito bite. Sorry about that!
Sound Check Before Streaming — Tips for Solo Operators
Before starting a stream with software like Zoom or OBS, you always need to do a sound check, right?
Usually, the process goes like this:
- Play each channel one by one to check the sound
- Then, play through all the settings and songs you plan to use during the live stream
- Listen back to confirm everything sounds right
However, when you’re operating solo, going back and forth between playing and listening can take quite a bit of time. Sometimes you might play all channels at once, only to realize later that you missed something.
This is why I recommend this method for checking:
Record each channel from your audio interface using a DAW (Digital Audio Workstation) software, then check the waveforms visually for any issues before streaming.
Record your entire performance on the DAW during the sound check. By visually inspecting the waveforms of each channel, you can quickly spot and fix problems without missing anything.
■ Example: DAW software I use for checking — Cubase AI
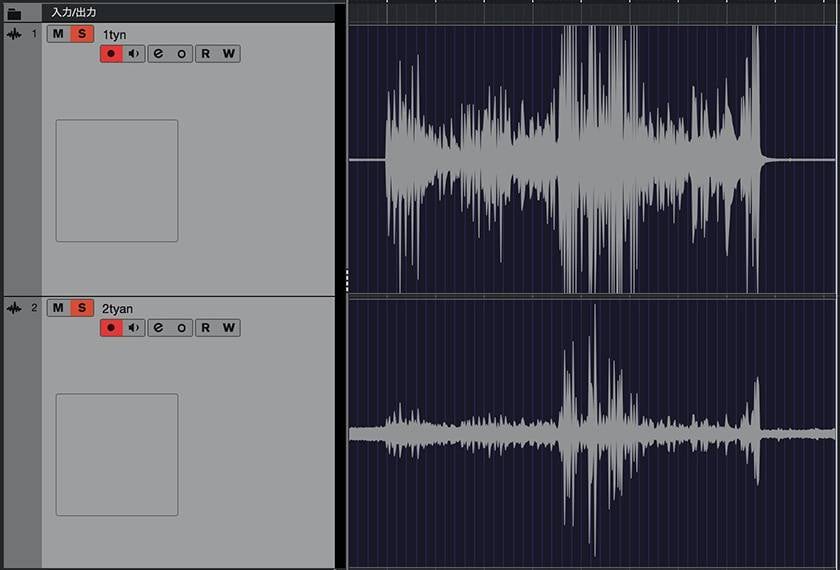
For example, in the case above:
First (top) channel:
- There are parts where the signal is almost clipping, causing distortion
➡ Lower the volume for those parts or the entire channel
Second (bottom) channel:
- Volume is too low
- No silent parts (there’s noise present)
➡ Check the connection (find and fix the source of the noise)
How about that? It seems faster than playing each channel and listening repeatedly up to the specific problem spots. Once you’ve fixed the issues visually and adjusted the overall balance, you can listen through one final time to reduce the chance of missing anything.
Once your checks are done, be sure to close the DAW software. To free up your PC’s resources, close all unnecessary programs before going live. (And to free up your brain’s resources too, try to forget about things unrelated to the stream — like what’s for dinner tonight laughs.)
Summary & Additional Resources
This time, I introduced some gear and how to prepare for solo PC streaming. I encourage you all to find your own favorite ways to set things up!
※ There are also several articles about streaming on the Sound House website, so if you’re interested, be sure to check those out as well.
⇒ Sound House Guide: What Equipment Do You Need for Live Streaming?
Also, although different from what I use, you can basically get all the streaming gear you need from Sound House. Be sure to check them out as well.
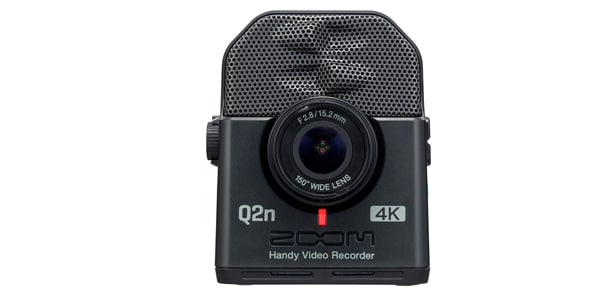
ZOOM / Q2n-4K — 4K Handy Video Recorder
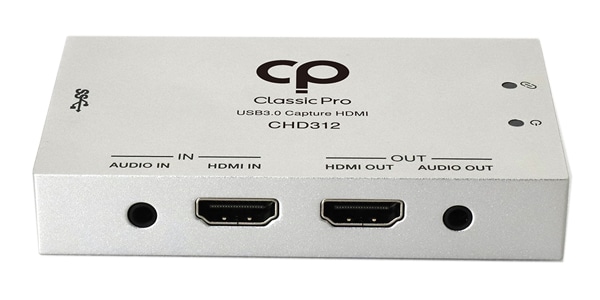
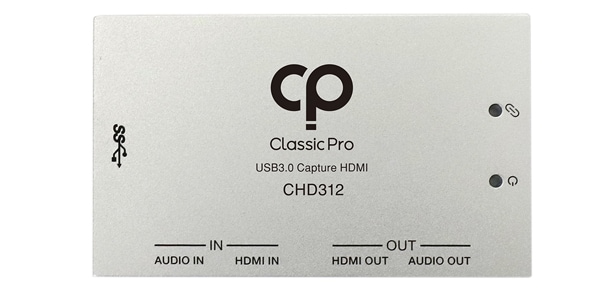
CLASSIC PRO / CHD312 — HDMI Video Capture with Through-Out, USB 3.0 Connection
CLASSIC PRO / AM03 — Desktop Streaming Set 1

What? You say you want the “Itodenwa” (Thread Phone)? It’s probably sold out due to high demand, so try sending a reservation request through Sound House’s inquiry form.
Huh? There’s no inquiry category for that?? No way!! Well this is bad! Very bad!!!
The “sound & person” column is made up of contributions from you.
For details about contributing, click here.


![[Enhancing Talk Sound Quality] How to Increase Viewer Satisfaction in Streaming, Game Streaming, and Review Videos](/contents/uploads/thumbs/2/2023/5/20230511_2_22530_1.jpg)
![[Music Production and Streaming] A Thorough Review of Useful Functions Featured in the High-Quality Axino USB Microphone!](/contents/uploads/thumbs/2/2022/1/20220111_2_16106_1.jpg)
 ライブ配信に必要な機材
 ライブ配信に必要な機材を徹底解説 オンラインライブの創り方
 厳選!人気のおすすめオーディオインターフェイス特集
 タイプで選ぶ「良音」カラオケ配信機材
 配信・ポッドキャスト特集!(ライブ/動画/ゲーム実況)
 機能で選ぶ オーディオインターフェイス