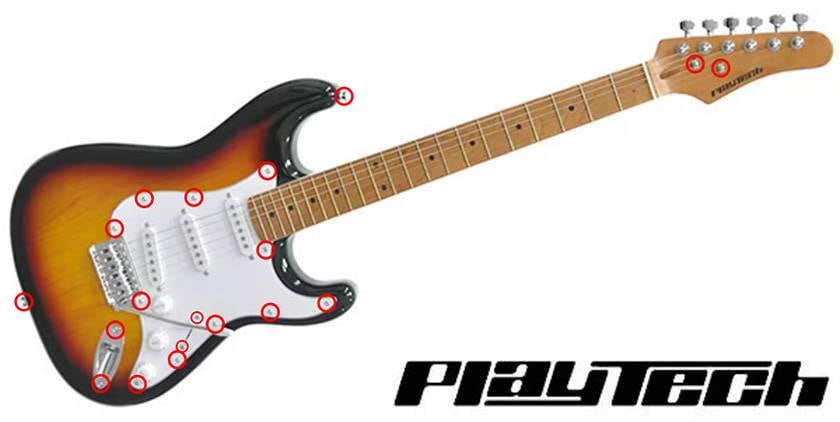
This time, we’re going to focus on ST-type electric guitars and I’ll be mainly sharing screw-related setup tips.
They’re just screws, but still—screws matter.
So, we’ll go over some tips on how to tighten them properly.
Depending on how tight they are, the sound and playability can change, so be sure to try it out on your own guitar.
This can also be helpful if you want to replace screws due to rust.
I personally had to replace more than half the screws on my own guitar because they got rusty.
Even then, using the methods I’ll be introducing here will make the guitar easier to play, so I hope it will be useful for you too.
By the way, even if they’re not rusty, buying extra screws and changing their color is totally an option.
It can change the vibe of the guitar and boost your mood.
Maybe you’ve always dreamed of owning a certain guitar but you don’t have the budget…
Even in that’s the case, you can make it look closer to your dream guitar (well, at least visually).
One important point is to measure the diameter of the screws to check whether your guitar uses inch or metric standards.
If you don’t, you might end up buying both (speaking from experience).
Most screws are handled by Sound House, so buying there is safer and will make you less prone to mistakenly buy the wrong screws than when you go to buy them at a hardware store.
PLAYTECH / ST280 Sunburst [Carbonized Maple Neck]
![PLAYTECH / ST280 Sunburst [Carbonized Maple Neck]](https://www.soundhouse.co.jp/images/shop/prod_img/p/pt_st280sblaa.jpg)
↑ The guitar used for this introduction. The carbonized maple neck really stands out against the sunburst body.
YAMAHA / PAC612VIIFM IDB Electric Guitar PACIFICA
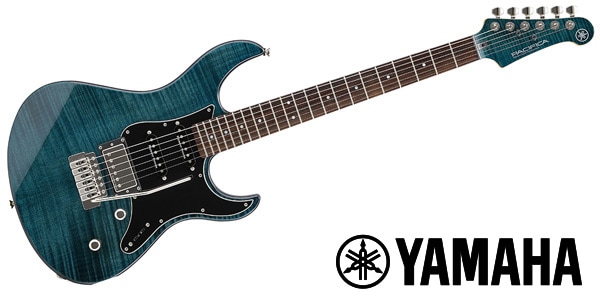
↑ My main guitar. I consider it an ST type, more or less.
Also, to make the most efficient use of my time, I’ll be using the following guitar tools.
It’s an 11-in-1 tool, not just a Swiss army knife but an “11-kind tool”.
Anyone who plays guitar or bass should definitely have one—it’s very useful. The functions are listed here and they are more than enough.
< From the official description >
- Hex wrenches (mm): 1.5 / 2.0 / 2.5 / 3.0 / 4.0 / 5.0
- Pipe wrench (mm): 7.0
- Screwdrivers: Phillips (large, small), Flathead
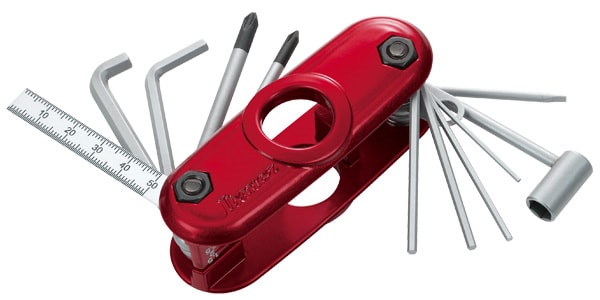
↑ It’s not cheap, but it’s definitely a better deal than buying the tools separately.
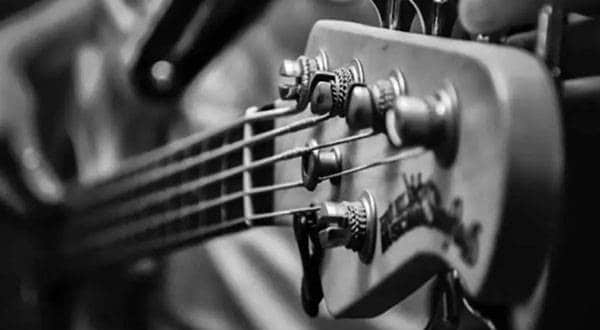
Tuning Pegs & Jack
Let’s start with the tuning pegs.
Make sure to properly tighten the screws on the back of the head.
If you don’t, your tuning will become unstable.
Be careful not to overtighten the screw next to the knob. If it's too tight, it’ll become too hard to turn.
Turn the screw until just before it becomes tight, and stop there — that’s enough.
As for the jack, first remove the jack plate, then hold the backside with pliers or something similar and tighten it with a hex wrench.
At this time, if you apply contact cleaner, noise will be greatly reduced.
I’ll be introducing more details about the jack plate later.
ELECTRO-HARMONIX / Metal Contact
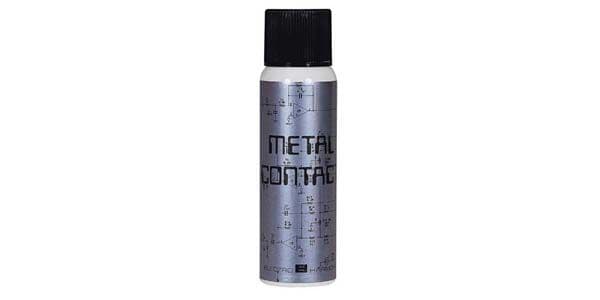
↑ Apply it to the tip of the cable, then insert and remove it a few times to spread it across the entire surface.
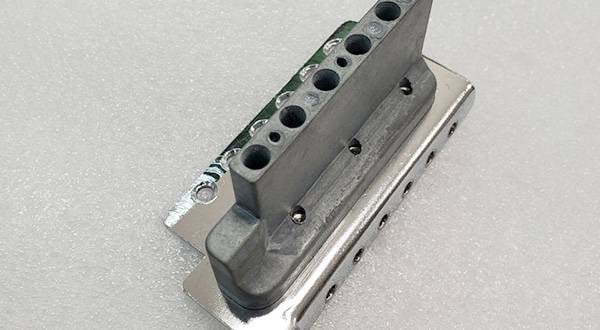
Neck Plate & Back Panel

The neck plate is the part indicated in the red circle on the left side.
Just like with the tuning pegs, turn the screw and stop just before it gets tight — that’s good.
If it’s too tight or too loose, the resonance of the sound will be affected.
It’s not a bad idea to purposely try listening with the plate being too tight and too lose so you can understand the difference.
Regarding the neck plate, if possible, do it when you’re changing the strings — Doing it with no strings on is best.
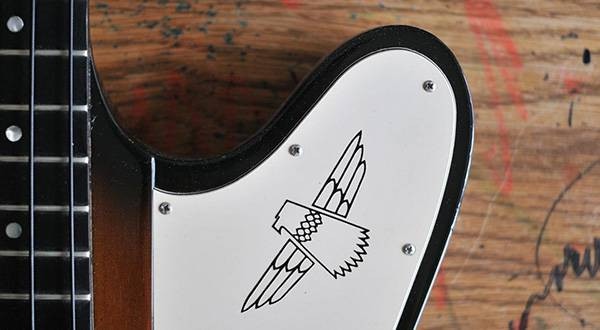
As for the white back panel, be sure to tighten it properly.
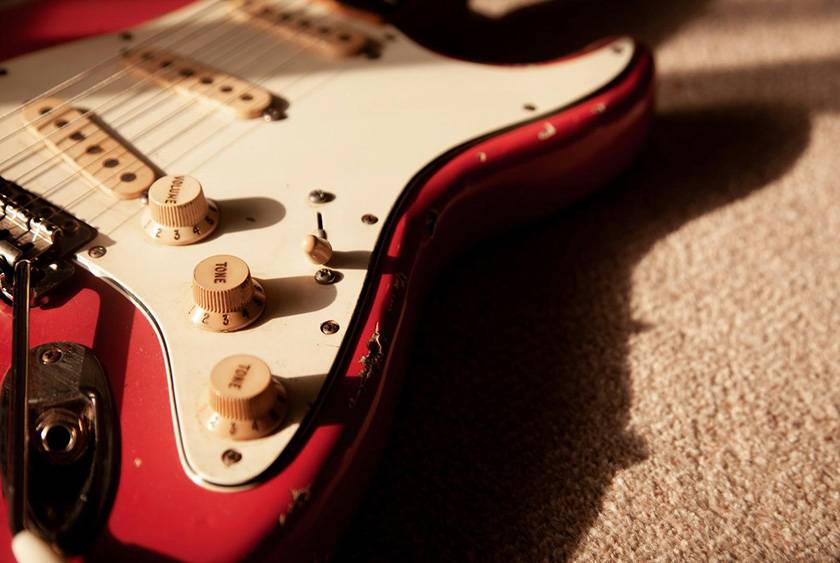
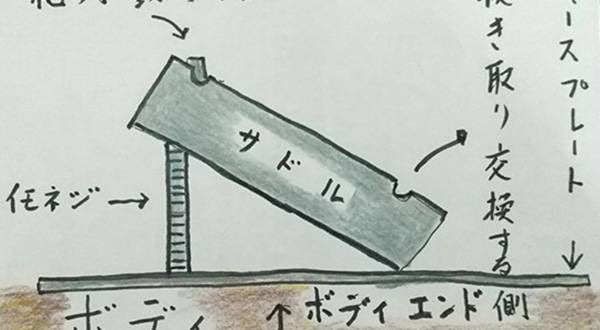
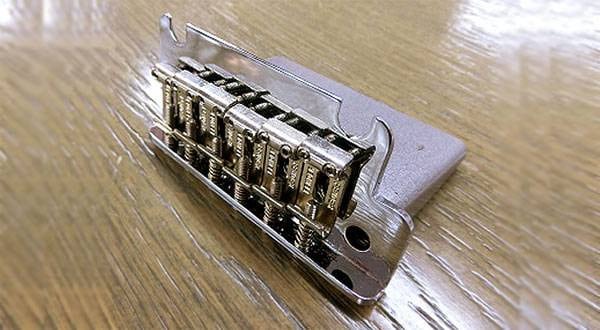
Bridge

For the six screws in the red box indicating the bridge, tighten the two on the ends properly, and stop tightening the other four just before they become tight — this gives it a good balance.
When tightening these screws, loosen the strings or do it while changing strings — in other words, do it when there’s less tension.
Unless you’re doing a special setup or using a special bridge (like a Floyd Rose), this method works well for most ST-type electric guitars.
Other
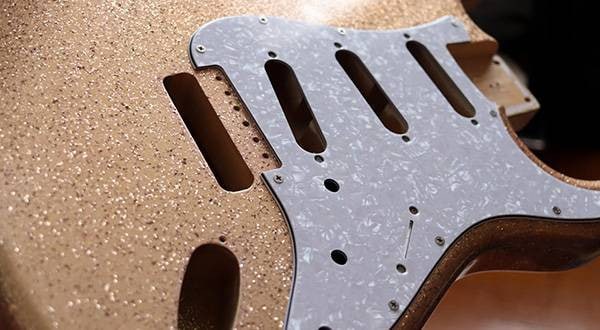
Finally, tighten the screws on the pickguard, strap pins, jack plate, and the string retainer on the headstock.
These can be done with the strings still on.
When tightening the pickguard screws, be careful not to accidentally turn the pickup screws.
Overall, it’s okay to tighten these firmly.
It’s probably better not to leave anything loose.
The jack itself was tightened with a hex wrench, but the jack plate can be tightened with a Phillips screwdriver.
Make sure it’s tightened properly.
In addition, the tremolo springs and pickups can also be adjusted with screws, but this is a more difficult job and should be done while plugged into an amp, so we’ll just skip it this time.
Also, since sound and playability can change significantly depending on the setup, it’s safer not to touch these parts until you’re more experienced.
Conclusion
How was it?
Screw-based setups are easy to perform, so definitely give them a try.
I’d be happy if your playability improves using the methods I introduced here.
The “sound & person” column is made up of contributions from you.
For details about contributing, click here.


 DIY ギターメンテナンス
 ブリッジの種類
 ネックの調整方法
 弦の張り替え(エレキギター)
 ギターのお手入れ
 お手入れに必要な道具