Let me ask you something—do you usually pay attention to the height of your guitar pickups (hereafter referred to as "PU")?
Some players frequently fine-tune their pickup height in pursuit of their ideal sound, while others may have never touched it since the day they bought their instrument.
Personally, I feel that the tonal changes caused by pickup height are more significant than most people think. This is why I adjust the height of every instrument I own to match my preferred sound. Whenever I feel like something sounds different one day, I always check the pickup height—just like I would check for neck bow or string action.
In this article, I’ll explain in detail how pickup height affects your sound, and the target audience for this article is for players who have never adjusted their pickups before or are curious about it but are unsure how to go about it.
I hope this article helps you unlock 100% of your instrument’s potential.
How to Measure Pickup Height
The most commonly introduced method for measuring pickup (PU) height is to press down on the last fret and measure the distance between the pickup pole piece (the magnetic part) and the string.
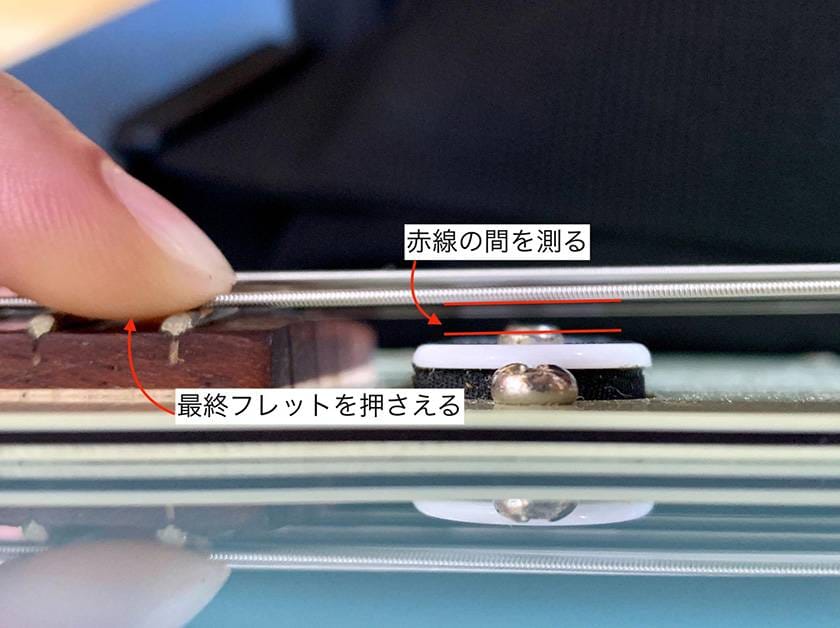
With most guitars, it's standard to measure the values on both the 1st string side and the 6th string side (or the 1st and 4th/5th/6th strings for bass).
Here’s the tool I personally use when measuring PU height:
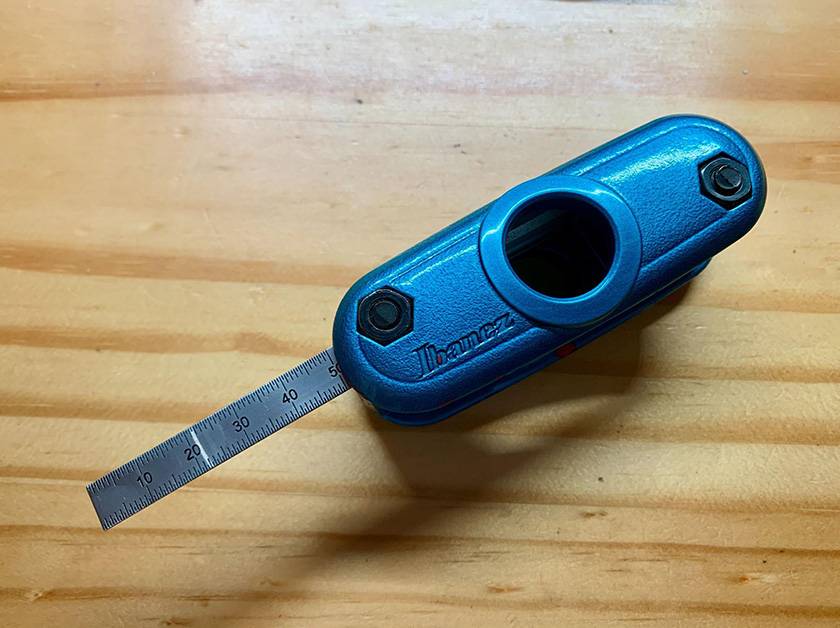
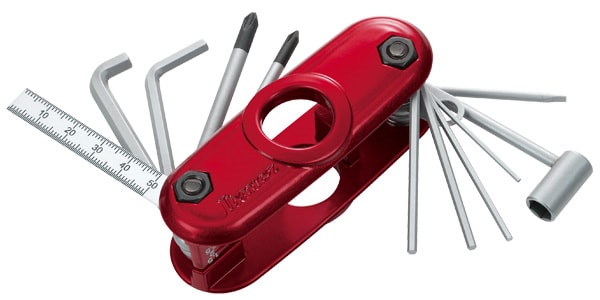
With this tool, you can measure PU height and also use the built-in screwdriver to adjust the height, making it extremely convenient.
It’s also useful for string action adjustments and neck relief adjustments.
Test Environment
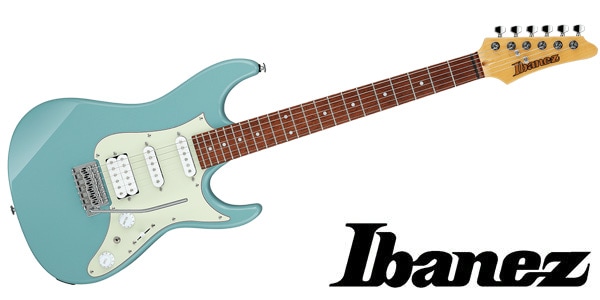
This time, I used a guitar I own with an SSH layout (Ibanez AZES40).
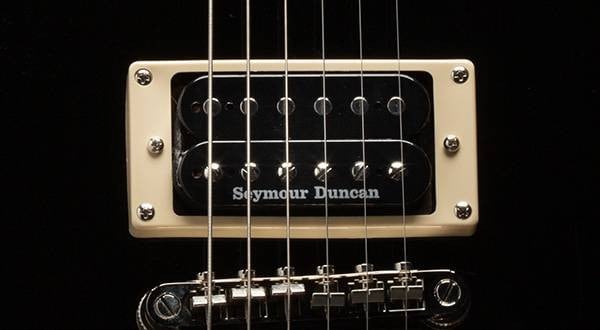
The test focused on two types of pickups: the rear humbucker and the front single coil. For each, I compared chord playing and single-note playing using both clean and drive tones.
All amp and effects settings were kept identical, so I only examined the sound changes caused by differences in the pickup height.
Reference Setup
First, here’s the “reference setup” I normally use:
- Rear PU: 1st string side – 2.5mm / 6th string side – 2.5mm
- Front PU: 1st string side – 2.0mm / 6th string side – 2.5mm
I intentionally set this up to be a bit higher within the range so it makes it easier to control the tone while maintaining the volume balance. One major advantage of raising the PU height is that it picks up the string signal more strongly, improving the Signal-to-Noise Ratio (S/N Ratio).
Also, I personally find it hard to work with a large volume difference between the front and rear pickups, so I try to minimize that difference as much as possible.
When Pickup Height is Set Lower
Next, I lowered both the rear and front pickups as much as reasonably possible.
- Rear PU: 1st string side – 5.0mm / 6th string side – 5.5mm
- Front PU: 1st string side – 5.5mm / 6th string side – 5.5mm
When playing with this setup, the first thing I noticed was a significant drop in volume. As the distance between the pickups and strings increases, the signal weakens, and the overall tone becomes calmer and rounder. Since the high frequencies are subdued, this setting is useful in situations where a softer tone is desired.
However, when using distortion, the drive felt somewhat lacking. You can compensate by increasing the gain on your amp or effects, but that also increases noise, ultimately worsening the Signal-to-Noise Ratio (S/N Ratio).
This characteristic is well-suited for jazz or clean-tone-focused setups.
If you’re looking to suppress attack and aim for a rich, mellow tone, a lower pickup height can be very effective.
When Pickup Height is Set Higher
Next, I adjusted the pickups to be as high as reasonably possible.
- Rear PU: 1st string side – 0.75mm / 6th string side – 0.75mm
- Front PU: 1st string side – 0.5mm / 6th string side – 0.5mm
The moment I started playing, I immediately noticed a significant increase in volume.
Since the string vibrations are picked up very strongly, the overall sound becomes punchy and energetic.
The amount of distortion also increases noticeably, making this setting an excellent match for aggressive genres like hard rock and metal.
However, there are also downsides.
The high output can make the gain harder to control, and the pickups may protrude too much from the body that gets in the way of picking.
Additionally, the strong magnetic pull on the strings can cause sustain to shorten unnaturally, or lead to slight pitch warbling that sounds like a subtle chorus effect.
To Summarize
So, what did you think?
Just by adjusting pickup height, you can drastically change volume, tone, distortion characteristics, and even how the instrument feels to play.
And, all you need is a single screwdriver, with no special tools or technical knowledge required.
- Lower pickup height → Produces a mellow, rounded tone; effective for clean-focused genres
- Higher pickup height → Produces a punchy, aggressive tone; great for high-gain genres
If you haven’t tried it yet, I highly encourage you to experiment with your own instrument. Just a few millimeters can make a huge difference in sound.
You may find yourself thinking, “I didn’t know my guitar could sound like this!”
To unlock 100% of your guitar or bass’s potential, I think that making a pickup height adjustment a regular part of your maintenance routine is essential.
The “sound & person” column is made up of contributions from you.
For details about contributing, click here.


![Things to Know About Pickup Replacement - Part 2 [Mechanism]](/contents/uploads/thumbs/2/2024/4/20240404_2_26433_1.jpg)

 ピックアップ交換大作戦!
 DIY ギターメンテナンス
 ピックアップの種類
 ピックアップの種類(アコースティックギター)
 ピックアップの種類(エレキギター)
 ギターのお手入れ