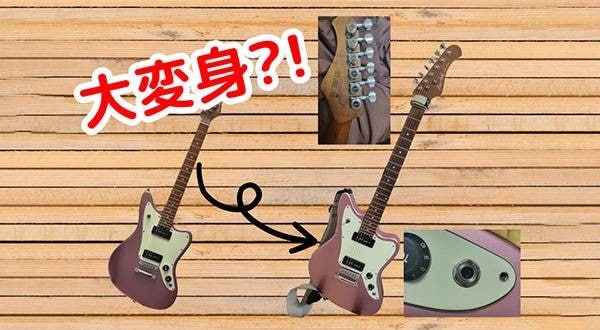
A problem occurred with the guitar I usually use for lessons; no sound was coming out.
When I moved the cable, the sound would come and go, so I suspected a problem with the jack and investigated. As expected, the cause was the jack.
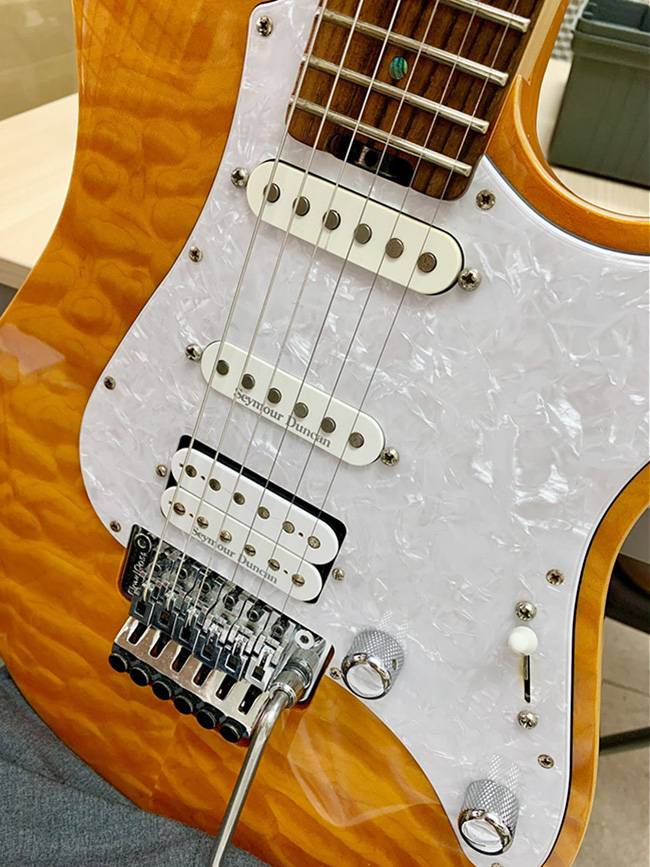
This guitar has a standard jack installed, but this type has the drawback of being prone to contact failure due to metal parts loosening with age.
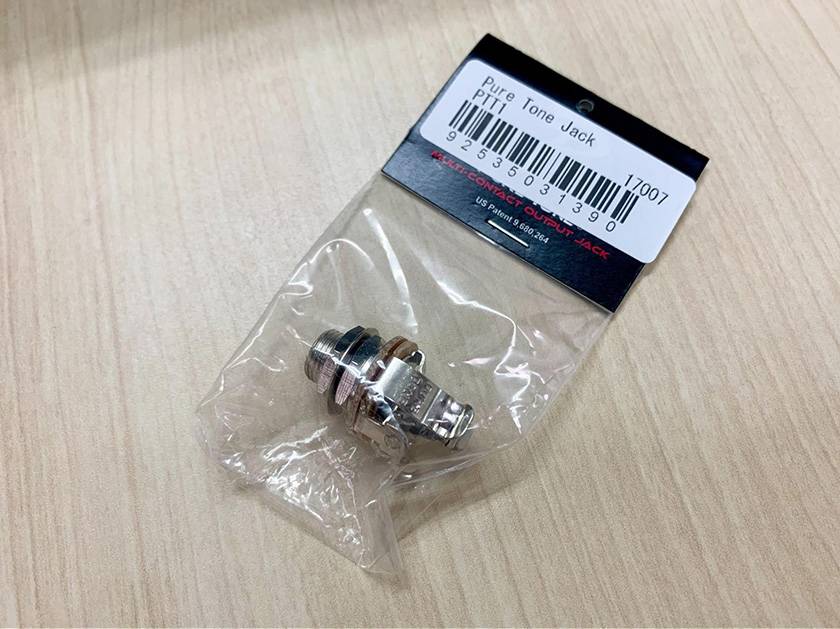
Of course, replacing it with the same type of jack is one option, but if possible, I would rather not deal with the same issue again. So this time, I prepared a jack with higher reliability.
This is the Pure Tone Jack PTT1.
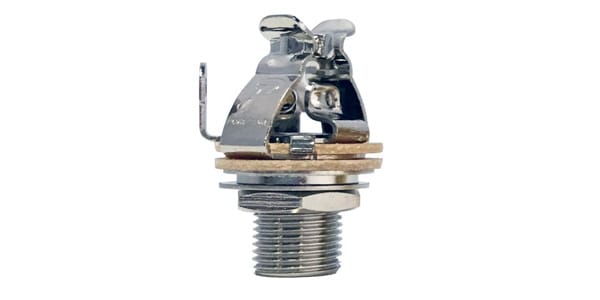
This jack differs from a standard jack in that it uses a 4-contact structure to firmly hold the cable.
As a result, looseness is reduced, and the risk of contact failure is greatly minimized.
The jack is one of the most trouble-prone parts of electric guitars and basses.
This time, I’ll explain how to replace a jack with easy-to-understand steps that are so simple that they work even for beginners working on guitars.
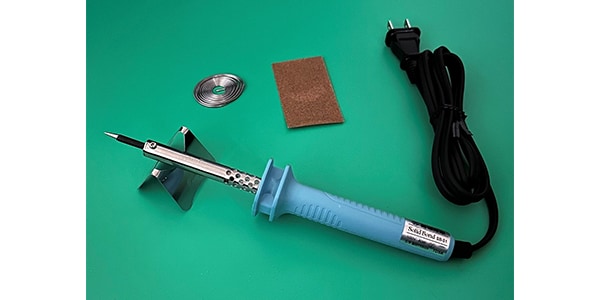
1. Tools Required for Jack Replacement
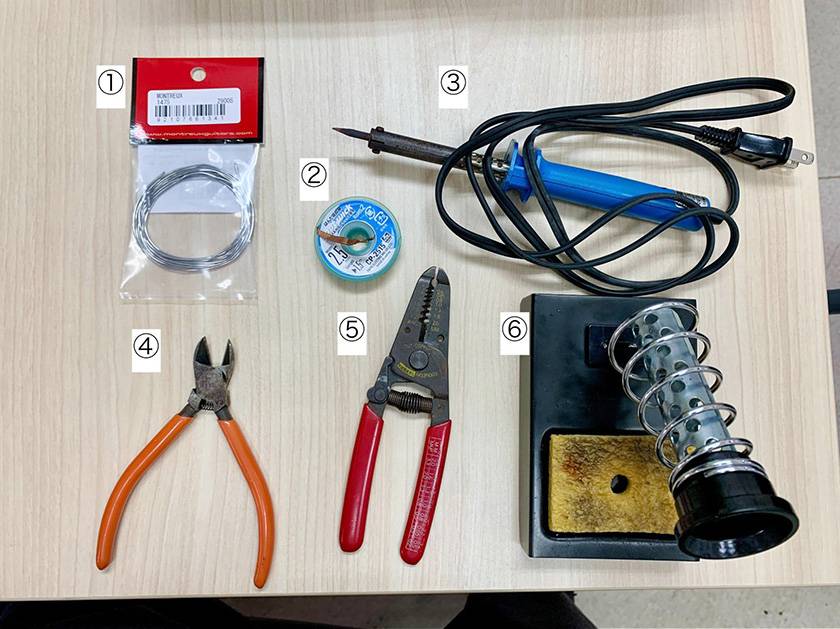
- Solder
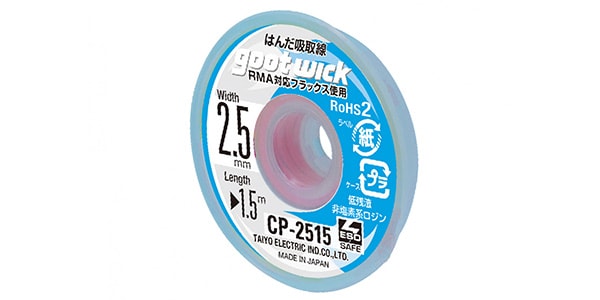
MONTREUX / Kester 44 1.5m [1475] - Desoldering Braid
SolidBond / goot Desoldering Braid CP-2515 - Soldering Iron
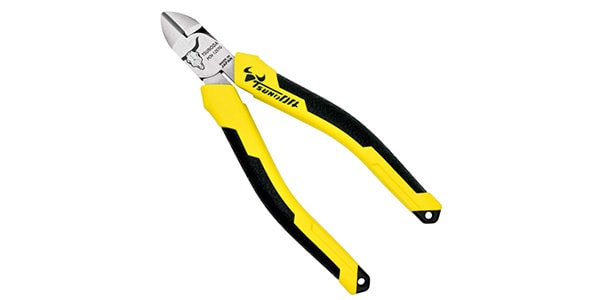
SolidBond / SB-S1 Soldering Iron - Nippers
SolidBond / TSUNODA Power Heavy-Duty Nippers PCN-125TG - Wire Stripper
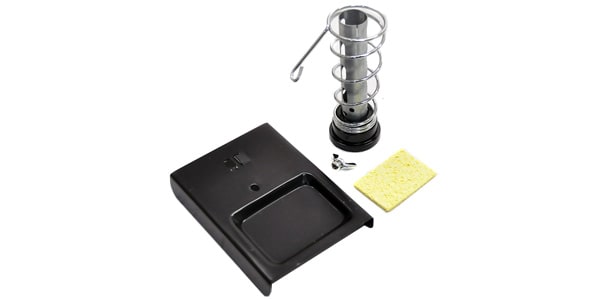
- Soldering Iron Stand
CLASSIC PRO / SLD Stand
If you have all of these, not only can you replace the jack, but you can also use them for pickup replacements and wiring work, making them very handy to have in your toolkit.
2. Remove the Jack from the Guitar Body
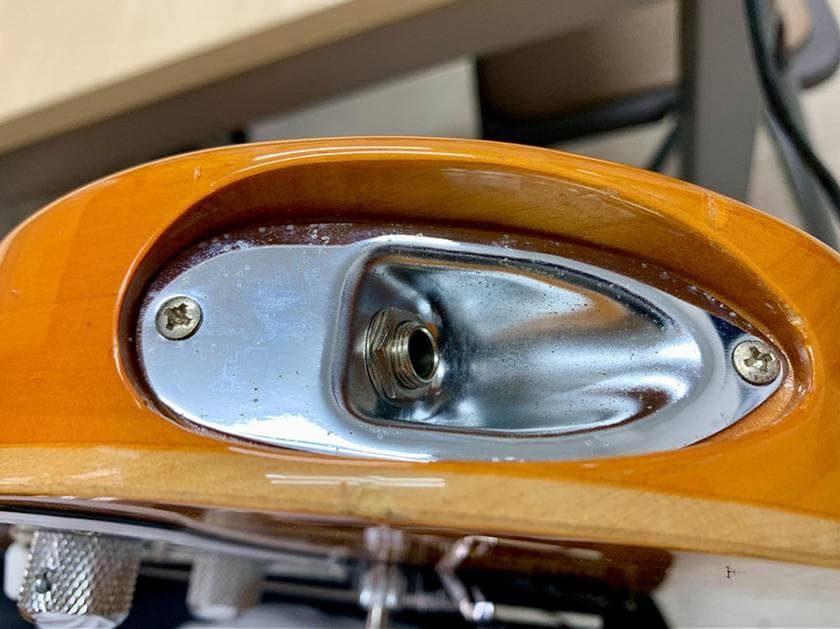
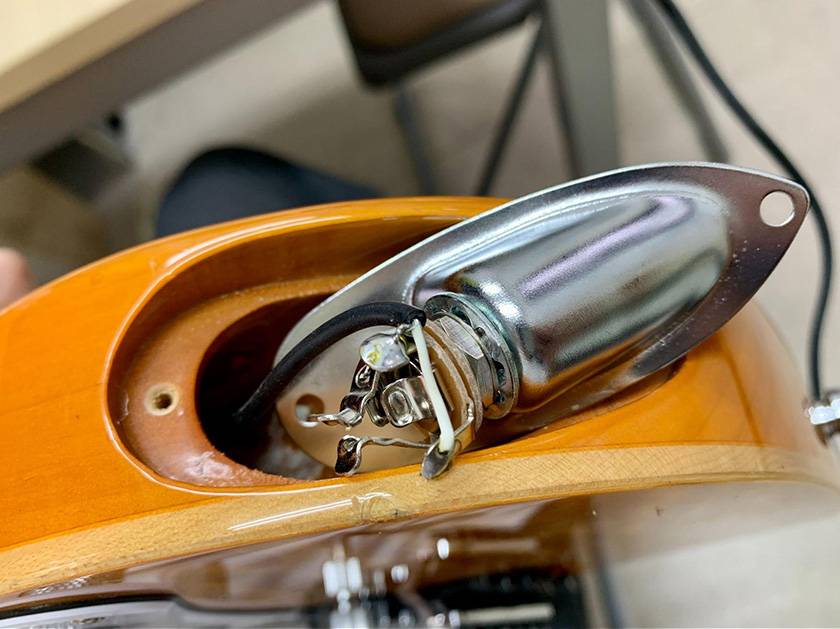
This guitar has a jack mounted on an oval jack plate, so first, remove the plate.
Once the plate is off, the wiring will be visible.

For beginners, I recommend taking a photo at this stage. If you record which wire was connected where, you won’t get confused during the process.
This time, to save time, I cut the wires with nippers instead of using a soldering iron.
The jack itself is secured to the plate with a hex nut, so I just used a hex wrench to remove it.
3. Attach the New Jack to the Plate
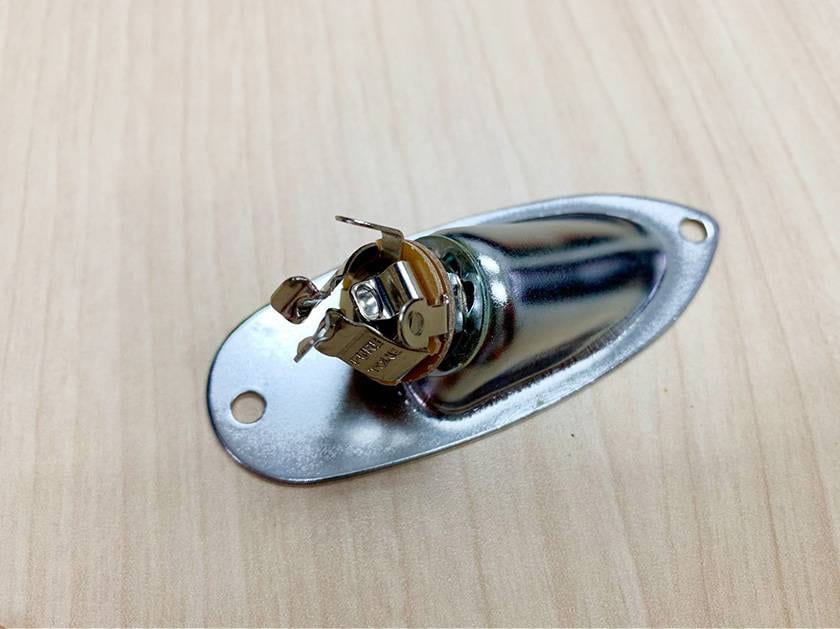
Set the new jack into the plate.
You can do the wiring first if you prefer, but in this case, temporarily mounting it on the plate made the work easier, so I followed this order.
Since you might need to fine-tune the orientation, it's best to keep it loosely fastened at first.
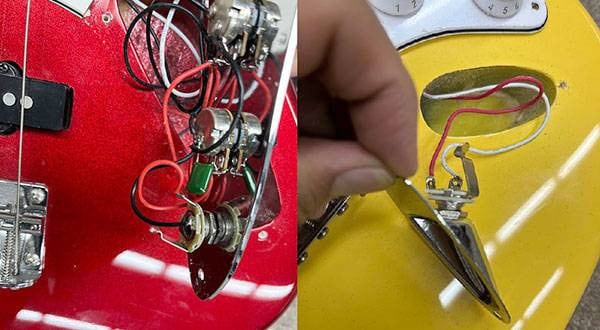
4. Preparing for Wiring Work
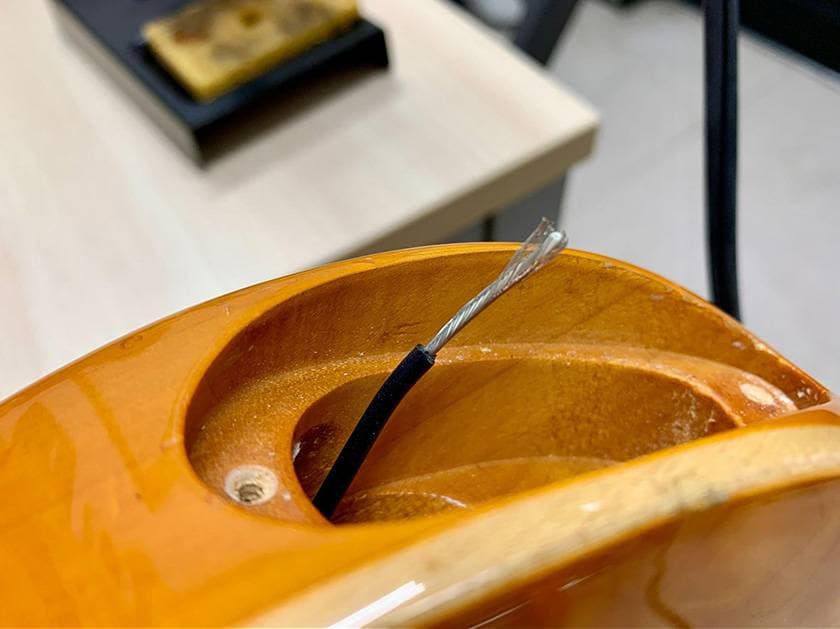
When you strip the insulation using a wire stripper, you'll find a bundle of fine silver wires. Untwist and twist them together into one strand.

This is the ground wire.
On the other hand, the white wire is the hot wire, so strip its insulation the same way.
Apply some pre-solder to each wire.
Pre-soldering makes the actual soldering during wiring much easier.
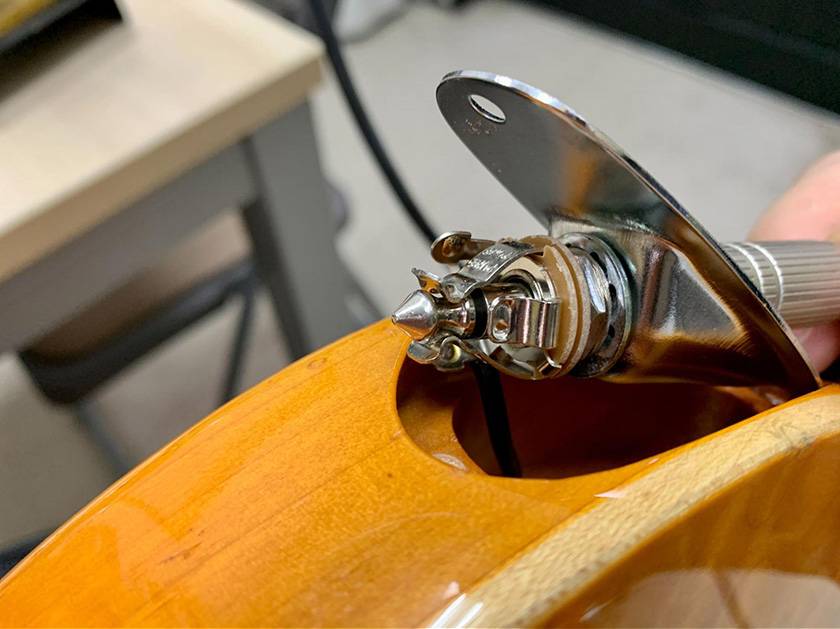
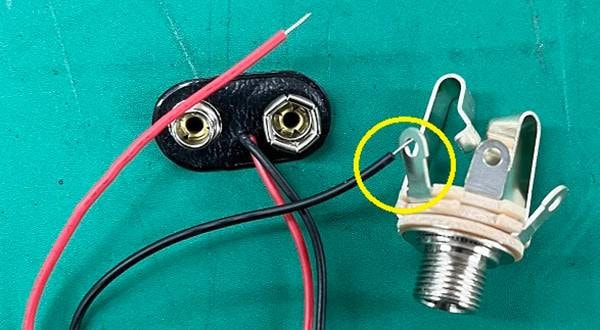
5. Connect the Wiring to the New Jack
Before connecting the wiring, check the terminal positions on the jack.
On the PTT1, the hot and ground positions are as shown in the image.
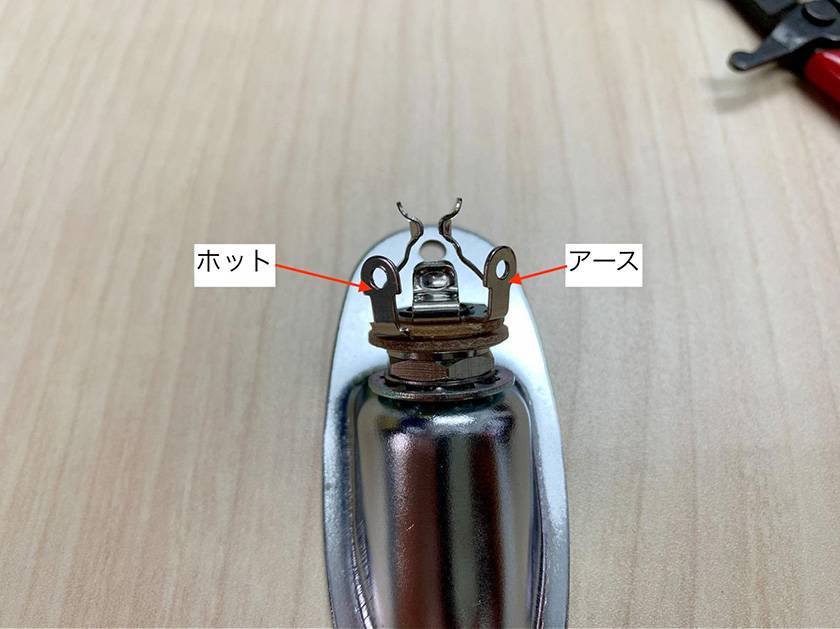
Even if you connect them in reverse, it simply won’t produce sound—so stay calm and reconnect correctly if needed.
It's a good idea to pre-solder the terminals too, but since the PTT1 takes solder easily, I skipped this step this time.
The procedure is as follows:
- Touch the soldering iron to the terminal and heat it thoroughly
- Once it’s hot, feed in the solder
- After applying the right amount, remove the solder, then take the soldering iron off
Even if it doesn't look professional or beautiful, as long as the connection is secure, there’s no problem.
If you need to redo it, use a desoldering braid to remove excess solder.
6. Sound Check
Once the wiring work is done, plug in a cable and connect to an amp to check if sound comes out.
If there’s no sound, it’s possible the hot and ground wires were reversed, so check again.
After confirming that the sound comes out properly, tighten the jack securely while being careful not to damage the wiring, and reattach the plate to the guitar body to complete the job.
To Summarize
This time, I introduced a method on how to replace the jack using the Pure Tone Jack PTT1.
Compared to standard jacks, the PTT1 has a 4-contact structure that offers higher stability and is less prone to contact failure, making it a reliable choice for practical situations, such as live performances and recording sessions.
The overall procedure is:
- Gather the necessary tools
- Remove the old jack
- Install the new jack
- Prepare the wiring and solder
- Do a sound check
If you follow these steps, even beginners can take on this DIY challenge.
Soldering and wiring do require some practice, but once you try it, you’ll gain confidence in maintaining your guitar or bass.
Fixing your own instrument and using it for years to come is one of the true joys of being a musician.
The “sound & person” column is made up of contributions from you.
For details about contributing, click here.


 はじめてのギター
 ギターパーツの沼
 DIY ギターメンテナンス
 ギター初心者ゼミ
 プレイテックのギターを最強に改造!!
 ギターの各部名称