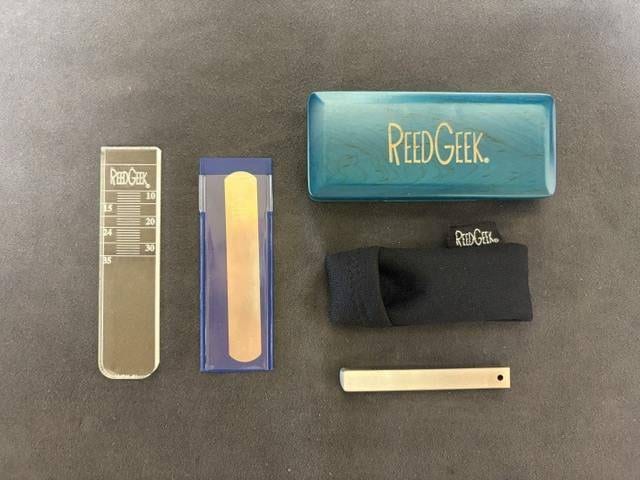
ReedGeek Classic Plaque & Gauge Set and Carrying Case
Even though you just bought it, it’s difficult to play. It was playing fine yesterday, but today its response feels sluggish. If you play a woodwind instrument, you’ve probably struggled at least once with variations in individual reeds or their condition.
This time, I put the ReedGeek Classic, an adjustment tool designed to help address these kinds of reed-related issues, to the test. Using the Classic Set, which comes with a dedicated plaque and gauge, I will introduce the tool’s features, the basic adjustment process, and even sound samples recorded before and after making adjustments.
Main Types of ReedGeek Reed Adjustment Tools
1. Classic
The most standard model in the series, suitable for a wide range of tasks, from flattening the back of a reed to making fine balance adjustments.
2. Black Diamond
A model made with wear-resistant materials and a proprietary finish. It also supports more detailed profiling of areas such as the rails (the two edges of the reed), spine (the center line or backbone of the reed), and heart (the central section of the reed).
3. DoubleGeek Gen2 Chrome
Featuring 12 cutting surfaces and a replaceable handle, this model is suitable for making and fine-tuning double reeds for instruments such as the oboe and bassoon.
4. Special ZR
A model compatible with both single and double reeds, featuring wear-resistant materials and a detachable stainless steel handle.
The Model I Tried: The Classic Plaque & Gauge Set
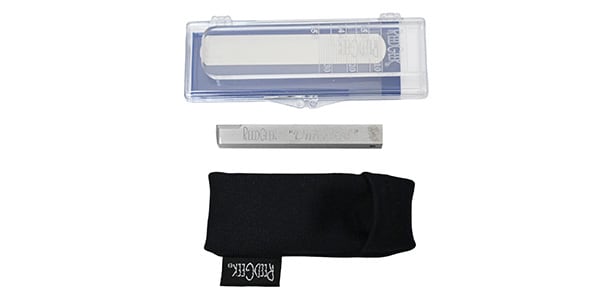
This set includes the Classic tool, a plaque, a gauge, a neoprene bag, and a case. In addition to adjusting reeds, the plaque and gauge can be used together to check where the mouthpiece facing curve begins and whether there are any differences between the left and right sides of a reed.
[What’s Included]
- Classic tool: A tool for flattening the back of a reed and gradually removing material from specific areas as needed.
- Plaque: A transparent plate with measurement markings. It can also be used as a support when adjusting the reed tip.
- Gauge: A thin metal plate inserted between the plaque and mouthpiece, for example, to check the point of contact.
- Storage accessories: A neoprene bag and case are included.
I Tried Adjusting a Reed
This time, I used a clarinet reed. After checking its condition before adjustment, I gradually removed material and repeatedly tested it by playing. Since you cannot put material back once it has been removed, the most important thing is to avoid removing too much.
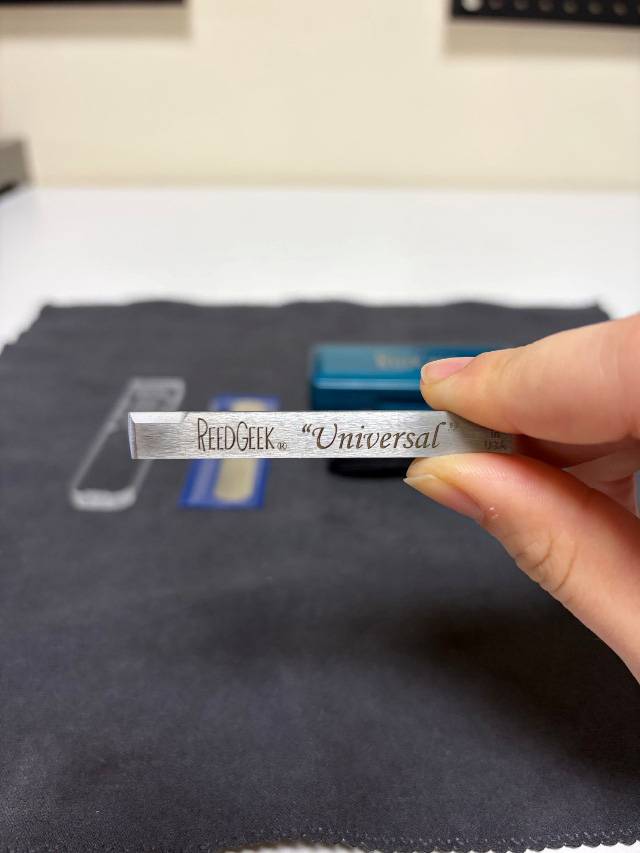
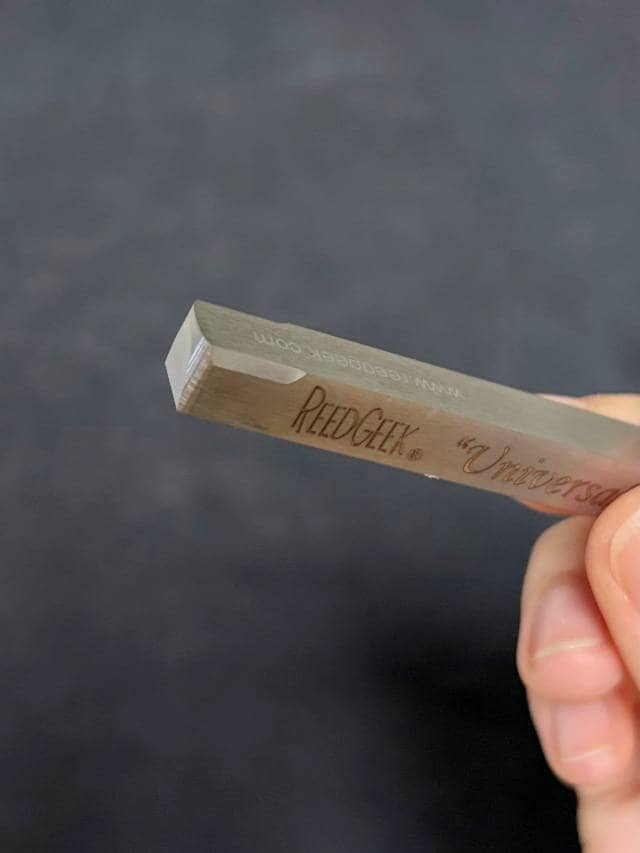
Classic tool, right: edge section
[Equipment Used]
- Tool: Classic Plaque & Gauge Set
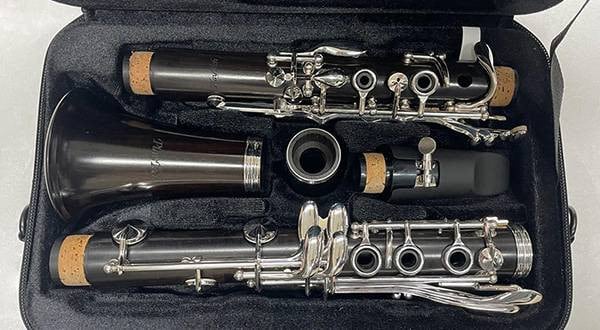
- Instrument: PLAYTECH PTCL-200 Bb Clarinet
- Reed: Vandoren V.12 3.0
- Mouthpiece/Ligature: Accessories included with the PTCL-200
Checking the Reed’s Condition Before Adjustment
First, check the reed’s appearance and playing feel. Making a note of any issues, such as slow response, resistance, or how quickly the sound speaks, will make it easier to compare the results after adjustment.
1. Playing Test
First, listen to the reed before adjustment. Pay attention to how quickly the sound speaks and how consistent the tone is.
■ X: Playing Test Before Adjustment
ReedGeek リード調整ツールclassic 試奏レビュー #ReedGeek #リードギーク #クラリネット #サックス #soundhouse #サウンドハウス ↓before https://t.co/9Hq10y0cBg
— cl@音家 (@nemiminimizu268) October 6, 2026
At this point, the sound still has a slow response. There is noticeable resistance, particularly when playing in the low register, and the tone is also slightly airy.
Keeping in mind what we noticed at this stage, let’s start working on the reed with the Classic. The key is not to remove material from a large area all at once, but to proceed gradually while checking the areas that need attention.
2. Checking the Position of the Mouthpiece and Reed
Align the reference line on the plaque with the tip of the mouthpiece, then insert the gauge between the plaque and the mouthpiece. Read the marking at the point where the gauge stops lightly to determine where the facing curve begins.
If the gauge is tilted, as shown in the photo on the right, it means the reed has different thicknesses on its left and right sides.
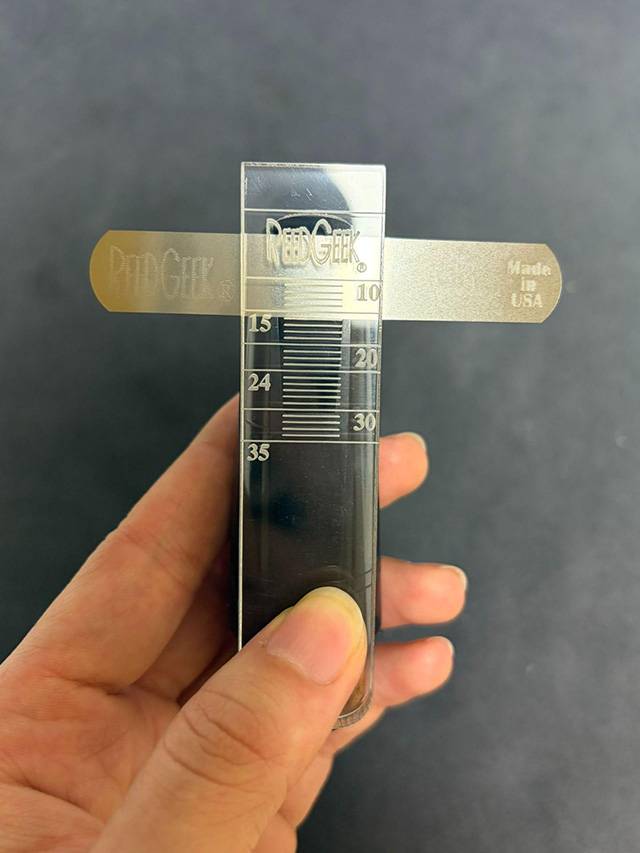
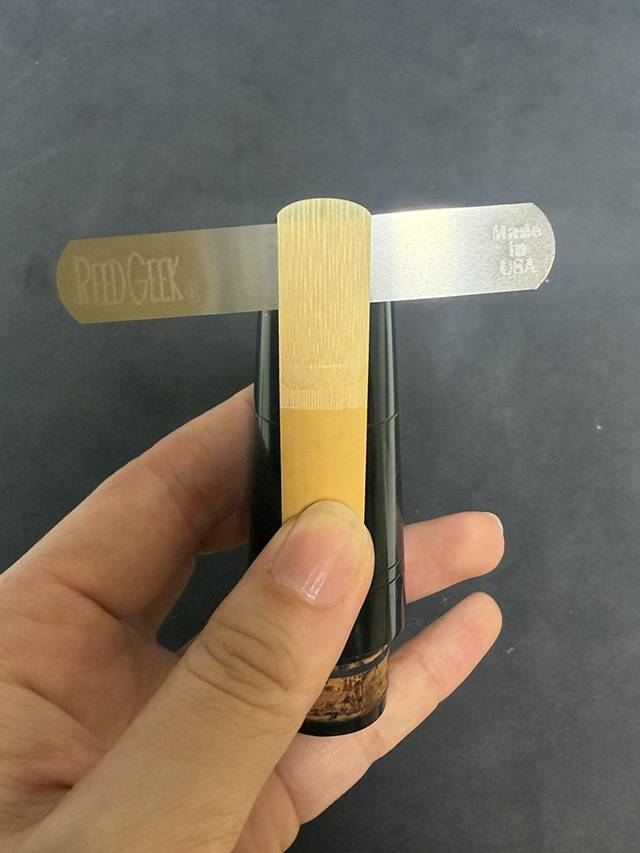
Left: Checking the mouthpiece facing curve / Right: Checking whether the reed has an even thickness on both sides
*The gauge is not a tool for scraping the reed.
3. Gradually Adjusting the Reed Thickness with the Classic
When flattening the back of a cane reed, lightly place the edge of the Classic’s flat side against the reed and use the weight of the tool to gradually remove material. You can use either a pushing or pulling motion. When adjusting the tip or areas near the rails (the two edges), remove material using light pressure and only from the areas that need it.
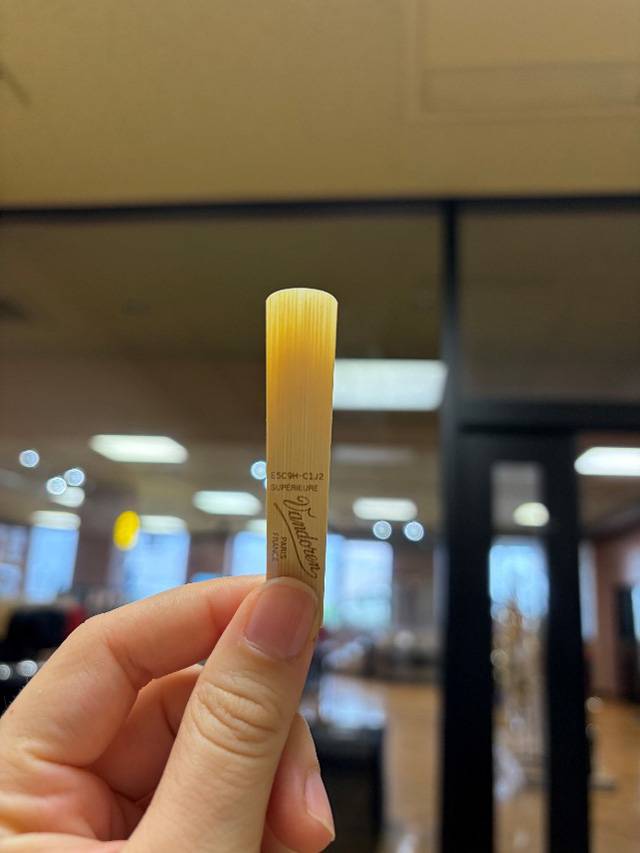
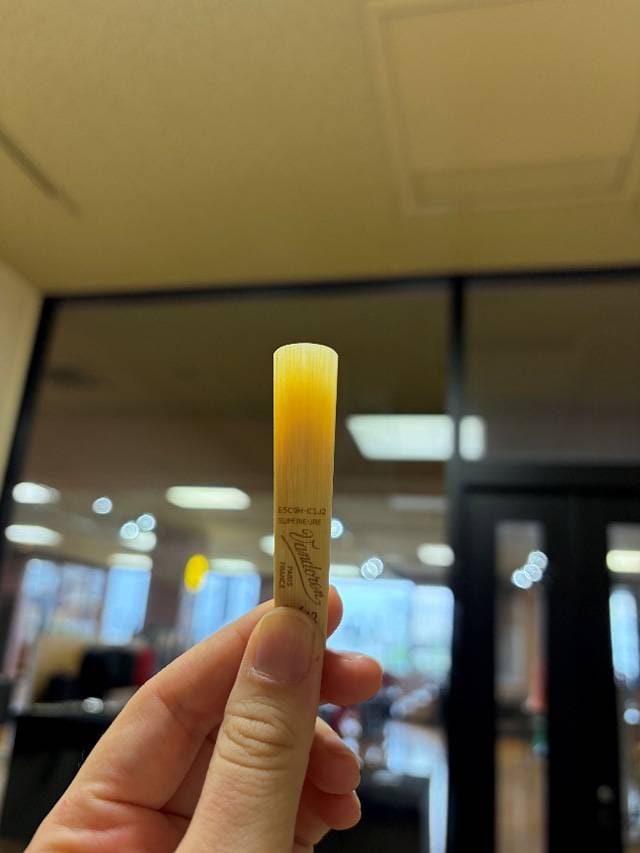
Left: Before adjustment / Right: After adjustment
■ Tips for Adjusting
Don’t remove too much material at once. Repeat the process of ‘remove a little → play-test’. The thickness on each side and the heart (center section) have a significant effect on the reed’s response, so work carefully.
4. Playing Test After Adjustment
Next, listen to the reed after adjusting it with the Classic. Pay attention to the same points as before and compare the sound with the recording made prior to adjustment.
■ X: Playing Test After Adjustment
ReedGeek リード調整ツールclassic 試奏レビュー #ReedGeek #リードギーク #クラリネット #サックス #soundhouse #サウンドハウス ↓after https://t.co/7I84sH2TC5
— cl@音家 (@nemiminimizu268) October 6, 2026
The sound has a clearer definition. Resistance while playing has also been reduced, resulting in a more consistent tone from the low to high registers.
What did you think? Even with the same reed, adjusting the flatness of its back and the balance between the left and right sides can change its response and resistance. The way each player perceives these changes, as well as the extent of the improvement, will vary. However, it’s nice to know that reeds you might otherwise replace simply because they’re a little difficult to play may have another chance with a bit of adjustment.
5. Putting the Tool Away
If wood dust or scraping residue is left on the tool, it can absorb moisture, so be sure to wipe it off thoroughly with a cleaning cloth.
Then, to prevent damage to the blade, store the tool in the included case or a dedicated storage case.
What I Noticed When Using It
- Palm-sized and easy to carry to practice sessions and performances.
- One tool can handle multiple tasks, from flattening the reed to making localized fine adjustments.
- You can remove material gradually with light pressure and check the changes by play-testing as you go.
- The plaque and gauge allow you to check the facing curve.
- The plaque supports the reed, making fine adjustments easier.
Conclusion
Cane reeds are made from natural materials, so even reeds from the same box can vary in condition and playing feel. Having a reed adjustment tool gives you another option: rather than simply deciding that a difficult-to-play reed is a ‘bad one’, you can gradually adjust it to suit your preferences.
Make adjustments in very small increments. By working carefully and play-testing as you go, you may find that your relationship with your reeds changes. If you’ve ever wished your reeds responded a little better during daily practice or performances, be sure to check out ReedGeek!







 DAddario Woodwinds リードファインダー
 Victory Musical Instruments
 サウンドハウス管弦楽器ショールーム
 管楽器スタンドの種類
 管楽器 基本の必須アイテム
 木管楽器の特徴と種類
 Discount Sale
 Outlet
 New Arrivals
 Podcast (streaming)
 Headphones / Earphones
 Microphones
 Wireless Equipment
 Speakers
 Power Amps
 Mixers
 Processors
 Portable PA Systems
 Recorders
 Karaoke
 Guitars
 Basses
 Ukuleles
 Drums & Percussion
 Pianos / Synthesizers
 Wind Instruments
 Stringed Instruments
 Japanese Instruments
 Harmonicas, Other
 Software
 DJ & VJ
 Stands
 Cables & Connectors
 Racks & Cases
 Lighting
 Stage & Truss
 Video Equipment
 PC PERIPHERALS
 Power Supplies
 Studio Furniture
 Household Items, Other
 Alcoholic Beverages