


I went to a 100 yen store on an errand.
Hmm?
(I saw a duckboard for sale on a shelf.)
Duckboard... Oh, I can use it for an effect pedal board!
Hello everyone, this is Limito, a night owl DTMer.
This time, I would like to introduce a “duckboard-type effect pedal board” that you can make yourself for just 1,500 yen.
It is extremely cost-effective and very lightweight at only about 250g, so it's easy to carry around! What's more, it's easy to make because you don't need to use any nails, drills or saws!
I wish I had thought of this method when I was a student with a tight budget…
■ Collecting Materials
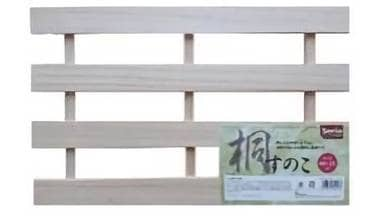
First, let's go to your nearest 100 yen shop and buy the materials. This time, I bought them at Seria, which has a good selection of materials for DIY.
- Duckboard
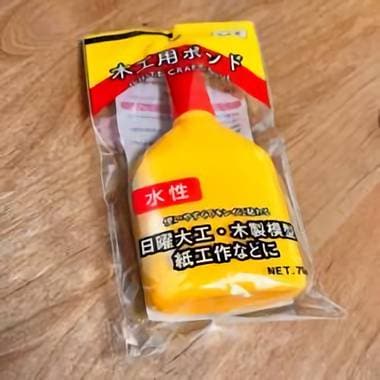
- Wood glue
- Felt cushion with non-slip backing
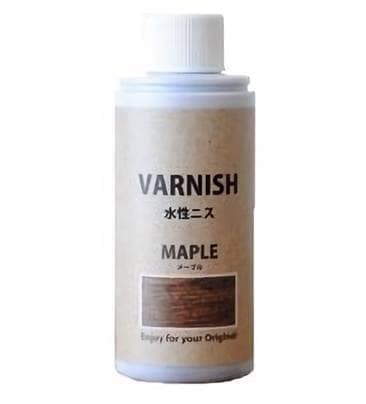
- Water-based varnish for woodwork
- Sponge with net
- Hook and loop fastener
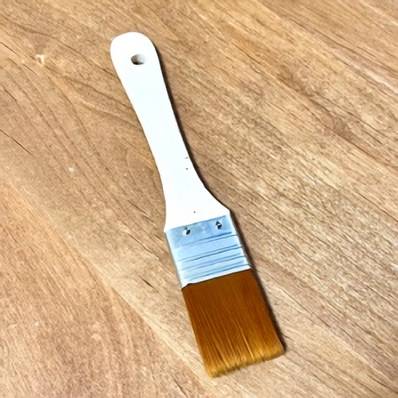
- Brush
- Sandpaper
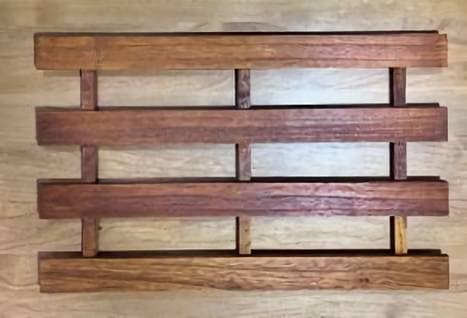
You can use any size of duckboard that looks like it could be used for an effect pedal. I bought this one this time. You can probably find this product in any Seria store. I think it's in the section for organizing your wardrobe.
There are a few splinters, so you should also buy some sandpaper.
For wood glue, a standard type is best. There are various types, including quick-drying types, but if you use a type other than the standard one, you are more likely to make a mistake as you will be applying it with a brush. Buy one that is around 40% polyvinyl acetate resin and 60% water. By the way, I bought a no-name brand product this time. It's cheap and has a large capacity. It says that plastic cannot be glued, but that is because it is smooth, and if it is a place where water can seep in, like the side of a hook-and-loop fastener, it can be used without a problem.
Use a brush when applying the bond. Use a brush with soft, thin, resin bristles.
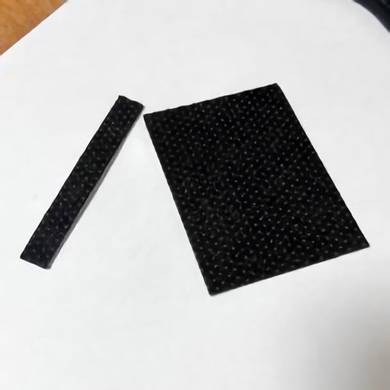
If you put a duckboard directly on the floor, it will slip, so I found a type of non-slip mat that comes in a pack of three 15cm x 10cm pieces that you can cut up and use as feet for the board, so I'll be using these this time.

Even if it's not this one, as long as it doesn't slip, you can use an anti-vibration gel sheet or other sheet to prevent scratches.
Wood varnish is used for coloring and to prevent mold. I bought some from Seria.
The sponge is used to apply this varnish to the duckboard.

A cheap sponge in a net,
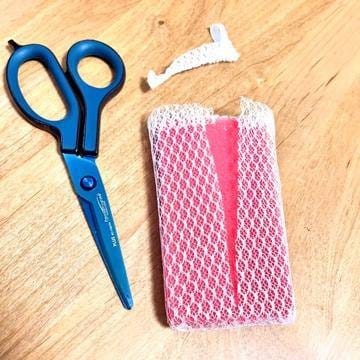
cut it up,
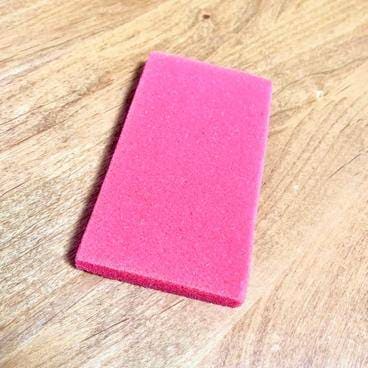
Then use the inside.
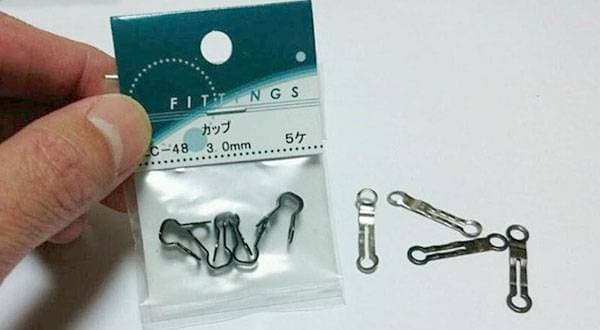
The hook and loop fastener you use will depend on your preference. As this is the most important part, it's a good idea to buy a special product.
For example, this is recommended. It's a standard product. If you cut it lengthways to match the duckboard, it will look good.
The adhesion was clearly better than that of the craft store product, so if there is no store nearby, buy this.
One Control / HOOK & LOOP - LOOP 1m No logo
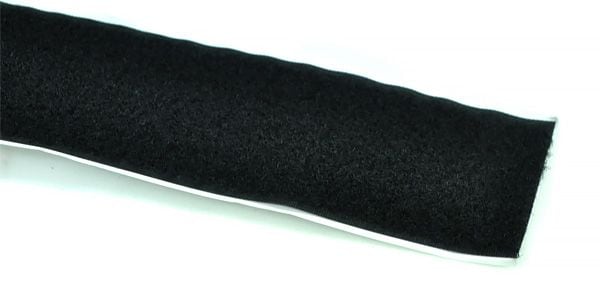
This time, there was a craft store next to Seria, so I ended up buying 8 sets of the velcro, which is a representative of hook and loop fasteners.
■ Let's get making!
Once you have all the materials, let's get started on the production.
First, let's remove the splinters from the duckboard. Please be careful as this process will produce sawdust.
I think a rough sandpaper, roughly between 200 and 350 grit, is just about right. If it's too rough, not only will the edges be worn down and the appearance will change, but it will also cause more splinters to form. In fact, it did.
The trick is to file in one direction, from the base of the splinter towards the tip.
Once you've finished filing, it's time to paint. It doesn't smell much, but if it gets on your clothes it won't come off, so make sure you lay down newspaper or something first, and open the varnish container. Also, it's essential to wear plastic gloves. If it gets on your hands, you can rub it off.
On the pure sponge I prepared earlier,
I will gradually add a little varnish.
I tilted the container too much and a lot of varnish came out. It's enough if you can make a stain on a sponge the size of a 500 yen coin. Be careful not to get too much out.
The rest is an assembly line operation. You paint by pressing a sponge soaked in varnish against the duckboard, wiping away the dirt on the duckboard in one go. For tricky areas, it's good to use the corners of the sponge to get the color into the nooks and crannies.
If you don't try to paint everything at once, but divide the work into two or three sessions, it will be very efficient and the quality will be high. I worked on it outdoors in the middle of the night in winter, and it dried in about an hour.
I was able to make a pretty good finish.
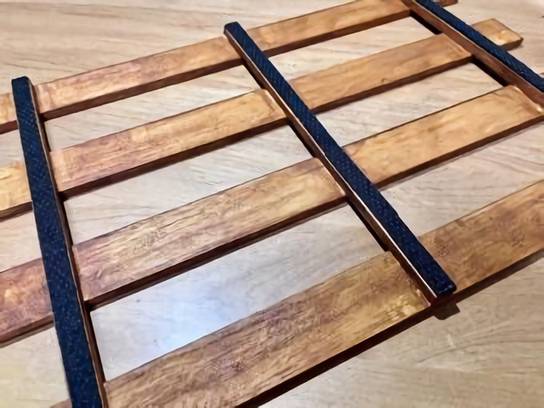
Now, once the varnish dyeing is finished, it's time to breathe life into it (hook and loop fastener).
Before that…
Let's prepare the brush.
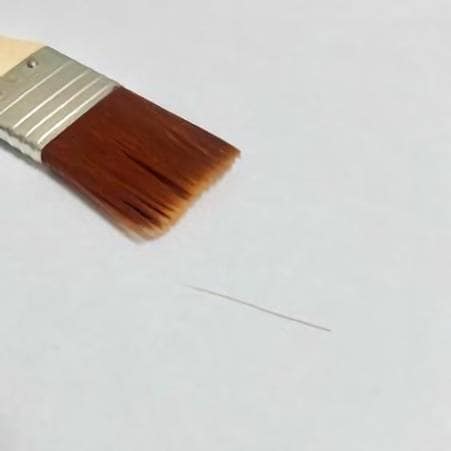
Almost always, there will be loose hair like the one in the picture. As it is made from bundled fibers, it is inevitable that some will get mixed in.
Cut off any stray hairs first, then wash it under a stream of water to remove any loose hairs. If you don't do this beforehand, it will be troublesome during painting.
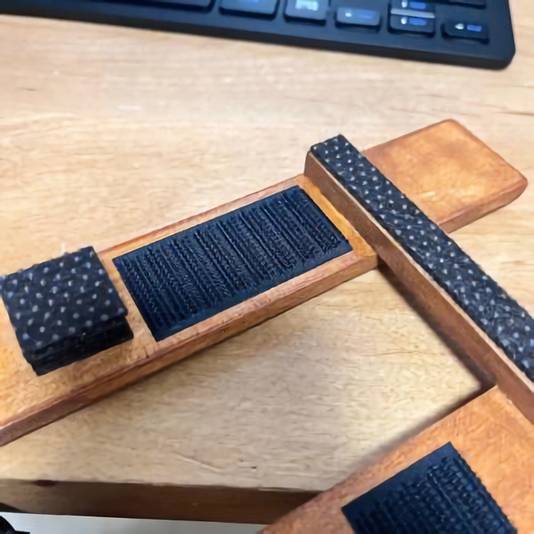
Once you have finished preparing the brush, apply the glue to the duckboard.
Apply an appropriate amount of glue to the surface where you will be attaching the hook and loop fastener, and spread it evenly with the brush. It is best to brush it from one end to the other in one direction.
Carefully place the hook and loop fastener (the female one, the soft one) on the surface before the glue dries. Now all you have to do is wait for it to dry!
Once it's dry, it's time for the final step. Attach the feet to the underside of the duckboard.
Cut this,
like this,
and stick it on the back. It looks like this.
If you use a little glue when you stick it on, the strength will increase. Tape glue and wood don't go together well to begin with.
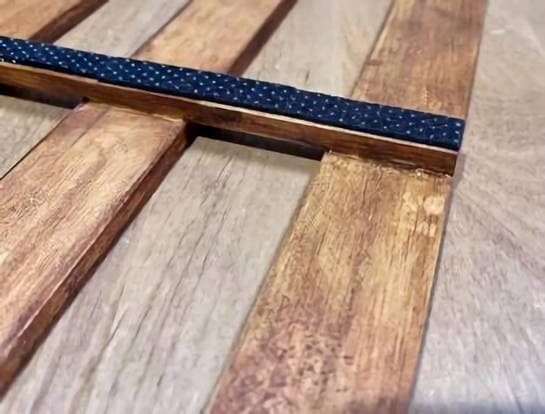
If you just do this, it will snap when you step on the pedal, so cut the foot material into squares as before, and stack and stick them in places that are likely to bend. Also, stick a little of the hook-and-loop fastener that you stuck on the surface on the back side too. It will look something like this.
Then…
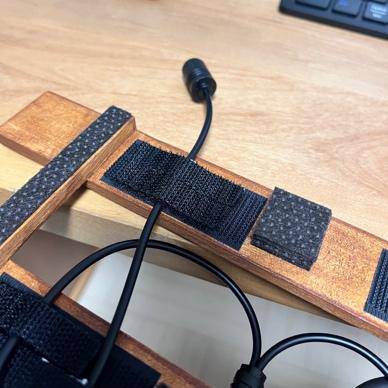
You can easily organize the wires like this. I tried to secure the end of the DC cable with hook and loop fasteners.
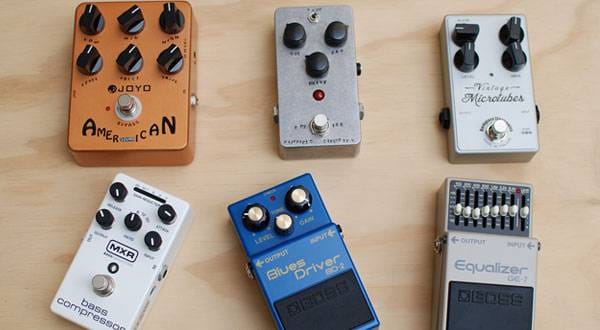
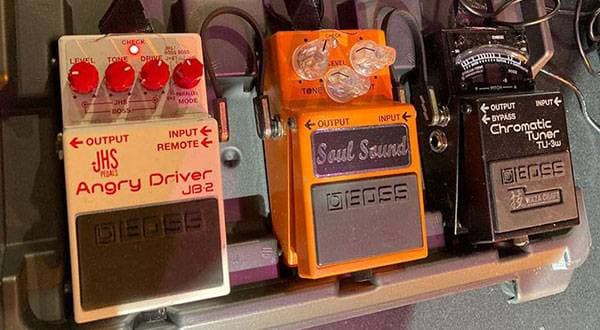
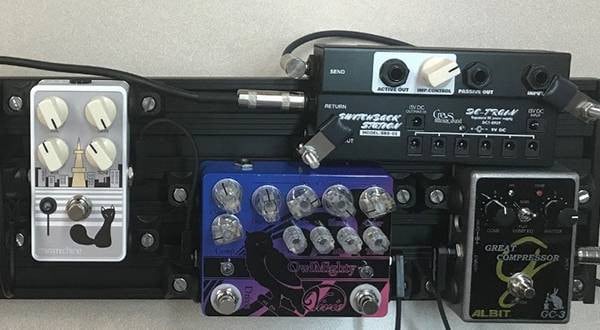
I brought an effect pedal from another board and put it on my self-made board.
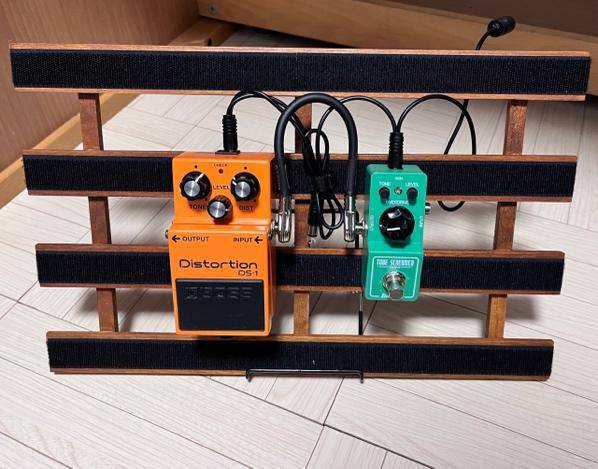
It's so light that I tried standing it up on a tablet stand.
That's all for the production section.
Thank you for reading to the end. I think I'll be posting more articles about things I've made myself, so please look forward to them.
Have a great music life!
The “sound & person” column is made up of contributions from you.
For details about contributing, click here.


 第2弾 あなたのエフェクターボード見せてください
 【初心者向け】エフェクター講座
 あなたのエフェクターボード見せてください
 ベース用エフェクターの種類
 エフェクターのつなぎ方
 エフェクターの種類


