■ Introduction
In this installment, I will explain how to handle cases where the profile (SSL2 data) for the lighting fixture you want to use is not included in DASLIGHT 5. Regarding fixture profiles, please refer to the previous blog post.
⇒ DASLIGHT 5 HOW TO Course Part 1: [Patching and Control]
1. Access Profile Builder and Create an Account
First, please access the Profile Builder via the link below. Since you will be using this site to create fixture profiles, it is convenient to bookmark it!
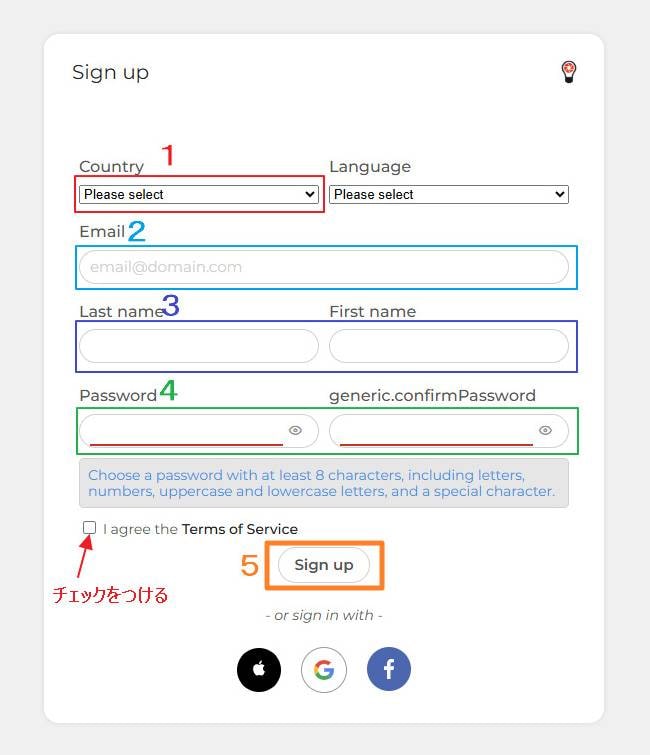
Click "Don’t have an account?"

- Select Japan from the [Country] tab
- Enter your email address
- Enter your name
- Enter a password
Note: The password must be at least 8 characters long and include letters, numbers, and symbols.
Enter the same password into [Generic.confirm.Password] for verification - Check [I agree the Terms of Service] and click [Sign up]
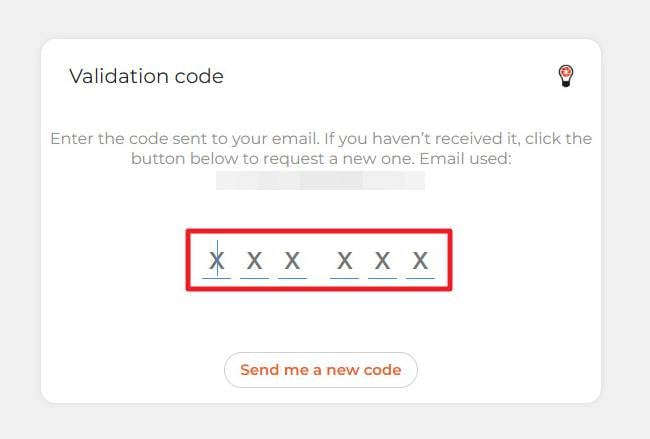
- A security code will be sent to your registered email; enter it here
- Select DASLIGHT and click [Save my selection]
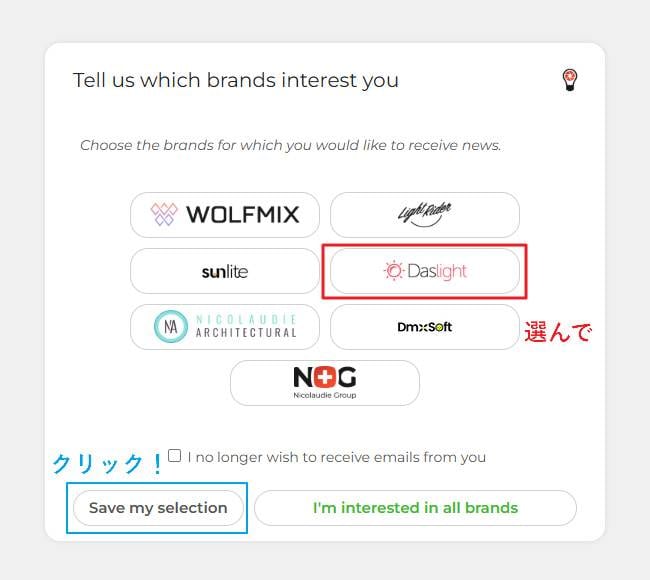
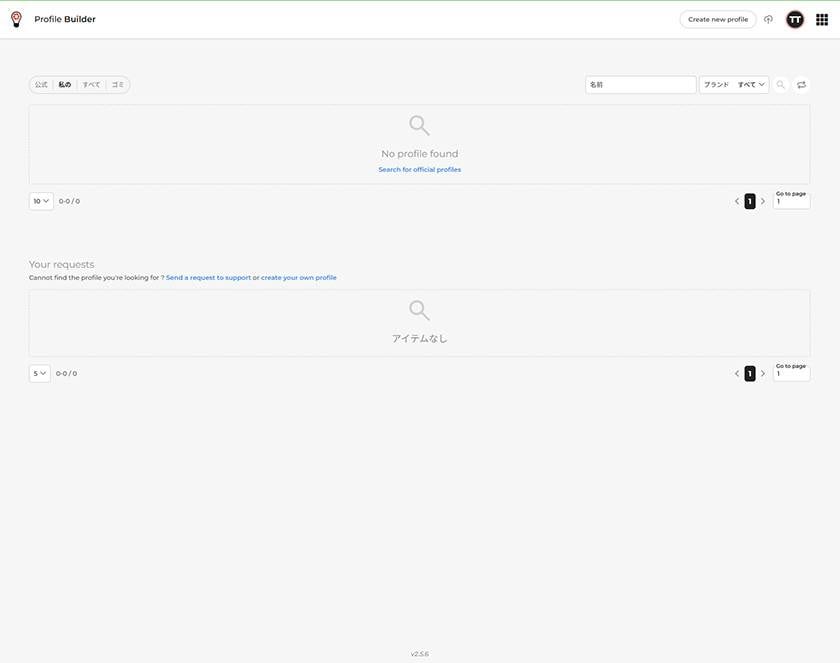
- Once the screen switches to this, the account creation is complete!
2. Searching for Fixture Profiles
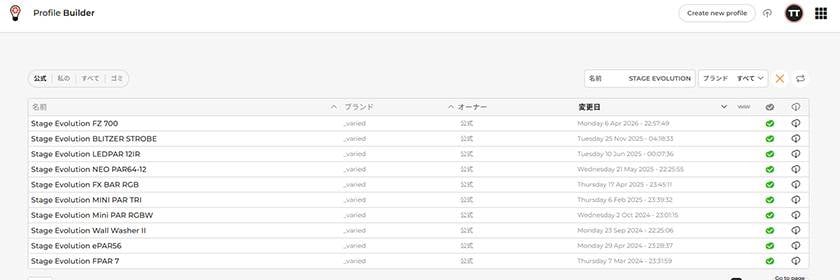
You can search for fixtures using the search bar in the upper left of the screen. Even if a profile is missing from DASLIGHT, there is a chance it can be found here, so be sure to check.
As a test, let’s try searching for STAGE EVOLUTION.
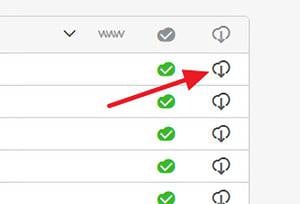
To download, click this icon on the left.
3. Creating a Fixture Profile
How to Create a Fixture Profile
In this example, we will create a profile for the STAGE EVOLUTION / COLOR STRIP12.
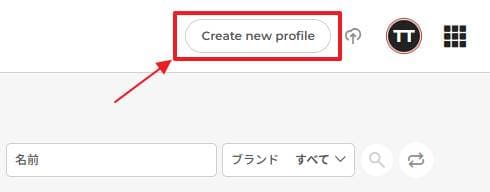
- Click [Create new profile] in the upper right of the screen.
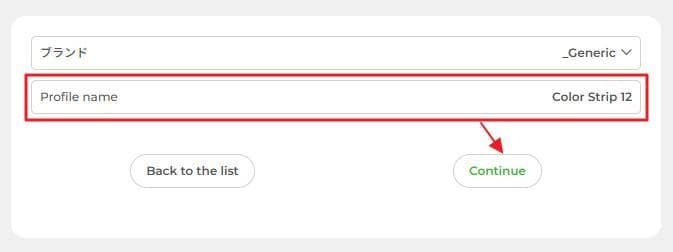
- Enter the name and click [Continue].
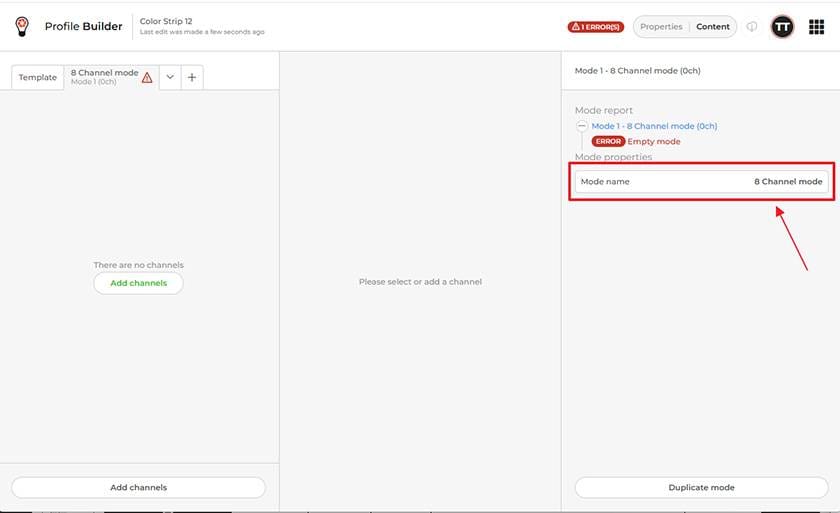
A screen like this will be displayed.
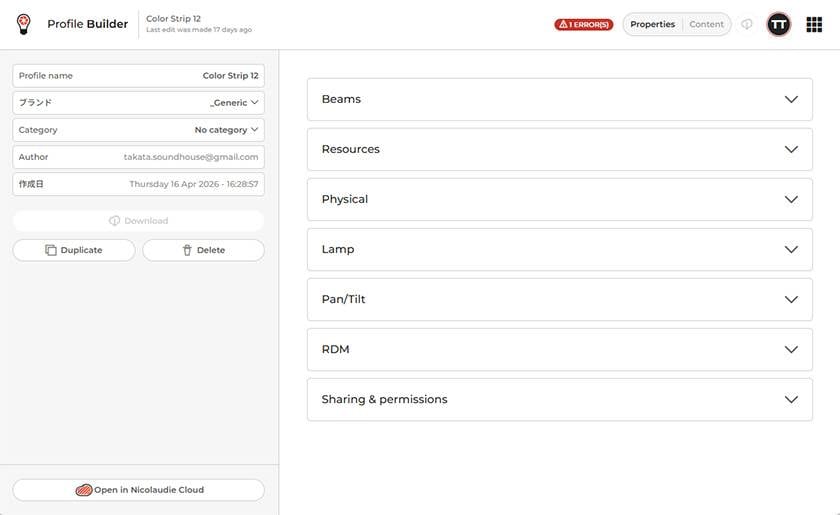
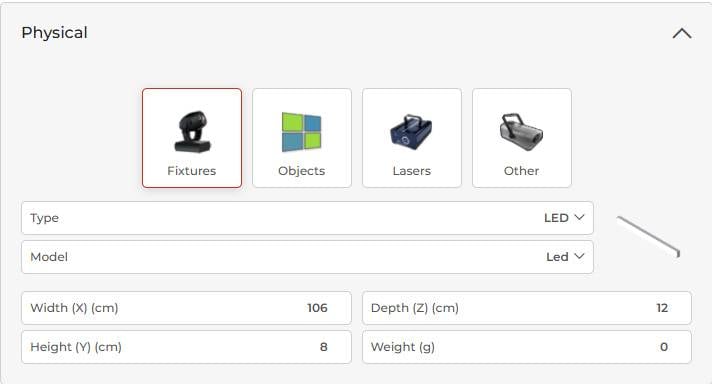
Here, you enter the fixture information. If you are performing simulations in Easy View 2, this will affect the shape and movement, but if you are simply operating the actual machine via DASLIGHT, leaving this blank is not a problem. For this example, I have only entered the Physical parameters.
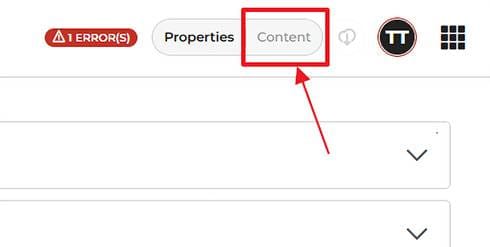
- Click "Content" in the upper right.
Creating the Template
In the template, you add every function used by that fixture. After that, you select functions from within the template to create each individual channel mode.
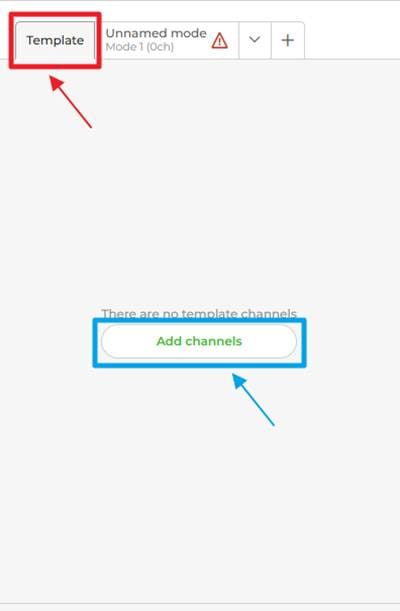
- After clicking "Template," click "Add channels."
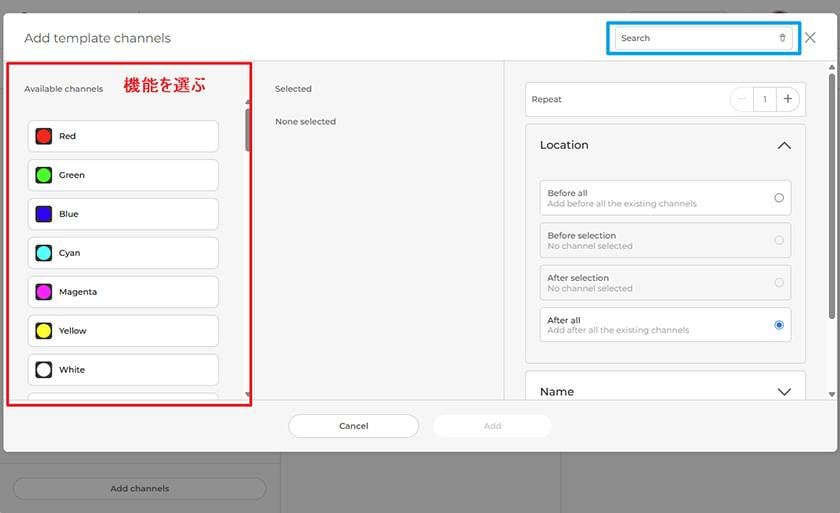
- Select and add the necessary functions from "Available channels."
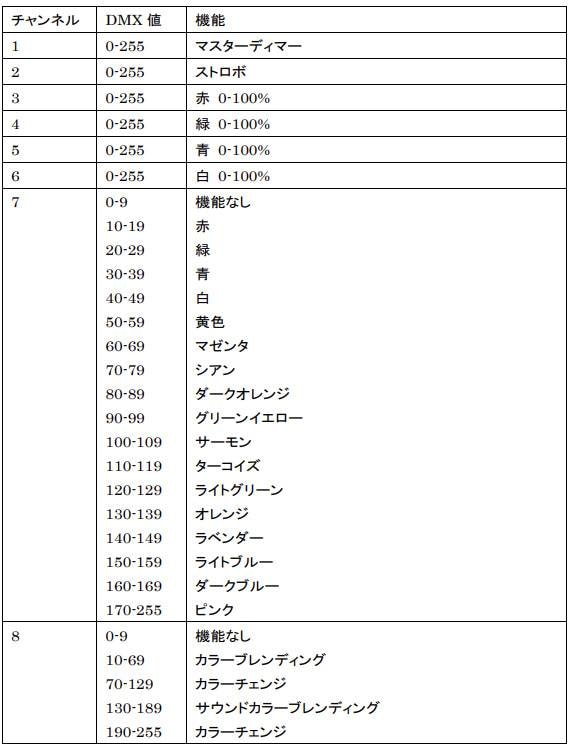
You can also use the search box in the upper left. Since the required channels vary depending on the fixture, please proceed while checking the DMX chart in the instruction manual.
For the COLOR STRIP12, add the following channels:
- Once all channels have been added, click "Add." You will then return to the original screen, and the channels will be added.
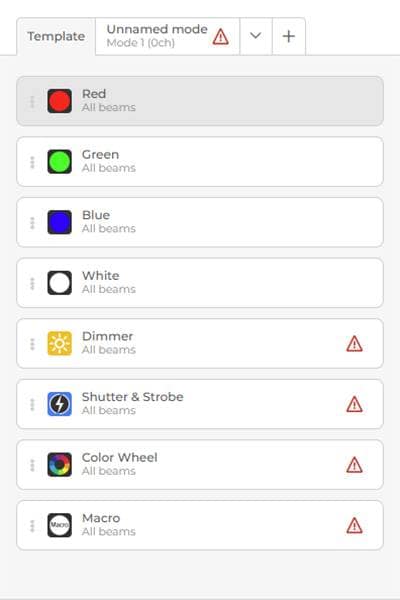
There seem to be some ⚠ marks suggesting things might not work quite right...
Next, I will configure the settings so that these marks disappear.
Preset Settings
At this point, the ⚠ mark is displayed because which DMX value triggers which action has not yet been configured.
Dimmer
Click "Add Presets" in the center.
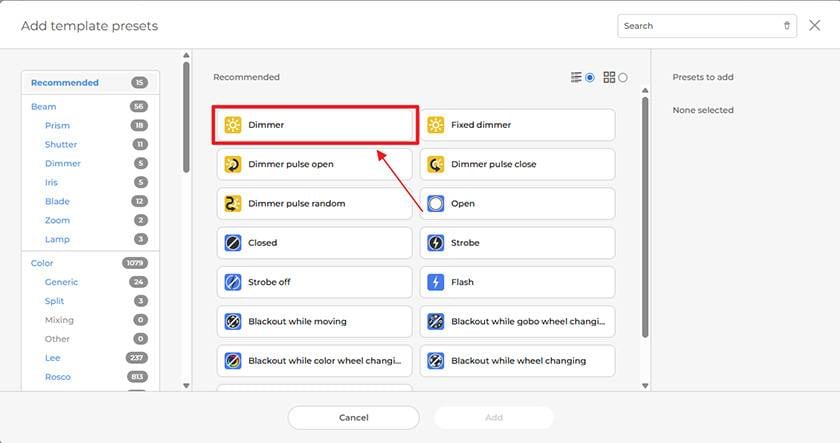
Another complicated-looking screen has appeared... For now, let's add the Dimmer.
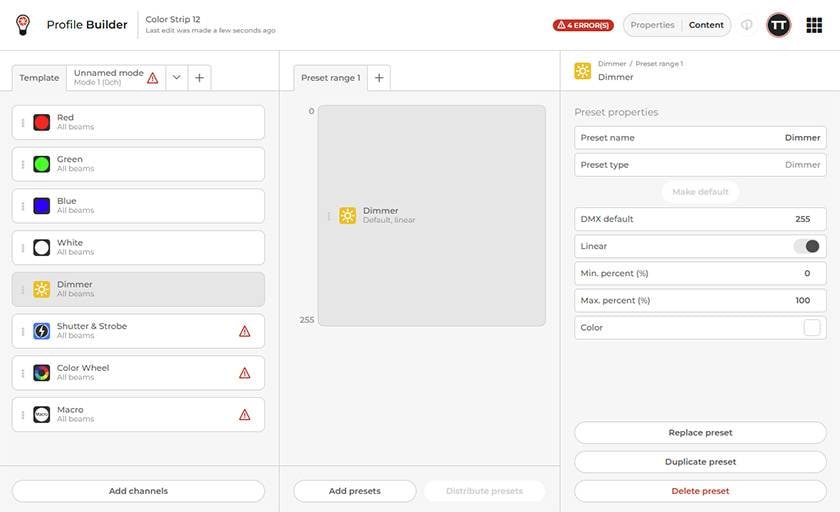
Since this is the master dimmer, this is all you need to do.
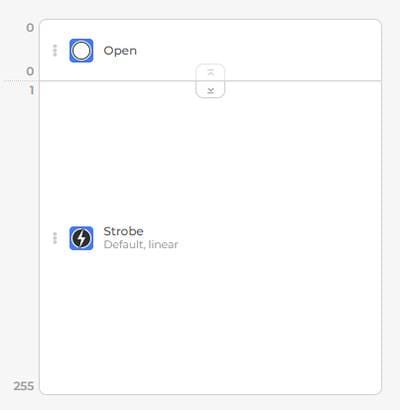
Strobe
Please add OPEN and Strobe.
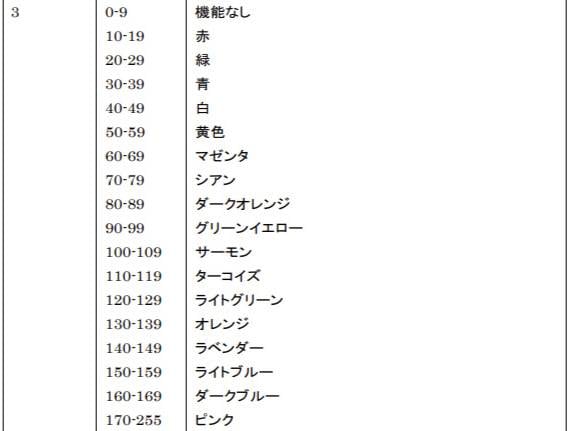
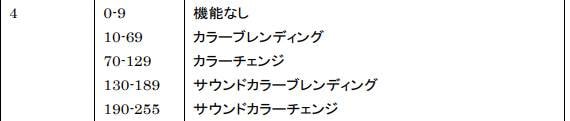
Color Wheel
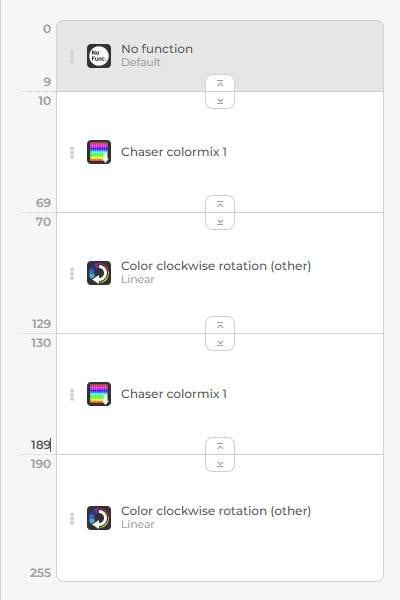
This setting is slightly more complex. We want to add the section shown here in the manual, which requires adding a total of 17 types of presets (18 if you include "No Function") and matching their DMX values.
First, let's start adding the presets.
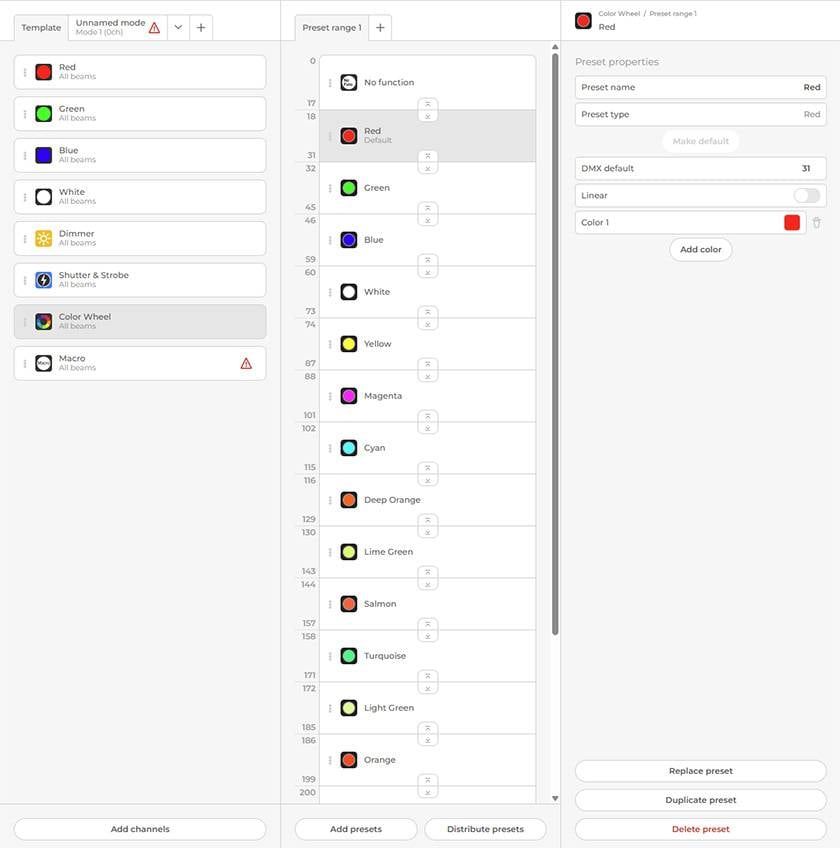
Due to size constraints, I can't show everything, but it looks like this.
For values with no specific feature, insert "No Function."
The part with three vertical dots allows you to change the order later via drag-and-drop, but it’s easier to add the colors in order while looking at the manual.
Additionally, since the colors only dictate "how they appear within the DASLIGHT software," honestly, it doesn't matter if the names are slightly different as long as the hues are close. If a color with the exact same name isn't available, just pick something that looks similar.
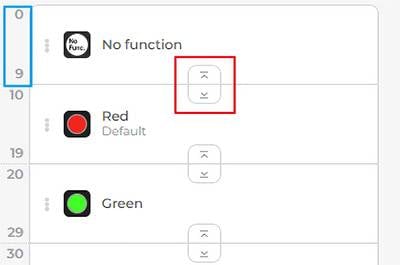
Next, adjust the DMX values.
Set them by either adjusting the knobs in the red box or by typing the values into the blue box.
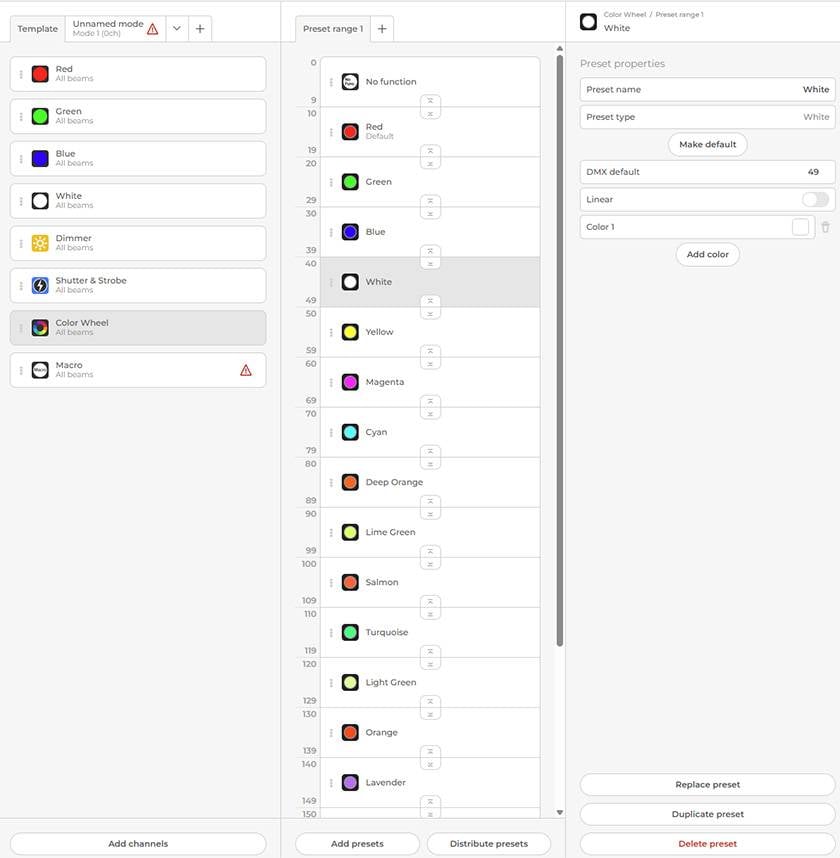
Settings Complete
Macro
The COLOR STRIP has four macros.
There weren't identical matches available, so I set it up like this for now. Well, this is also just a matter of how it looks within the DASLIGHT software, so as long as it looks right, it's fine. (Sorry for being so casual about it...)
Creating Channel Modes
Now that the ⚠ marks on the Template have disappeared, we will proceed to create each channel mode. Since the COLOR STRIP has five channel modes, we will configure them while referring to the manual.
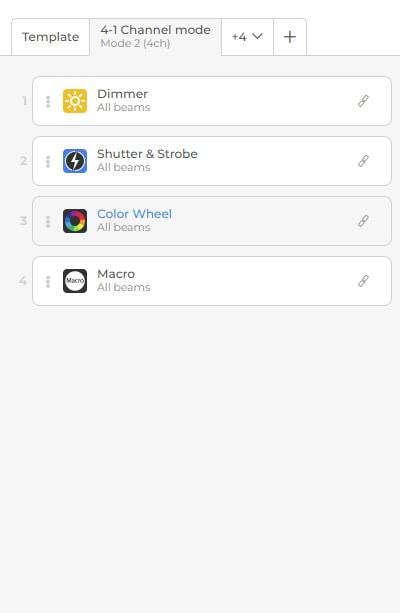
Set the name, and add the presets created earlier via "Add Channels."

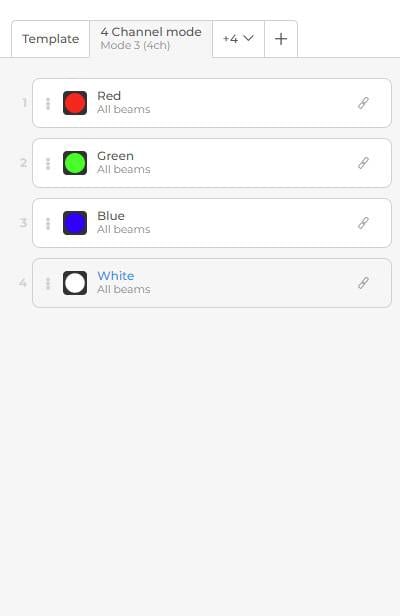
Next, continue adding and creating the remaining channel modes.
4-1 Channel mode
4 Channel mode
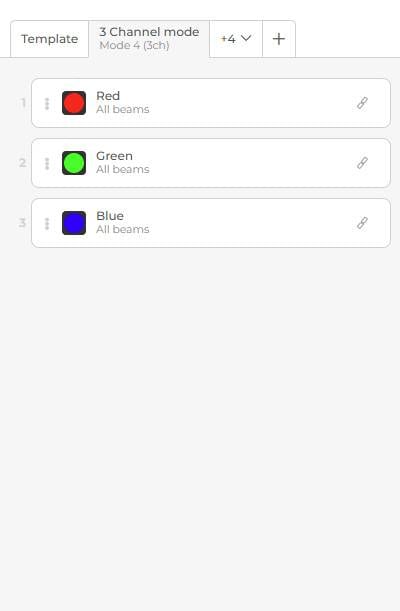
3 Channel mode
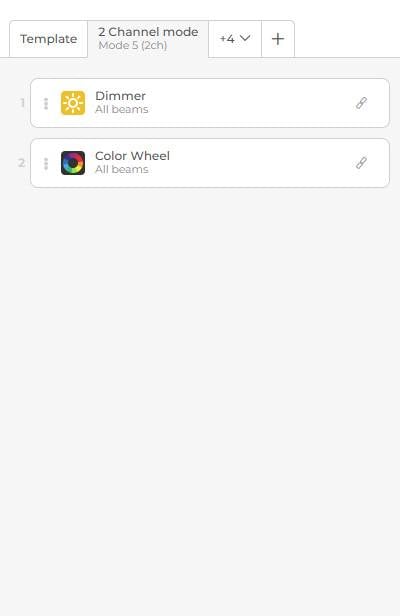
2 Channel mode
4. Downloading the Fixture Profile
Finally, download the completed fixture profile. To download, click this section in the upper right of the screen.
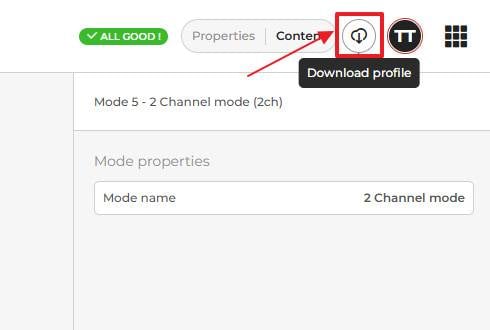
With this, the fixture profile creation is complete!
■ Summary
In this installment, I explained how to create a fixture profile. How did you find it? Although the required presets vary greatly depending on the fixture, the basic creation method is the same.
Also, while we created a fixture profile from scratch this time, I think you could create one a bit more easily by downloading a similar type of profile and editing it.
If you are a DASLIGHT user or are considering using it yourself, try using the Profile Builder!


 STAGE EVOLUTION ステージ照明
 AMERICAN DJ ステージ照明
 ELATION DMXコントローラー比較表
 ステージ照明の調光器
 小さなパーティでも役立つカッコイイ照明機材
 照明入門講座