When we think of April, it's the time when a new life begins, and although you've gathered most of your necessities in February and March, you start to notice products where you think, "It would be convenient if I had this..."
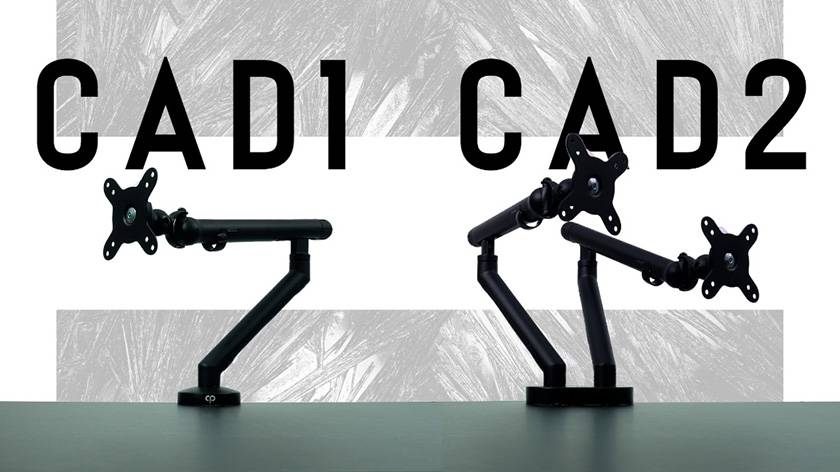
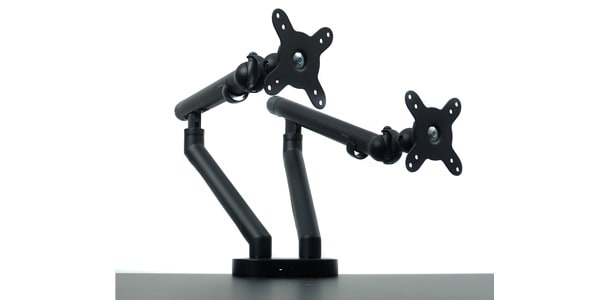
This time, I will introduce and review the "CAD1," the ultimate budget monitor arm released by CLASSIC PRO in April 2026. While the CAD1 is for a single monitor, there is also the CAD2 for dual monitors, so please be sure to check that out as well!
Table of Contents
- Product Introduction
- About CLASSIC PRO
- Introduction Video
- Specifications
- Assembly and Installation
- Impressions
Product Introduction
What is CLASSIC PRO?
CLASSIC PRO is a leading brand of professional audio equipment produced by Sound House. Since 1995, it has continuously released products boasting overwhelming budget prices, producing a series of best-selling products in the fields of power amplifiers, speakers, wireless systems, and karaoke equipment! By minimizing costs to achieve staggering prices while remaining committed to the "functionality," "operability," and "sound" that users demand, its product lineup continues to win the support of many customers.
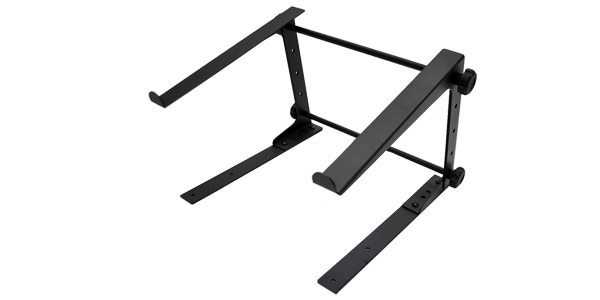
While CLASSIC PRO mainly sells audio equipment, it actually also sells video and PC peripheral products such as capture devices and laptop stands.
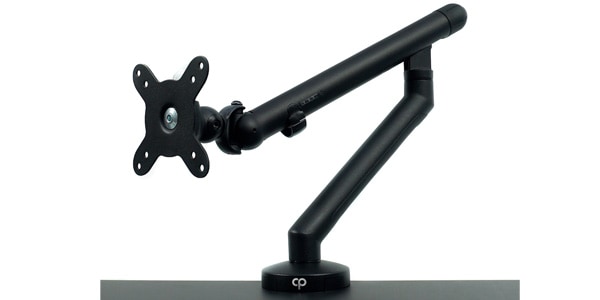
The products released this month from CLASSIC PRO are the "CAD series" monitor arms.
The specifications are as follows:
【CAD1】
- Color: Black
- Mechanism: Mechanical spring
- Material: Aluminum alloy, steel, plastic
- Supported monitor weight: 2–10kg
- Supported monitor size: 17–35 inches
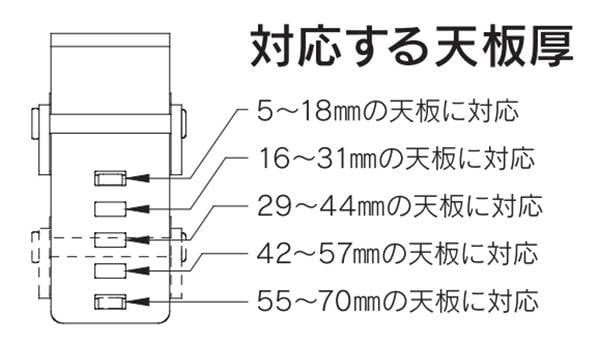
- Supported desk thickness: 5–70mm
- Supported VESA standard: 75×75mm, 100×100mm
- Screen swivel/horizontal: +90° to -90°
- Screen rotation: +180° to -180°
- Screen tilt/vertical: +90° to -90°
- Arm rotation: 180°
- Height adjustment range: 126–485mm
- Maximum extension: 582.3mm
- Desk mounting: Clamp or grommet
- Unit weight: 2.3kg
- Gross weight: 2.8kg
【CAD2】
- Color: Black
- Mechanism: Mechanical spring
- Material: Aluminum alloy, steel, plastic
- Supported monitor weight: 2–10kg
- Supported monitor size: Up to 32 inches
- Supported desk thickness: 5–70mm
- Supported VESA standard: 75×75mm, 100×100mm
- Screen swivel/horizontal: +90° to -90°
- Screen rotation: +180° to -180°
- Screen tilt/vertical: +90° to -90°
- Arm rotation: 180°
- Desk mounting: Clamp or grommet
The basic specifications do not differ between the two. Since the CAD2 is for mounting two monitors, the only real difference is that the supported monitor size is 32 inches.
Because it supports the standard monitor VESA 100×100 and 75×75, I believe it is compatible with most general monitors.
Assembly and Installation
Now, I will begin the assembly. Basically, you can install it smoothly by following the instruction manual, but I will use images to explain some points that are difficult to understand or require caution.
① Installing the Base
The instruction manual describes how to install using the grommet method, but for the clamp method, first connect A and B as shown in the image. Use the screws labeled C.
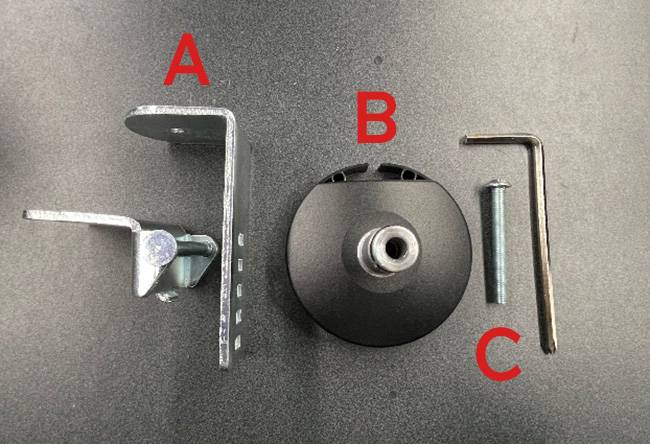
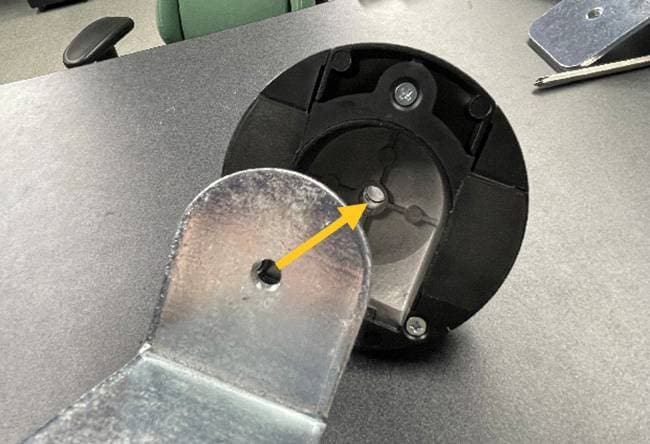
This is OK as long as A does not fall off when you hold the upper part of the base.
Next, fit it onto the desk. Since it’s difficult to adjust the lower part of the clamp in this state, I recommend checking the thickness of the desk in advance before fitting it.
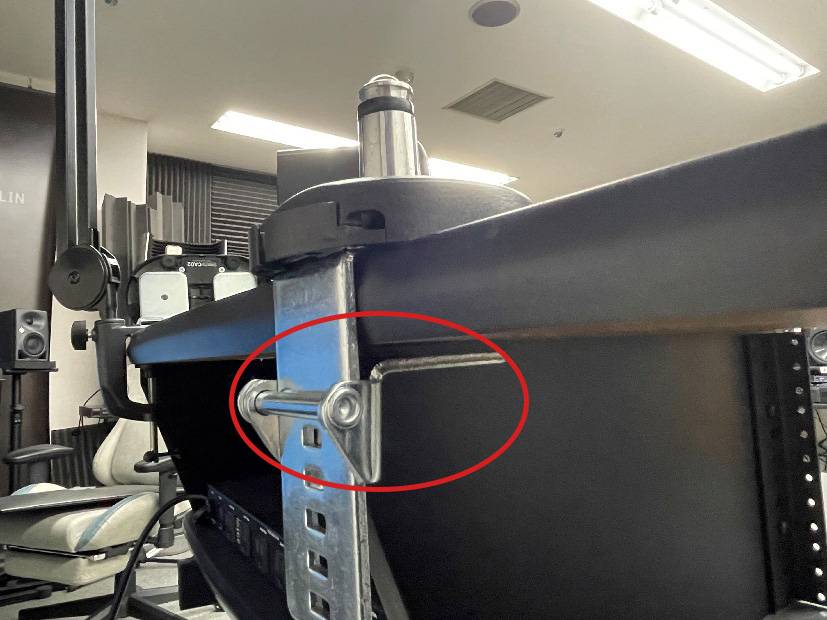
The instruction manual includes a table showing the correspondence between the desk thickness and the clamp scale, so please refer to that!
From here, I will continue assembly as per the instruction manual!
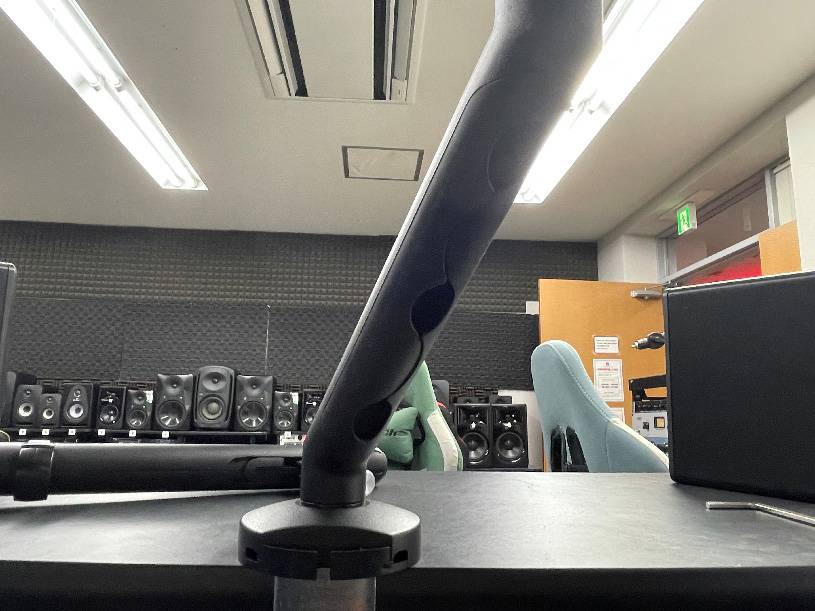
② Attaching the Arm
The arm can be easily attached by simply inserting it.
If the connection between the arms is a bit tight, try connecting the arms to each other first and then connecting them to the base.
*When attaching the arm, be careful to ensure that the cable storage is facing downward!!
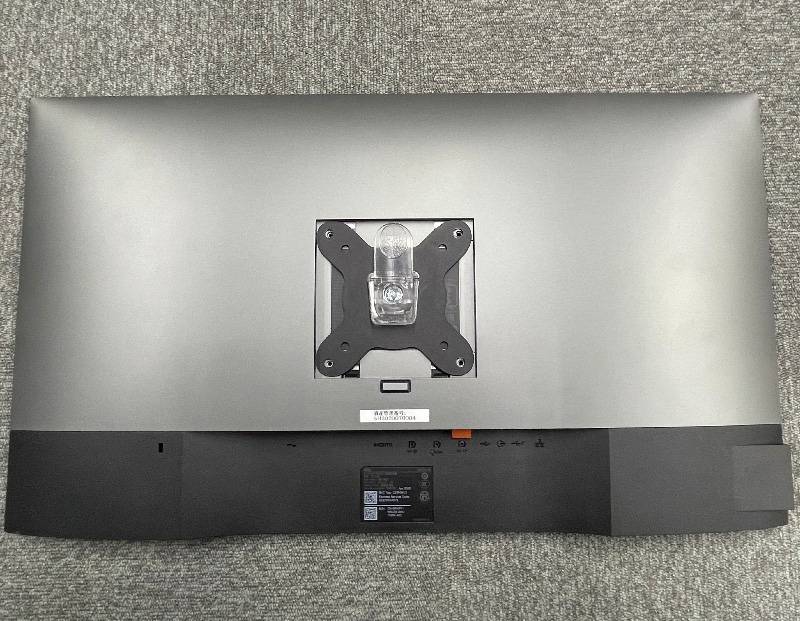
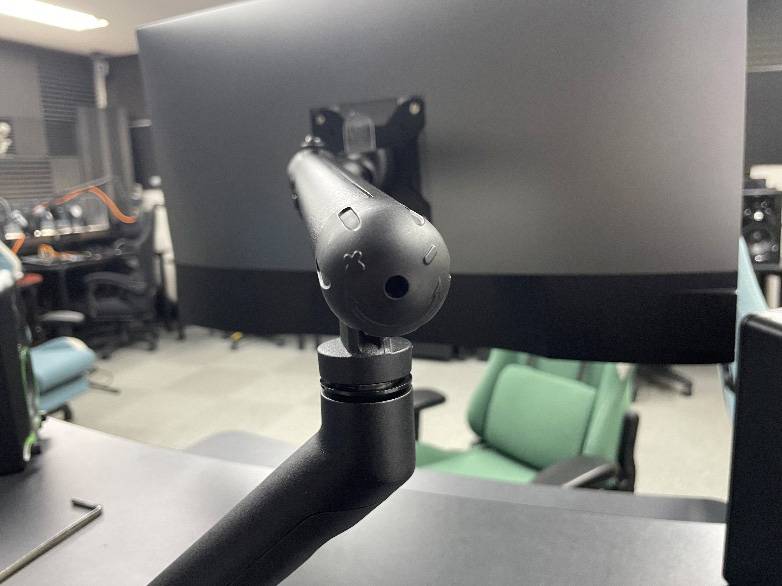
③ Attaching the connection part between the monitor and monitor arm
The part that connects to the monitor should be attached to the monitor before completing the arm assembly.
If you wait until after completing the monitor arm, you will have to lift the monitor, so it is definitely easier to attach it before completion.
When checking which one fits, use the size of the screws that came with your monitor as a reference, and choose a screw with the same diameter that is slightly longer!
Included Screws
- M4×12mm … 4 pieces
- M4×16mm … 4 pieces
- M5×12mm … 4 pieces
- M5×16mm … 4 pieces
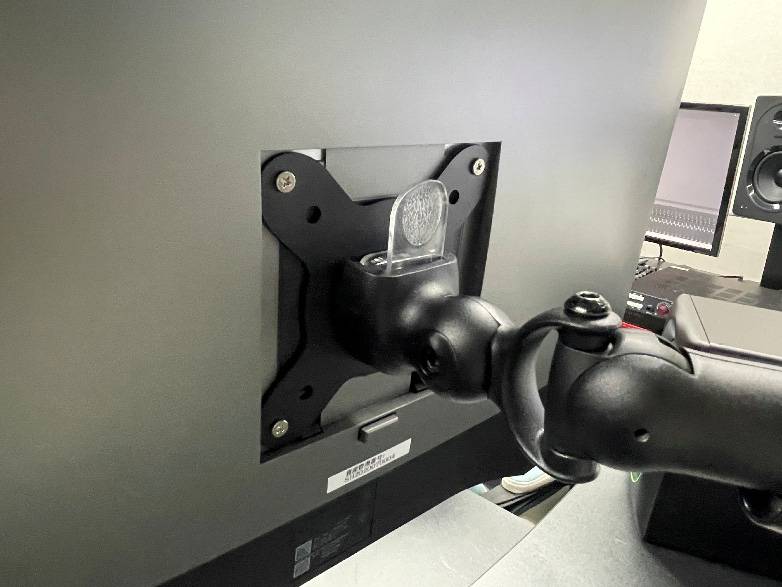
④ Attaching the monitor to the monitor arm
Attach the part from step ③ to the arm from step ②. Please make sure that the transparent metal fitting has clicked and locked in place before releasing your hands!
Depending on the weight and size of the monitor, it may be difficult to work alone, so in that case, ask someone nearby to help you.
Once you have moved it to your desired position, you're finished!!
An adult working alone can install it in about 10 minutes.
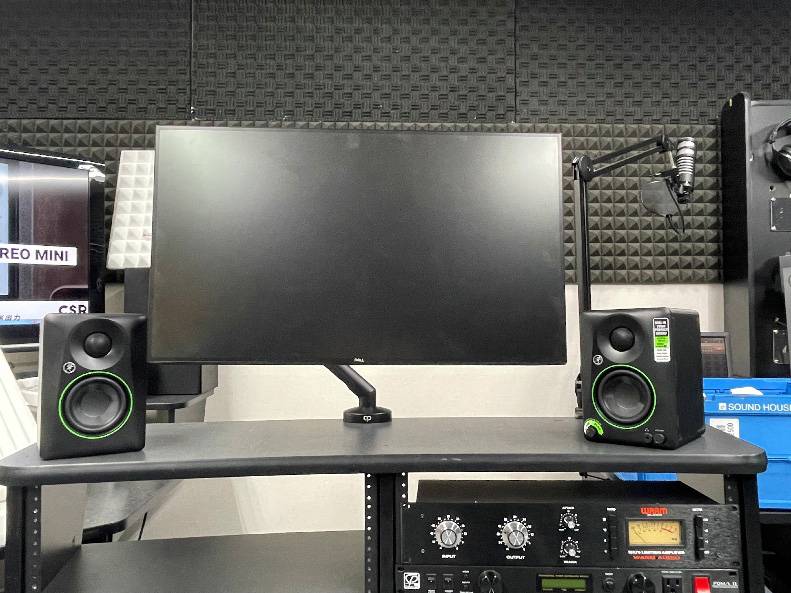
Impressions
It is quite easy to install!! Simply by snapping the arms together and having a detachable monitor connection part, there is no need to worry about things like, "I have to connect this heavy monitor in an awkward position..."
Regarding the base installation, it differs from the type often seen on other monitor arms where you turn the lower part of the clamp to attach it, so you might struggle a little at first. However, if you read this blog carefully and understand the points of caution, I think there will be no problem!!
The feel of use is also great! What I thought was best is the "tension adjustment function." By turning the dial on the back of the arm, the stiffness (tension) of the arm changes. With the monitor I am using (24 inches), I didn't experience the sagging that often happens to gamers when you pull the monitor too far forward.
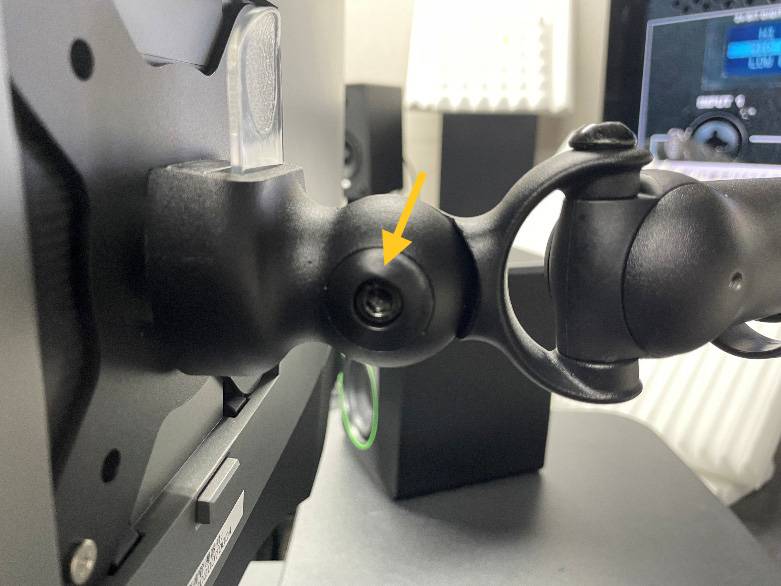
Also, while the arm might not sag, a common struggle for gamers is the monitor angle shifting due to the weight. With this arm, you can increase the holding strength by tightening the screw on the side of the monitor connection part using the included hex wrench, so give that a try if you run into trouble!!
What did you think of the "CAD1," newly released in April 2026? I have been using monitor arms at home for quite a while now and have tried everything from models costing tens of thousands of yen to those costing just a few thousand, and I felt that this product has a really great balance of price and quality (haha).
I mainly use mine for gaming, and my struggles back then were (1) the monitor sagging and (2) the monitor angle shifting. Initially, I used a monitor arm priced around 7,000 yen—similar to the CAD1—but due to the issues mentioned above, I eventually bought one that cost tens of thousands of yen. Had I encountered this monitor arm back then and known the quality was this good, I'm sure I would have bought it.
The CAD series offers high-quality monitor arms at an affordable price. Perhaps this could be a chance for you to treat yourself to a better PC life that a monitor arm provides?


![[Real Hands-On Review] The New Stream Deck + XL Is Just Sooo Cool!](/contents/uploads/thumbs/2/2026/3/20260313_2_34691_1.jpg)
![[For Beginners] A Forgotten Piece of Equipment but Equally as Important! Recommended Stands for Computer Music](/contents/uploads/thumbs/5/2022/4/20220430_5_17753_1.jpg)


 CLASSIC PRO モニタースタンド特集
 自宅スタジオの作り方
 CLASSIC PRO こだわり商品特集
 CLASSIC PRO CLDシリーズ
 DTMに必要な機材
 CLASSIC PRO