This blog is part of a series. I think you’ll better understand the flow if you start reading from the earlier posts.
- Part 1: A Talk About String Instrument Bows - Prologue: Casual Conversations About Bows and the Issues That Can Be Found From Them
- Part 2: A Talk About String Instrument Bows 2 - Let’s Learn Some Basic Knowledge About Bows: Mainly Weight
- Part 3: A Talk About String Instrument Bows 3 - Let’s Learn Some Basic Knowledge About Bows: How Bows Are Rehaired
- Part 4: A Talk About String Instrument Bows 4 - Let’s Learn Some Basic Knowledge About Bows: How Bows Are Rehaired Part 2 [Amount of Hair]
- Part 5: A Talk About String Instrument Bows 5 - Cleaning and Rewrapping Done During Rehairing
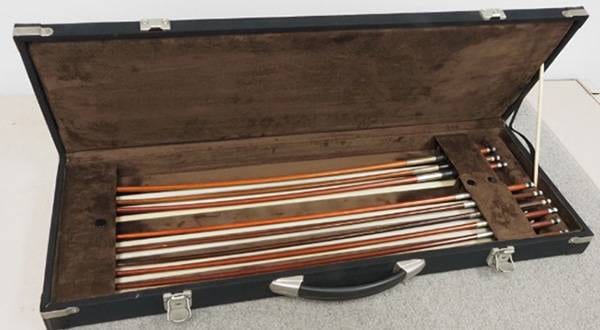
Starting the Rehairing Process
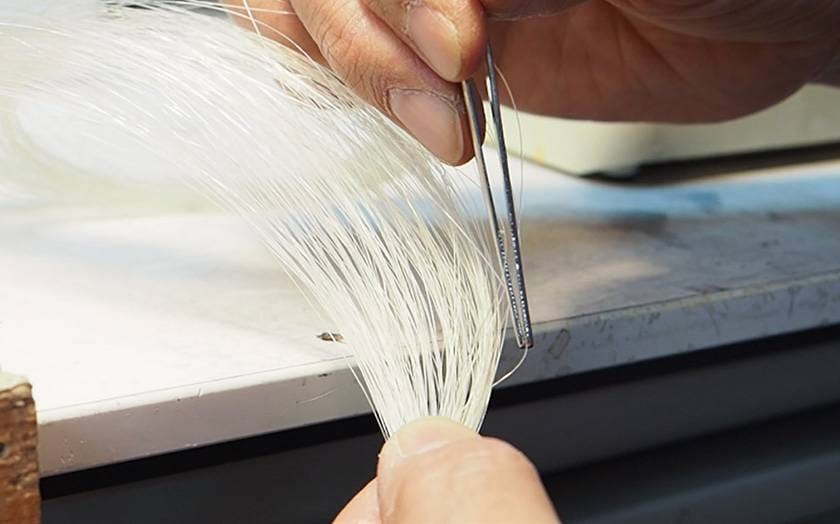
Prepare the bundle of hair. Sort through the hair and remove any strands that are black in color or have uneven thickness.
Weigh the bundle of hair and estimate the final finished weight
| Length(mm) | Weight(g) | Amount | strand of hair(g) | 1 cm of hair(g) |
|---|---|---|---|---|
| 900 | 6.8 | 191 | 0.0356 | 0.000396 |
| 60 | 0.4 | 191 | 0.0021 | 0.000349 |
| 840 | 6.4 | 191 | 0.0335 | 0.000399 |
Here, I’m referring to the data on hair weight that I obtained in Part 3 of the blog.
In Part 2 of the blog, I measured the weight of the bow before rehairing (64.9g).

At 64.9g, it is too heavy for a violin bow, so I want to make it a bit lighter if possible.
The cut bundle of hair that I’m going to use for this rehairing is 840mm and weighs 6.4g. Assuming the actual working length after installation will be 700mm, the estimated weight is 6.4 × (700/840) = 5.3g. In this case, it is not much different from the original hair weight of 5.1g, so weight reduction cannot be expected. It is necessary to reduce the weight of the hair bundle to the absolute minimum.
This time, I boldly measured the hair bundle lighter at 840mm / 5.0g, aiming for a final finished weight under 63g. In the previous blog, I wrapped it, but I made a painful mistake—I completely forgot to measure the weight of the removed wrapping and the bow after the wrapping was completed. It should probably be about 1g lighter than the estimate (around 63.9g), but even so, whether it can actually go below 63g remains to be seen…
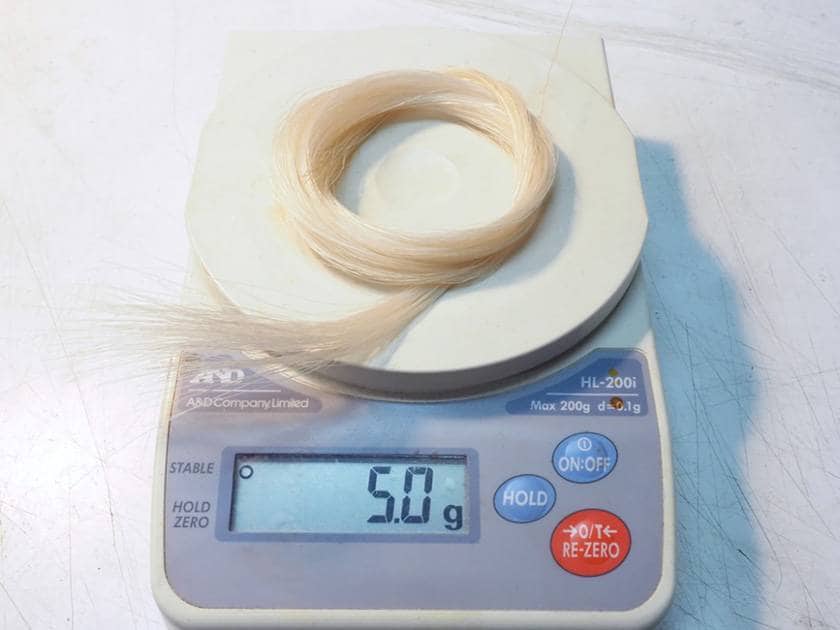
Based on the data so far, since approximately three bow hairs equal about 0.1g, reducing the weight by 1.4g this time means the number of hairs should have decreased by about 42. The original number was 190 hairs, so the current number of hairs can be estimated to be at 138.
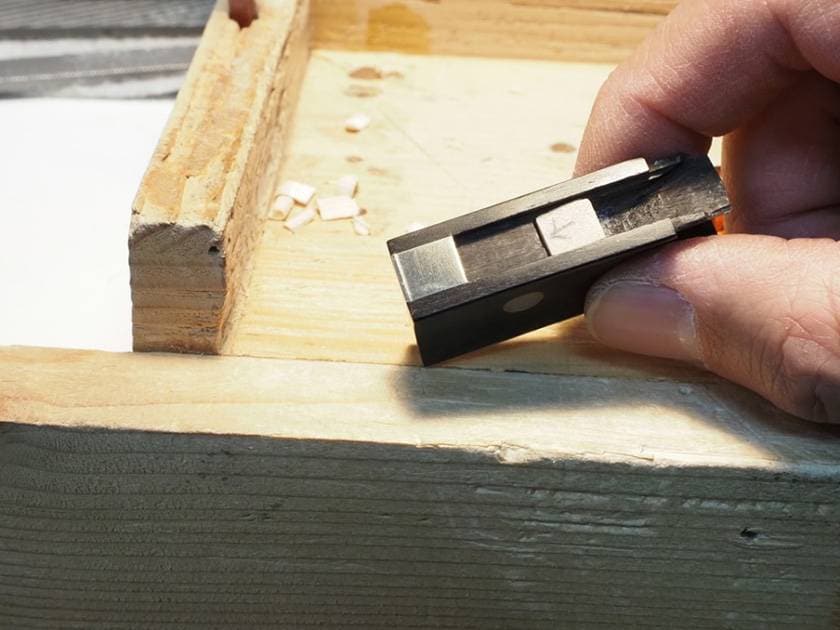
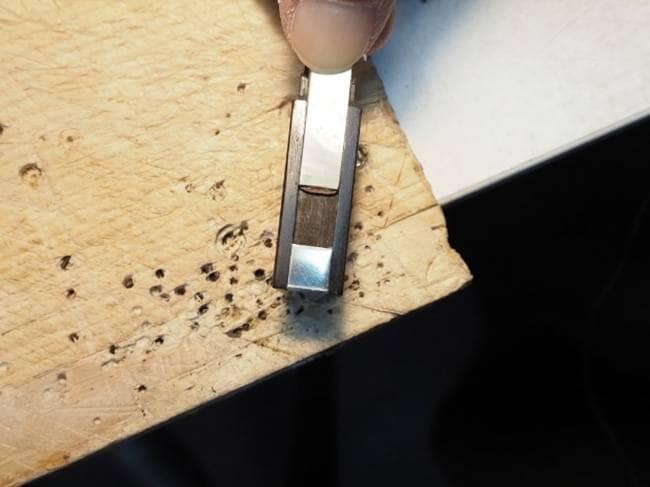
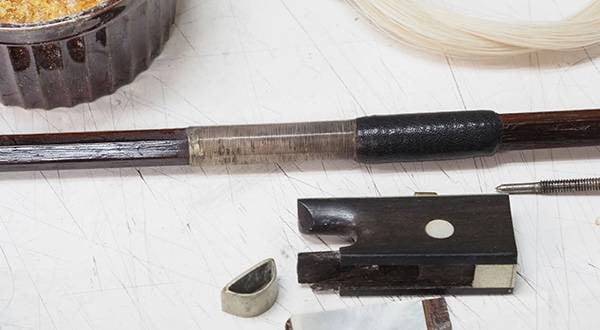
Making the wedge on the frog side
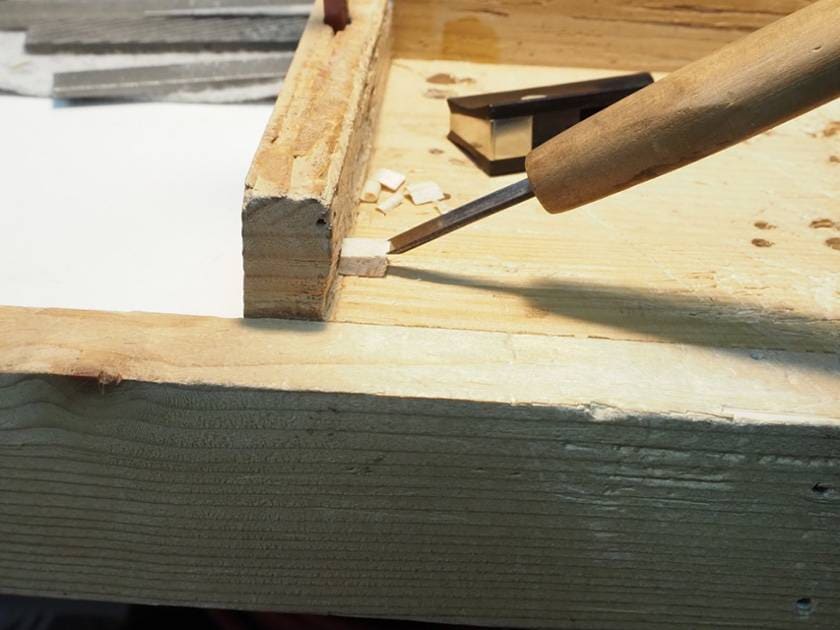
After temporarily inserting the wedge into the frog
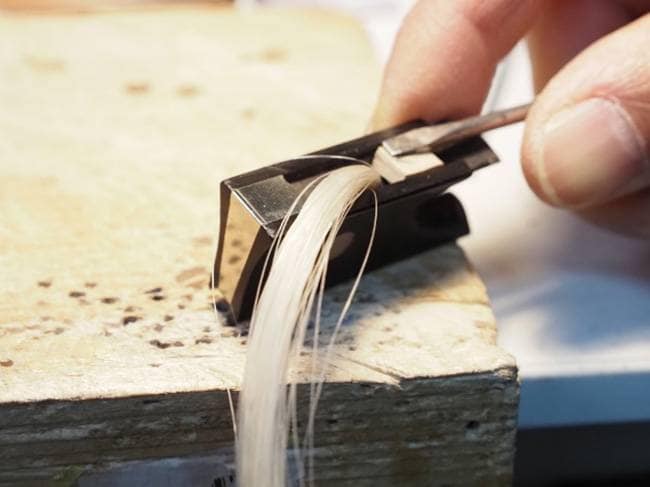
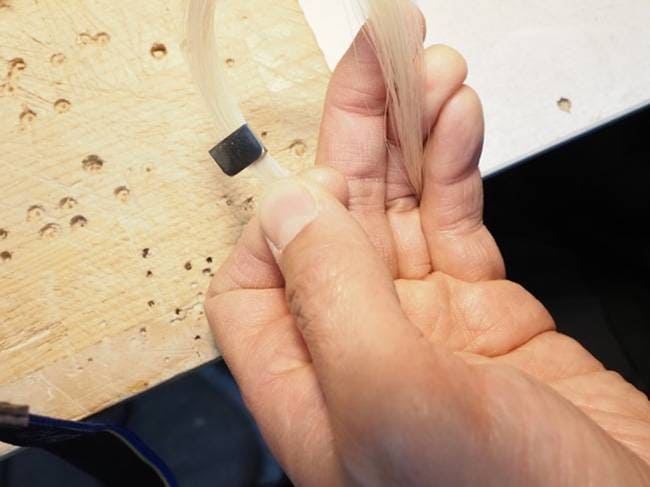
I tied one end of the hair bundle with thread.
It seems that the method from tying the hair to attaching it varies depending on the person doing the work.
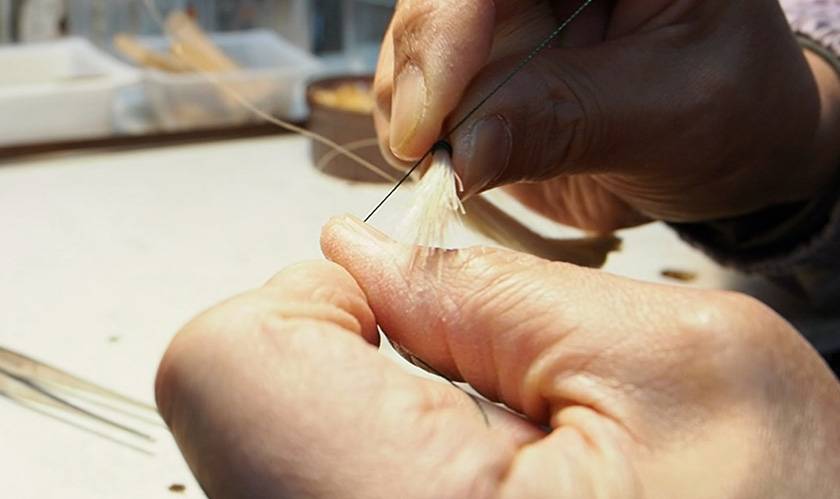
It’s possible to explain how to tie the hair and other details, but that alone would take up an entire blog post, so I will omit it this time.
I secured the end.
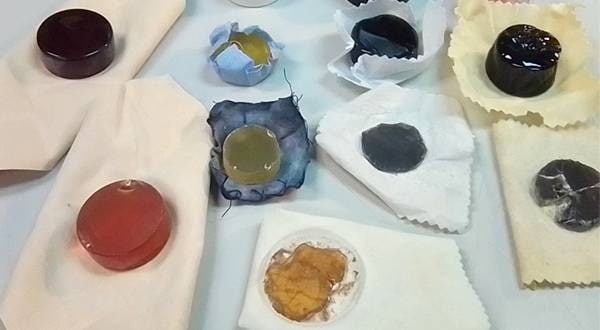
There are methods such as using rosin or fixing it with cyanoacrylate glue.
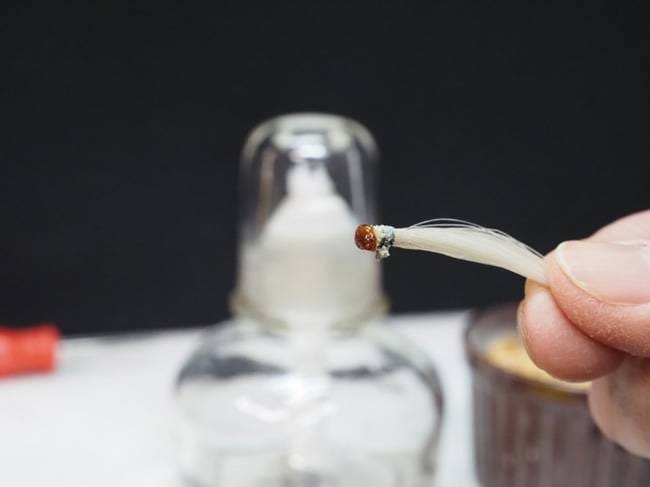
This time, I will show the process of burning and treating the end with rosin. This is probably the most visually impressive part of the rehairing process (though even so, it’s only to this extent).
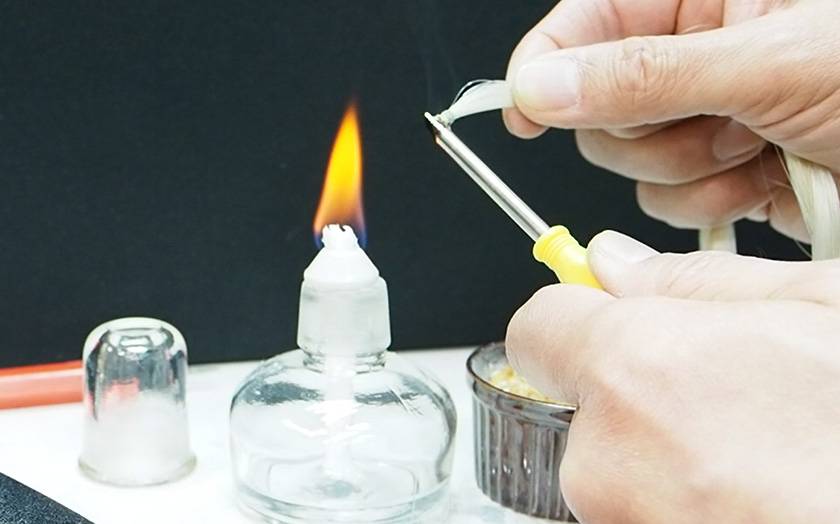
Please take a look at the video as well.
In Part 2, I ended with a sort of teaser about this alcohol lamp.
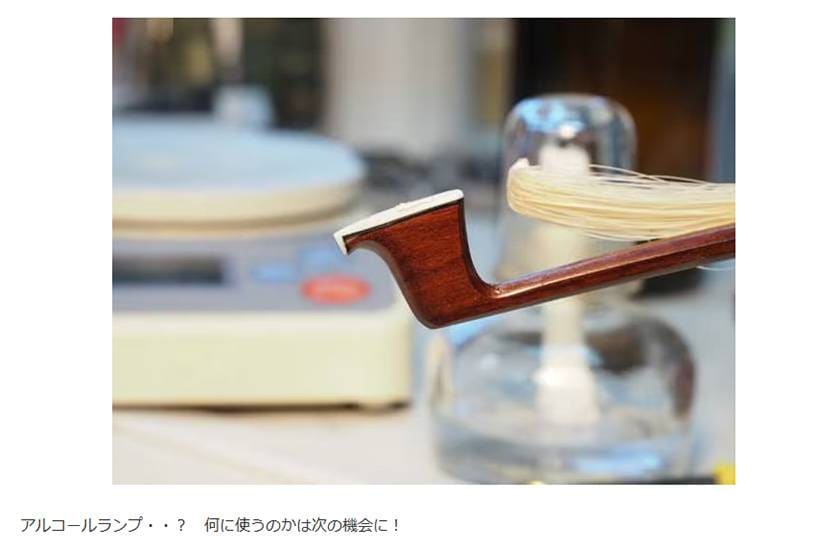
This is what it is used for. I wonder if you were able to understand.
Attach the hair bundle to the frog and secure it with a wedge.
Fit the slide into the frog.
Attach the ferrule.
Make the wedge for the ferrule section.
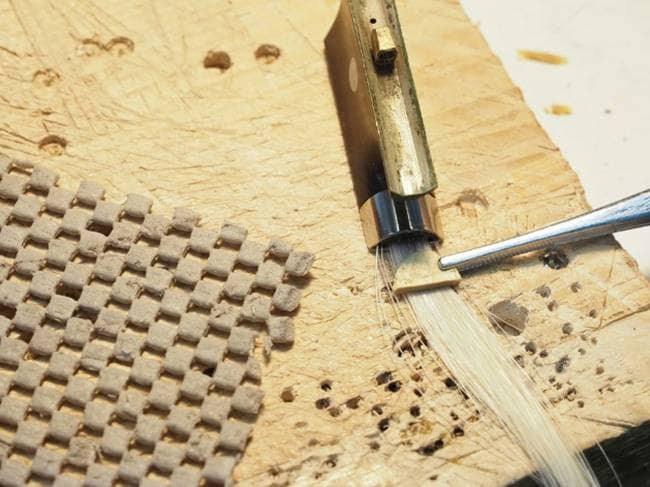
The frog is now ready.
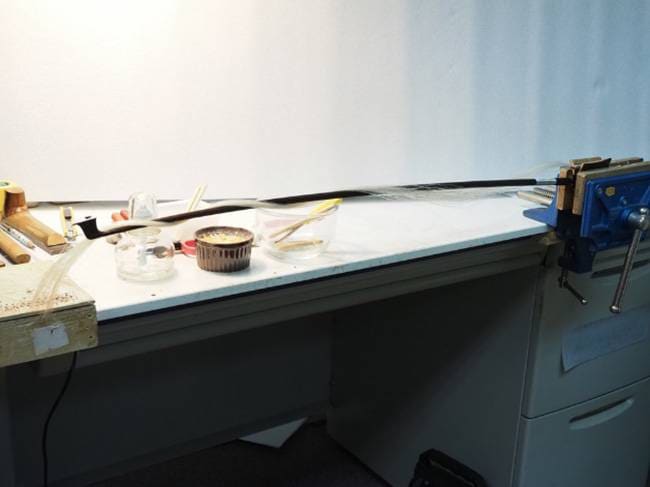
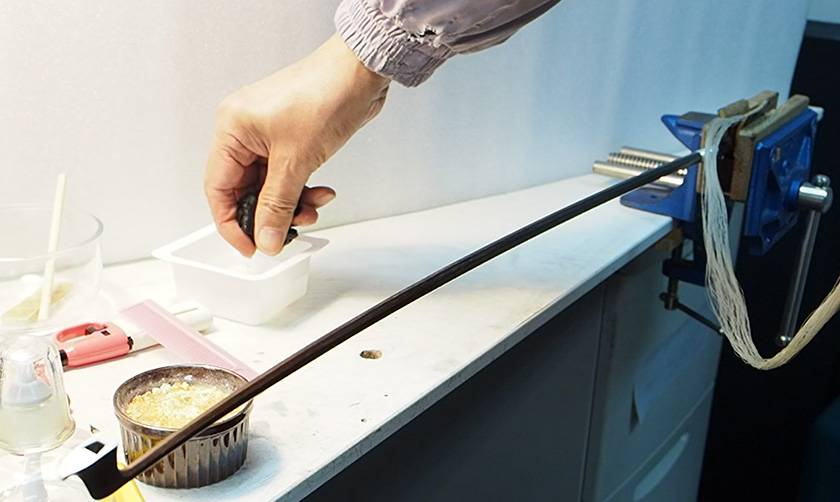
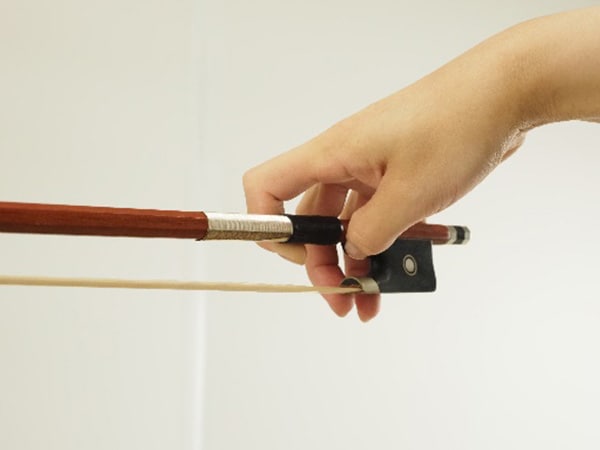
Attach the frog to the bow and prepare to insert the hair into the head. I clamp the frog side in a vise and work while looking at the head on the left.
The layout looks like the image shown here.
Lightly comb the hair bundle before wetting it, then wet the hair with water and continue combing to align the entire bundle evenly.
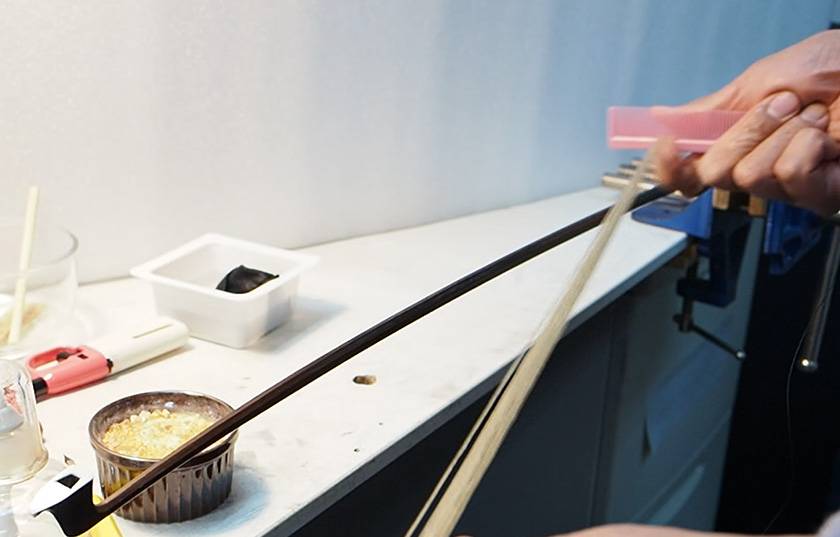
Tying and arranging the end on the head side is basically the same process as on the frog side, but when inserting the hair into the head, I perform the tying and insertion while considering the way the hair is mounted. This is a crucial step that largely determines the quality of the rehairing.
From this point on, both of my hands were completely occupied, and I couldn’t maintain a position in front of the camera, so filming was almost impossible and I was unable to capture clear images.
“How the Hair Is Mounted”
When holding the bow, the hair on the farthest end and the nearest end should basically have the same tension.
It is said that good sound is produced when proper tension is applied to the center of the hair and not disproportionately to the ends.
The work proceeds in a linear sequence, and even if I think about taking photos or videos along the way, it doesn’t go well. Even if someone else were standing by to film for me, it would probably still be difficult.
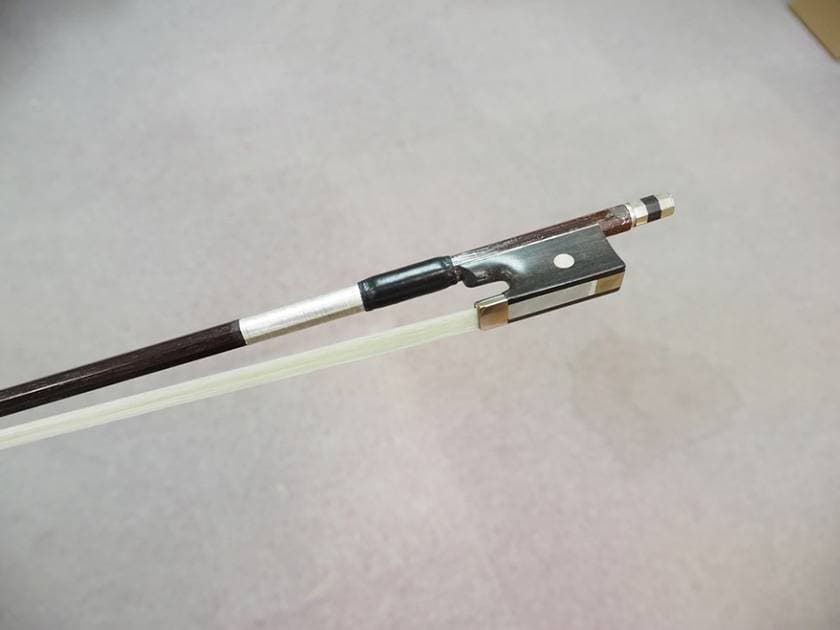
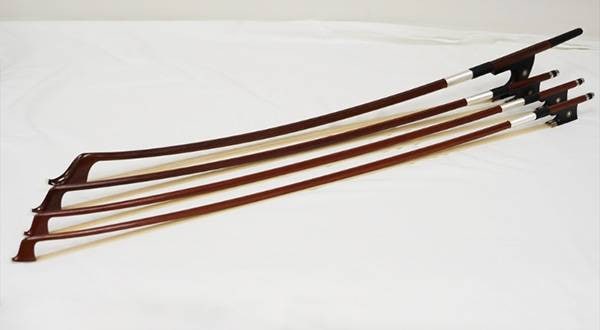
So, after completing the rehairing, here is the finished bow.
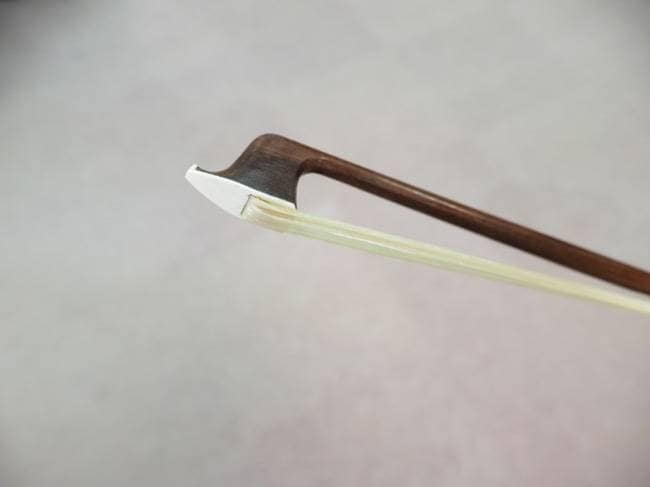
The hair at the lower right may appear narrowed, but in reality it is evenly tensioned.
The area around the frog has also cleaned up nicely.
And the final weight of the finished bow is...
63.1g
でした。
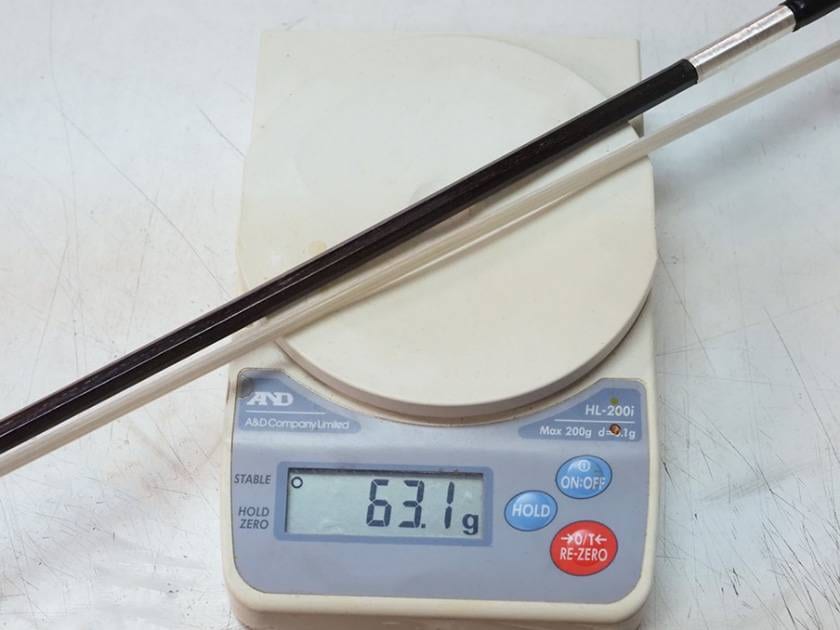
I had thought that it might not go below 63.5g, but considering that I replaced the wrapping, I believe that contributed to the weight reduction. Even so, it still feels a bit too heavy for a violin bow, but it’s now an acceptable weight. Although it’s a bow with strong quirks, I think I will be able to enjoy using it.
To summarize
This blog series ended up spanning a total of six parts on bows (rehairing). However, that doesn’t mean I’ve run out of topics about bows. In the first part, I even wrote something like a planned outline for the blog, yet not a single one of those points was followed, and I can only feel embarrassed at how scattered the progression was.
I think I’ll keep the topic of bows going and include some more practical content, but next time I would like to choose a completely different theme. Until then.
***** Chat *****
I tried writing this blog without relying much on the internet or reference books. I am aware that there may be some self-indulgent parts. However, since I was able to complete a perfectly usable bow, I believe the content did not contain any serious errors.
To all of you using AI as your go-to source! I don’t think the contents of this blog would quite fit your search results, so please make sure not to gather one-sided information from it.
Wait, asking AI like this… I wonder if that message will get across.
If you’re truly excellent, perhaps you would reply in that oddly intonated, rapid artificial voice,
“Understood. I will refrain from collecting information from your blog.”


![[Violin Bows] Trying Out the PLAYTECH PCV100 Carbon Bow](/contents/uploads/thumbs/2/2025/5/20250515_2_31443_1.jpg)
![[PLAYTECH] Round Bow vs. Square Bow Comparison](/contents/uploads/thumbs/2/2023/5/20230531_2_22832_1.jpg)
 チェロの弓の持ち方
 バイオリン 入門ガイド
 バイオリンスタートガイド
 チェロの弓の調整と松脂の塗り方
 バイオリンの弓の持ち方
 バイオリン 弓の各部名称と松脂