Hello there.
The other day, I suddenly had this strong craving for French fries, and I ended up eating a full 1 kilogram, only to suffer from an upset stomach all day the next day.
Yeah, it happens sometimes. Those moments when you just can’t resist the craving.
It’s not like I planned to eat a whole kilo.
But I find that freshly fried French fries are just too delicious.
And they don’t stay good for long.
So while I was munching on them, thinking how amazing those french fries were, before I knew it, I had eaten the whole bag.
There was a moment where I thought, “Maybe I should stop now?”
But unfortunately, I have a greedy tongue. So even when my brain said “You’re full!”, the desire to keep savoring the deliciousness of these fries won out.
Still, isn’t it amazing how something as simple as thinly sliced potatoes, fried in oil and sprinkled with salt, can become such an incredibly tasty food? Whoever came up with it first was a genius.
Of course, overdoing it does come at a cost, as I learned the hard way. So it’s important to be careful.
...But even so—they’re just so good, aren’t they?
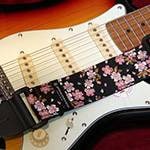
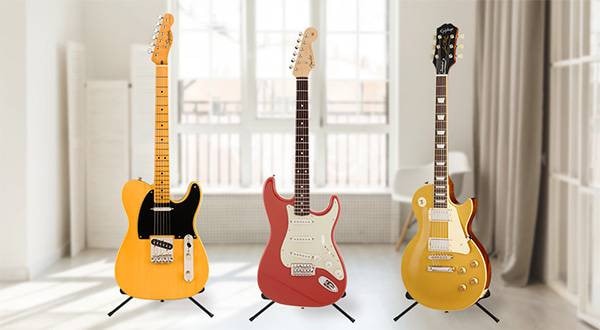
Now then, today’s topic is “Installing Single-Coil Pickups”.
Why are we covering this?
Well, as of August 14th, Sound House’s brand PLAYTECH has released original pickups.
It hasn’t even been a month since the launch, but we’re already honored to see that many customers have purchased them. We’re truly grateful.
Along with that, we’ve been receiving questions about how to install pickups, especially single-coil pickups in which I have a few important points and handy tips to keep in mind during installation.
So today, I would like to talk about those points.
This article will cover two main topics:
- Checking the size and shape of the mounting screws
- Inserting screws straight into the pickup
Both are important things to know, especially when replacing pickups, so I hope you’ll read through to the end.
※ From here on, we’ll use PU for “pickup” and PG for “pickguard.”
〇 Checking the Size and Shape of the Mounting Screws
First off, when it comes to screw size, it goes without saying that electric guitars often mix metric and imperial (inch) parts—even within a single instrument.
So this is definitely one of the key points to keep in mind when replacing parts.


It’s hard to tell in photos, but imperial screws are slightly thicker in diameter compared to metric screws.
For example:
If the pickup (PU) has imperial-sized holes and you try to mount it with metric screws, they’ll be too loose and won’t hold in place, so be careful.
On the flip side, if you try to force thicker imperial screws into metric-sized holes, you might end up widening the holes, or worse, damaging the PU base. Always check before installing.
Another important aspect when it comes to single-coil pickup screws is the head shape.
There are two types that are commonly used:

You can probably tell the difference in the screw heads at a glance, but what’s really important is the part that comes into contact with the pickguard (PG).


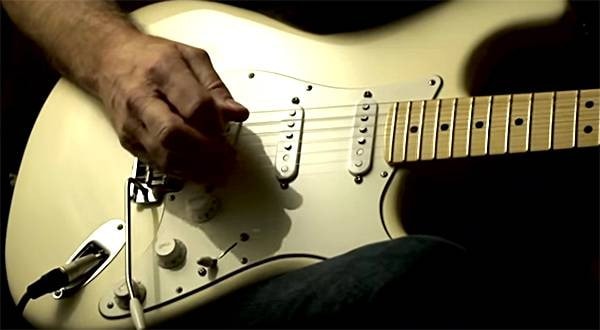
This means that if you use a flat-head screw on a PG that’s not designed for it, the screw will stick out awkwardly, like in the photo below.
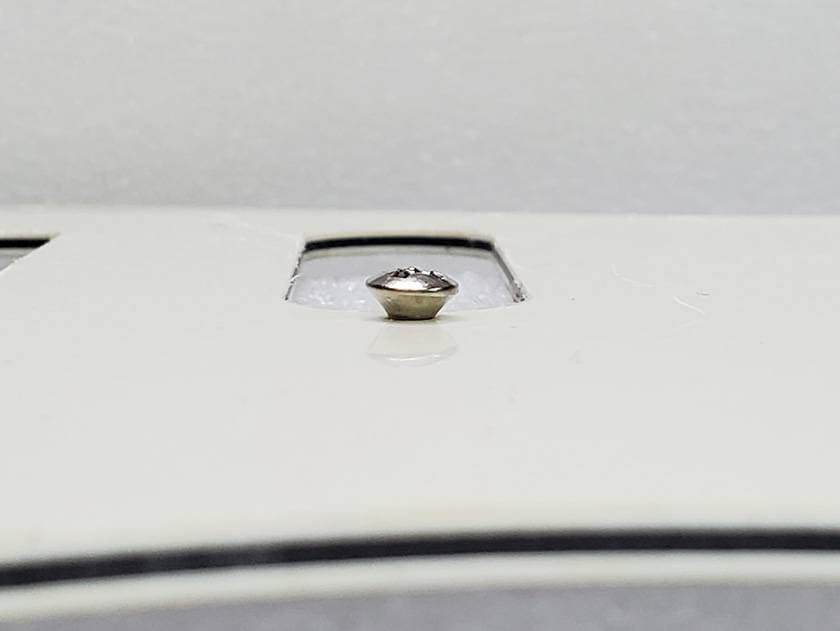
Guitars that come pre-installed with flat-head screws have countersunk (サラ切り) PGs—a beveled edge so the screw sits flush.
You often see this type of countersinking on tremolo covers or control panels.
When used with a properly countersunk PG, flat-head screws sit perfectly flush, which feels nice and clean.

So, the shape of the screw is something to keep in mind when:
- Replacing rusty screws
- Purchasing a new pickguard
- Doing any sort of guitar maintenance
It’s a small detail, but an important one—so be sure to keep it in mind.
〇 Screwing the Screws Vertically into the Pickup (PU)
Next, let’s talk about how to screw the screws vertically into the pickup (PU).
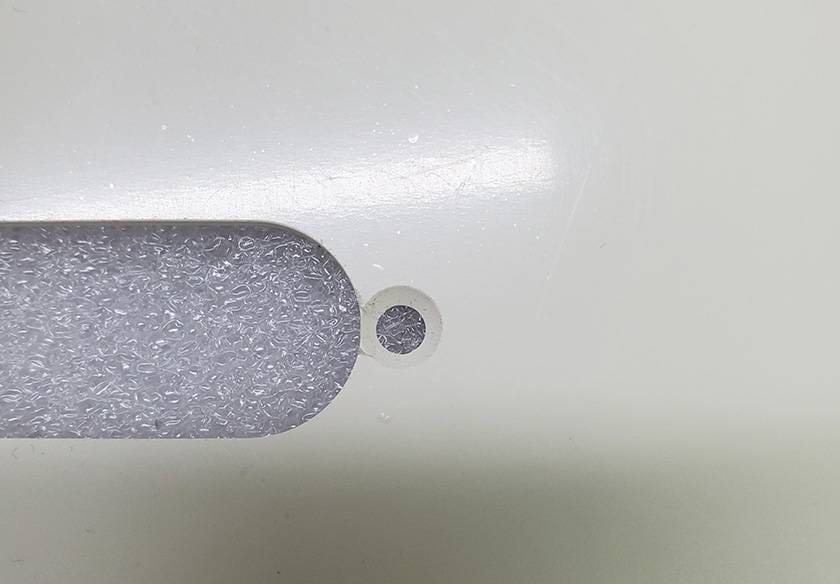
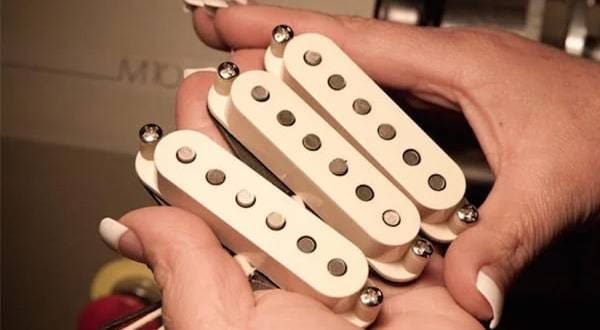
Before we dive into the explanation, let’s take a look at the screw holes of this brand-new single-coil pickup.

The mounting holes are properly drilled, but in many cases, especially with single-coil pickups, the holes are filled with wax, like in the photo.
This is leftover wax from the potting process, which is done during manufacturing to prevent microphonic feedback (howling).
In most cases, the screw holes in a new single-coil pickup are designed so that the thread is formed the first time you insert the screw.
So, if the screw goes in at an angle from the beginning, the PU will remain tilted even when mounted onto the pickguard (PG).
That’s why it’s crucial to get the initial threading perfectly straight.
So, how do you ensure vertical installation?
First, use an awl to remove the wax from the screw hole.

If you don’t have an awl, anything long and thin that seems suitable should be fine.
Next, place the pickup (PU) on a flat surface, and screw it in carefully while keeping an eye on the angle of the screw.

Once one side is done, do the same on the other side to create the second screw hole.
If you perform this step before mounting the PU, the screw will follow the vertically cut thread when you attach it to the pickguard (PG), allowing for a clean, straight installation without any tilt.
So, how was it?
This article was quite basic this time, but when replacing electric guitar parts, even something as small as a screw can have different specs, so taking precautions and properly checking are important.
This is especially true when shopping on online stores like ours, where you can’t inspect the actual item beforehand.
Honestly, I’ve made plenty of mistakes myself—like misreading voltage or capacitance ratings on capacitors and then regretting how I’ve made a huge mistake on my order.
So I’m in no position to preach, really.
Thank you for reading the blog all the way to the end.
See you again on the Sound House Staff Blog.
Goodbye!


 ピックアップ交換大作戦!
 DIY ギターメンテナンス
 プレイテックのギターを最強に改造!!
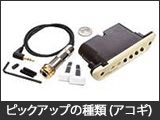
 ピックアップの種類
 ピックアップの種類(アコースティックギター)
 ピックアップの種類(エレキギター)