
Hello!
When it comes to buying drinks at convenience stores or from vending machines, I always end up trying the new releases.
Honestly, not many of these new items are particularly amazing, but there’s something exciting about them, you know?
I might be falling right into the manufacturers’ hands, but if I get that little thrill, I think it’s worth it.
I try a lot of new items, but in the end, for me, oshiruko always wins!
Now, in my last post, I talked about soldering, and this time, I wanted to dive into the different types of wiring materials. However, I realized that the topic could get even more complex than soldering itself, and the content would become overwhelming, so I had to let it go for now.
So, this time, I’ll be focusing on stripping the insulation off wiring materials and soldering techniques before we start wiring.
Let’s get started!
○ How to Strip the Insulation of Wiring Materials
Before starting any wiring, you’ll need to strip the insulation from your wires. For this, you’ll need these tools:
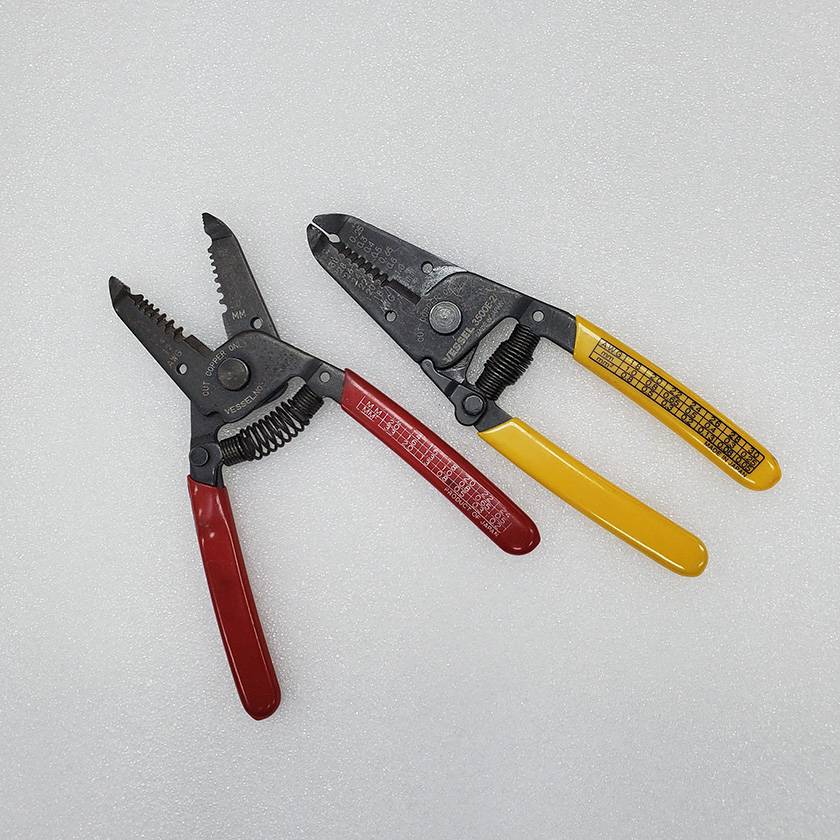
This is a wire stripper, and it’s used for removing insulation. Be careful—if you don’t use it properly, you could end up damaging the wiring or causing disconnections.
Let’s remove insulation from a single core wire
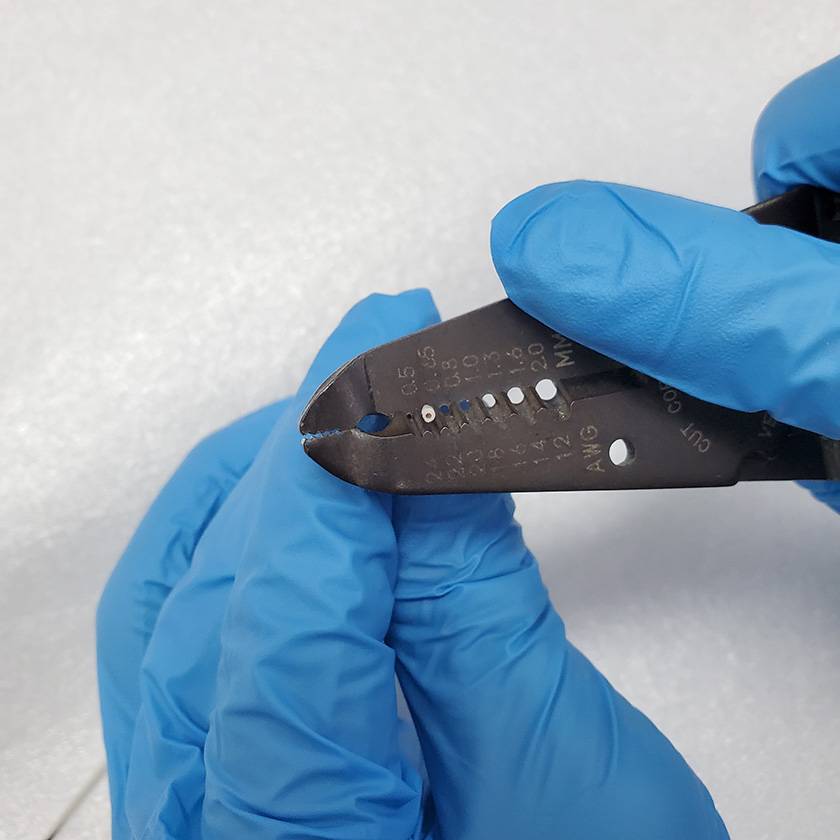
First, we’ll strip a single-core wire. Start by gripping the wire with the part of the stripper that matches the diameter of the core wire.
In this case, it’s 0.5mm (the smallest hole).
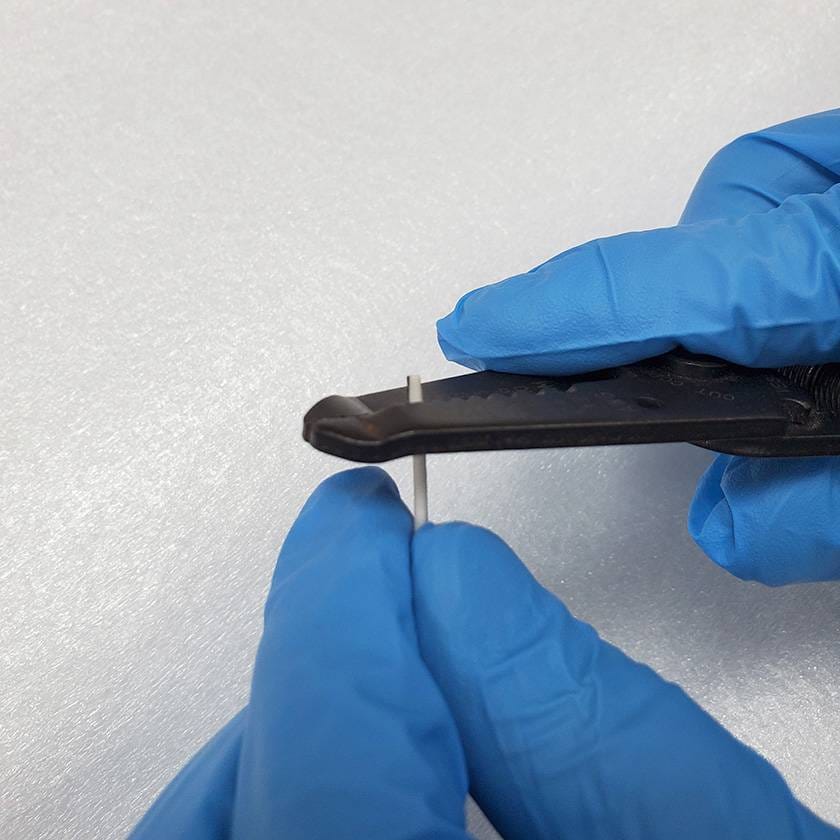
The next step is crucial.
Use a slightly larger hole on the wire stripper to pull off the part of the insulation you just gripped.
Make sure to pull straight along the wire.
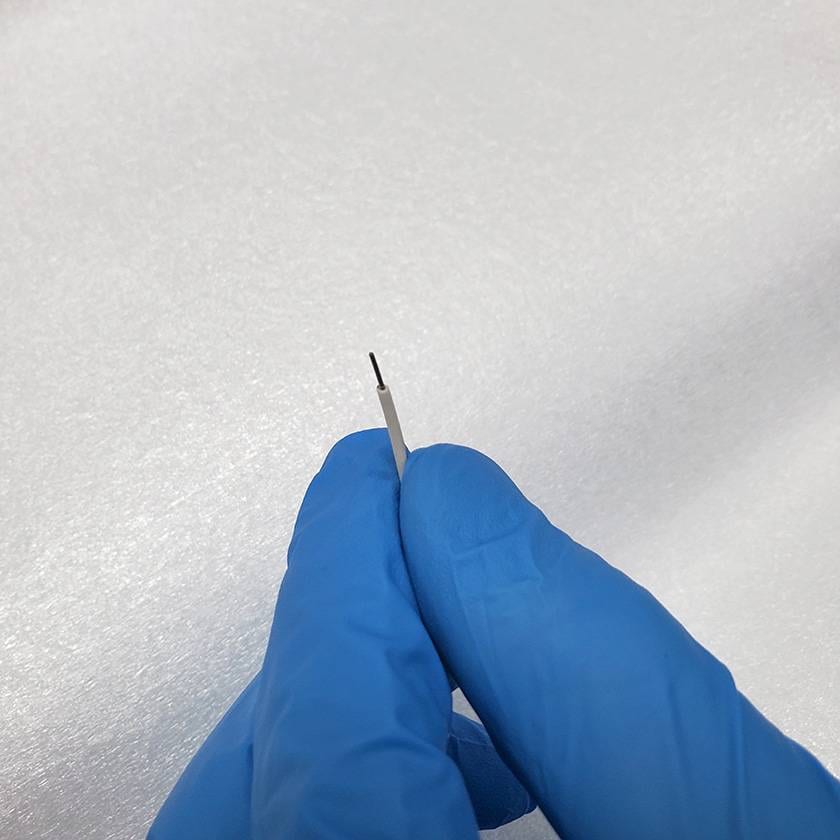
Pulling it straight may seem obvious, but it’s essential.
If the angle of the stripper or the wire is slightly off, you risk damaging the inner wire or cutting through the strands of the wire.
A good technique is to separate the steps of cutting and peeling the insulation.
If you try to rush and do it all at once, the core wire may end up snapping midway, as shown in the picture below.
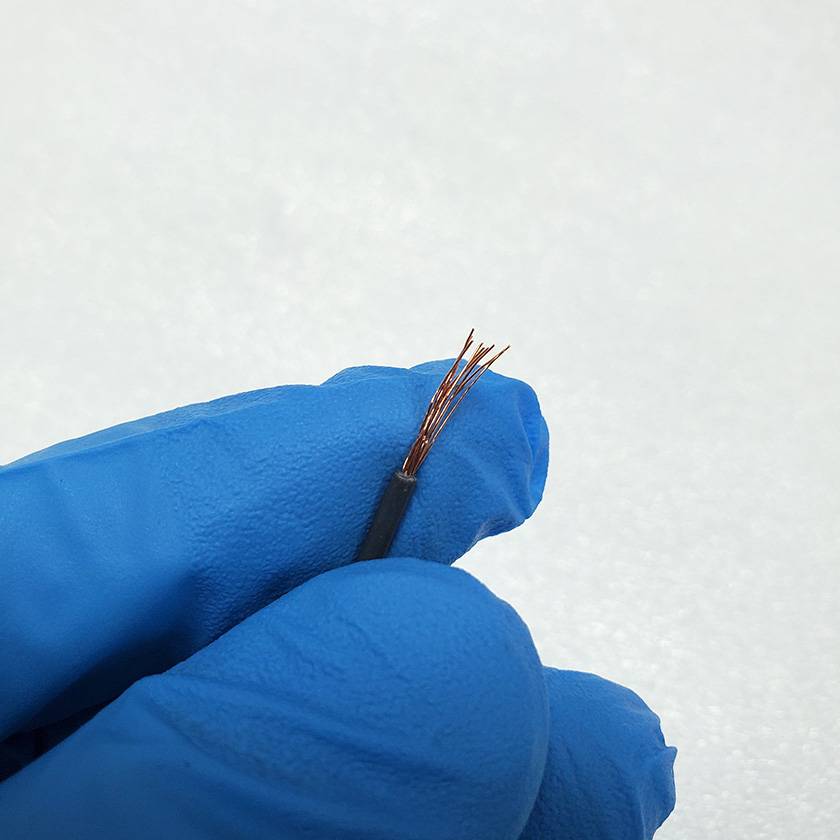
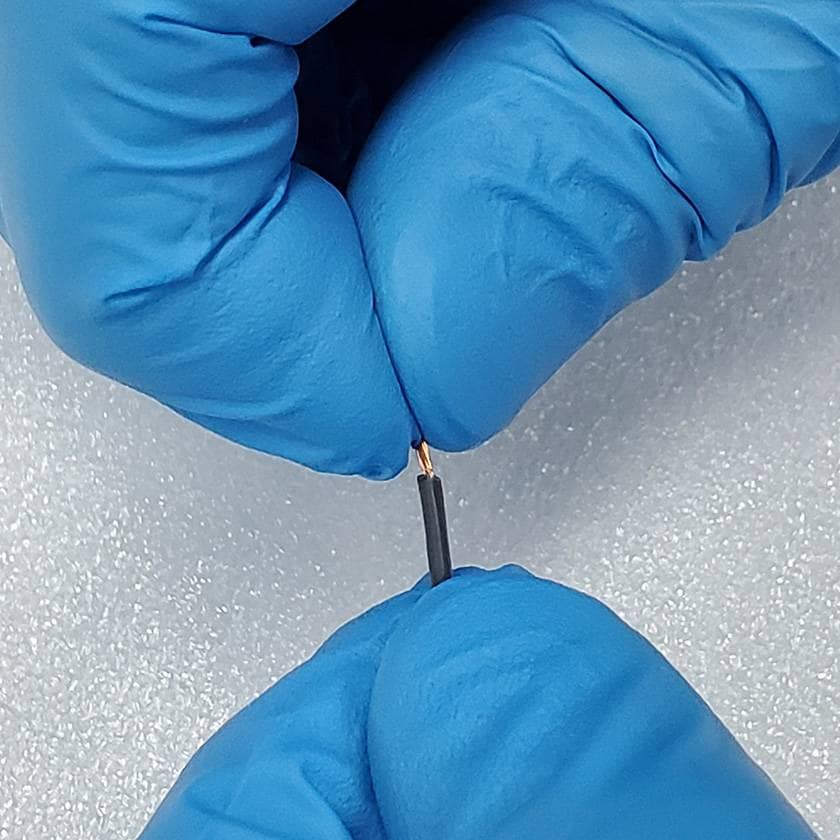
Next, let’s strip the insulation on stranded wire
Like before, grip the wire with the part of the stripper that matches the core’s diameter, then use the next largest size to pull the insulation straight off.
The process is similar to working with solid core wire, but since stranded wire consists of a bundle of thin wires inside, it can be a bit tricky to handle for wiring as-is.
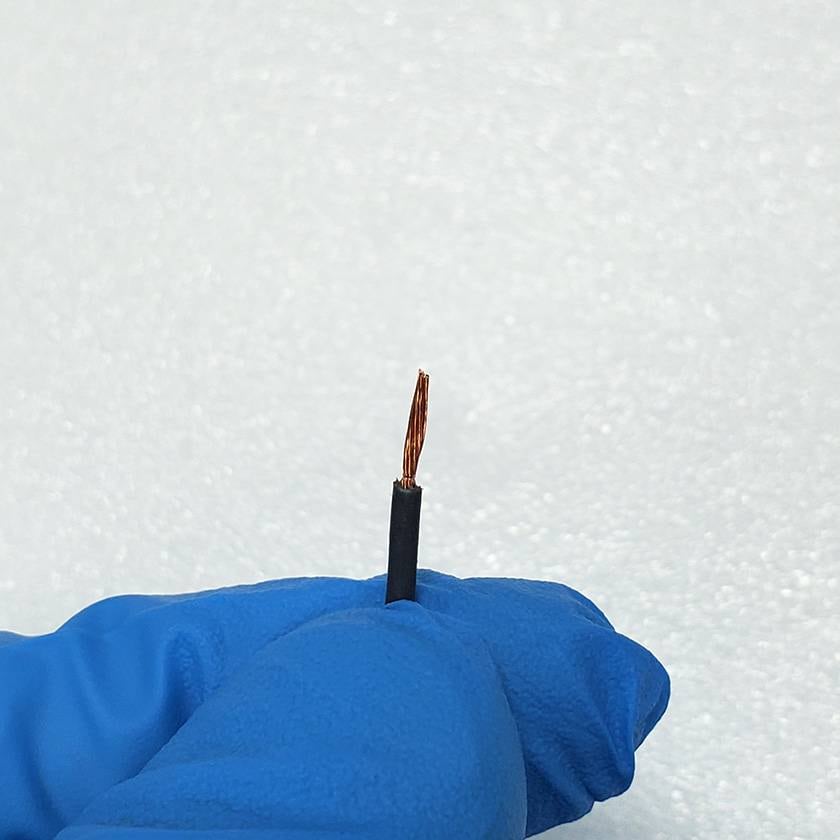
That’s why many people twist the strands together with their fingers after stripping to make it easier to work with.
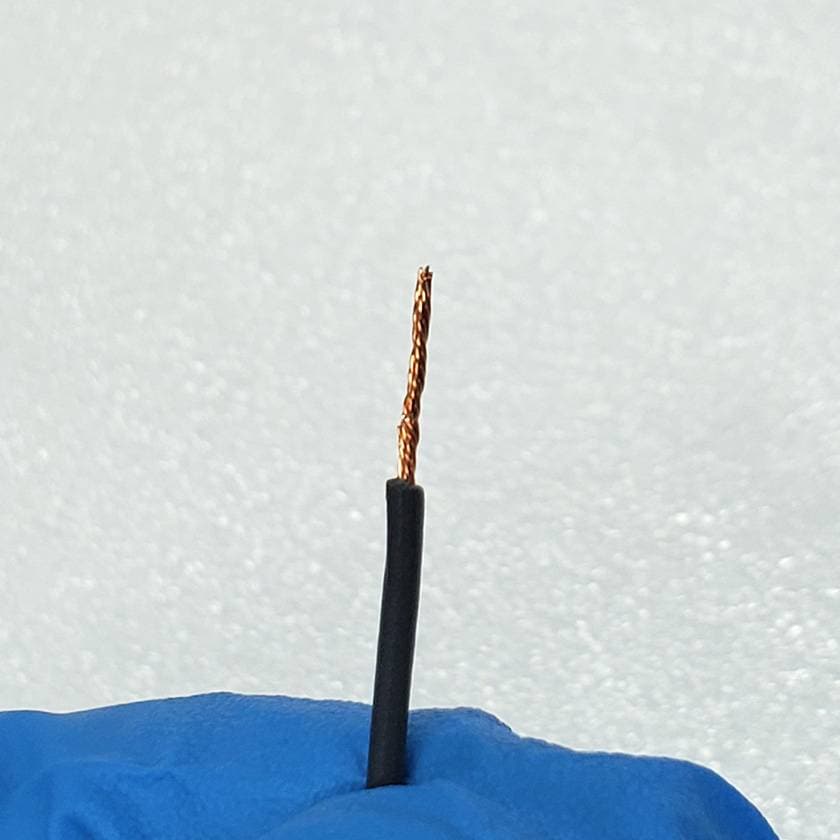
If you do this twisting step properly, it’s quick and neat. Here’s a quick tip:
First, grip the wire with the matching diameter on the stripper.
Then, while gripping, twist it with your fingers as you pull off the insulation. This will twist the strands nicely as you strip the insulation.

It’s a small thing, but very handy. If you’re planning to start wiring projects, give it a try!
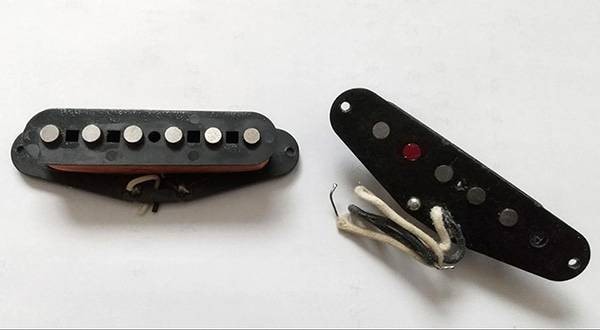
Now, let’s move on to cloth-covered wiring, which is often used for single-coil pickups

One thing to note with cloth insulation is that it’s harder to cut than vinyl, so make sure to properly grip the insulation initially and confirm the cut before stripping it off.
Additionally, with this type of wiring, you don’t necessarily have to cut the insulation; you can just slide it down to expose the core. This lets you proceed with wiring as it is.
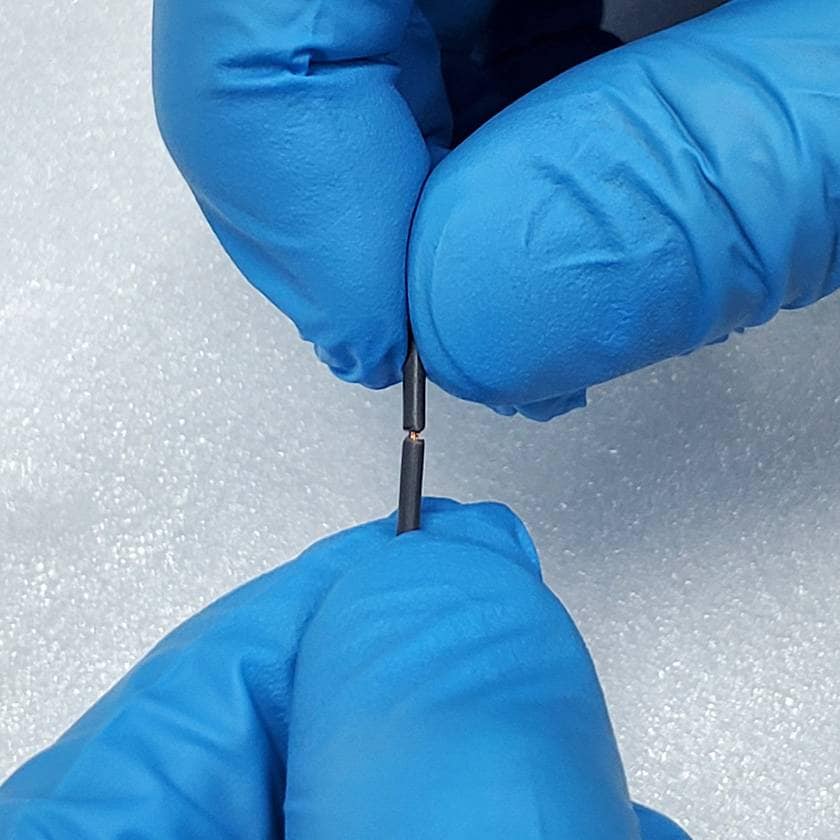
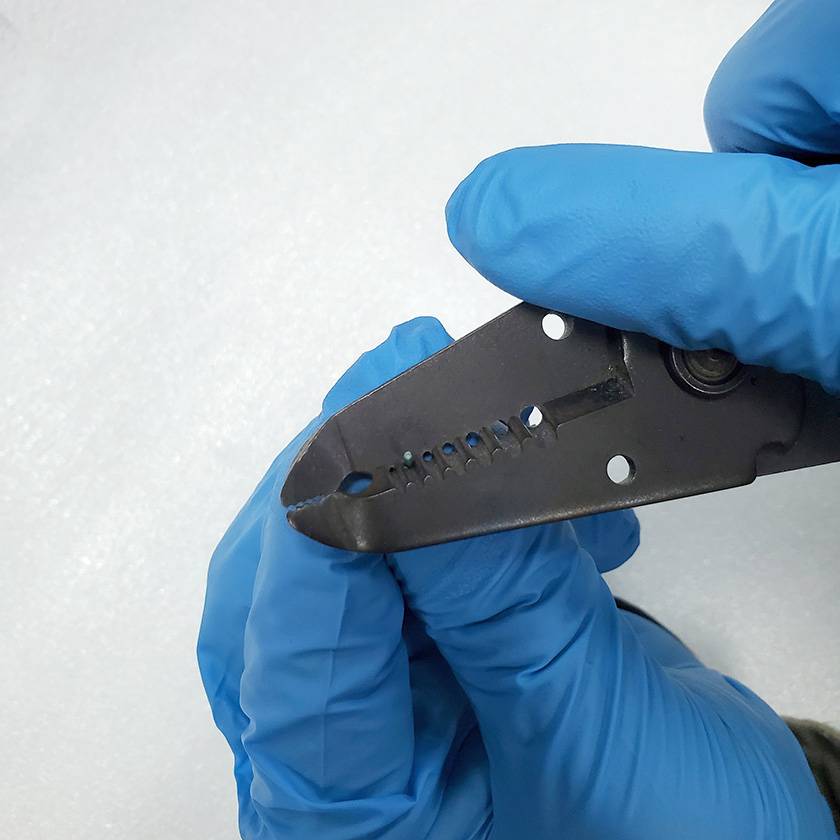
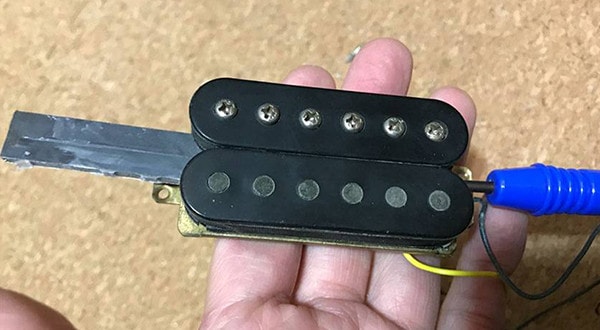
Lastly, let’s go over how to strip the insulation on a 4-conductor humbucker wire
The materials and thicknesses of these wires vary by manufacturer, but for this example, I’ll be working with a Seymour Duncan SH-2.
This one has a thickness of about 2.9mm, which is a bit tricky.
My wire stripper, which I’ve relied on for years, only handles diameters up to 2mm, so if I bite down too hard, it will cut through the inner wires as well.
Ideally, you should use a wire stripper with a larger diameter setting.
However, finding a scissor-type wire stripper in this exact 2.9mm range can be challenging.
There are some sturdier wire strippers with an adjustable grip feature that might work, though I haven’t personally used one with that feature. So, I’ll proceed with a scissor-style wire stripper.
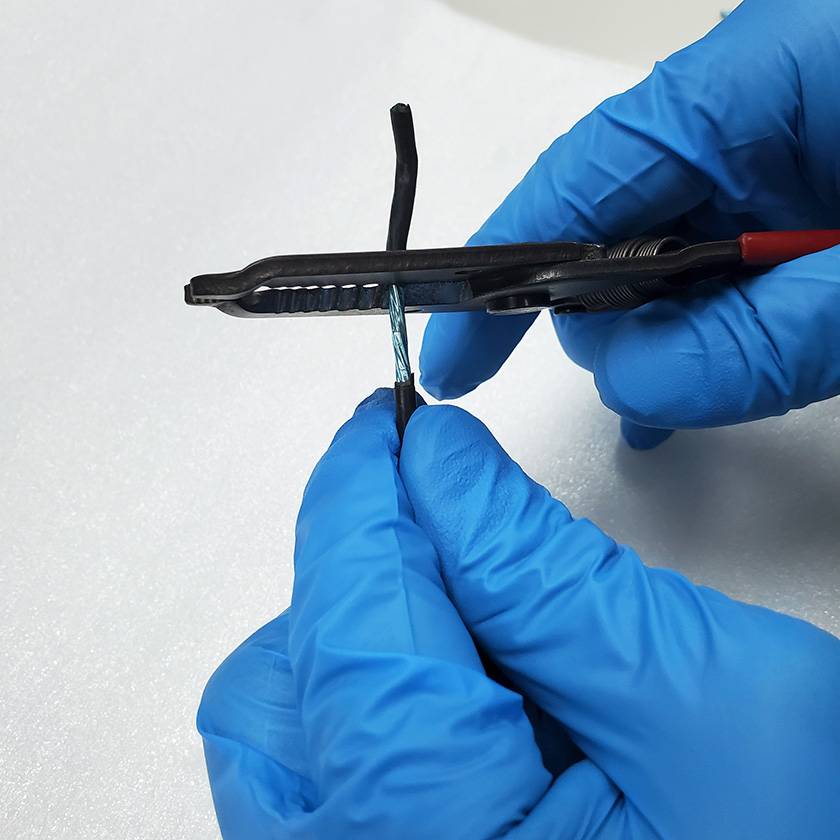
With the wire stripper, bite gently at the 2mm notch, shifting positions 2-3 times for a light grip.
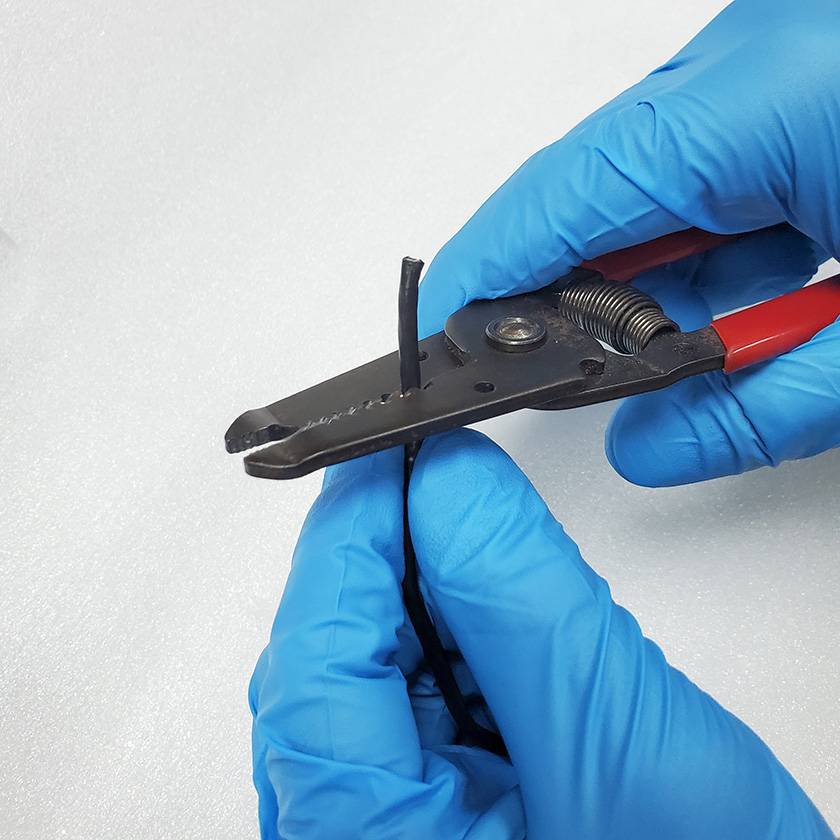
Be sure to use a light grip instead of biting down hard, as doing so would cut all the way through.
Once you’ve got a good grip at the 2mm mark, gently pull the unwanted insulation straight off.
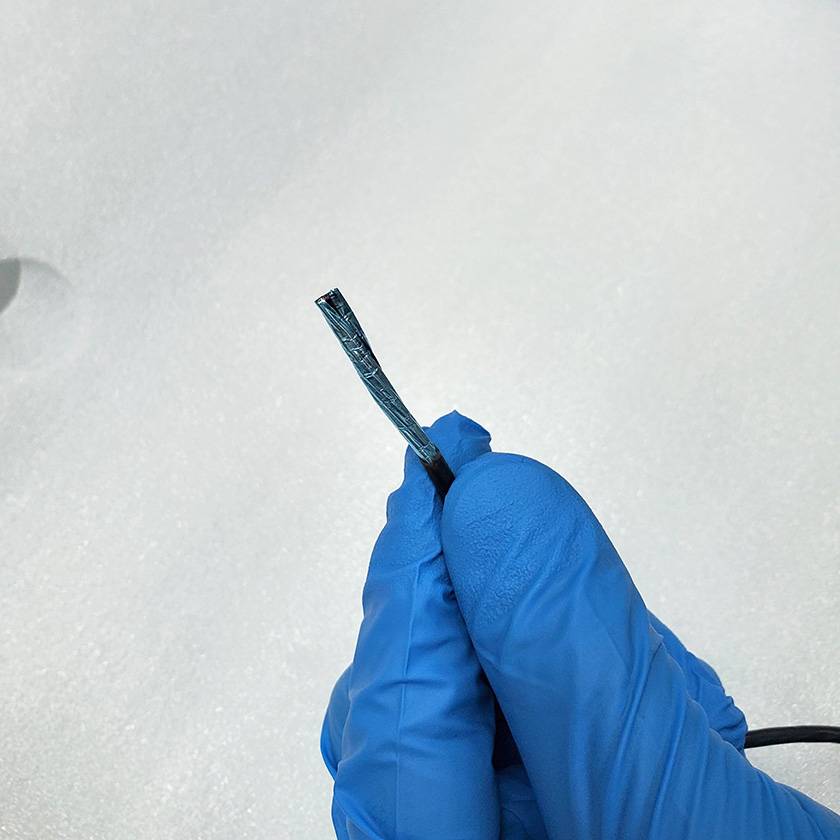
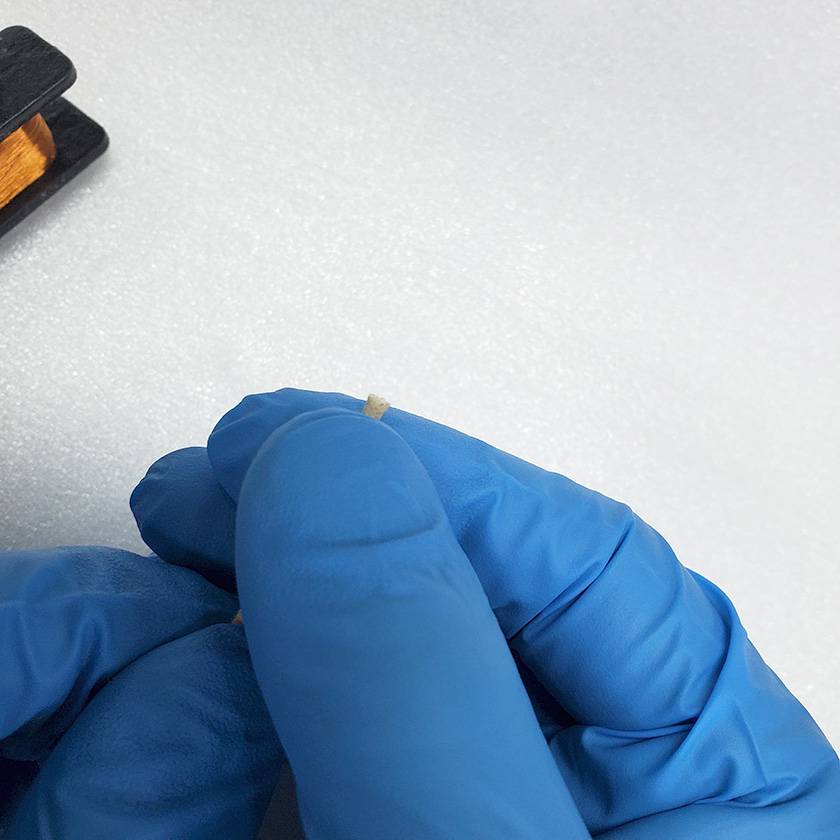
After removing the insulation, you’ll see an aluminum protective shield inside. Use wire cutters to snip this off.
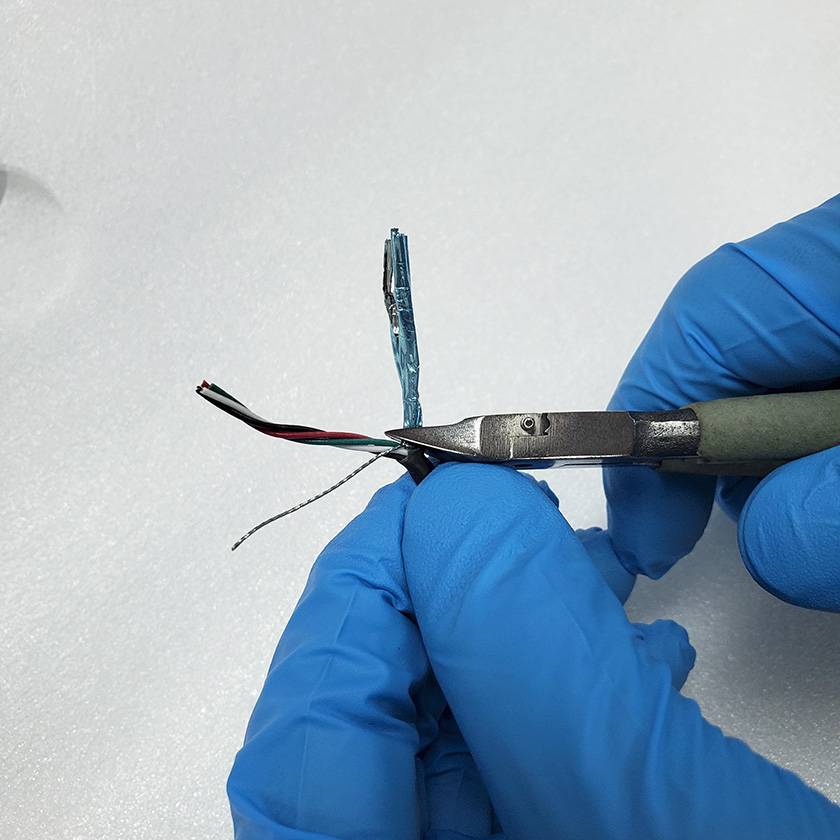
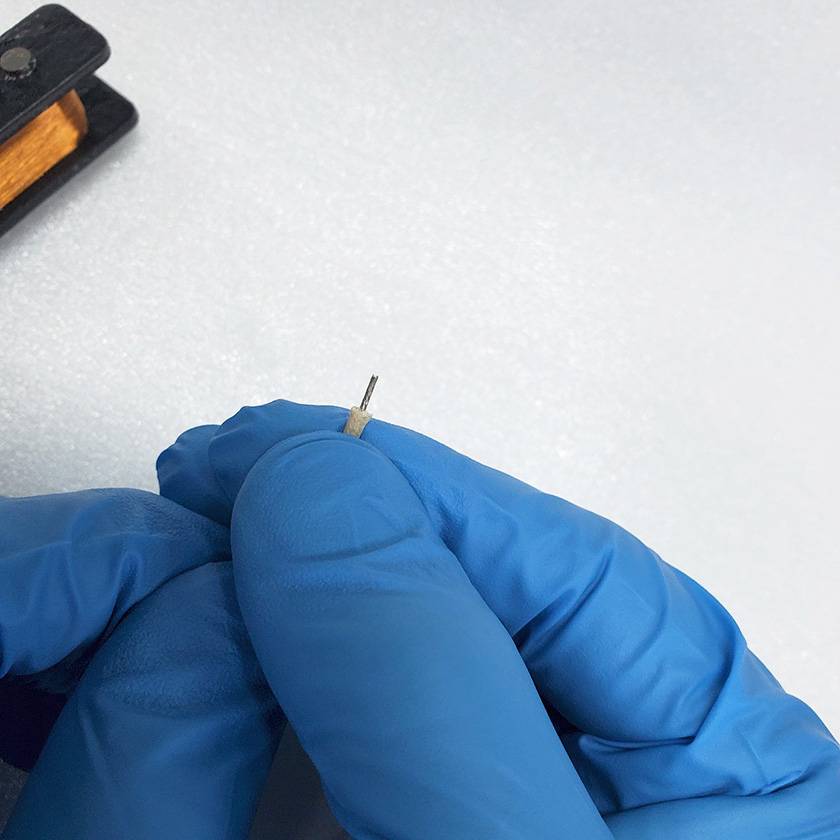
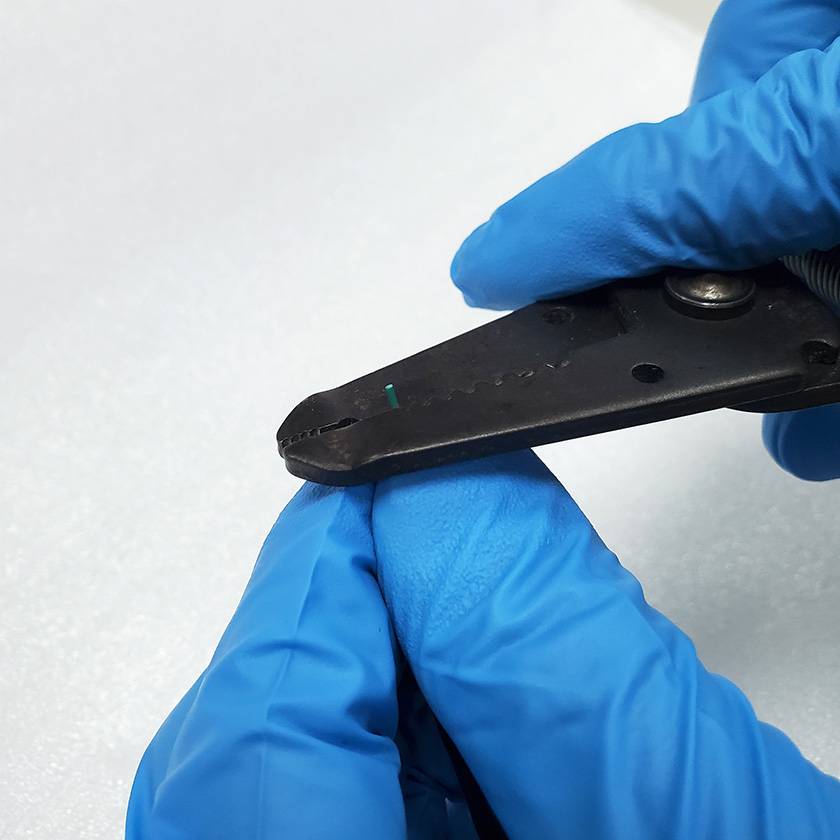
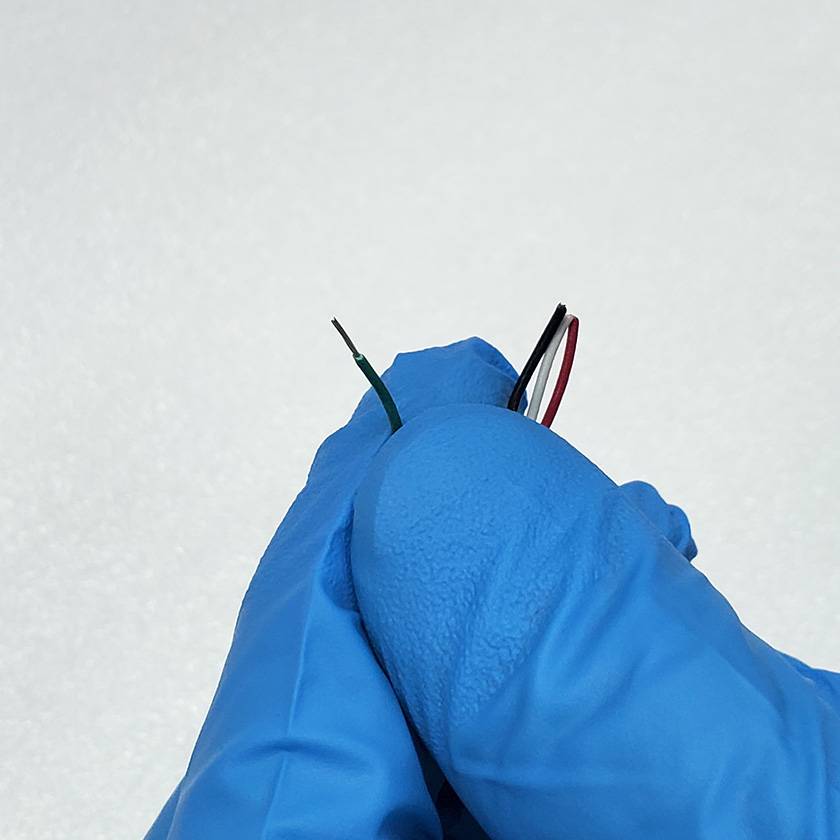
This will reveal four wires. Grip each one at the 0.5mm mark, then use the next larger notch to strip off the insulation, and you’re all set.
I’ve covered most of the essentials for stripping insulation, so next up is soldering.
That’s where I’d like to go, but since this post has reached a good length, I’ll cover soldering techniques in the next post.
How was this post?
Many online articles focus on wiring pickups, but I’ve rarely seen ones that discuss how to strip insulation, so I decided to write this guide.
I hope it helps those who want to try wiring themselves.
Also, while I didn’t get to cover it this time, I’d like to write about the different types of wiring materials in the future.
See you again in the Sound House Staff Blog.
Goodbye for now!


 ピックアップ交換大作戦!
 ギターパーツの沼
 ピックアップの種類
 ケーブルの選び方
 パーツの配線を知ろう
 ピックアップの種類(エレキギター)