Recently, there's been a sudden wave of guitar purchases happening around me — I’ve heard from five different people who bought guitars almost at the same time.
Now that the weather has finally warmed up and the days are starting to feel nicer overall, getting this kind of news makes it impossible for me not to join in. I’ll introduce the guitar I bought in a future blog post, so stay tuned! Although I’m probably the one who’s more excited about it, haha.
Now, onto the main topic: the mystery guitar. This time, we’re in the final stages of replacing the frets.
Here’s the current condition. The frets have already been removed, and there are no position markers.
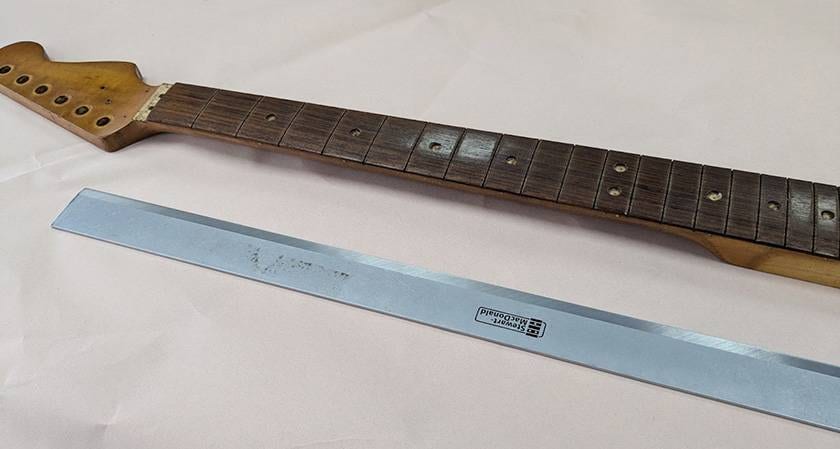
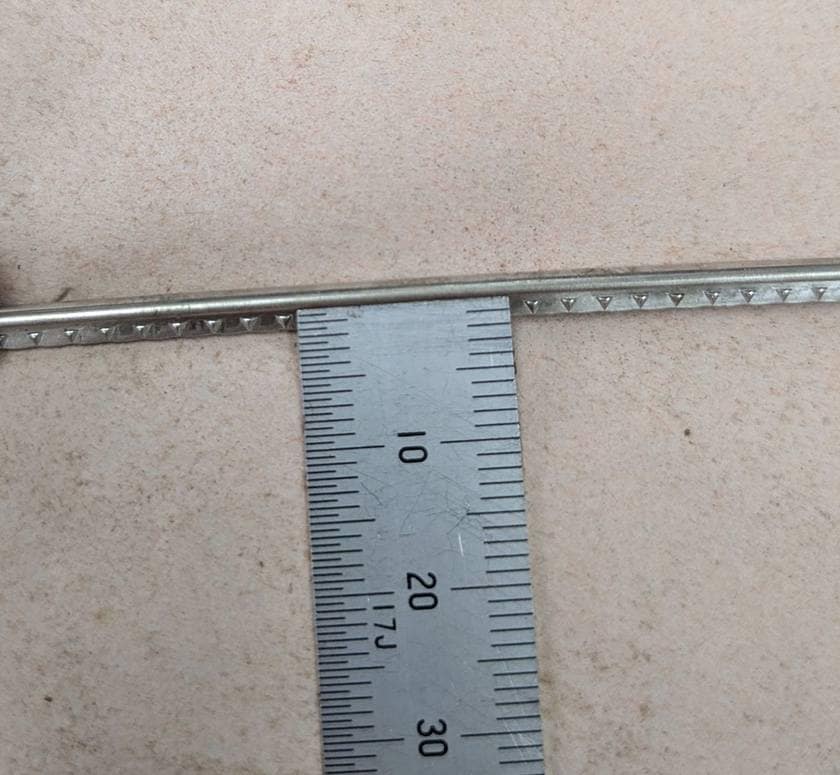
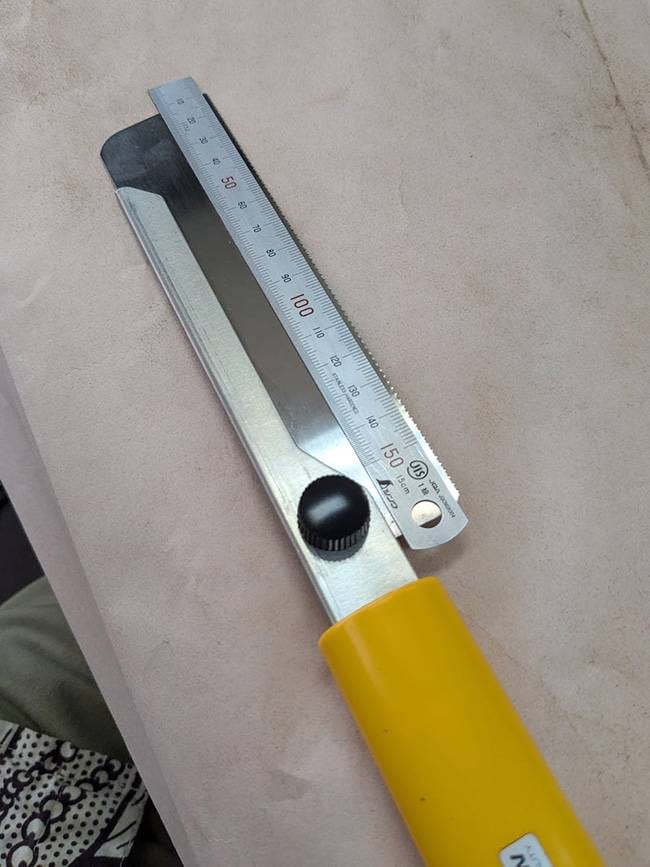
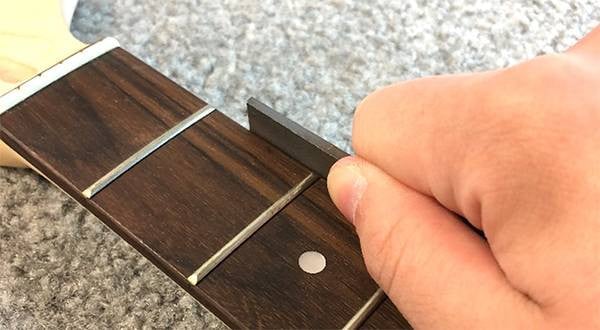
I’ll be skipping over some of the detailed steps in fret installation, but to start with, I will check the condition of the neck using a long aluminum straightedge like the one in the photo in order to adjust the neck to be as straight as possible.
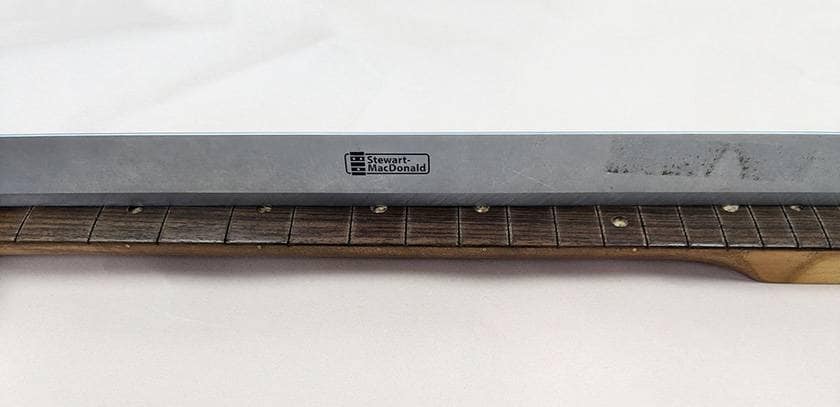
By doing this, I look for the position where the neck is the straightest, adjusting the truss rod multiple times if needed.
If the neck isn’t straight at this stage, it’ll affect later processes and the final result, so I make sure to check it thoroughly.
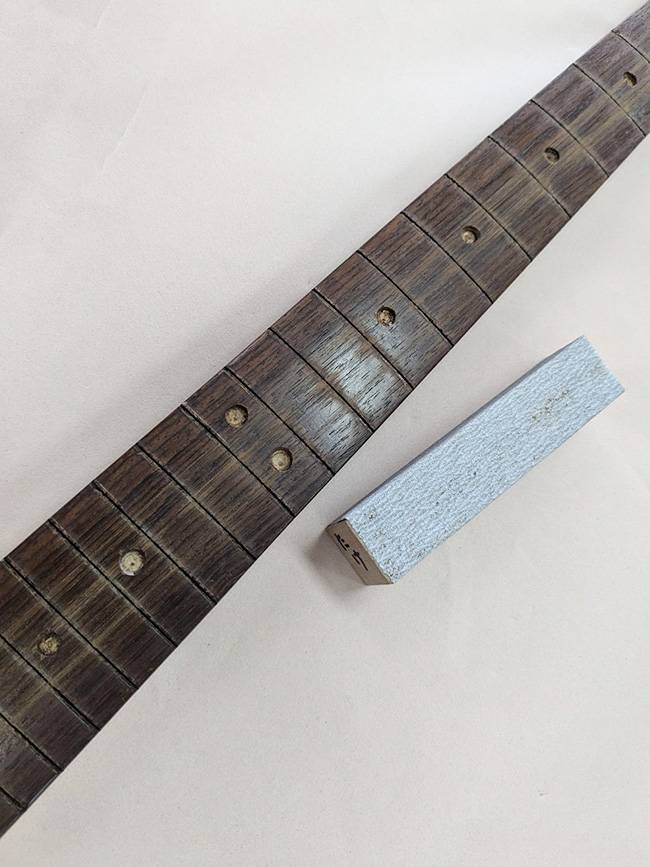
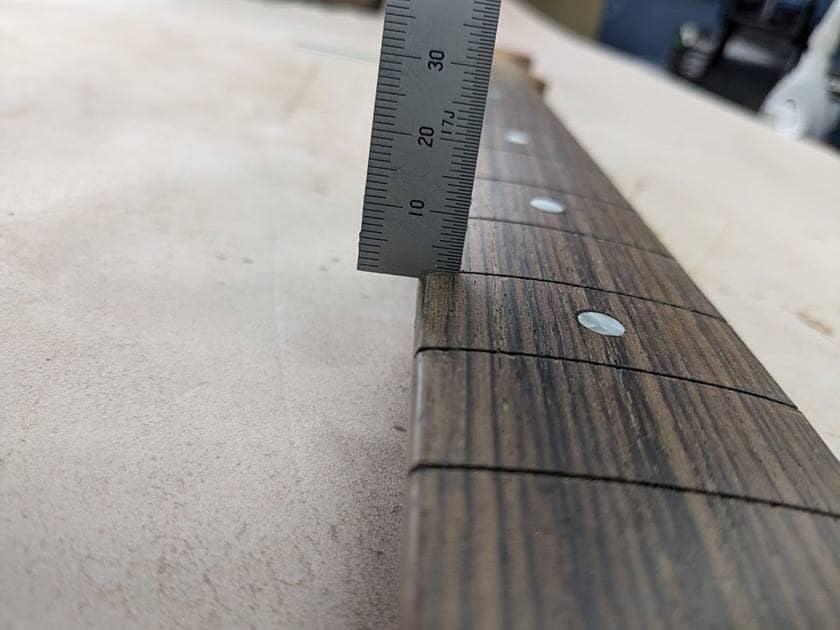
Once the truss rod has been adjusted as much as possible, I attach sandpaper to a flat piece of wood and use it to level out any uneven spots on the fingerboard. Then, I will place the straightedge on it again and repeat the checking process.
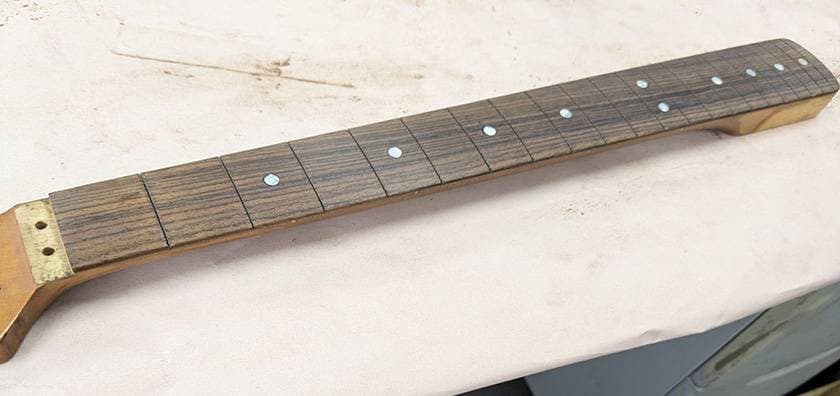
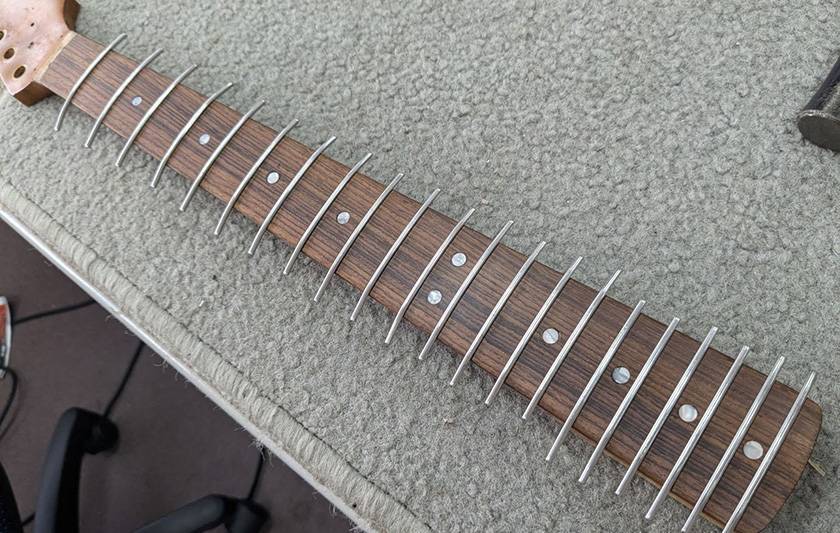
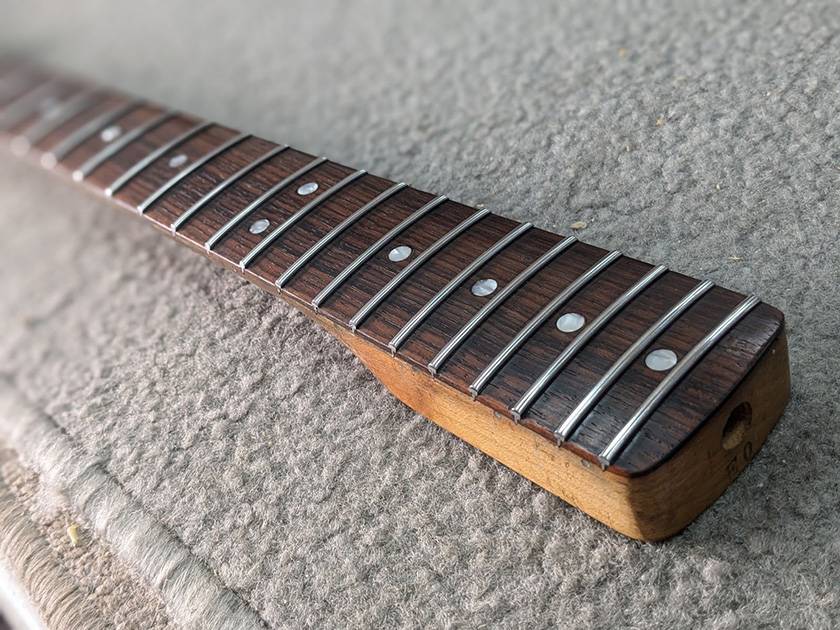
Here’s what it looks like after the process is complete.
Some of you might have noticed already, but yes, the position markers are now in place.
Nothing magical happened here — I simply forgot to take a picture earlier. Sorry about that.
The inlays I used this time are from this set:
The subdued pearloid pattern looks really cool!
MONTREUX / Pearloid main position set (10) [9110]
![MONTREUX / Pearloid main position set (10) [9110]](https://www.soundhouse.co.jp/images/shop/prod_img/m/montreux_9110.jpg)
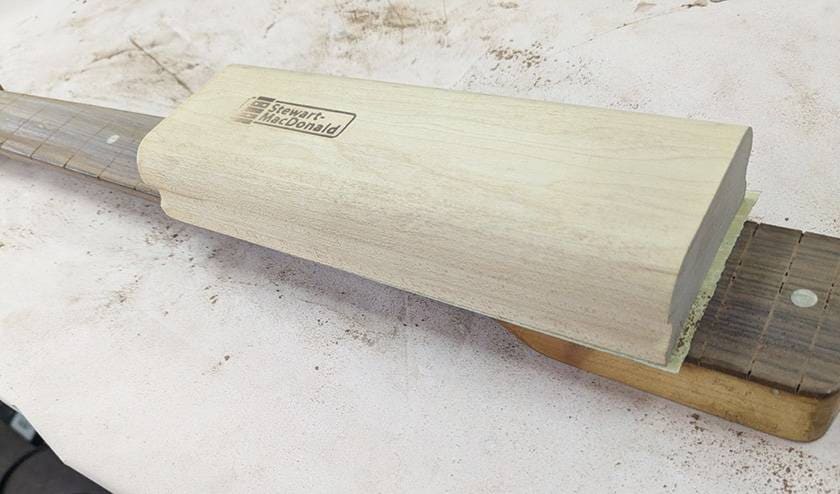
I was extremely careful not to ruin the fingerboard’s radius, but the previous step was only about creating a straight line from the last fret to the first fret. That inevitably disturbs the R (radius), so next I have to attach sandpaper to a radius block and reshape the curve.
Using a jig like this, I will check to make sure the fingerboard radius is even as I continue working.
After gradually moving to finer grits of sandpaper to remove sanding marks, it’s finally time to install the frets — but there’s still some prep to do beforehand.
Here are the frets I’ll be using this time:
Freedom Custom Guitar Research / EM-W-013 Stainless Frets
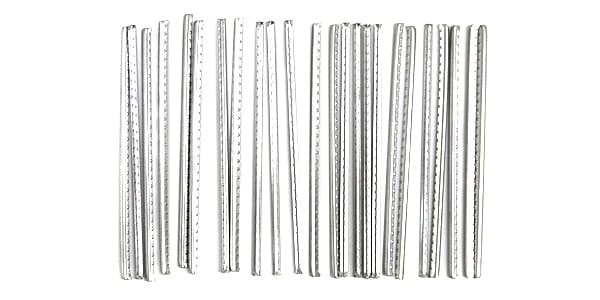
These frets are stainless steel, but they have a hardness that’s comparable to nickel silver, making them the perfect blend of both worlds.
The tang, or the part that gets driven into the fingerboard, is just under 2 mm in length.
Since the fingerboard was shaved during the adjustment process, the depth of the pre-cut fret slots has become shallower — in some areas, it’s now less than 2 mm. If frets are forcefully pressed into those shallow slots, they’ll simply lift out, so it’s necessary to recut the slots.
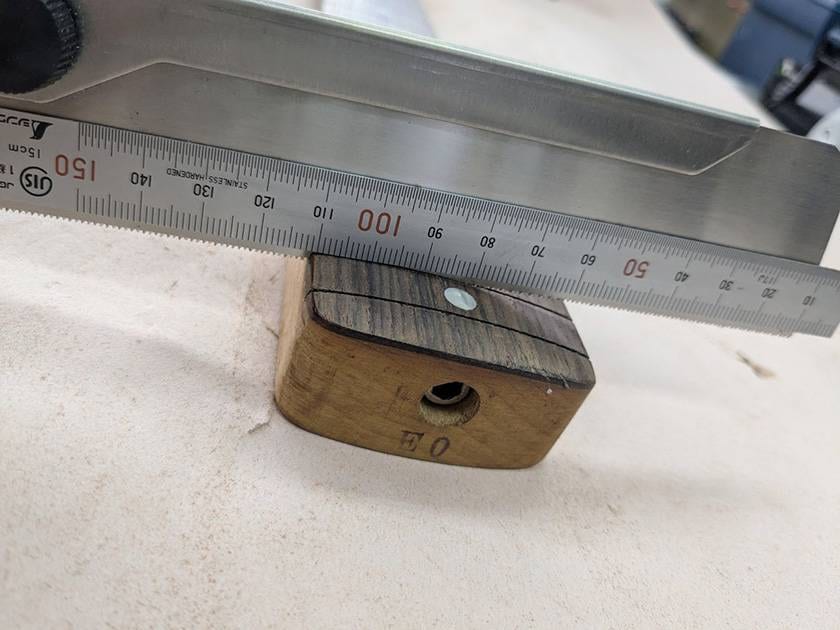
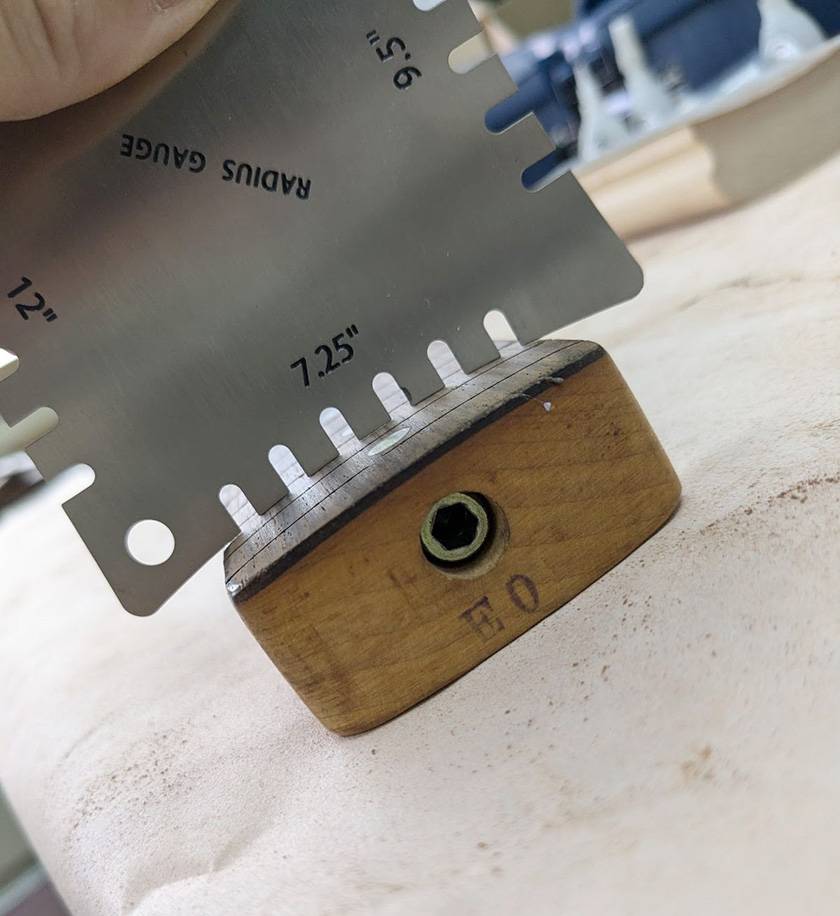
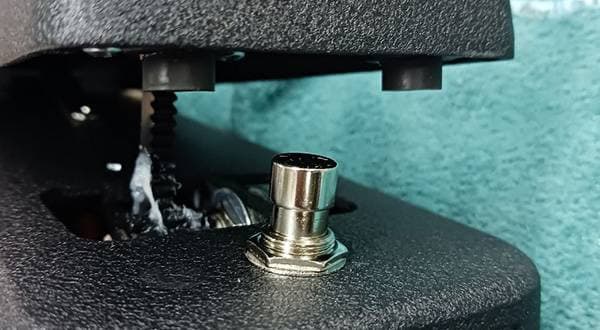
I attached a depth gauge (scale) slightly above 2 mm on the saw blade to ensure uniform depth when cutting the slots.
During the process, it looks something like this — the scale rests against the fingerboard and prevents cutting deeper than necessary.
Finally, it’s time to install the frets!
But… I only took a photo after it was all done...
After the frets were installed, they stuck out like this, so I trimmed off the excess ends. Doesn’t it kind of look like a fishbone? Kinda cute, right?
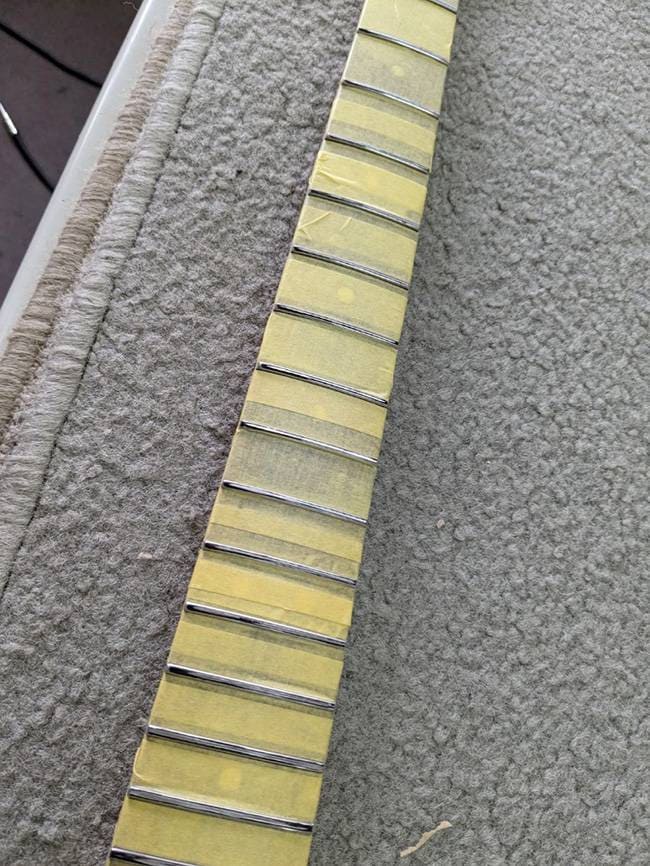
Explaining each step in detail would make this really long, so I’ll go quickly from here.
After trimming the fret ends, I checked the accuracy of the installation, then did the fret leveling, gradually increasing the grit of the files and polishing all the way up to compound.
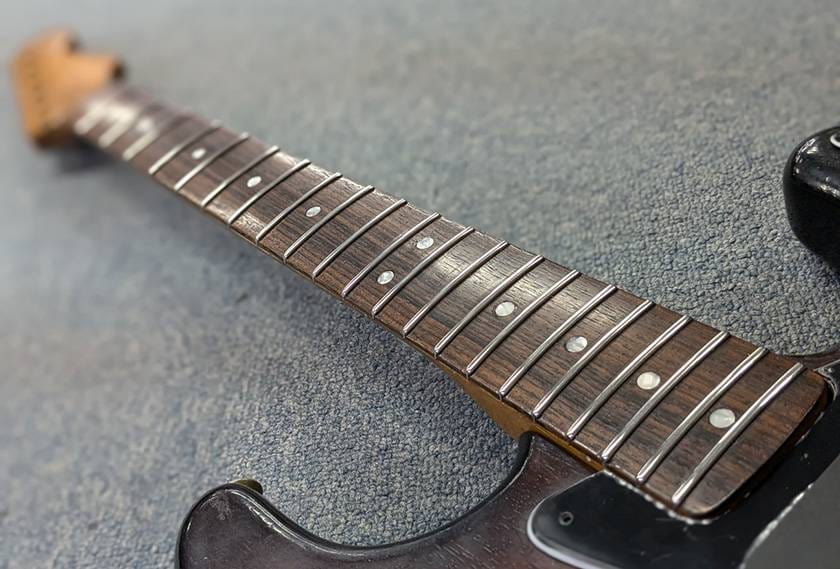
Now it looks like the familiar final form.
However, in this state, the fret ends haven’t been rounded yet — so here’s how it looks after that.

With the fret edges rounded off, it now has a smooth, silky feel to the touch.
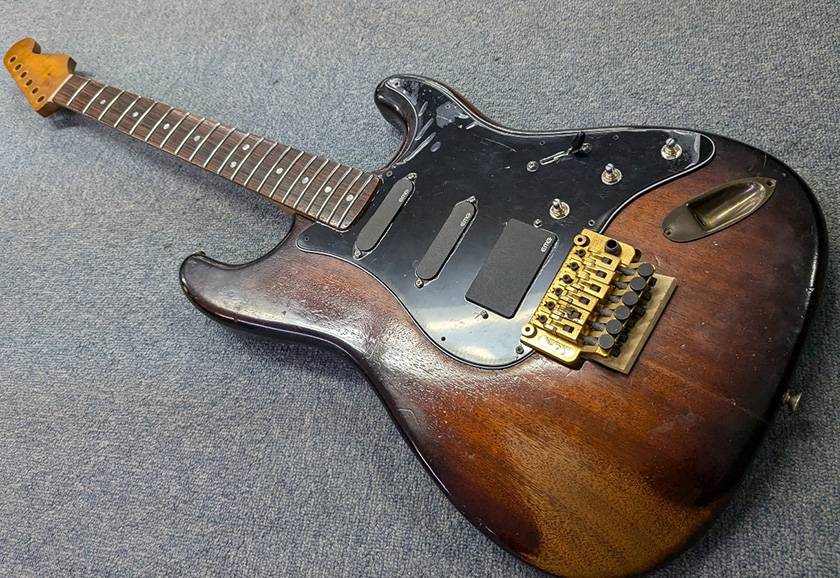
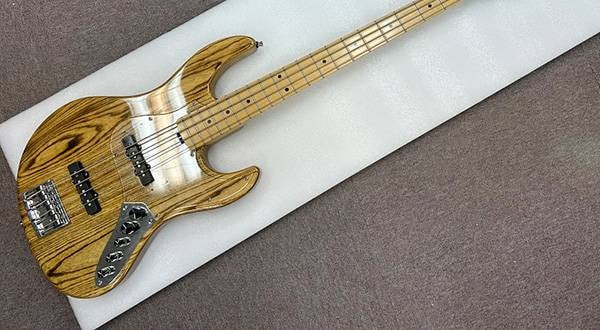
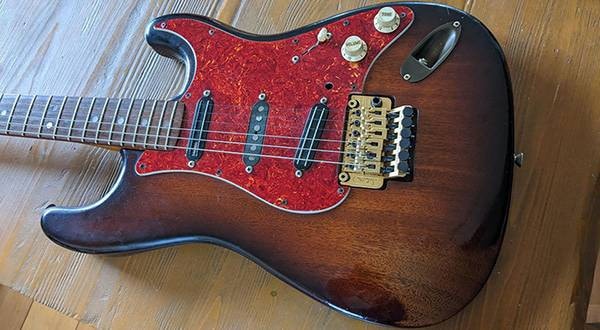
I tried fitting it together with the body that I worked on last time — what do you think??
It looks pretty cool, right?
Personally, when I see a guitar with this kind of look, it gives me Steve Lukather vibes.
The adjustments from here are surprisingly tricky. Getting the string height right with shims, filing down the nut seating area, and so on… it’s been a bit of a struggle, haha.
That’s it for now! Next time, I’ll do the final setup and bring you the grand finale!


![MONTREUX / Pearloid main position set (10) [9110]](/images/shop/prod_img/m/montreux_9110.jpg)


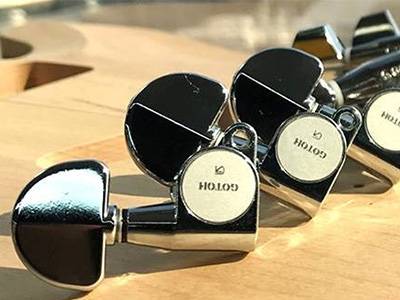 GOTOH(ゴトー)ギター用ペグ よくある質問まとめ!
 ギターパーツの沼
 DIY ギターメンテナンス
 ギター 初心者講座
 ピックアップの種類(エレキギター)
 ギターのお手入れ