Finally, we've escaped the sweltering summer heat, and autumn is here, bringing a more enjoyable season for food and hobbies. I’m starting to feel the urge to go on a day trip soon.
I recently picked up Pokémon Emerald after a long break, and it was so much fun that I got totally hooked! How's everyone doing?
This time, I want to dive into repairing the guitar that I've left untouched since I bought it (probably over 2 years ago).
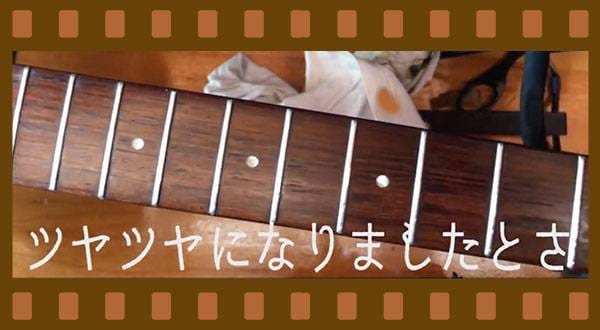
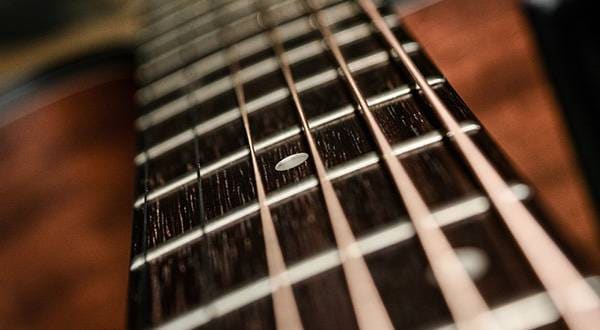
First, take a look at these frets.
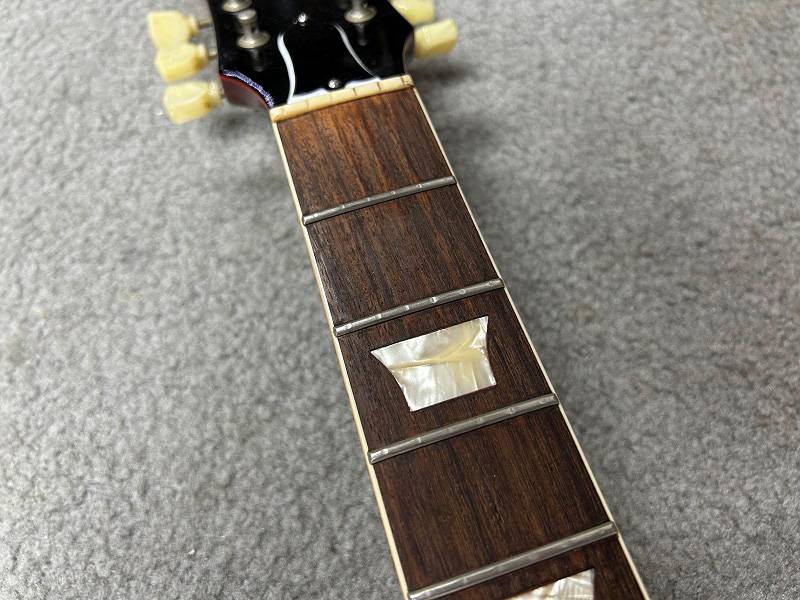
They’re really worn down—it's quite bad, isn't it?
Now, let’s take a look at the body.

Some parts are missing, which is pretty bad, right? To be honest, the culprit behind leaving it in this incomplete state is none other than me from a little over two years ago.
From now on, I plan to gradually repair this guitar, little by little.
As you can see in the earlier photo, those frets have lost all their battle power. So, this time, I’ll be documenting the process of replacing the frets.
Note: Replacing frets and related tasks require a certain level of experience and skill to assess necessary steps and precautions. Typically, this work is done by a repair shop. If you decide to do it yourself, make sure to "gain sufficient knowledge" and "take full responsibility." This is a promise between us!
Let’s get started by removing the frets…

Underneath the frets, there was a lot of grime packed in there. The accumulation of years of dirt tells the story of this guitar's history.
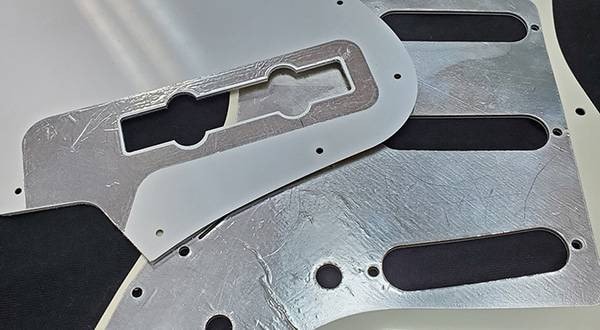
Next, I’ll be doing some fretboard leveling, which involves sanding the wood to smooth it out before installing the new frets. For this, I’ll need tools like…


…called a "sanding block." It’s pre-shaped to match the curve of the fretboard, allowing me to attach sandpaper to it and shape the fretboard surface.
After leveling the fretboard, I’ll begin installing the frets. As you can see in the image, this model has binding. In such cases…

… as shown in the image, it’s necessary to perform "over-binding" processing when installing the frets to prevent interference with the binding. Otherwise, I would risk damaging the binding while pressing in the frets.
Additionally, cleaning the fret slots is essential.
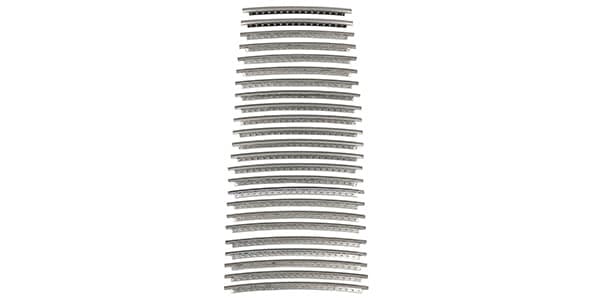
This time, I used these frets ( SCUD / HFS-M2-P24 ) that already have the over-binding processing done. While some additional work was still necessary, it was minimal, which made the installation smoother.
After pressing in the frets, I rounded the edges slightly to remove any sharp corners.

And it turned out great! Now, all that's left is to level the frets, and the installation will be complete. Since these are stainless steel frets, sanding them down was really tough. I definitely don’t want to do this again!
In terms of ease of handling, traditional nickel-silver frets are definitely superior. However, stainless steel frets are known for their incredible durability—once you replace them, you’re almost free from worrying about fret replacements for a long time. There are also discussions about the difference in sound quality, but if I start overthinking that, it could become endless, so I try not to worry about it too much.
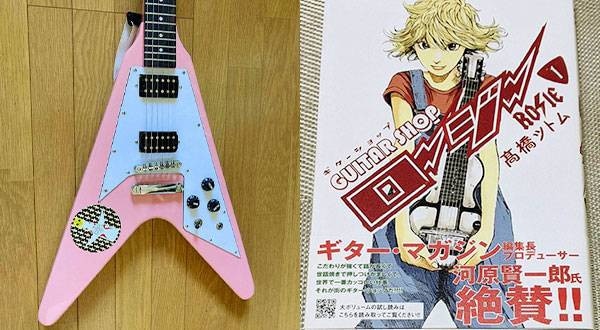
By the way, do you know what brand this guitar is? As mentioned in the title, it's a Japan Vintage, an old domestically produced guitar. If I read the serial number correctly, it was made in 1989.

If anyone knows the brand, please let me know!
In the upcoming posts, I’ll gradually tackle making the nut and installing the pickups, among other tasks. I’ll do my best to keep it going, so I hope you’ll join me for the journey! See you next time!


 ギターパーツの沼
 プレイテックのギターを最強に改造!!
 ブリッジの種類
 ギターのお手入れ
 お手入れに必要な道具
 ギターの各部名称