I am that person who recently bought a GIBSON SG because of the Ningen Isu boom.
If you see some guy listening to the band Ningen Isu (human chairs) on the weekend while riding in my convertible car, it's definitely me, so I'd appreciate it if you could pretend not to notice me... lol
This is why the background music this time is “Shinagawa Shinju” (Love Suicide At Shinagawa) by Ningen Isu.
Also, this is the fifth installment of the “The Mystery Behind Restoring This Guitar” series.
This time, I would like to report on the various progress made on the body of the guitar.
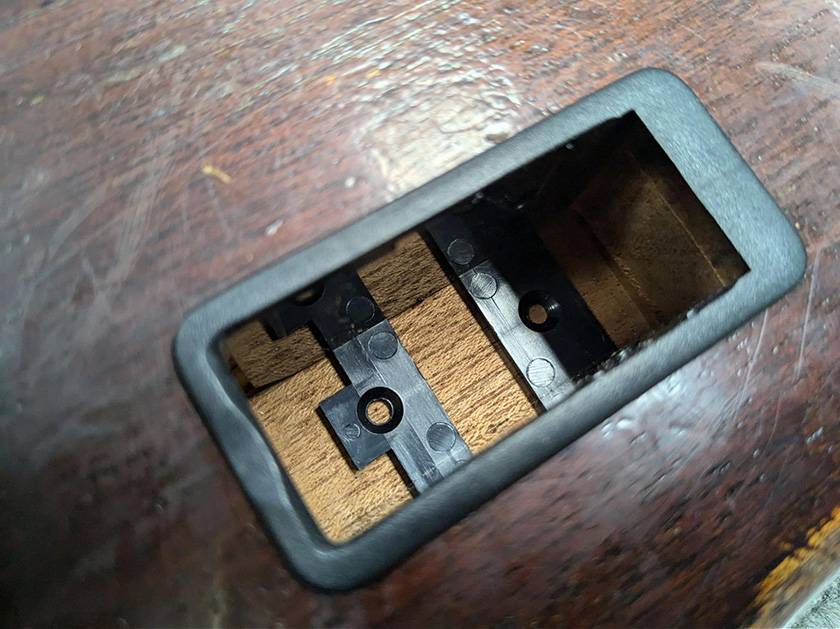
First, I filled in the dowels in the pockets where the holes for the mysterious joint plates were located.
My reason for filling in the dowels and the story of my previous failure are long, so please refer to Part 2!
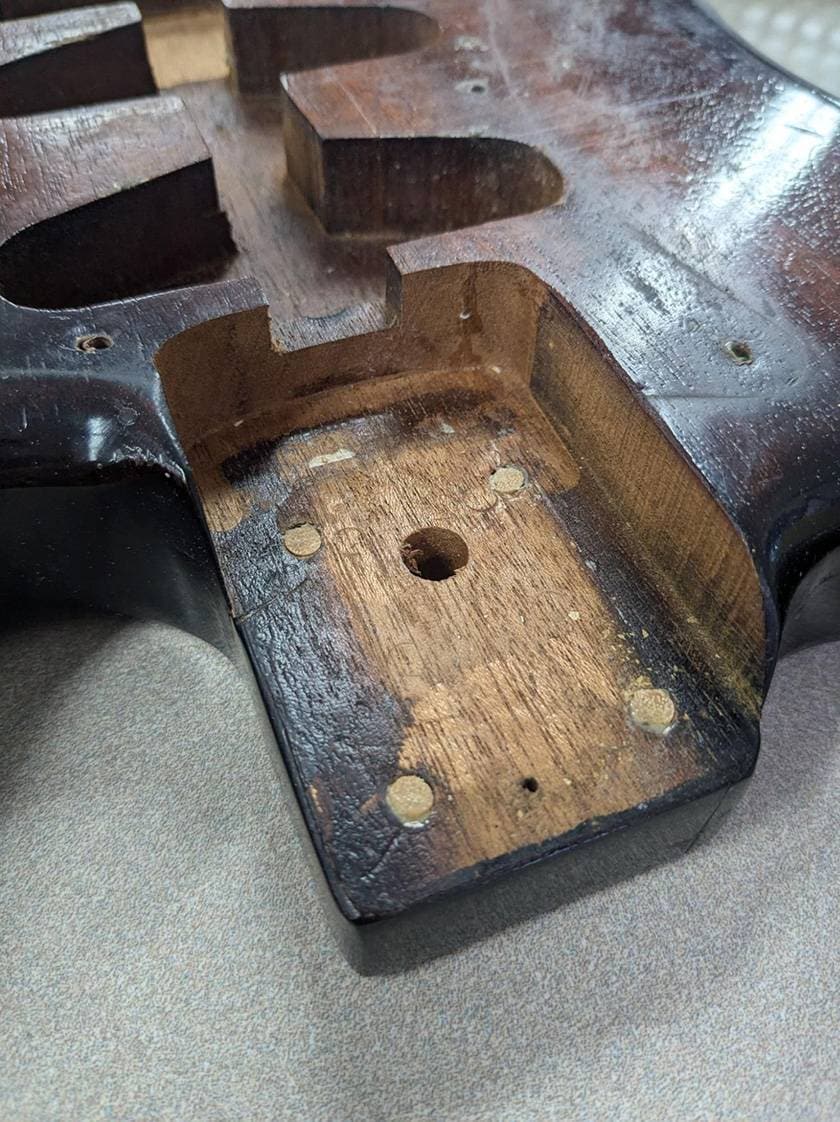
Here is a shot of the dowel filled in. There are some gaps…
Well, the holes on the body side are larger than the screws, so I don't think it's necessary to be that precise or strong.
It's not a very fun picture to look at, so let's move on.
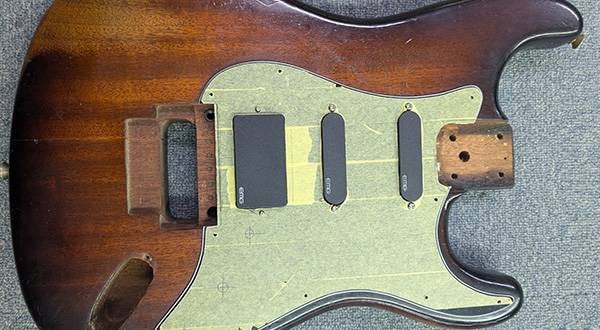
Next, I will insert the battery box counterbore.
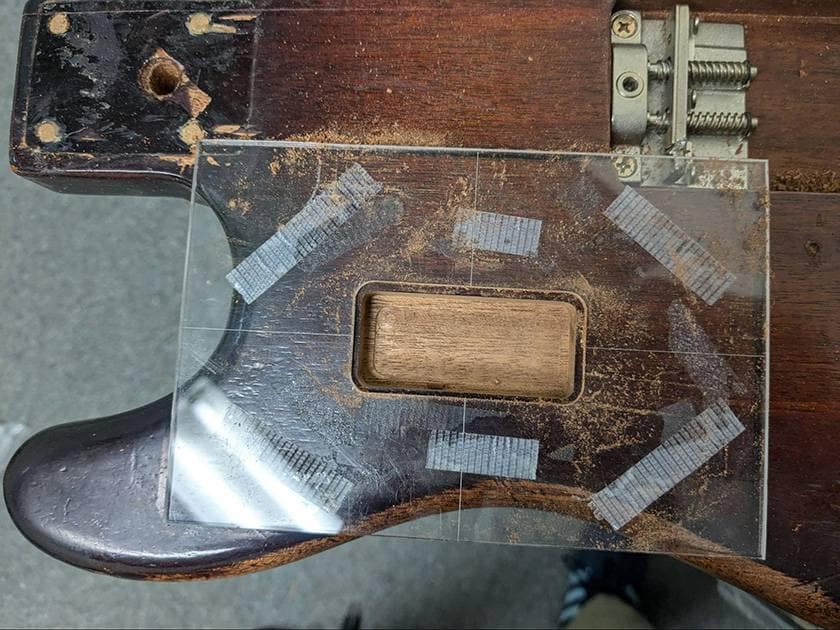
I’ve gotten into the habit of forgetting to take pictures again, so I rushed to take pictures along the way lol.
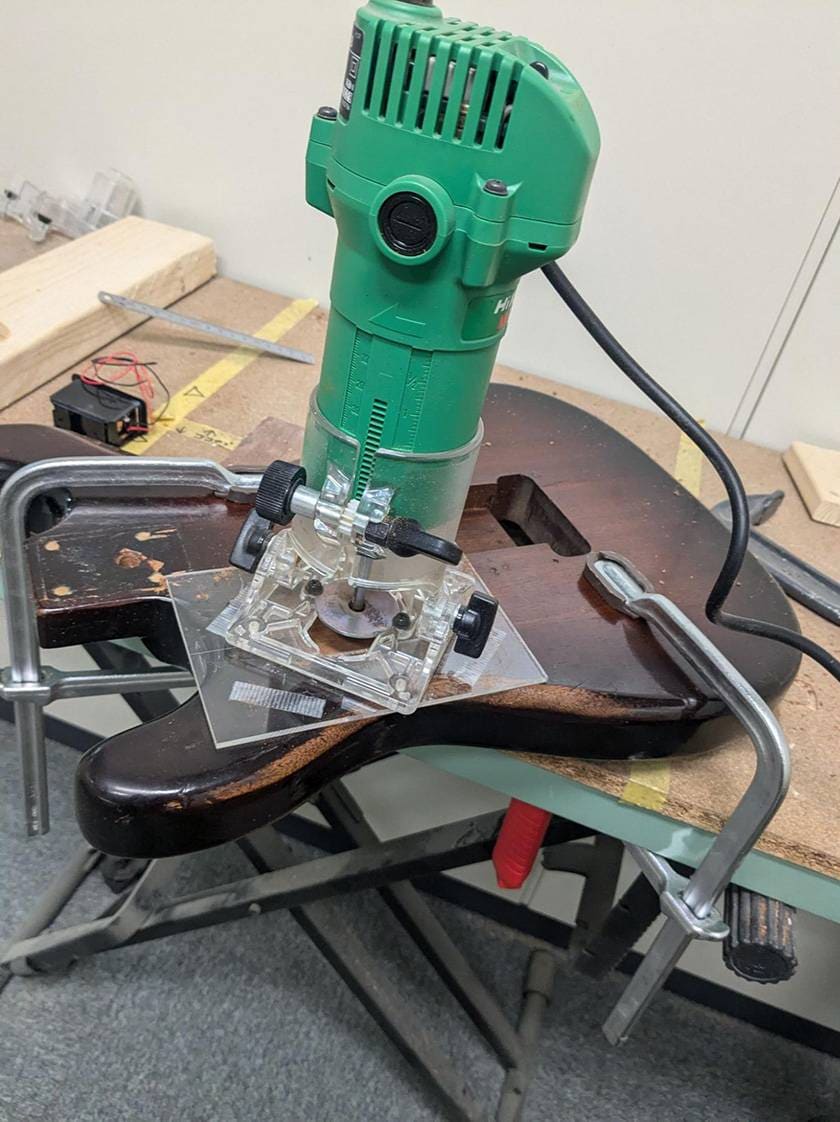
This is what it looks like while working on it.
When the digging was finished, I was covered in powder, so be careful if you are working at home.
I worked while wearing a mask, but I couldn't stop sneezing out mahogany-colored dust.
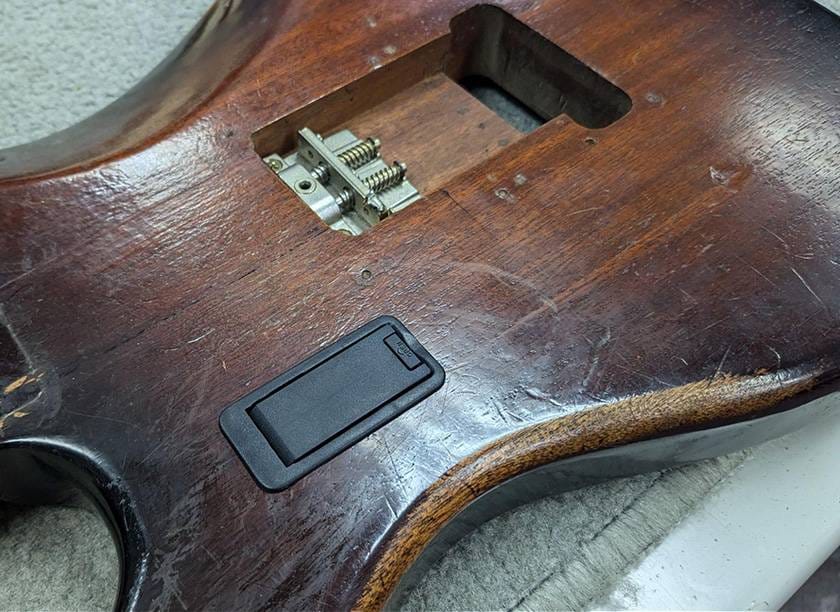
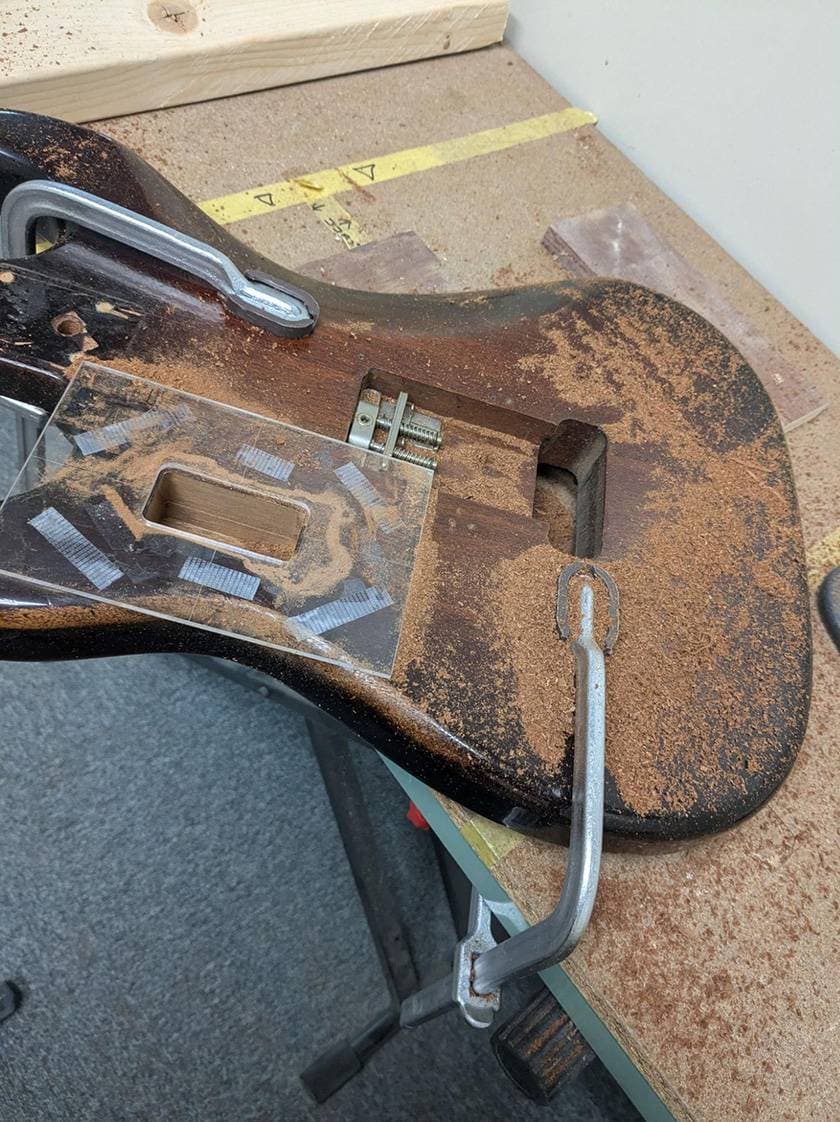
I was able to install it successfully.
As you can see in the first picture, two screws are used to secure the parts, so be careful not to dig too deep or the parts will be suspended in mid-air, which is unfortunate!
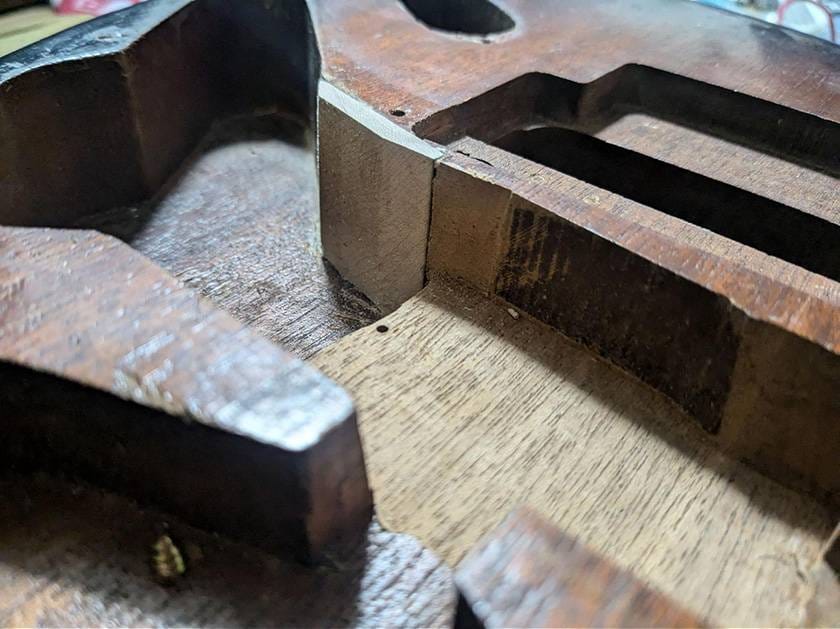
The next step is to repair the cracked stud bottom hole.
I looked at several articles by people who specialize in repairing studs, but they were all very difficult and I didn't feel like I could imitate them, so I tried to think of a way to do it.
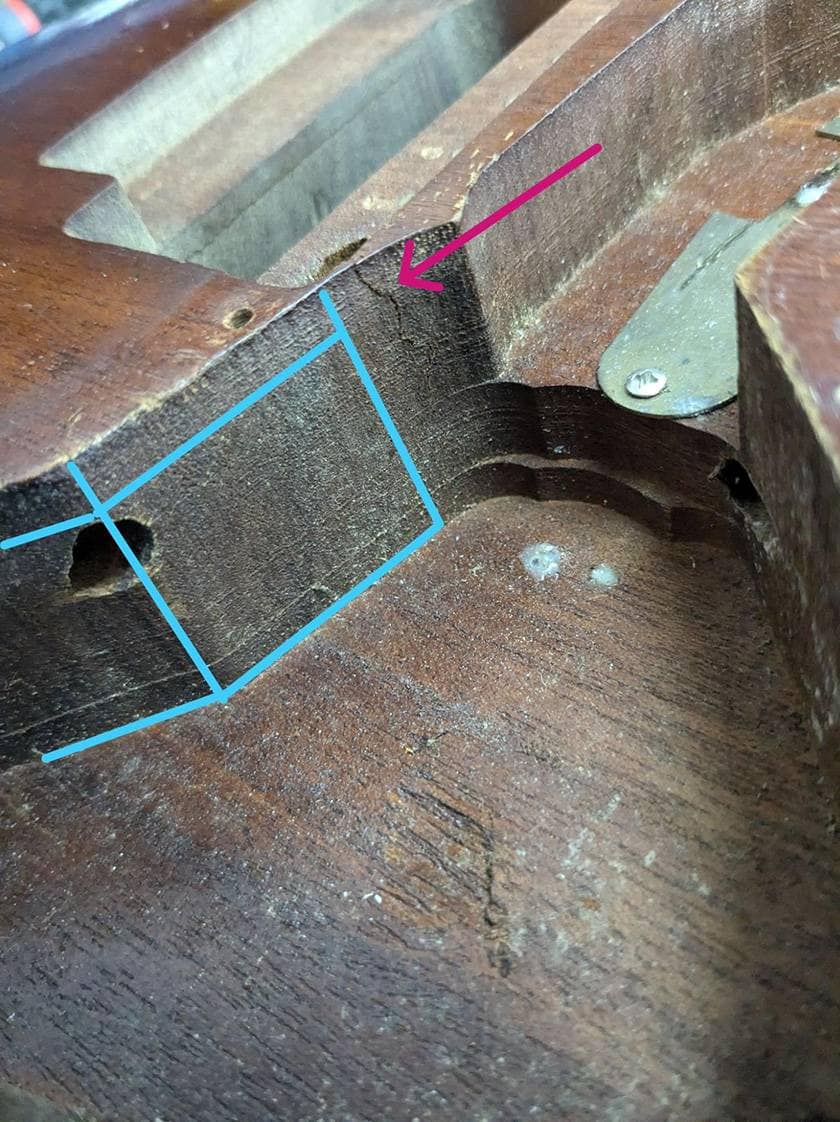
I added lines to the image to make it as clear as possible.
The blue line is the section where the flat surface is generally exposed.
The blue line is the section where the flat surface is generally exposed, and I'm going to glue a board there to reinforce it.
However, since there is a crack just at the curved part, I can't glue a straight board to it. If that is the case, we will attempt to secure the gluing surface by machining a straight counterbored edge on the curved part.
We proceeded with the hand-carving with a lot of energy while putting a spell to succeed.
Since it is mahogany, I was able to carve it quickly and unexpectedly in about 5 minutes.
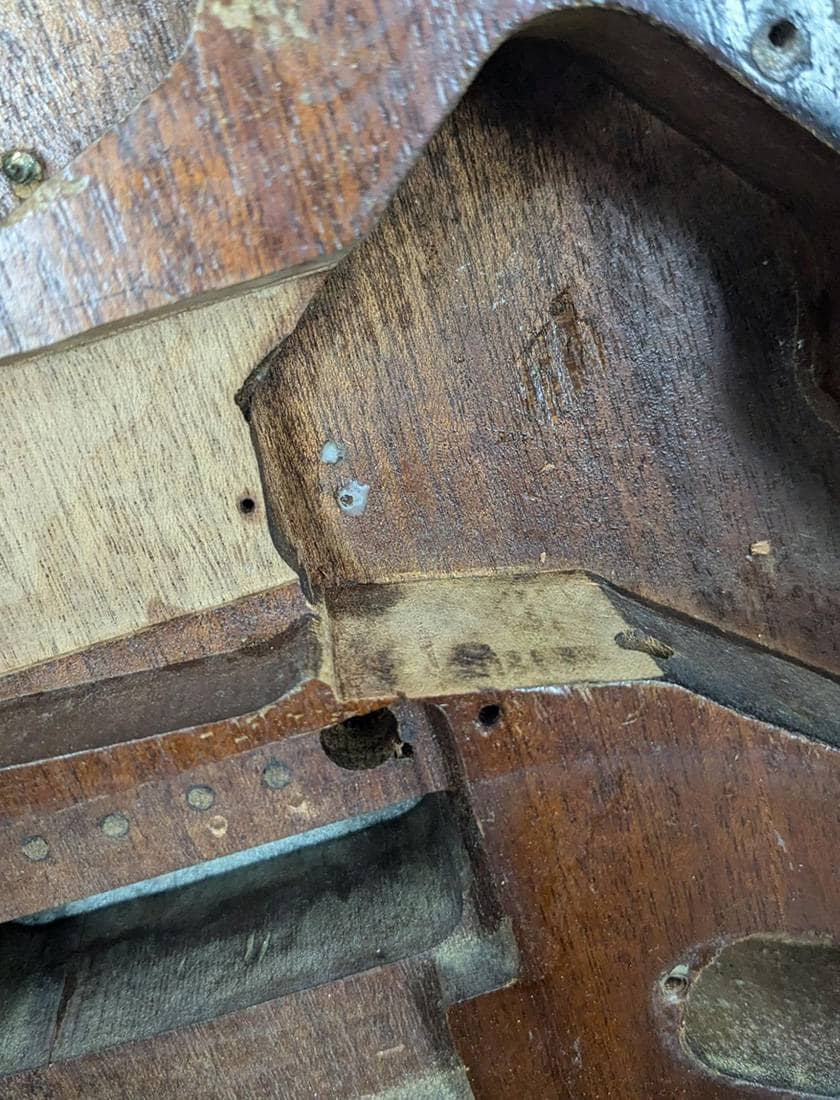
This is a view of the straightened and lightly sanded surface with a chisel.
I increased the flat surface area to provide a surface to glue the board.
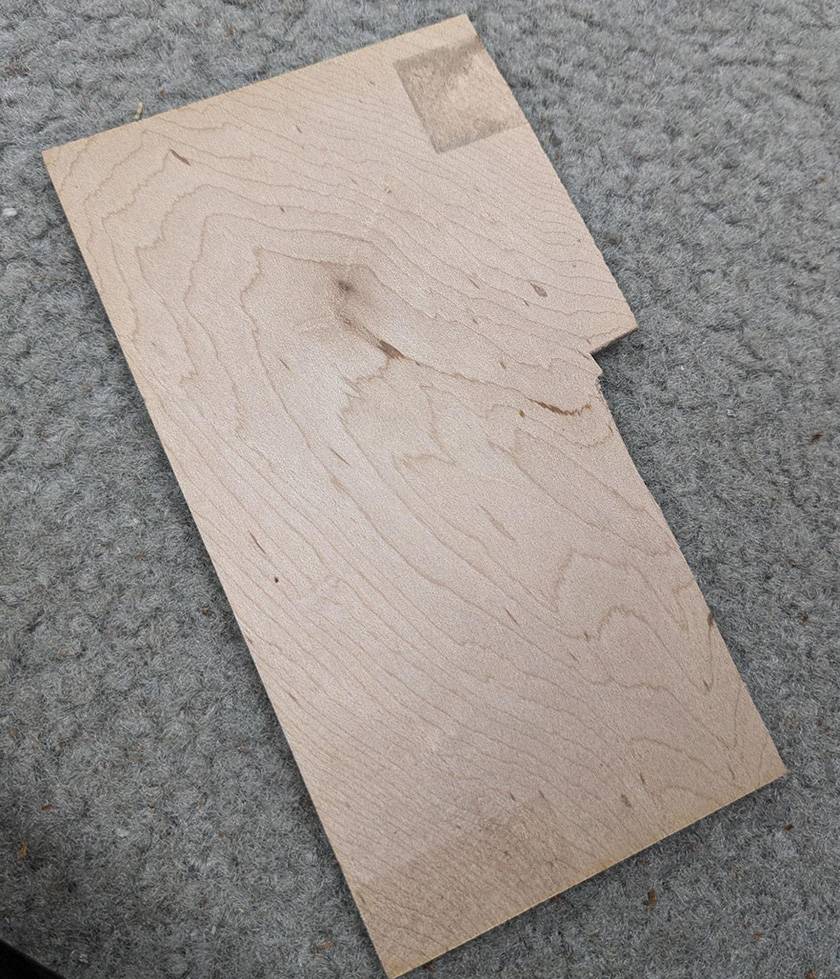
I was given a scrap piece of maple that looked like it would work, so I cut it appropriately and applied it to the board...
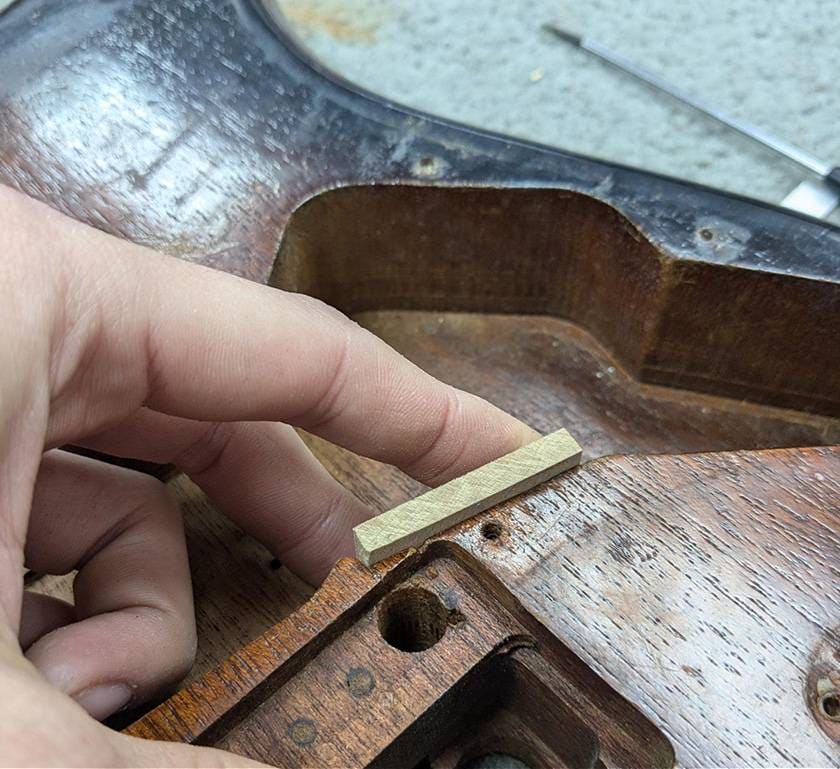
It looks good!
I have a vision of success now!
I immediately fixed it with a tight bond. What an impossible way to fix it.
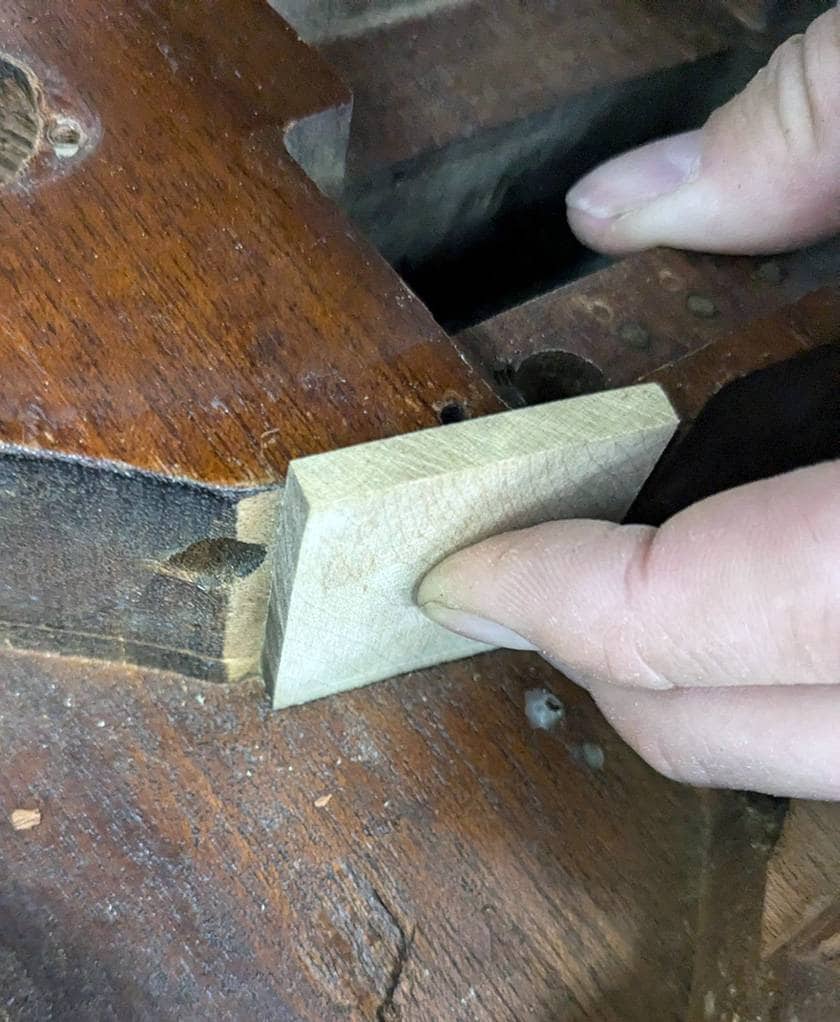
Since the opposite side would float if I just fixed it with bolts, I cut an appropriate piece of scrap wood a little larger to hold it in place.
Mahogany is a soft wood, so I wanted to add a little more security by reinforcing it with maple.

Since it is a little uneasy to glue only one piece of wood, I further cut it down to make a base for gluing the second piece of scrap wood.

I machined the maple end to fit the shape of the hollowed out part, so I glued it in place.

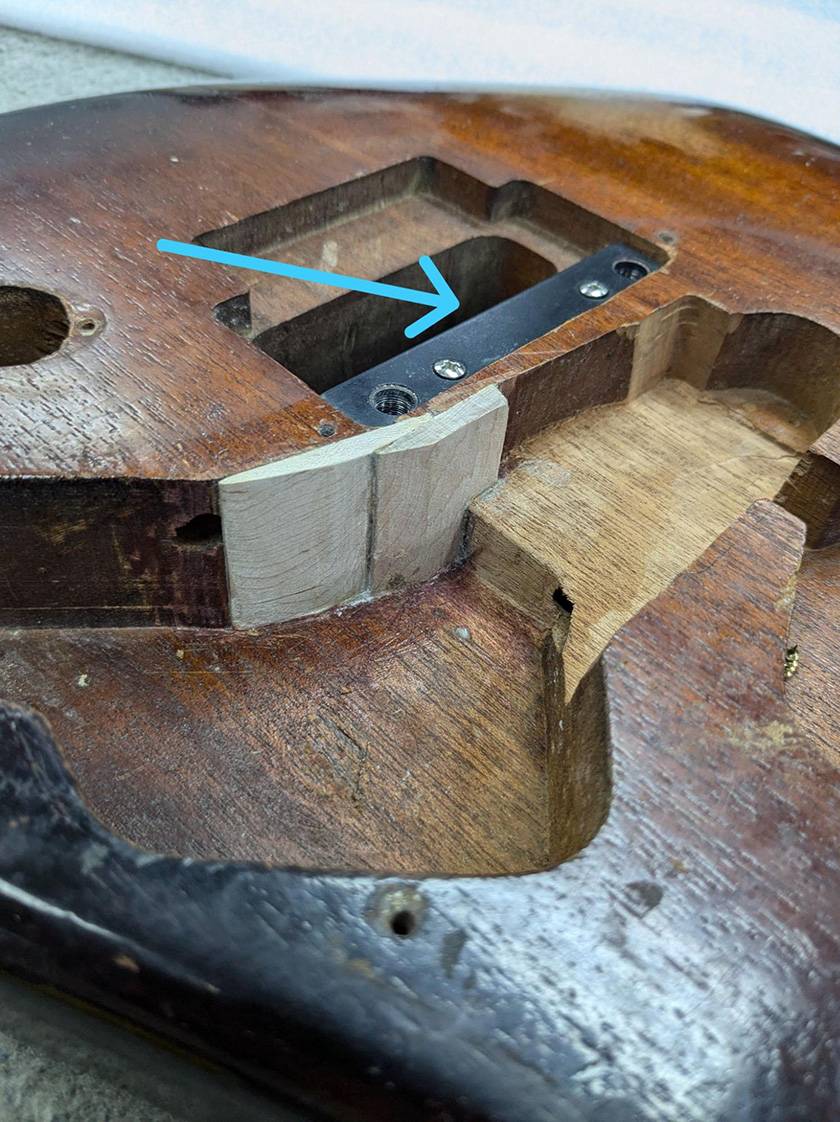
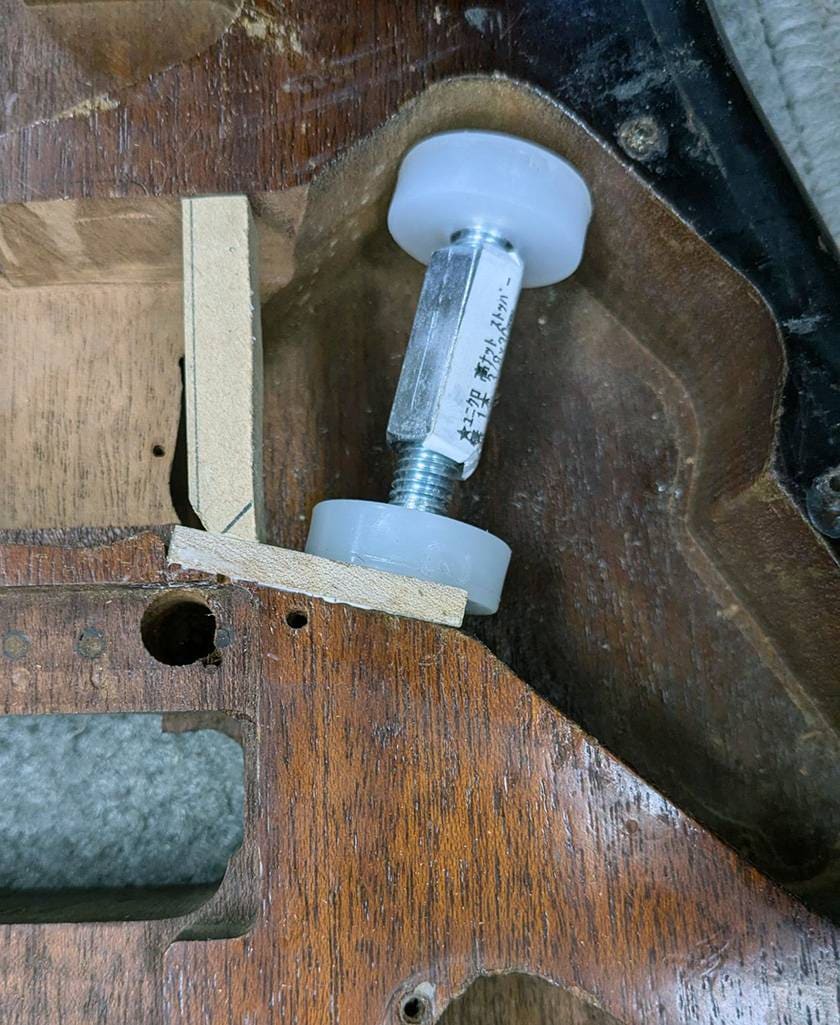
The glued part looks like this.
A reinforcement plate is placed at the blue arrow. The tension of the strings would have been concentrated on the two anchors, but by screwing it into two places, the load on the anchor wood is expected to be reduced. If you are concerned about the strength of the wood, you may have to fill in the lower hole with a maple dowel.
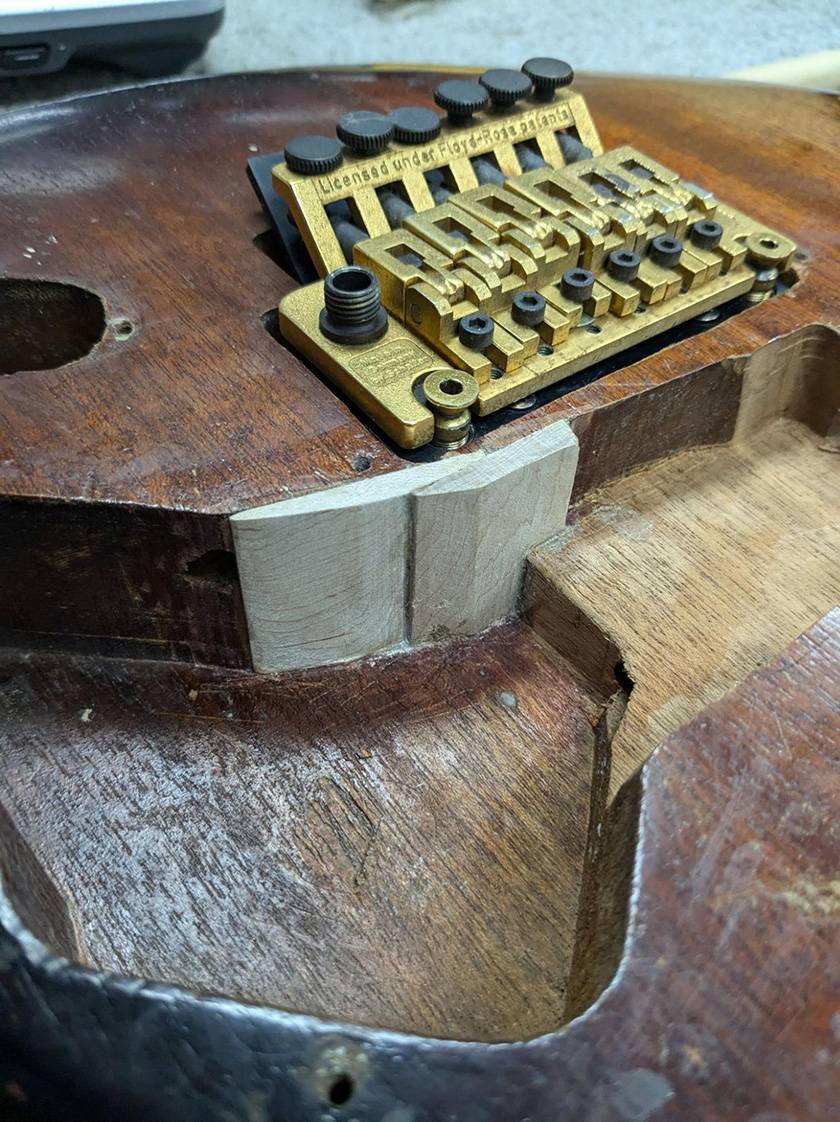
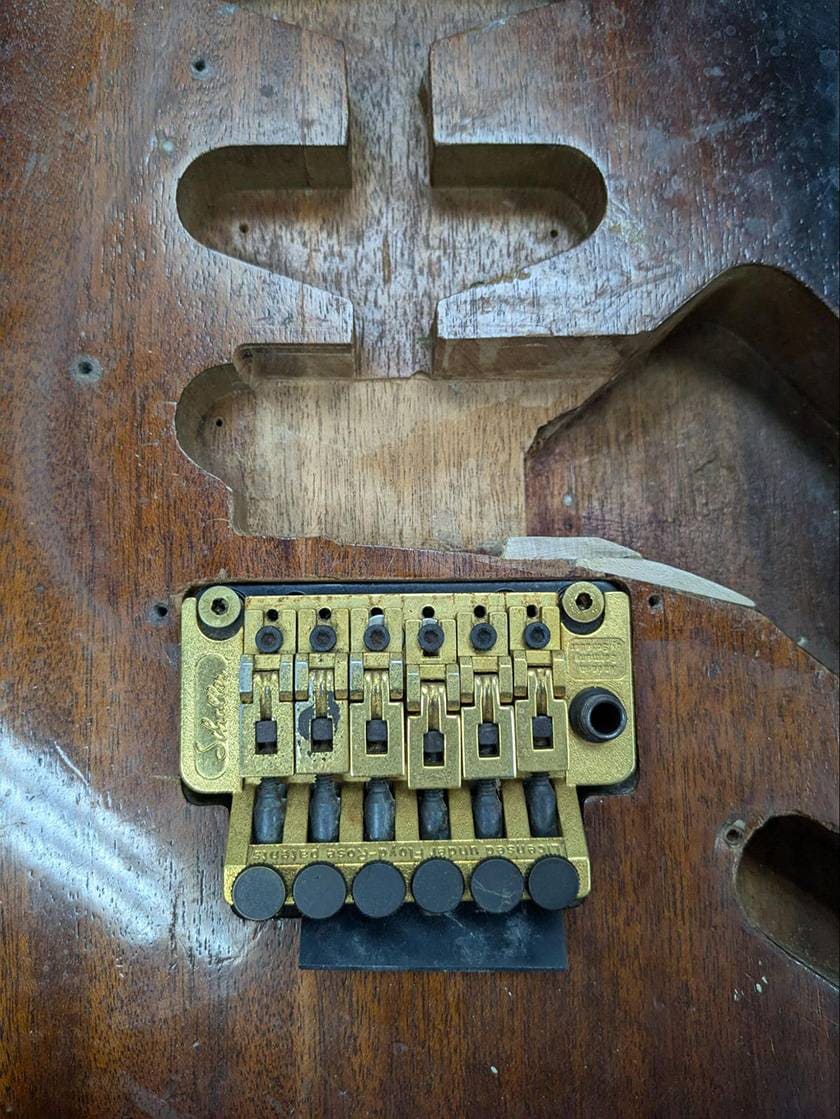
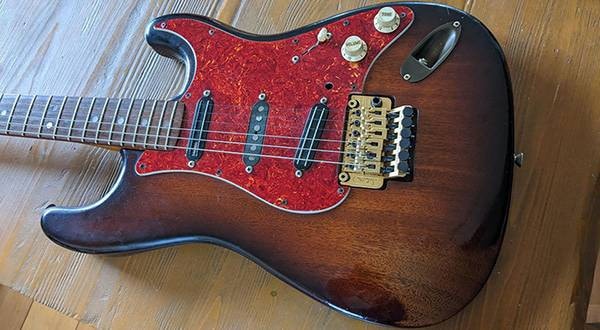
The tremolo is installed, and it looks good!
Now that the rough modification of the body side is finished, I will start the refretting in the next article!
I will update you on the progress in the next article!


 DIY ギターメンテナンス
 パーツの配線を知ろう
 ギターのお手入れ
 お手入れに必要な道具
 ギター名人ラボ
 ギタースタートガイド