Recently, a friend of mine purchased a Toyota MR-S. It has incredibly low mileage for its first year. It's so clean that when you open the door, it still has that new car smell. I immediately got a chance to drive it after he got it, and the fun factor is completely different from a Roadster. While the view is slightly higher than the Roadster, I felt really safe driving it. I kept shouting things like, "What is this?!" while driving. Hello everyone, how are you?
Spring is getting closer these days, but I’m in a state where I can’t honestly say, “I’m paying attention not only to cars but also to my instruments!” I occasionally remember to play the guitar, so it's not too bad, but I haven’t been able to play the bass at all. I can't even remember the last time I properly played my bass… so, of course, the condition of my instruments must be terrible.
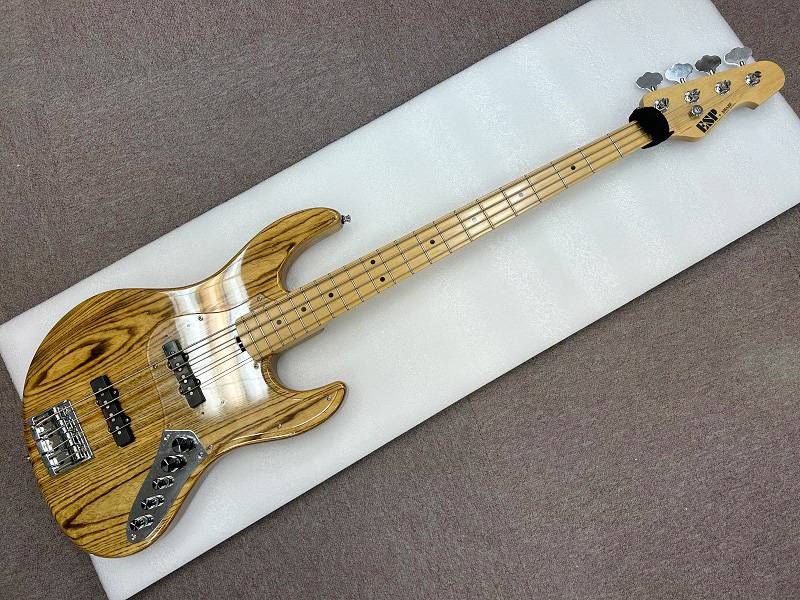
Here’s the test subject: ESP Amaze. It's a really nice bass that’s super easy to play and hold, but the strings are rusted, it has dings, and as an added bonus the jack has a contact issue. It’s in pretty bad shape!!
So, in this case, I’ll show you a super simple method for cleaning and doing basic scratch/ding repairs.
To briefly explain, this method involves filling in scratches with super glue. The process is: clean the scratch → apply glue → finish the surface. Of course, this doesn't compare to a proper touch-up paint job or complicated scratch repairs, but it smooths out the bumps when touched and, above all, it's very easy. This is the method that I’ll be using.
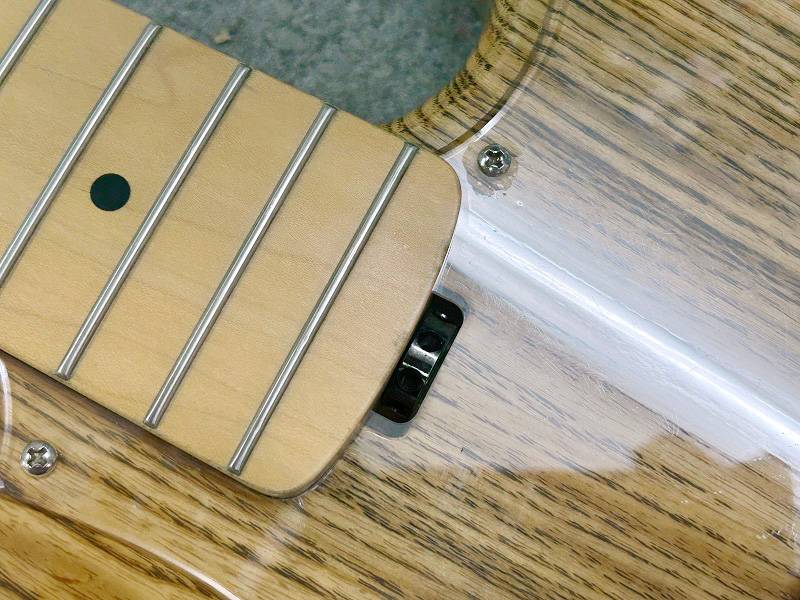
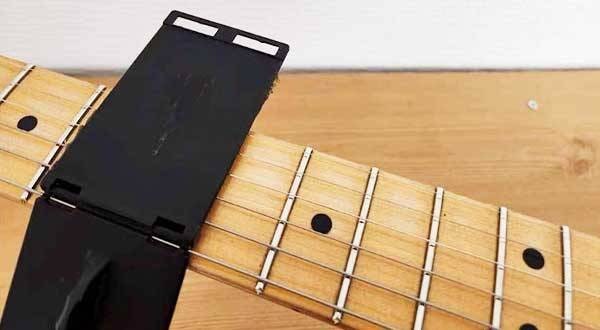
This time I’ll be working on this scratch.
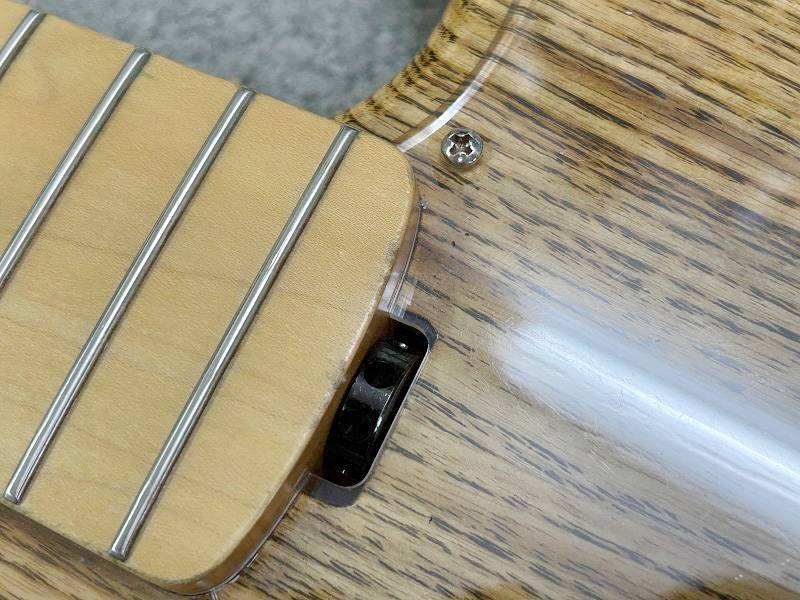
You can see that there's some paint peeling off the corner of the fretboard and it’s uneven. I plan to fix this.
First, I’m going to clean the scratch.
Since there’s a scratch, it means there's a bump in the surface and the paint has been removed, making it easier for dirt to accumulate. So, the first step is to clean the area as much as possible.
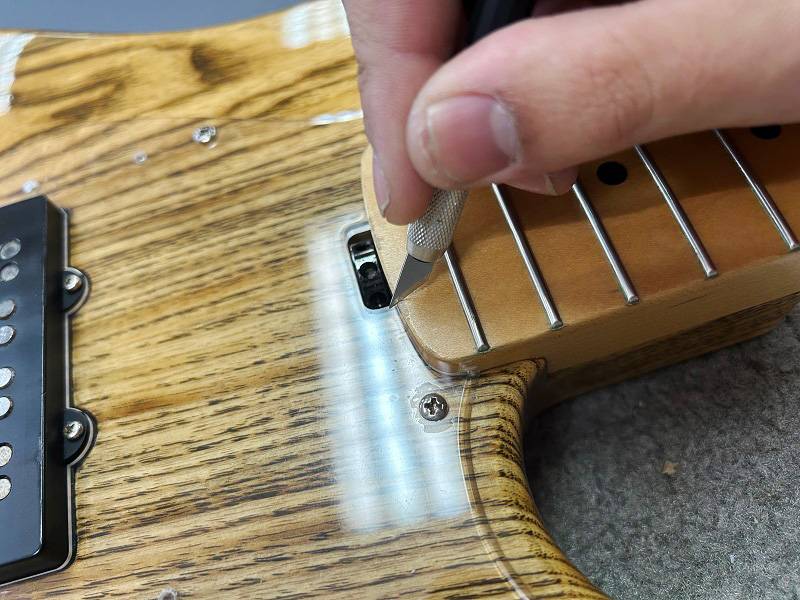
This time, I used a design knife to scrape the surface. The method doesn’t matter as long as it becomes clean.
Once done, it looks something like this.
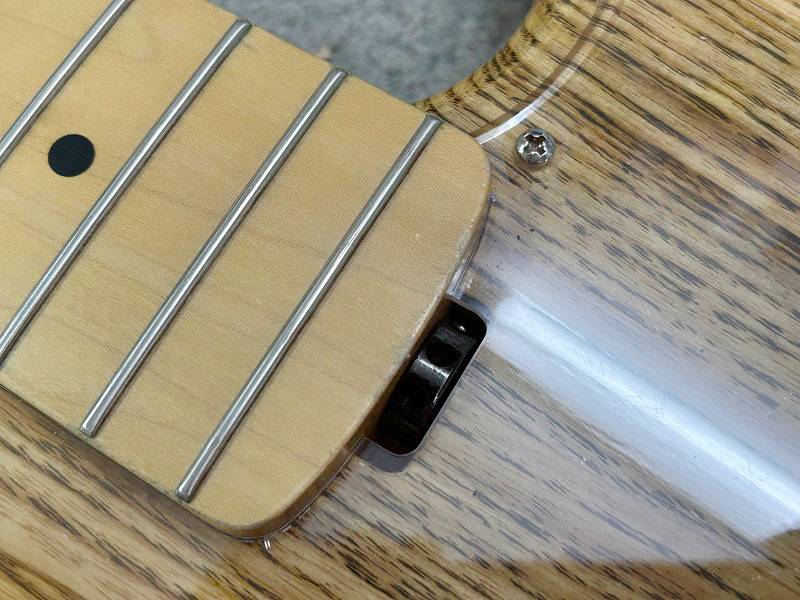
You can probably tell that it’s slightly cleaner now.
Afterwards, I’m applying a thin layer of super glue to the scratch, and once it hardens, I am going to lightly sand it to smooth out the surface.
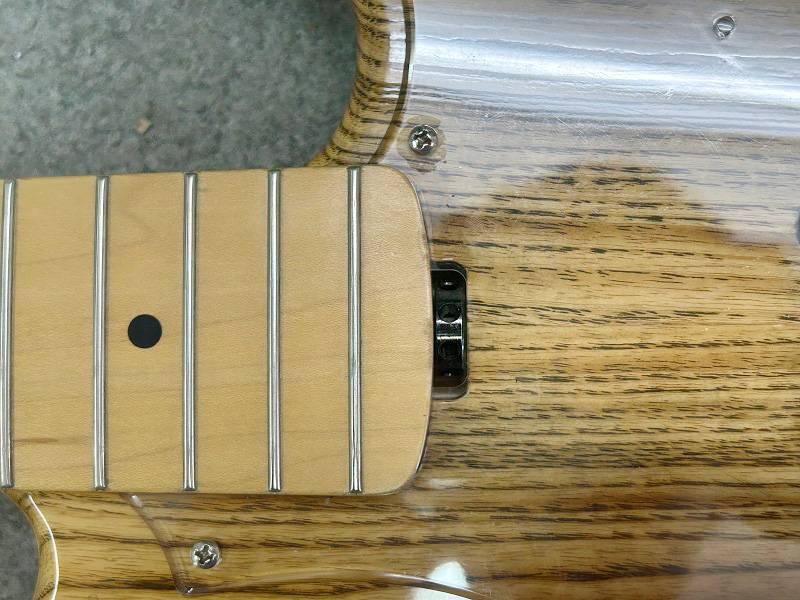
This is how it looks now. Since it's a simple repair, there’s inevitably going to be a difference in color, but you can probably tell that the rough feeling on the surface has disappeared. Now It feels smooth to the touch.
I’m skipping ahead a bit from when I applied the glue to when it was finished, but explaining exactly how much glue to apply and how to sand it is difficult because it’s all based on feel (sorry about that!).
For this process, I used:
- Araldite (medium viscosity)
- Fine iron file
- Sandpaper #320 to #600
- Steel wool No. 000
A couple of points to note: As I mentioned earlier, the finish won't be perfect, and this method is not suitable for matte-painted surfaces with coloring. It works best for small scratches on natural matte or glossy finishes. For glossy surfaces, you can just polish it at the end, and if it's uncolored, it will blend well with the wood grain.
This method is a bit specific to certain situations, but it works well on areas that are frequently touched, like around the neck.
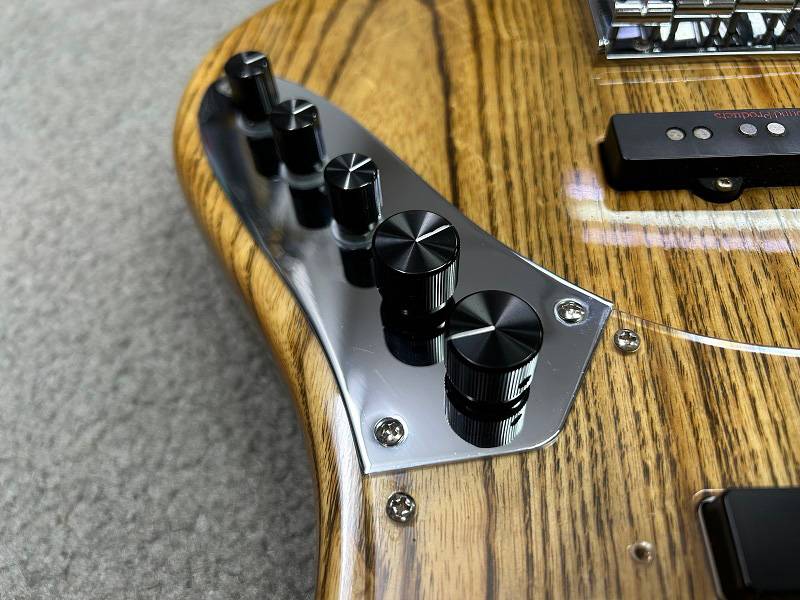
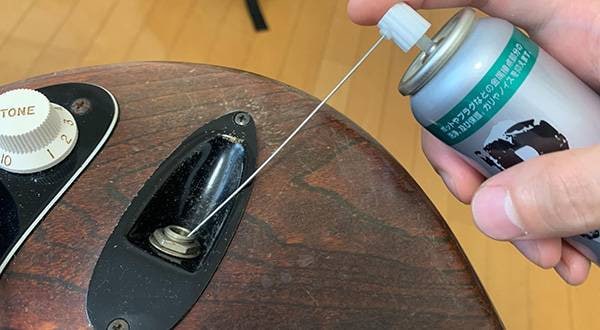
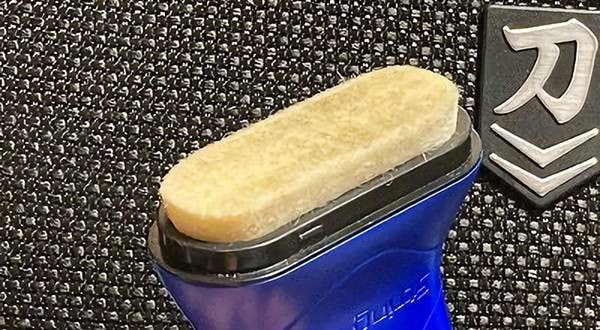
Next, I’m polishing the bridge and the control panel…
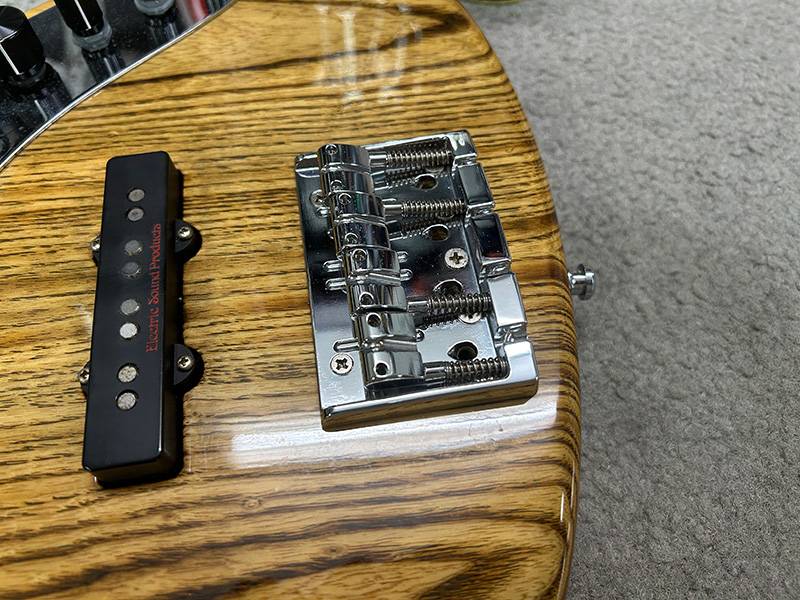
The overall cleaning is finished. All that’s left is to put the strings back on and do a final adjustment, and then it’s good to go. Now, whenever I feel like playing, the bass will be ready.
Finally, a side note: When choosing bass strings, besides considering the material, tone, and durability, I also care about the color of the winding thread. The colored winding around the headstock and bridge is almost a bass-exclusive feature, and it’s really cute. Like red Rotosounds or blue Sadowskys.
Finding little joys like this can make maintenance more enjoyable, or so I think. I encourage everyone to find your own small pleasures in these types of small maintenance projects!
That’s all for now!


![[Guitar & Bass] Various Maintenance Tools](/contents/uploads/thumbs/5/2024/11/20241118_5_29500_1.jpg)

 ベース弦の選び方
 ベース弦の張り替え方法
 ベースのクリーニング方法
 ベースの木材について
 ギターのお手入れ
 お手入れに必要な道具