Hello and good day to everyone!
Today, I’ll walk you through a repair case where the DMX OUT cable was stuck and couldn’t be removed. The patient is an American DJ 12P HEX IP.
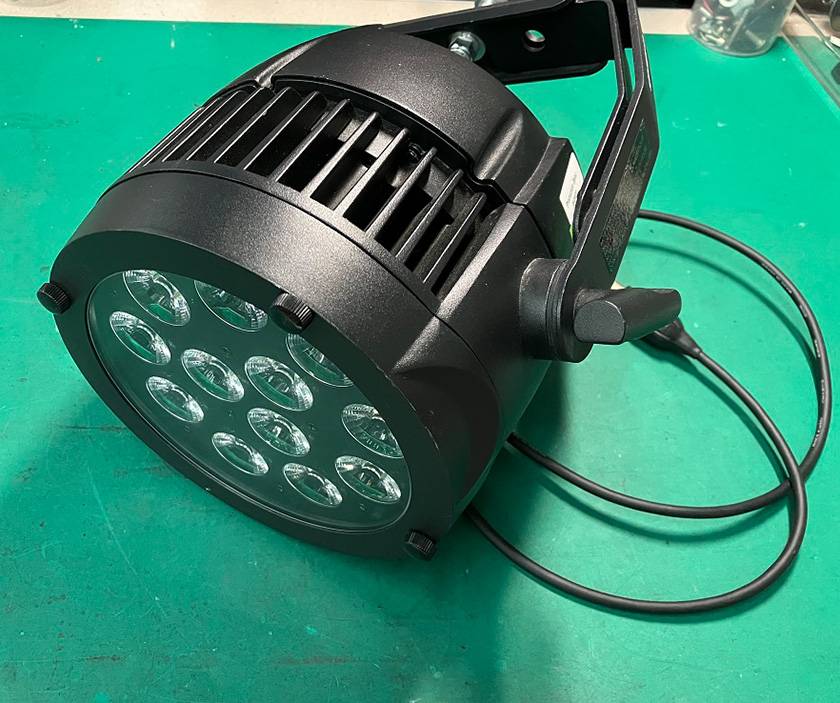
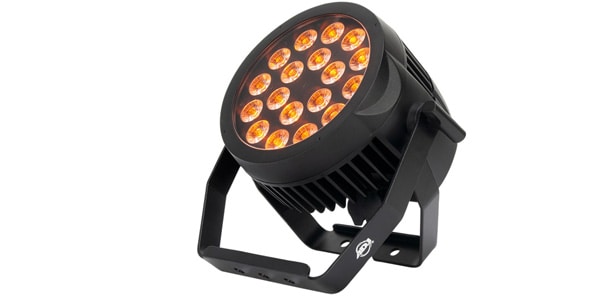
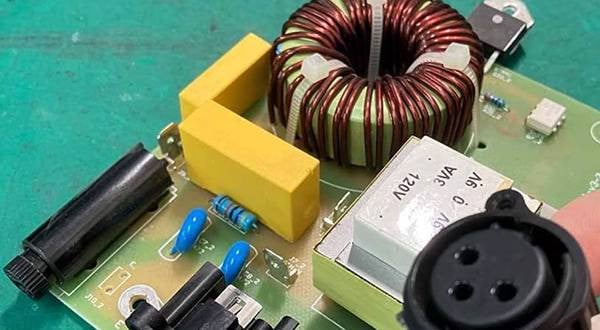
American DJ / 12P HEX IP LED Par Light
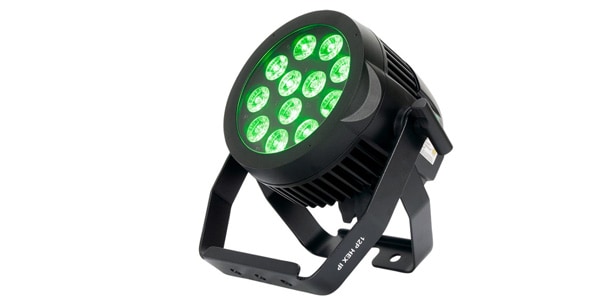
This is a waterproof LED par light equipped with 12 LED elements featuring six colors: Red, Green, Blue, Amber, White, and UV. Not only does it offer a rich variety of colors, but its IP65-rated dustproof and waterproof design makes it perfect for outdoor use.
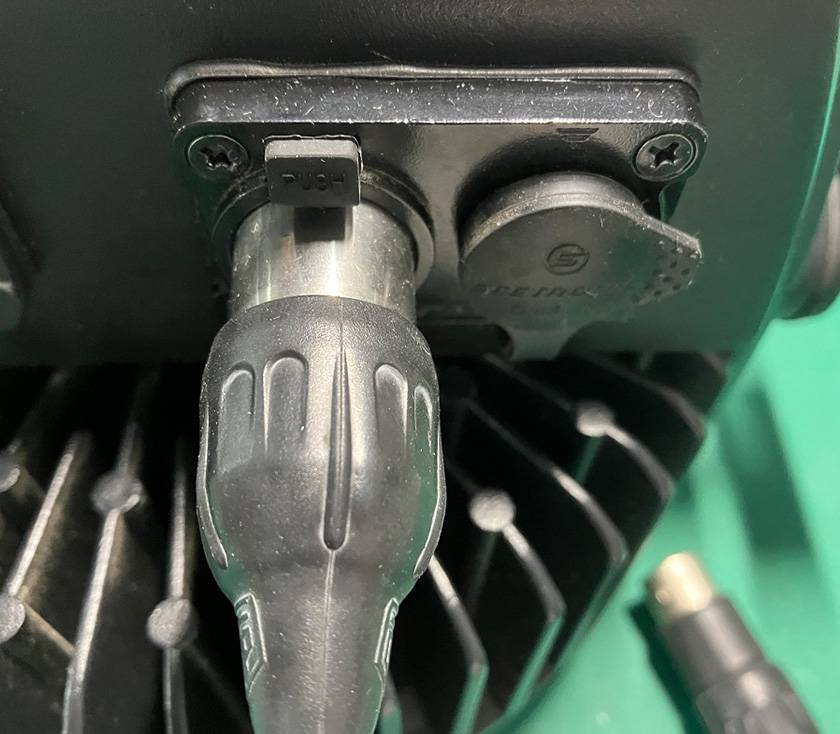
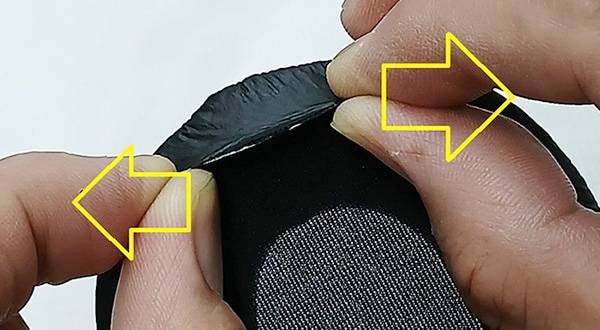
Indeed, the cable was completely stuck and couldn’t be detached.
Even pressing the release button or wiggling the connector slightly yielded no results.
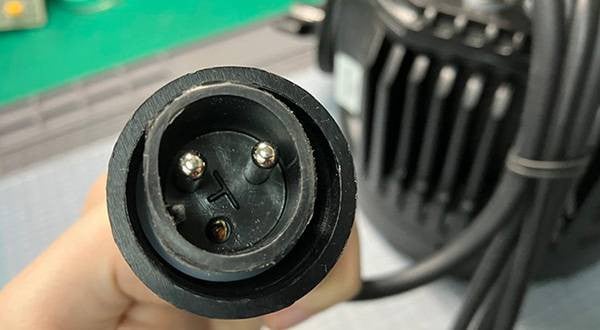
In a past repair blog, I discussed connector damage that left the cable removable because only the outer metal parts were broken. This time, however, the internal metal components were damaged, leaving me no external way to address the issue.
(For reference: → Service Man Diary - Broken XLR Connector in the UNI-PAK II)
Let’s start by opening it up.
If we push the locking mechanism tab from the back, the cable should come free.
However, things didn’t go as planned.
As expected of a product compliant with the IP65 protection standard, every gap has been thoroughly sealed for waterproofing.
That leaves only one solution to rescue the cable.
Yes, destruction. Sometimes brute force is necessary.
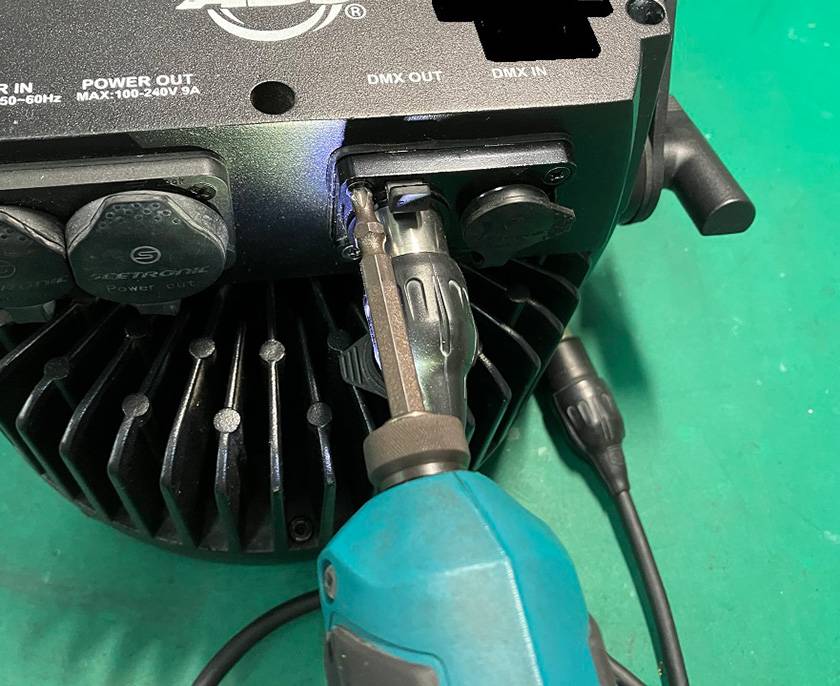
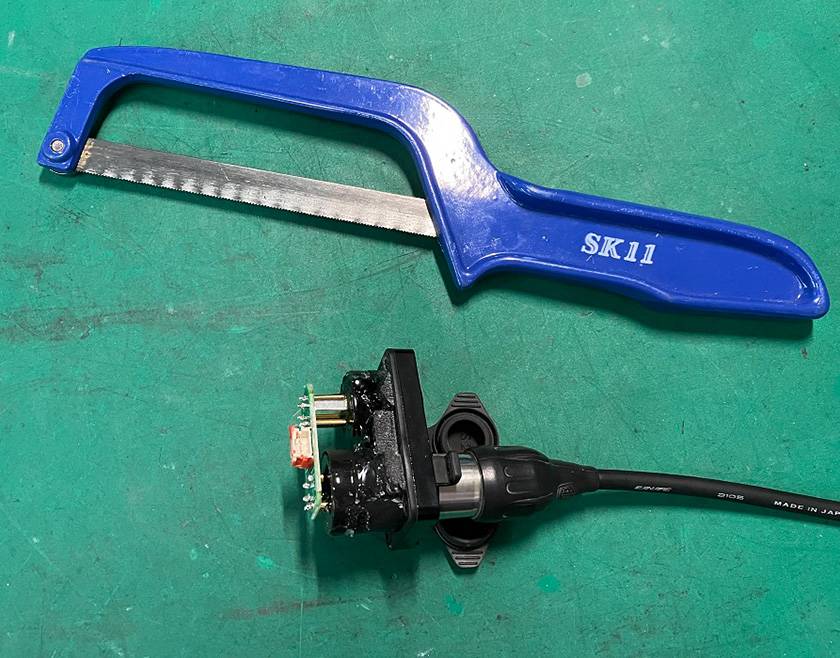
For this, I brought out a handsaw.
The plan is to cut the connector and free the cable.
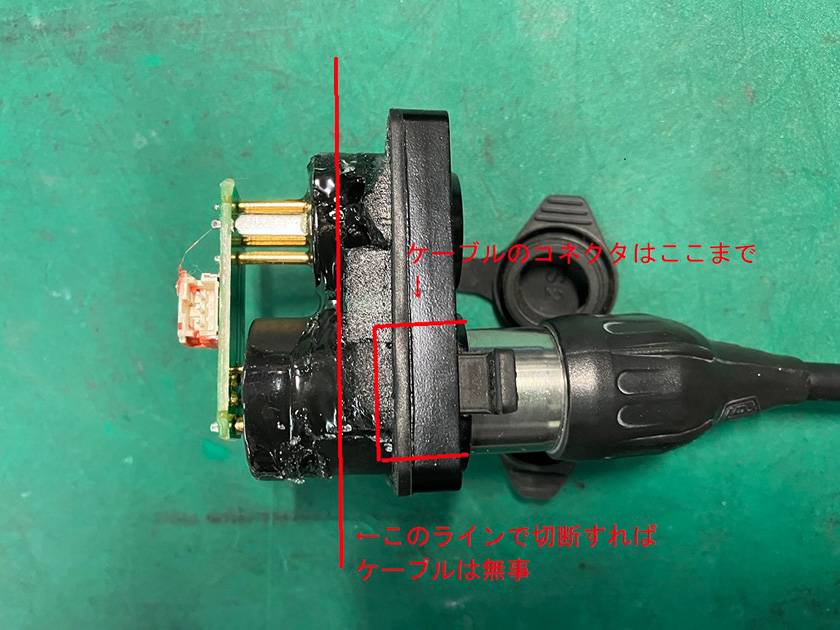
Of course, cutting through the cable itself would defeat the purpose, so it’s crucial to carefully decide where to cut.
The trick is to aim for the area between the internal locking mechanism and the cable.
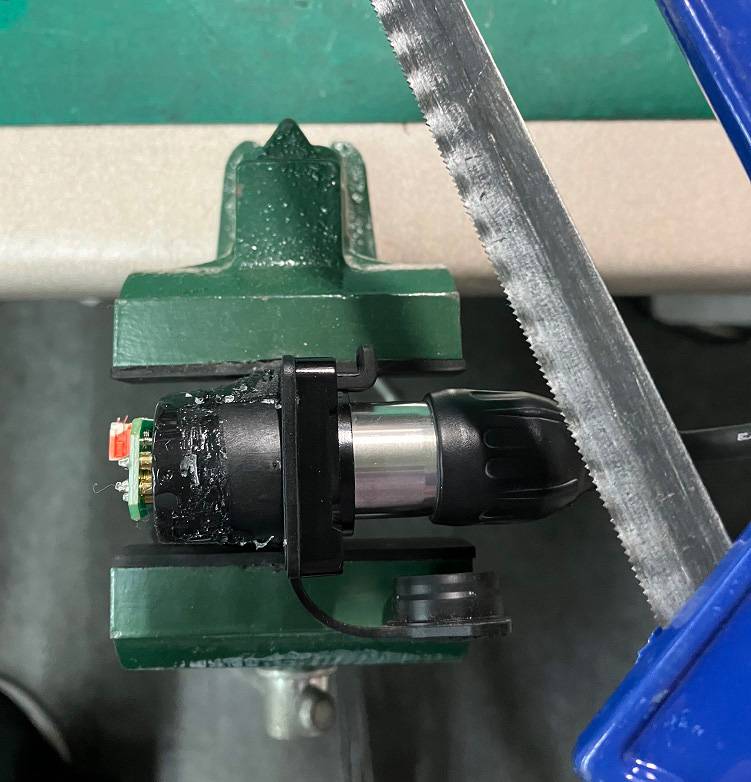
Now, it’s time for the bold cut...
Whoooaaahhh!!! (sawing noises)
Take thatttttttttttttttt!!!! (more furious sawing noises)
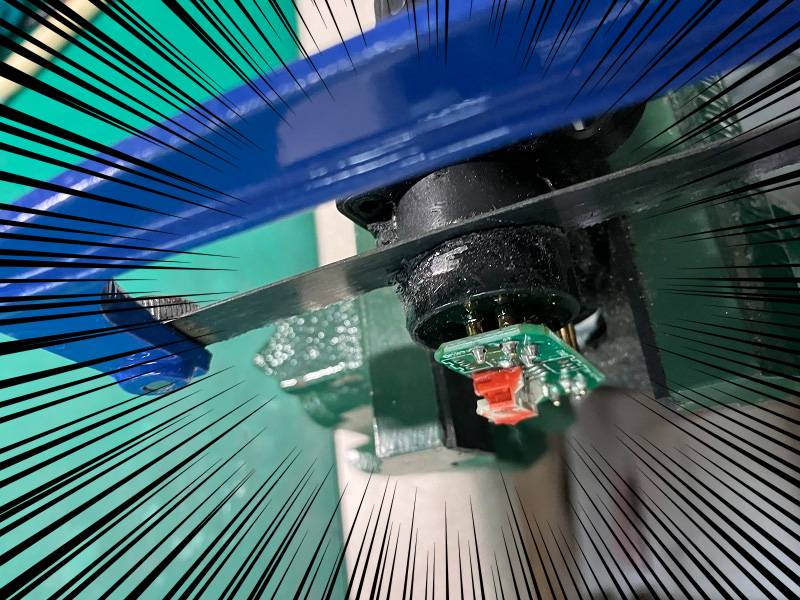
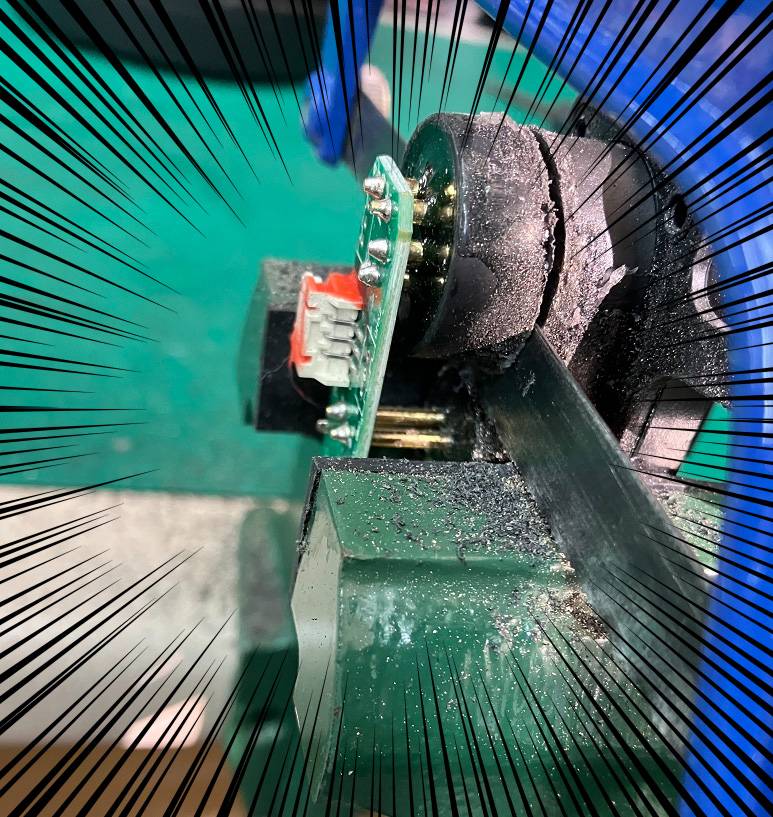
Cut complete.
Miraculously, I managed to cut through at the absolute perfect spot—right on the edge of the internal locking mechanism without hitting it.
If I do say so myself, that was masterful work.

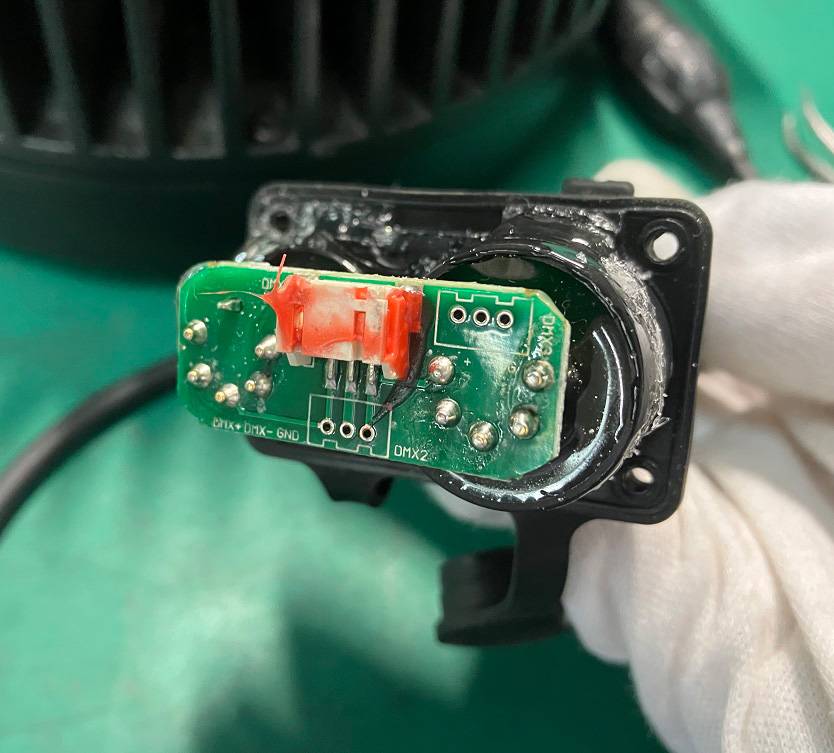
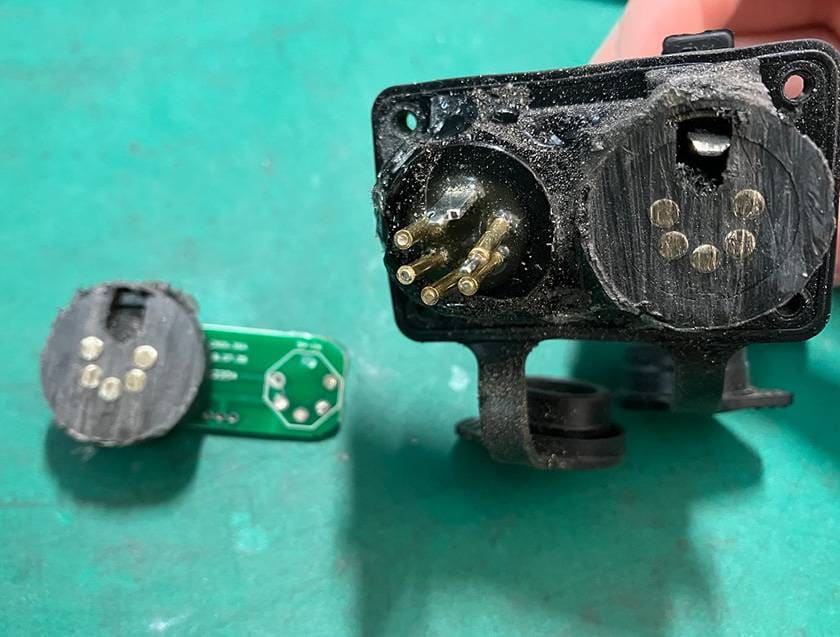
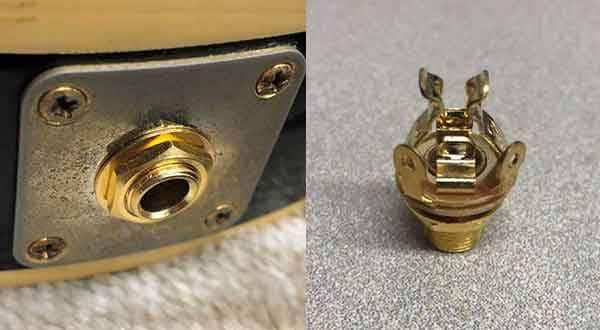
Here’s how the connector mechanism is structured:
- Press the push pin on the front.
- This pushes a metal piece outward in sync with the pin.
- A hooked metal piece (to secure the connector) is pushed downward.
In this case, the failure occurred because the metal pieces in steps 2 and 3 weren’t moving in sync, causing the cable to get stuck.
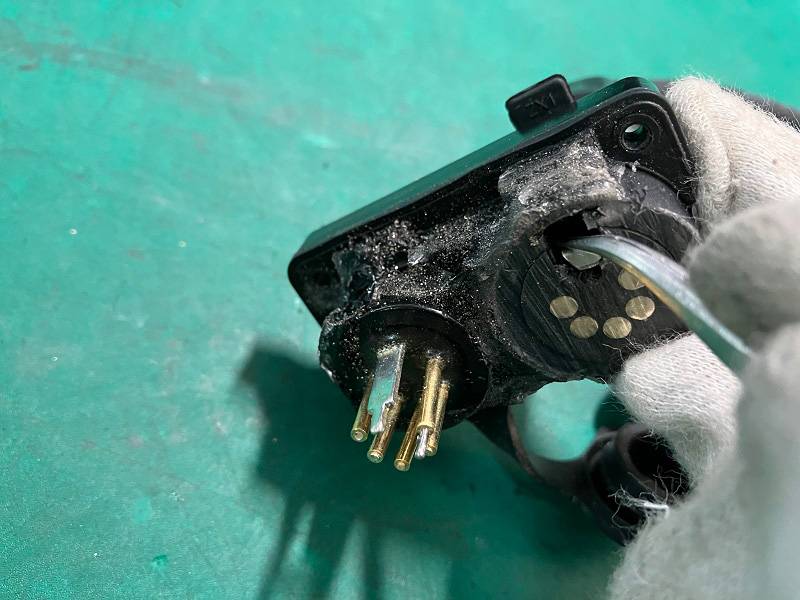
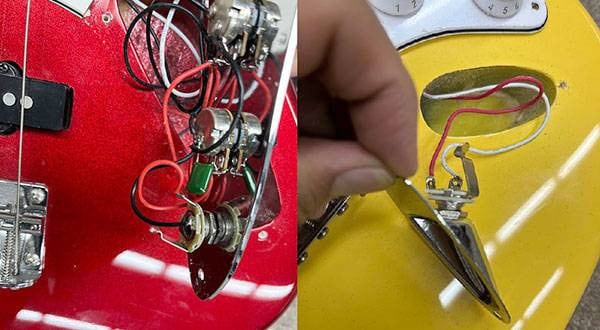
To remove the cable, you need to press down the hooked metal piece (step 3) from the back.
(In the picture, you can see the lock being disengaged using tweezers.)

I managed to successfully rescue the cable.
Since it’s the customer’s precious cable, removing it was also part of the repair process.
Next, I will replace the damaged connector parts, perform a functionality test, and the repair will be complete.
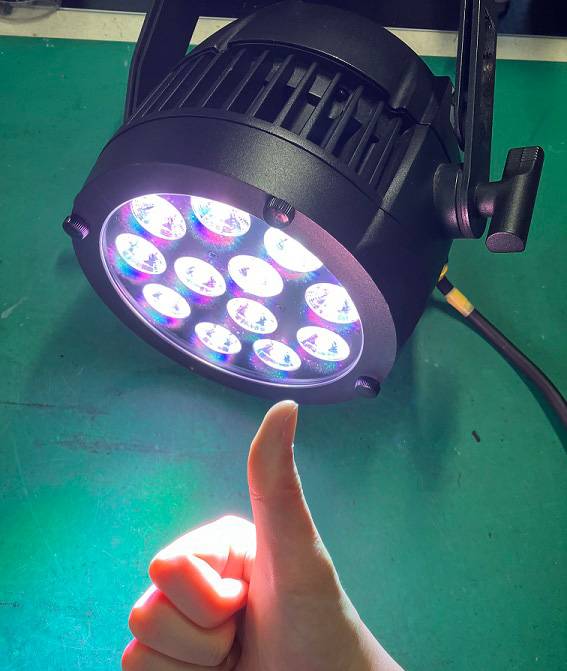
(Giving a thumbs up to the finally freed 12PHEXIP)
The defective parts were removed and replaced with new ones—this is the basic flow of a repair. However, since it was waterproof, the process of removing the defective parts took more effort than usual.
Most importantly, my arms are sore from the cutting work!
That said, I’m relieved I could fulfill the customer’s request.
That’s all for this repair diary.
I look forward to seeing you next time.


 AMERICAN DJ ステージ照明
 CLASSIC PRO
 小さなパーティでも役立つカッコイイ照明機材
 虎の巻 ケーブル講座
 ケーブル購入ガイド
 照明入門講座