Hello everyone.
Today, I will be repairing this SIXPAR 100IP brought in for repair its broken power connector pin.
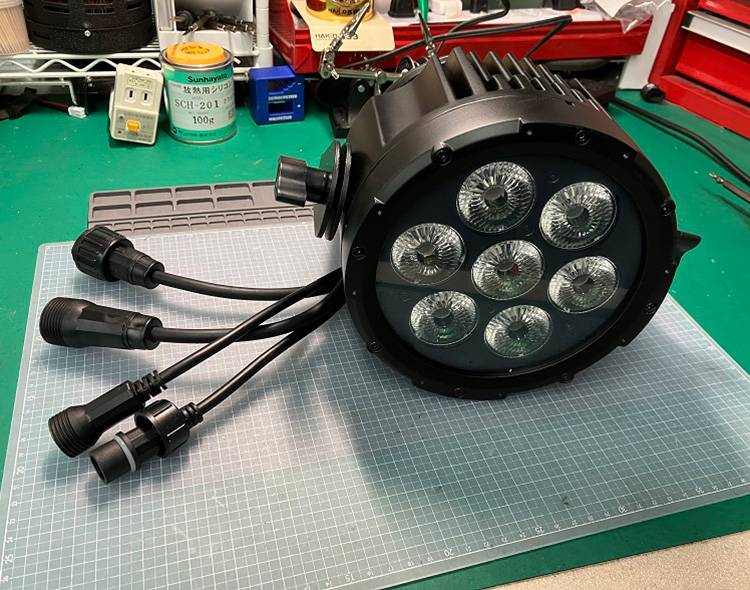
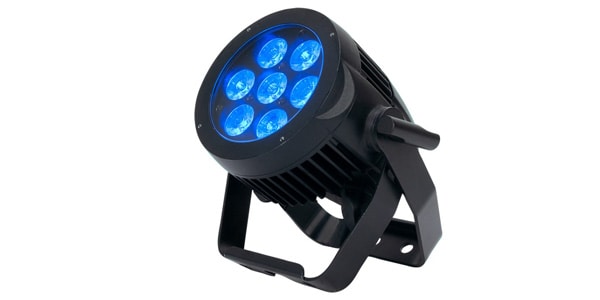
Elation / SIXPAR 100IP LED Par Light
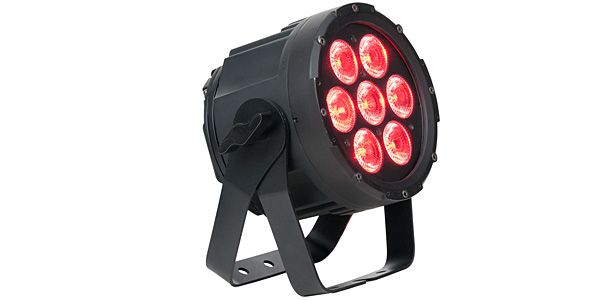
This fixture features seven 12W LEDs and offers six color variations: Red, Green, Blue, Amber, White, and UV. Its waterproof design makes it suitable for both indoor and outdoor use, ensuring it fits perfectly in various situations!
Now, let’s look at the power connector, which has a broken pin. This is a fairly common issue with XLR cables, DMX cables, and 3-pin or 5-pin connectors.
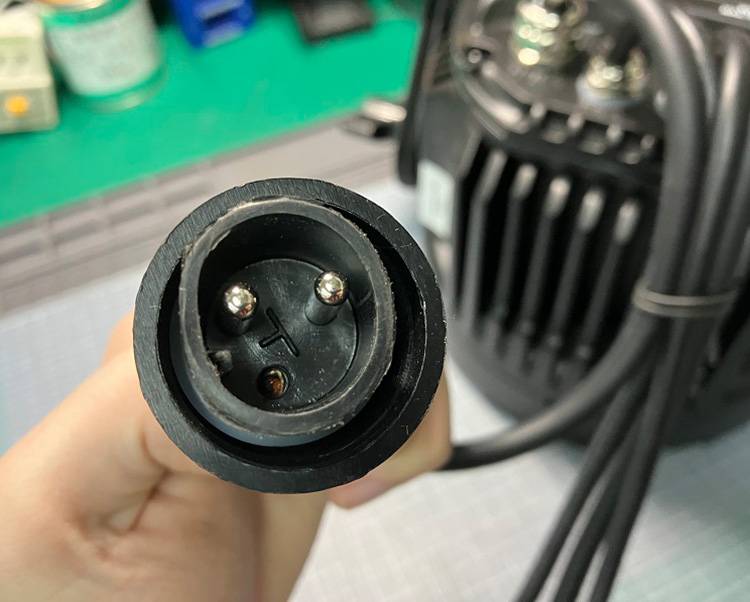
Usually, you can simply replace the connector part, but in this case, the cable and connector are integrated to enhance waterproof performance.
This means we have to replace the entire assembly from the root.
So, let’s take a look inside.
This is the inside.
The outer jacket is stripped, revealing green, black, and white wires. These are the cable ends.
The male power connector needs to be replaced, so the first step is to cut the corresponding wires.
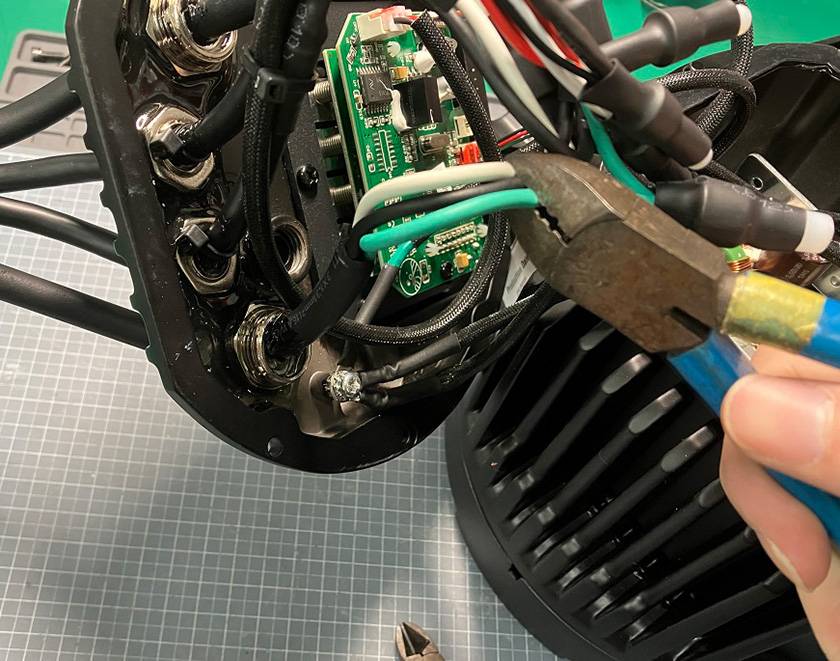
(An bomb disposal team might be alarmed by this cutting method. Here we go!)
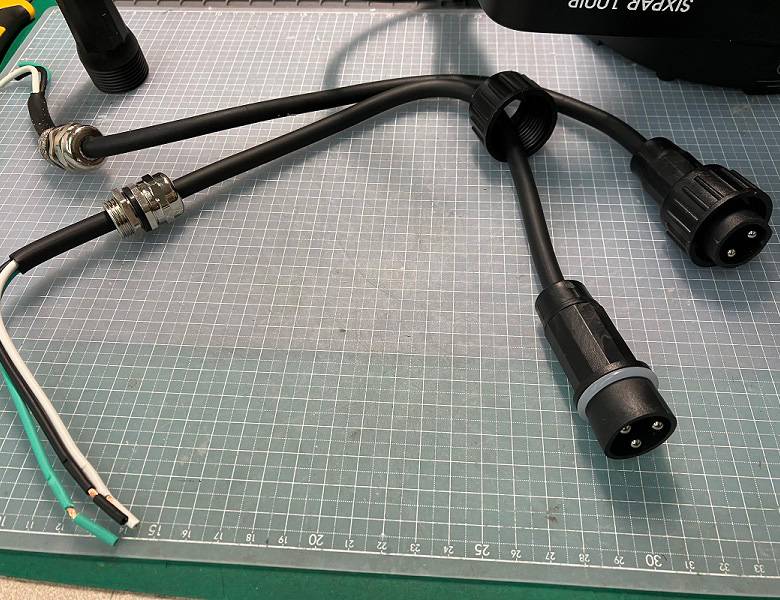
The damaged cable has been removed. Now, I’ll replace it with the new cable I’ve prepared.
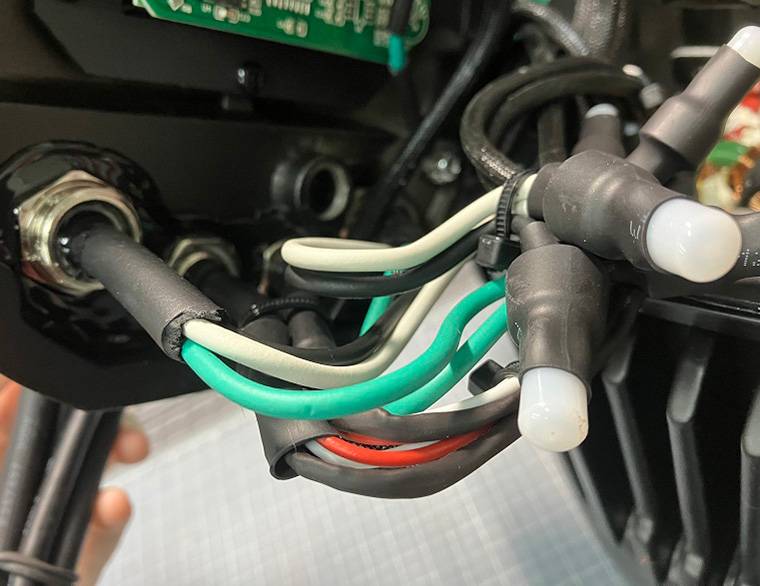
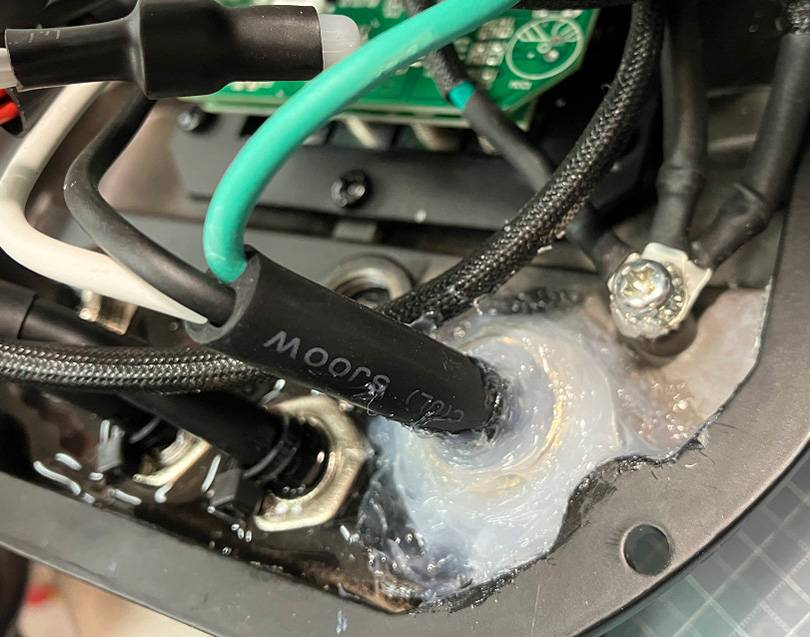
Inside this fixture, the IN side, OUT side, and main input/output lines are all bundled together and connected using a closed-end connector.

At first glance, this connector looks like a simple plastic part, but it has a sleeve inside. You insert the bundled wires into this sleeve and crimp them to connect.
Since it has an insulating cover, there’s no need to use heat shrink tubing. It’s so useful.

After bundling the wires, crimp the sleeve with a crimping tool. It’s quite easy.
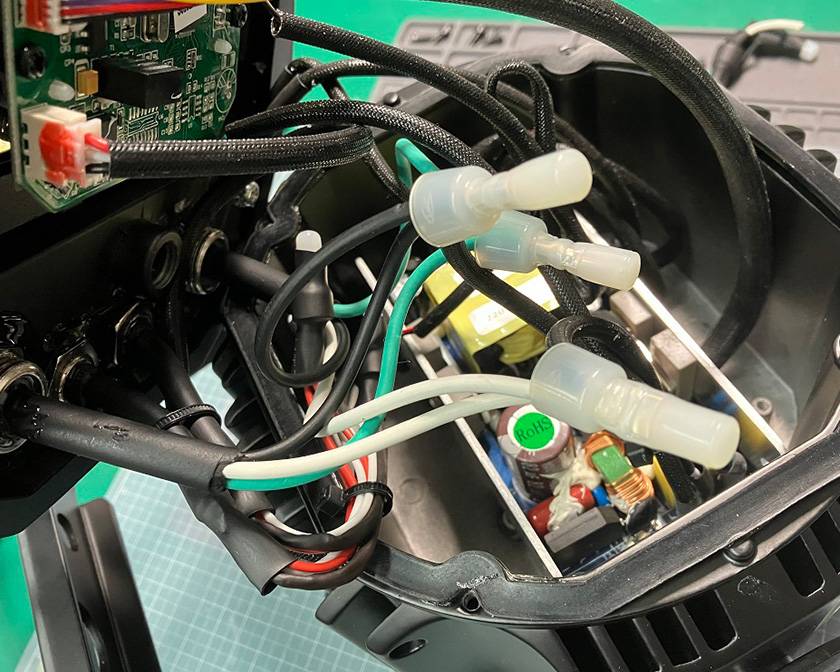
All three lines are now connected.
This involved cutting the wires, stripping the insulation, bundling the wires, and crimping them with the closed-end connectors. I did this three times.
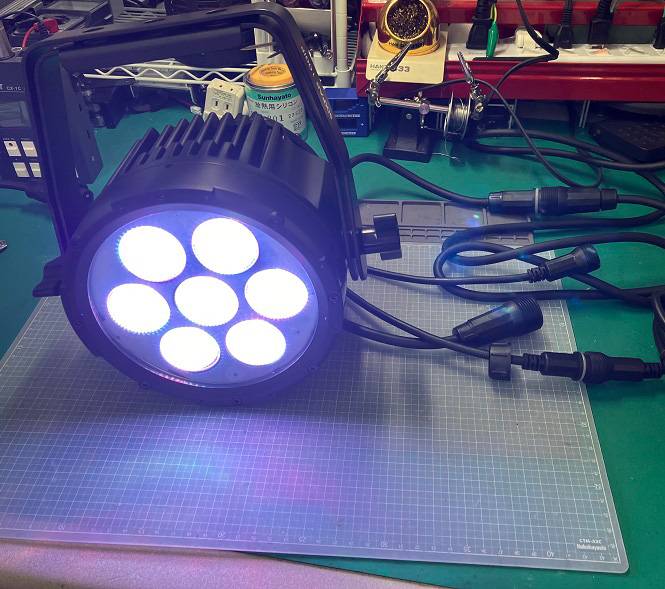
With this step complete, I can finally check if the unit powers on. If the power input connector is broken, there’s no way to power the unit, so it’s impossible to start to figure out the issue until it’s fixed.
Let’s see if it powers on…
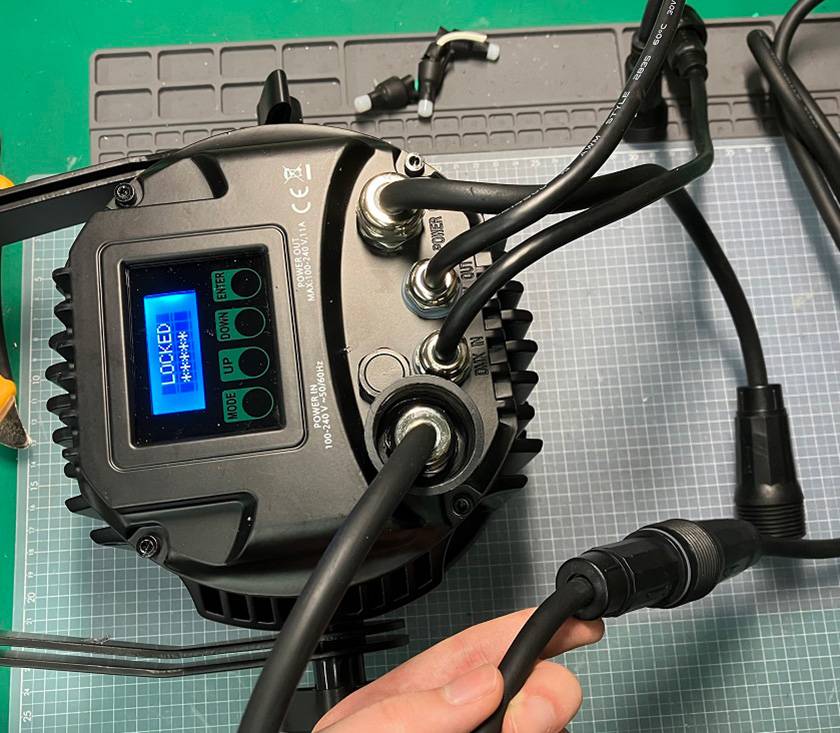
It powers on successfully!
After confirming its operation, there seem to be no issues with lighting or functionality. What a relief!
Next, I’ll work on the waterproofing.
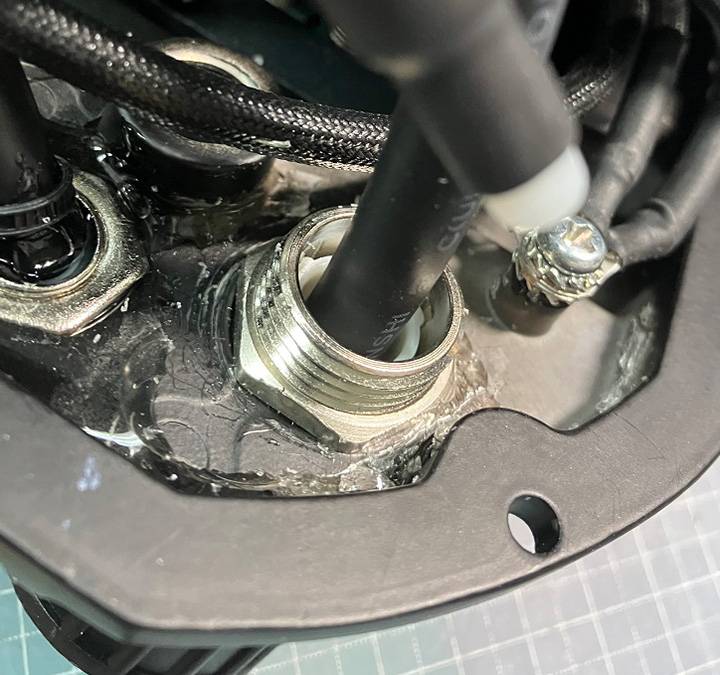
The waterproofing was reset when I replaced the cable, so I’ll fill the gap with silicone rubber.
Though it’s an internal part and not visible, I aim to apply the silicone as neatly as possible. Always striving for improvement…
The silicone is applied without leaving any gaps, so now it’s time to reassemble the unit and complete the repair!
(Shiny and new!)
With encouragement, I sent off this repaired SIXPAR 100IP back to the owner, I gave a thumbs-up out of this picture.
That’s all for my Service Man Diary. See you next time!


 STAGE EVOLUTION ステージ照明
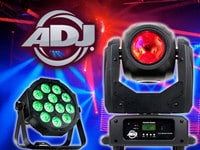 AMERICAN DJ ステージ照明
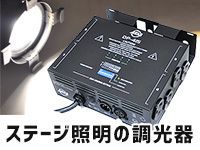 ステージ照明の調光器
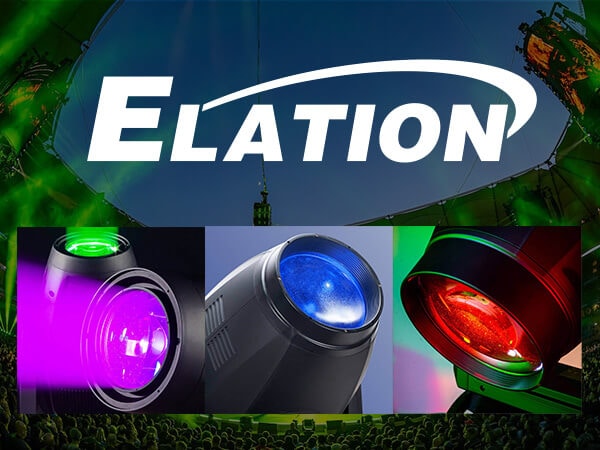 プロ仕様 ステージ照明 ELATION
 小さなパーティでも役立つカッコイイ照明機材
 照明入門講座