In this post, I’ll be repairing a cable that connects the PDP300 digital piano to its sustain pedal, which was brought in because the pedal stopped responding when pressed.
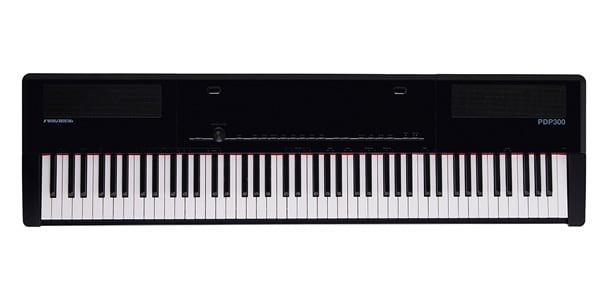
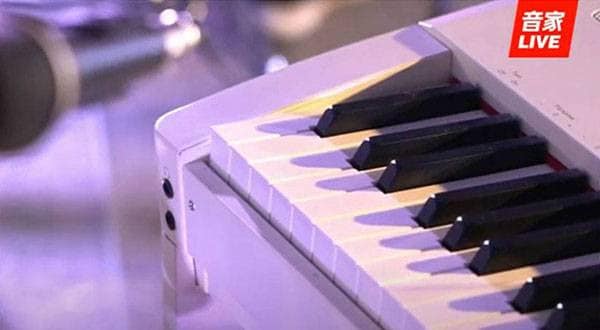
PLAYTECH / PDP300-BK Digital Piano with Ivory-like Hammer Action Keys
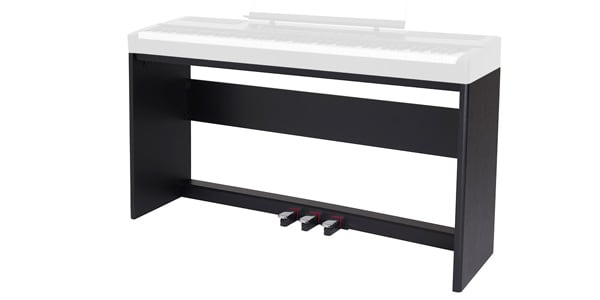
PLAYTECH / PDP300-BK-ST - Dedicated Stand for PDP300-BK
The PDP300 features a full-size 88-key range with hammer action, giving it an authentic feel. Its elegant ivory-like appearance adds to its sophisticated look.
The piano has a solid build, ensuring stability during play and providing a feel similar to an upright piano.
It’s recommended for those who want to play piano at home but found traditional pianos to be too expensive or too large.
Diagnosing the Issue
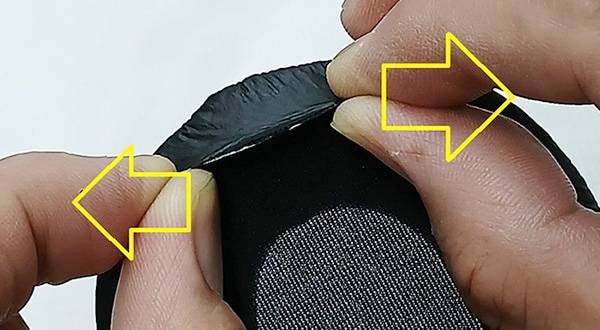
Upon examining the PDP300’s dedicated stand, I noticed that the tab on the cable had broken.
The connector is an RJ45-type plug (8-pin), similar to those used in LAN cables.

First, I inserted the plug as usual and tested the pedal. The pedal itself seemed to work fine, and the sustain response appeared normal.

However, when I pulled or wiggled the cable, the pedal stopped responding.
The issue seemed to be caused by the broken tab on the connector, leading to a poor connection.

This led me to conclude that replacing the RJ45 plug would likely fix the issue.
So now, I’m going to replace the RJ45 plug.
Tools Needed for RJ45 Plug Replacement

From left to right: RJ45 plug, connector protection cover, and RJ45 crimping tool.
Beginning the Repair
First, I cut off the damaged part of the cable, as it was no longer needed.

Next, I stripped about 15-20mm of insulation from the cut end. The crimping tool I used has a wire stripper, making this process easy without damaging the internal wires since the cut was made shallow enough not to reach the inner wires.

Four colorful wires were exposed.

I then arranged the wires in the same order as the original, observing the old connector. These wires were inserted into a new socket. (The part where the wires are inserted is called a load bar. Note that when purchasing RJ45 connectors, some don’t come with load bars, so be careful when selecting them. Make sure it says that a load bar is included.)

Once the wires were in place, I used the crimping tool to secure them.

After confirming that the wires were properly crimped, the connector replacement was complete.

Now, I’m going to test if it works.

Although it’s not visible in the picture, the pedal responded correctly. Thanks to the new tab, the connector doesn’t come loose even if slightly pulled.

To prevent the tab from breaking again, I placed a protective cover over the connector, completing the repair.
Well done!

Conclusion
This time, I replaced an RJ45 connector, which is the same standard as a LAN cable connector. The repair was successful, and the piano is now functioning normally.
Although a special tool is required, replacing the connector is relatively simple, so if you’re up for the challenge, I encourage you to give it a try.
Thank you for reading.


![[STAY HOME, PLAY GAMES!!] Play Music Games with the PLAYTECH PTK300](/contents/uploads/thumbs/2/2020/11/20201104_2_11511_1.jpg)
![[For beginners] Keyboard types and how to choose one](/contents/uploads/thumbs/2/2020/9/20200923_2_11196_1.jpg)
 自分にあったピアノを選ぼう!役立つピアノ用語集
 サスティンペダルの極性について
 各メーカーの鍵盤比較
 用途で選ぶ!鍵盤楽器の種類
 ピアノ・キーボードの各部名称
 キーボードスタートガイド