Introduction
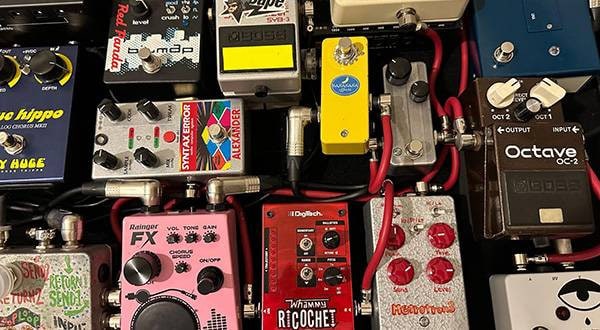
Hello, everyone! Do all of you out there build your own pedalboards? The process of arranging, fixing, and wiring your favorite effects pedals on a single board is as exciting as creating a one-of-a-kind piece of equipment. In fact, there are a variety of products available for the effects pedals, the board itself, and the shields and patch cables. The combinations are endless. It’s not an exaggeration to say that “one-of-a-kind” is not an exaggeration at all.
As for me, I have been using multiple effects pedals, but I have not built a pedal board. In my case, I play guitar only for composing and arranging music, but I never perform live as a guitarist, so I never felt the need to make a portable pedalboard.
Recently, however, I have been thinking about building my own board. There are two reasons for this. The first is to organize my effects pedals. The more effects pedals I have, the more inconvenient it becomes to connect multiple effects pedals, move them around, and then the more messy the cables become, and so on…. A pedal board would solve this problem. Another reason is, of course, romanticism. Pedalboards are cool, aren't they? That alone is a reason to build a pedalboard. So this time, I would like to share with you my first pedalboard construction in this article.
What kind of board do I want to make?
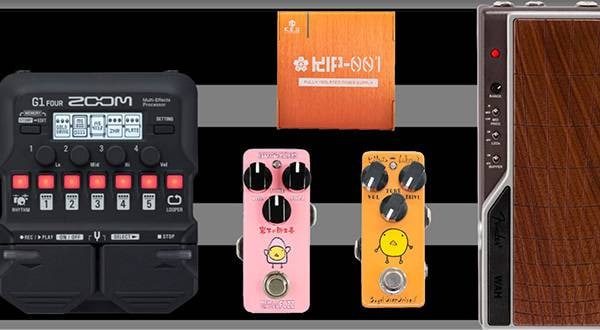
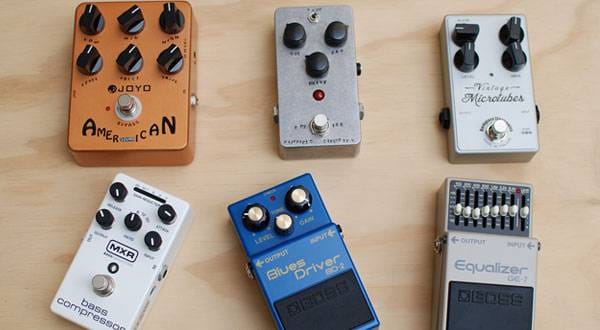
Since I’m creating a pedal board, it’s important to think about its purpose, i.e., “What kind of things do you want the board to do?” In my case, I wanted to create a board that can be used for home recordings and allows for quick switching between tones. For effects, I had a compact set of distortion, wah, and a multi for spatial systems. The configuration is such that the plug-ins on the DAW supplement the jumpers that are only used for a moment in time.
Also, although I almost never play live, I would like to incorporate a programmable switcher to streamline tone selection during recording. If I were to add a switcher, I would need a good number of patch cables. This is where I finally bring in the title. In this article, I will build a pedalboard with a switcher and solderless patch cables!
Switchers and patch cables used
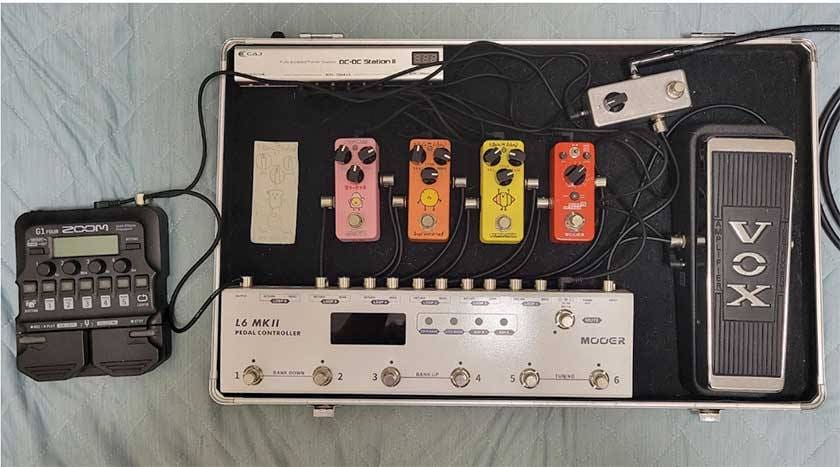
1, MOOER / Pedal Controller L6 MkII
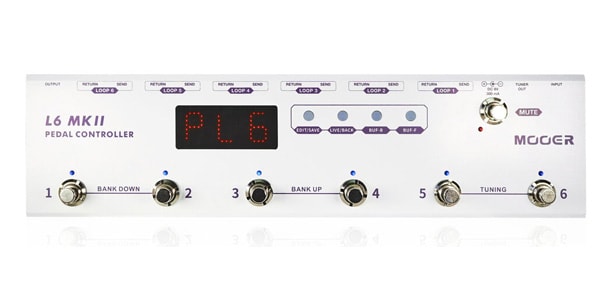
This switcher can connect up to six effectors. It is used in program mode for recording and in manual mode for sound creation. It has a tuner on the main unit, which is convenient because it is muted while in use.
2, ToneGeek / Solderless Cable Kit
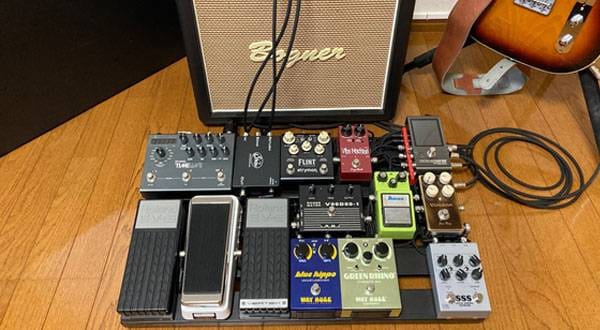
How I Actually Made the Board
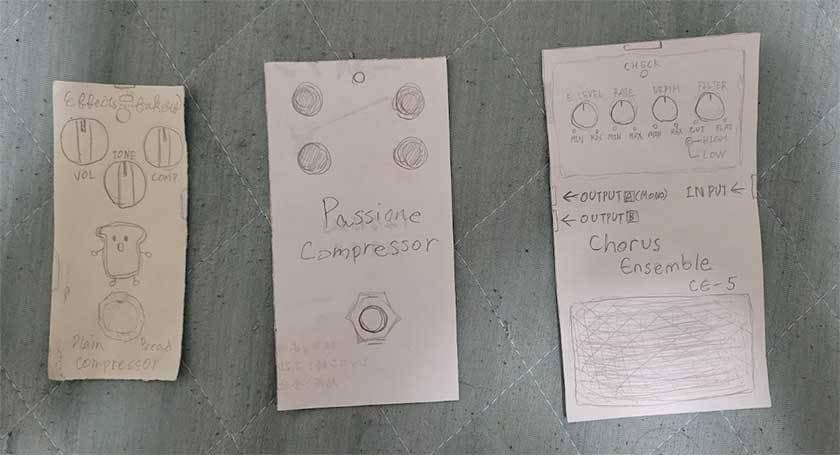
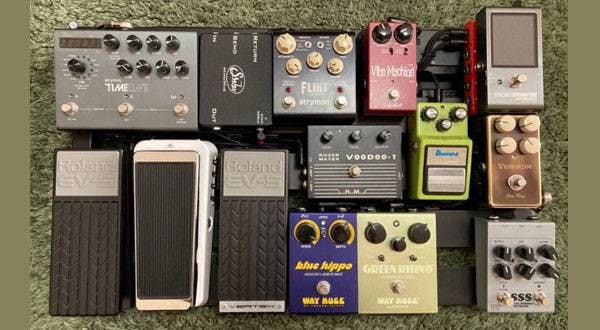
● Lay out the effects pedal.
I used a board that he originally had, but some people may want to buy a new board. In such cases, it is necessary to line up the effects on a piece of newspaper to see how big they will be. Do not overpack the effects too tightly, taking into account the width of the DC and patch cables.
● Fixing the Effects
The next step is to secure the effects pedal. Velcro, or so-called Velcro tape, is often used to secure pedals.
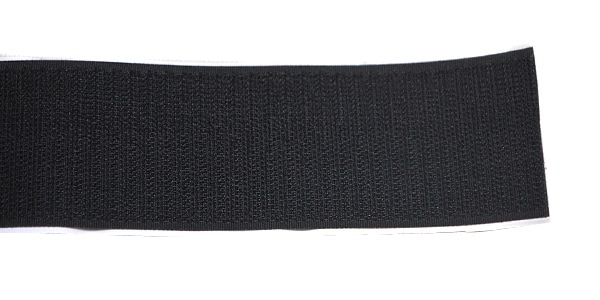
When applying Velcro, do not hide the label on the back cover of the effects pedal. If this is hidden, it may void the warranty.
To tell you the truth, I have not added the effects pedal yet. This is because I do not carry the board with me. So, I will proceed to the next step.
● Making the cables
Once the pedals are secured on the board, the next step is to make patch cables. The advantage of making your own cables is that you can match them exactly to the length you need. Patch cables should not be too long or too short, so if you can make your own cables, your board will be assembled well.
Let's get started making the cables. First, measure the length you need. It is a good idea to lay out a piece of yarn or something similar, just as you would do with actual wiring. Next, use a cable cutter to cut about 5 mm off the end of the cable. Since the cut end may be frayed at first, you can make a clean cut by doing this. This is also a good way to practice cutting cables.
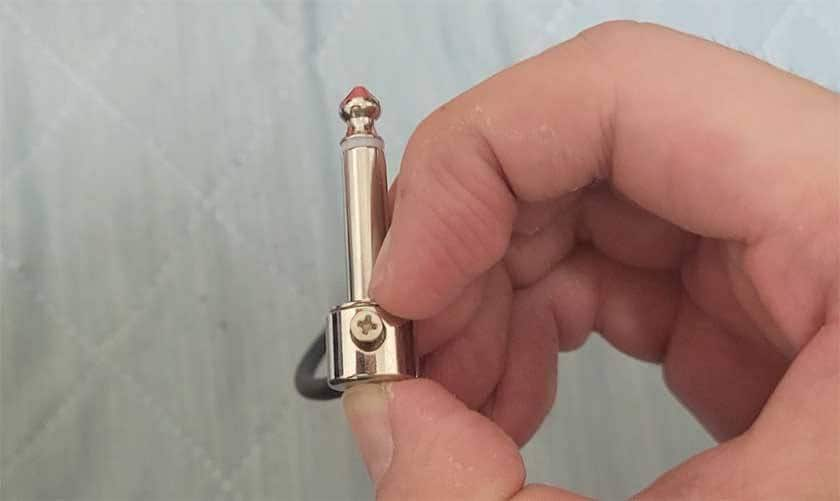
Once you have cut out as much cable as you need, attach the plugs. Since a solderless kit is used in this project, patch cables can be made simply by fastening screws.
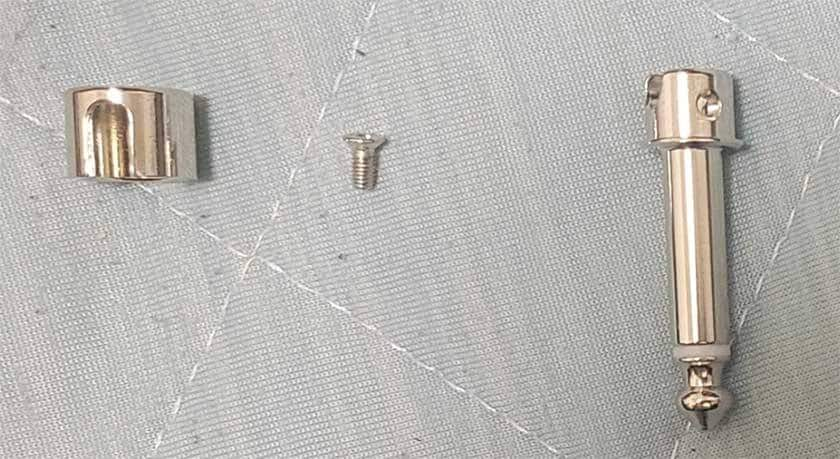
The plug part is made of these parts. Be especially careful not to lose the small screws. Without screws, the entire plug will be wasted. Even if it is troublesome, you need to take measures to prevent the screws from going anywhere, such as putting them in a container or attaching them to a magnet.
● Connect to the switcher
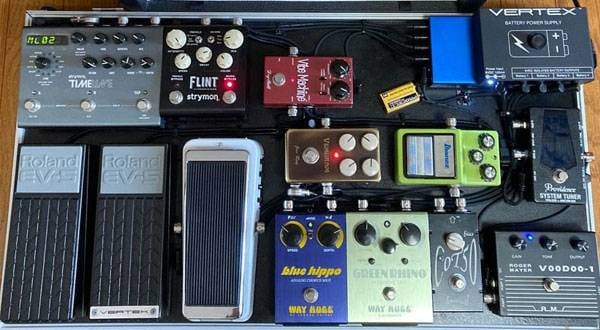
Let's connect the effects pedals to the programmable switcher, the centerpiece of this board. Connect the switcher to the pedals using the cables you just made.
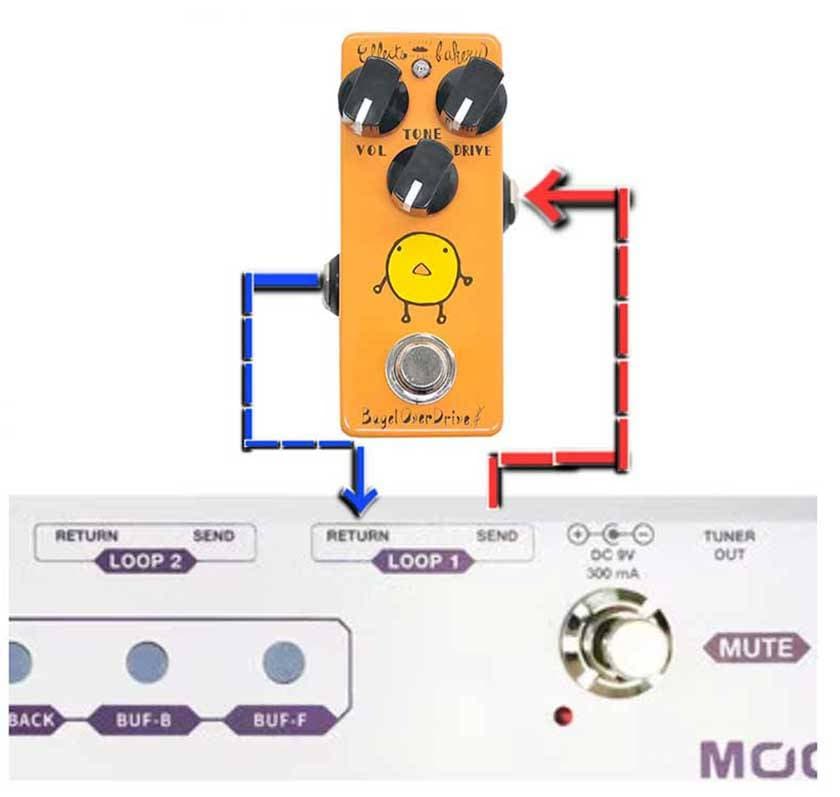
When connecting to the switcher, you will need two patch cables per effects pedal. The connection method is simple. For example, when connecting a pedal to “LOOP 1” in this image, connect from “SEND” of LOOP 1 to “INPUT” of the effects pedal, and from “OUTPUT” of the effects pedal to “RETURN” of LOOP 1.
Finally, connect DC cables and whatever else, and your effects board is complete!
Summary
This time I used a switcher and a solderless patch cable to create an effects board useful for recording. I hope everyone enjoys making boards for their own purposes and enjoys playing the guitar!
Thank you again for this issue.
The column “sound & person” is made possible by your contributions.
For more information about submissions, click here.


 はじめてのエフェクターは GT-1 にしよう
 技 WAZA CRAFT特集
 パフォーマンスの可能性をLoop Stationで広げよう
 【初心者向け】エフェクター講座
 あなたのエフェクターボード見せてください
 エフェクター編