The dbx DriveRack PA2 comes with an application for wireless control. Here, I’ll explain how to set up a network connection.
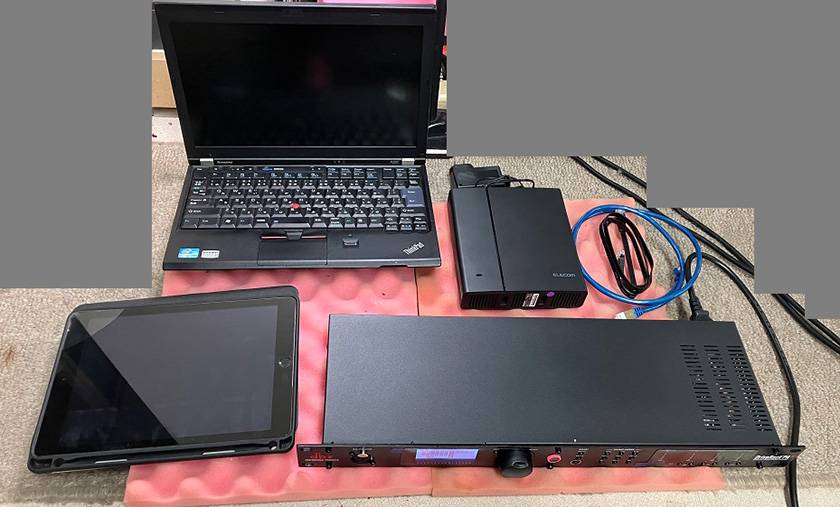
What You’ll Need
- DriveRack PA2 unit
- PC or tablet (smartphone)
- Router with DHCP functionality
- LAN cable (CAT5e or higher, straight cable)
What I used for the connection test
01 Install the Application on Your Device (PC, Tablet, etc.)
The official dbx website provides dedicated applications for each device under the ‘Downloads’ section of the DriveRack PA2 product page.
For details, refer to the following URL:
dbx Official Website: Downloads
*As of September 2024
Ensure that the app is installed on your device beforehand.
02 Connect the Device (PC, Tablet, etc.) to the Router
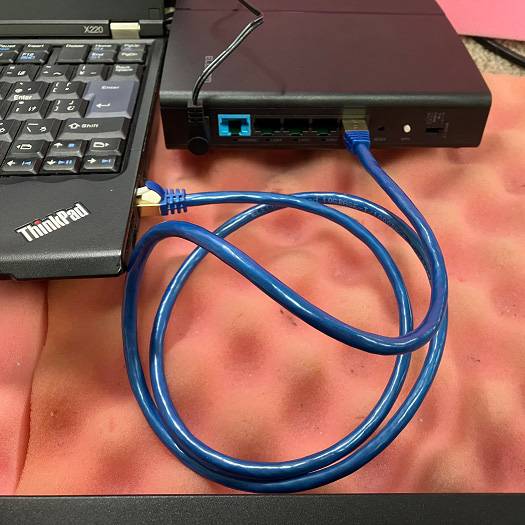
For PC
You can connect via a wired LAN connection or Wi-Fi.
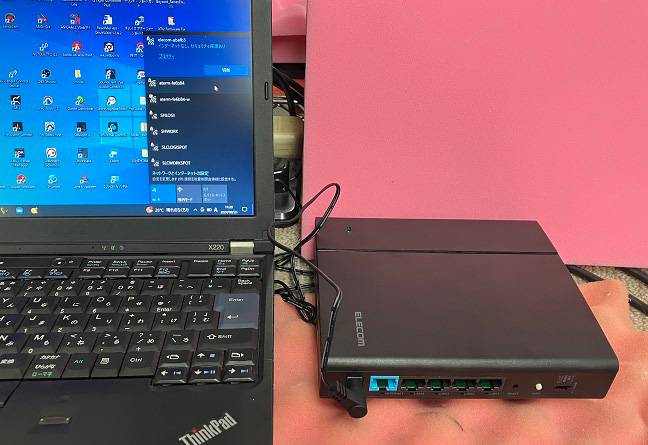
If using a wired LAN connection, ensure the PC recognizes the router before proceeding.
Below is an image showing a LAN connection between a PC and a router, where the PC recognizes the router through Ethernet support.
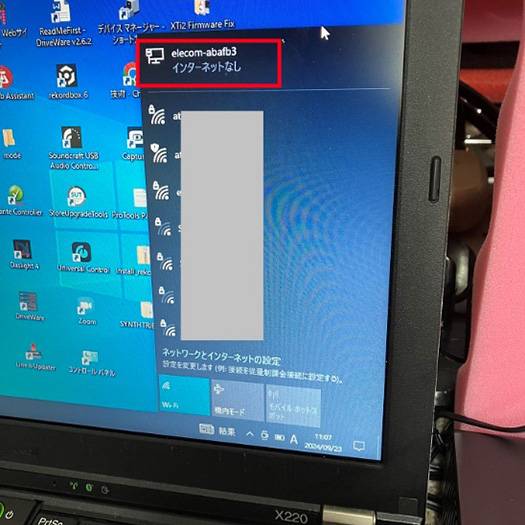
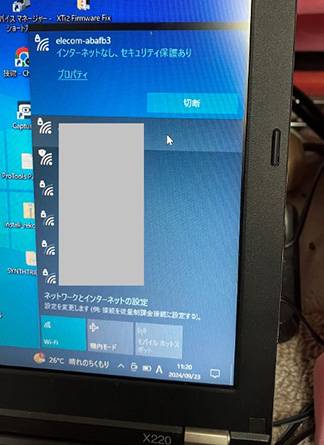
For Wi-Fi, select the router from your PC’s Wi-Fi settings and connect.
The image below shows the PC recognizing the router via a Wi-Fi connection.
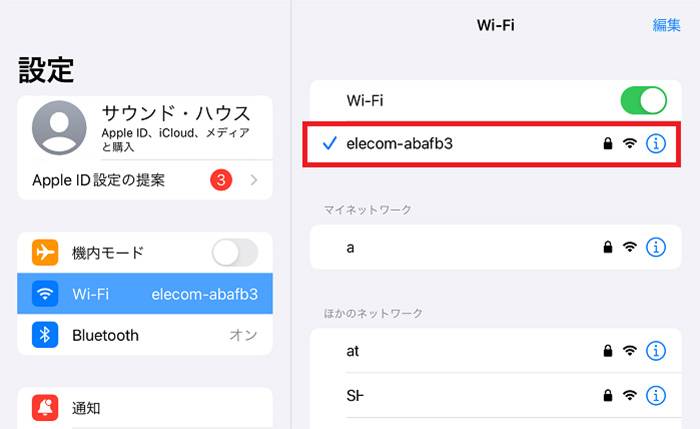
For Tablets (iPad in this case)
You can connect via Wi-Fi.
Below is an image showing the iPad connected to the router via Wi-Fi.
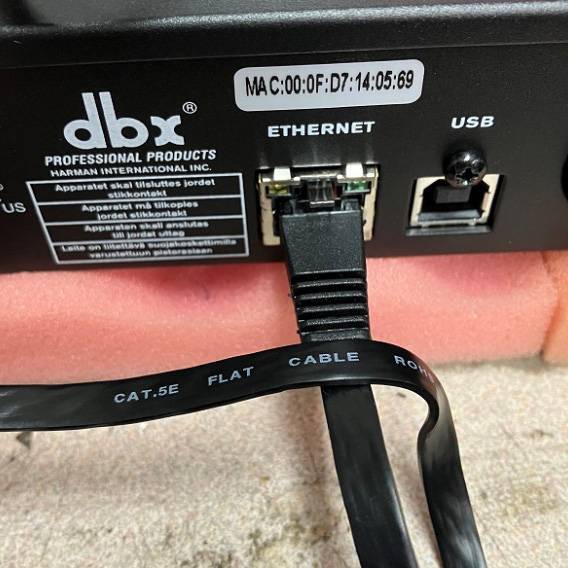
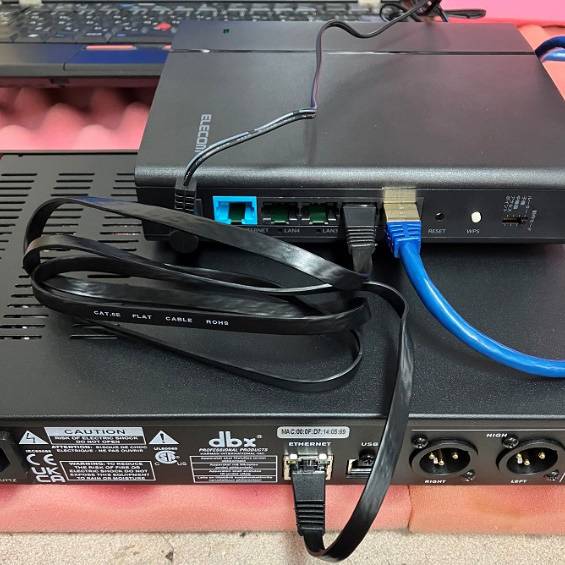
03 Connect the DriveRack PA2 to the Router via LAN Cable and Power it On
Use a CAT5e or higher LAN cable to connect the router to the DriveRack PA2.
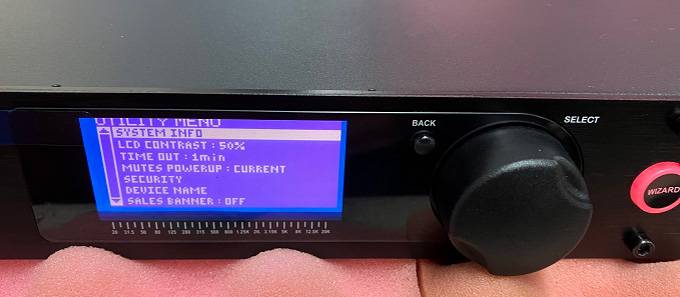
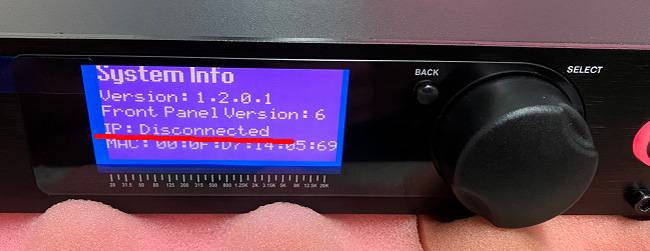
After connecting the power cable to the DriveRack PA2 and turning it on, press the ‘UTILITY’ button to open the ‘UTILITY MENU’. Click on ‘SYSTEM INFO’.
Wait for the correct IP address to display under the IP address section in SYSTEM INFO. If it appears as shown below, you’re good to go.
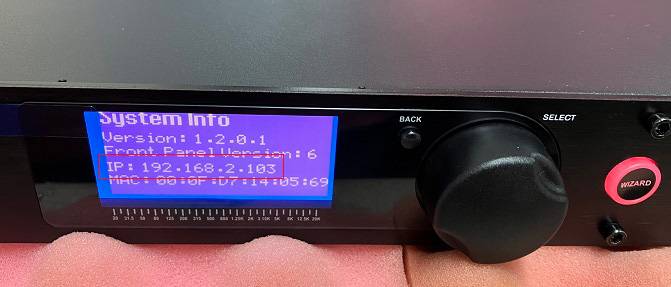
If it shows ‘Disconnected’ or the IP address is ‘0.0.0.0’, it means the network connection isn’t set up properly. Check the router and LAN cable for connection status.
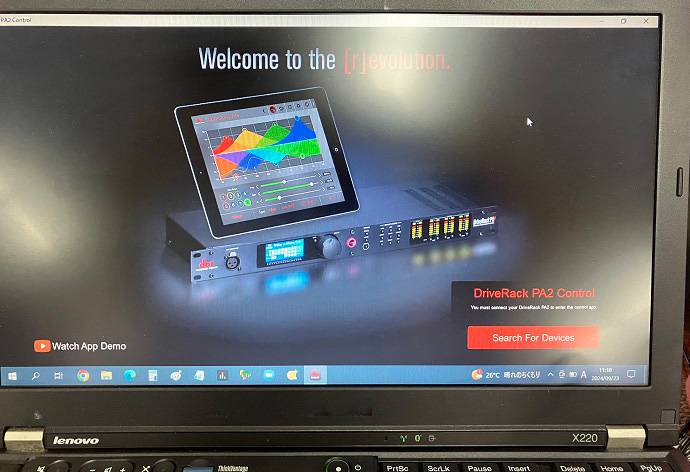
04 Launch the Application on Your Device and Complete the Connection
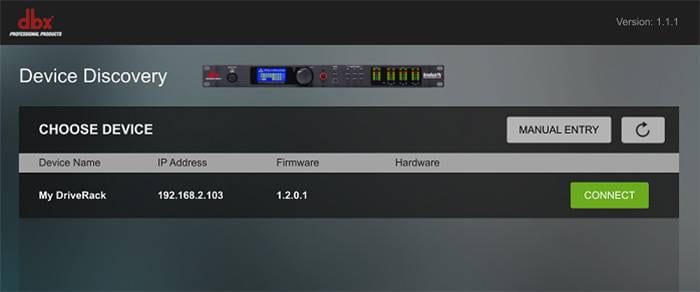
Click to launch the application that you previously installed. Initially, a screen like the one below will appear. Click ‘Search for Devices’ in the bottom-right corner.
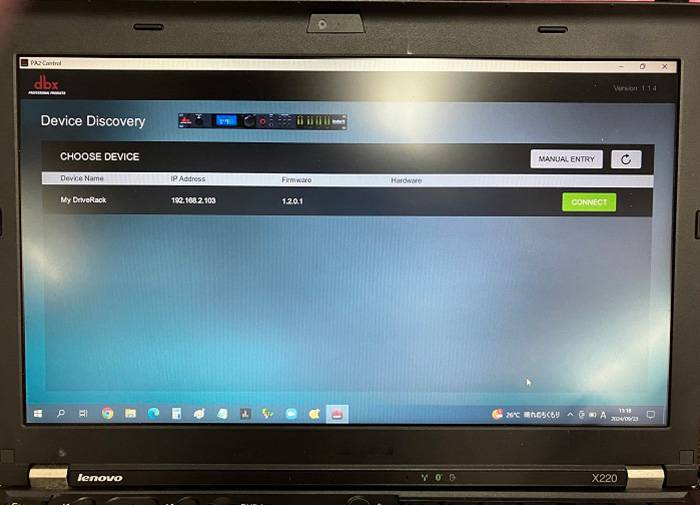
If the network connection was successful, you’ll see the same IP address displayed on your DriveRack PA2 in the list. Click ‘CONNECT’ to complete the connection.
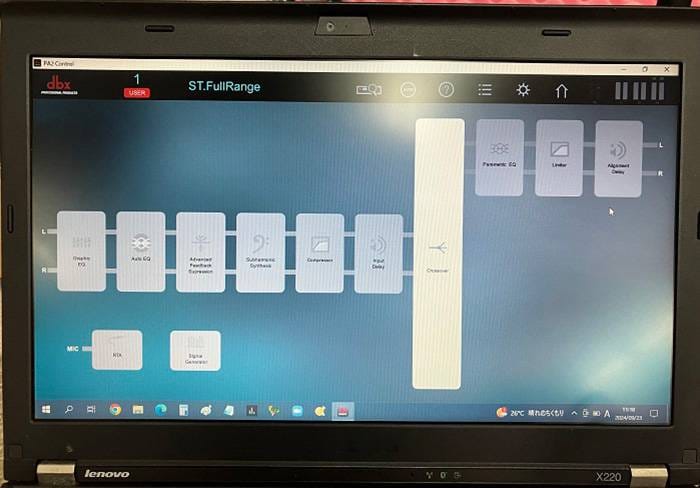
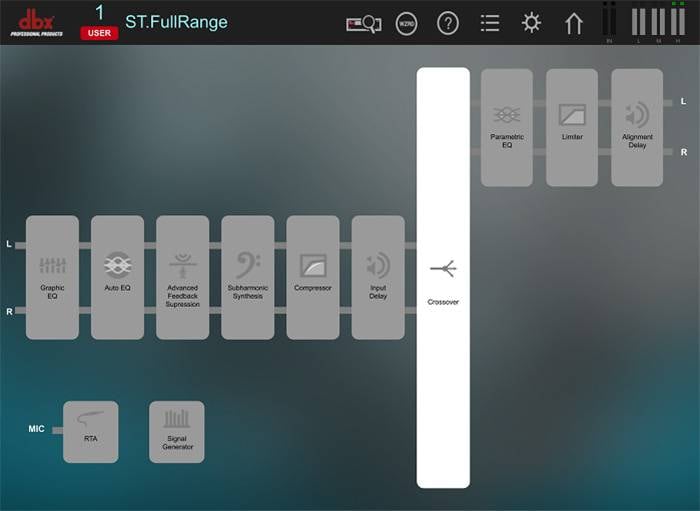
Once the app and DriveRack PA2 are successfully connected, a linked screen will appear, and you can now control the unit via the app.
For iPad, follow the same steps. Open the app, tap ‘CONNECT’ when the same screen appears, and complete the connection.
You will then see the operation screen and can control the unit directly from the tablet.
That’s it for the guide on how to connect the dbx DriveRack PA2 to the PA2 Control App.


![[2023] Hot Selling DI Boxes!](/contents/uploads/thumbs/2/2019/12/20191220_2_8749_1.jpg)
 スピーカーの定番 Classic Proのおすすめモデル
 スピーカースタンドの選び方 K&M編
 スタジオモニタースピーカーを選ぶ
 DBX 製品カテゴリ一覧
 スピーカーとパワーアンプの選び方
 PAシステム講座