


We have written about how to make shielded cables for beginners, if you have not read our previous articles, please click here.
Related Articles
How to Make a Shielded Cable for Beginners - An Easy-to-Understand Guide on Soldering [Preparation]
How to Make a Shielded Cable for Beginners - An Easy-to-Understand Guide on Soldering [Implementation]
How to Make a Shielded Cable for Beginners - An Easy-to-Understand Guide on Soldering [L-Shaped Plug]
How to Make a Shielded Cable for Beginners - An Easy-to-Understand Guide on Soldering [Flat Plug]
This time I’m writing about short plug cables for this blog post.
They are useful for patch cables on effects board switchers and rack-mounted equipment.
Here are the plugs I will be using this time
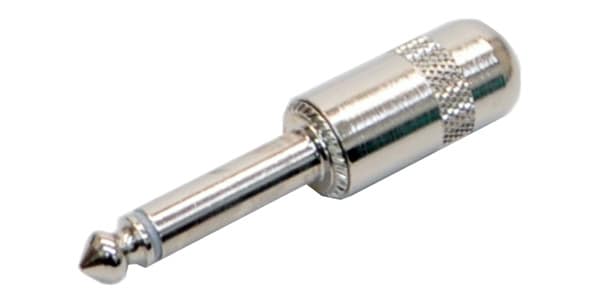
The SWITCHCRAFT's 380 is a standard short plug.
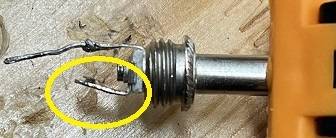
The terminal part is soldered like this.
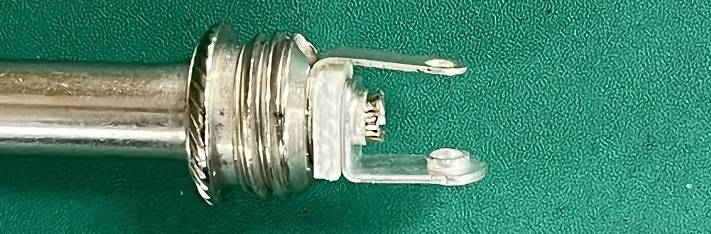
Those who see the contents of this plug for the first time may be a bit puzzled.
The longer terminal of a typical straight plug is the ground (shield wire), but this plug has a larger core wire side and a smaller ground side.
Above all, there is no mechanism to hold the cable in place. You may think, “Is this going to be strong enough?” When unplugging the cable from the plug, be sure not to pull on the cable. (This is the same no matter which plug you use.)
However, I don't think this plug is suitable for long cables such as those used to connect from a guitar to an effector or amplifier. Think of it as a plug for patch cables only.
By the way, G&H short plugs have a mechanism to hold down the cable.
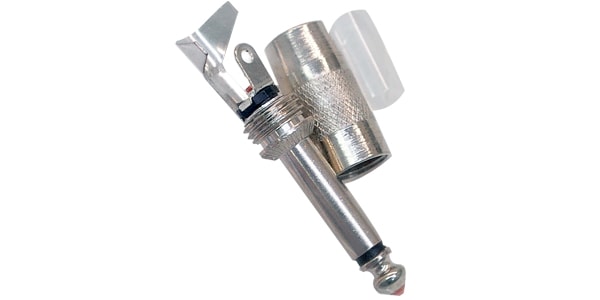
You may think, “Well, this one is better!” But I felt that this small size and shape is a little difficult to make if you are not accustomed to it.
The reason why the SWITCHCRAFT 380 has this shape is because it is necessary to make many patch cables when making patch cables in the field, so it is thought to be a consideration of the time and effort required when making them. If you are interested, please try it.
This time, too, I will use MOGAMI's 2524 cable.
The method of making a short plug is basically the same as for other plugs, but this time I will introduce a method that incorporates some of the techniques I learned from an advanced cable maker.
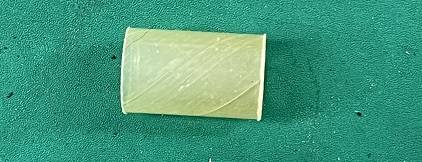
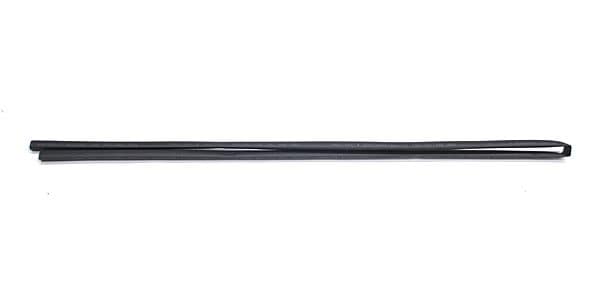
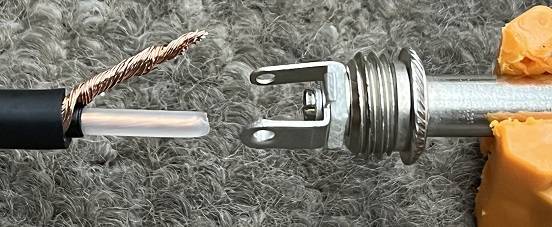
This time, I dare not use the insulating straw (↓image) that comes with the plug.
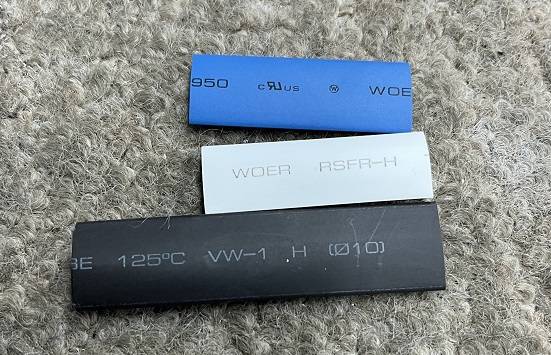
And I will use shrink tubing for insulation.
Sumitomo Electric Fine Polymer / SUMITUBE F 10Φ
Shrink tubing comes in a variety of diameters and 10φ tubing is suitable for making cables. Although Sound House does not sell them, colored ones are also available. In this case, I will use the blue shrink tubing. The blue shrink tubing I had on hand was 9φ, but I first checked that it could be used.
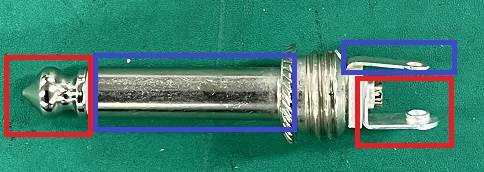
The structure of the plug is as shown in the image below, with the red wire connected to the Tip and the blue wire connected to the Sleeve. As usual, all you need to do is connect the core wire to the Tip side and the shield wire to the Sleeve side.
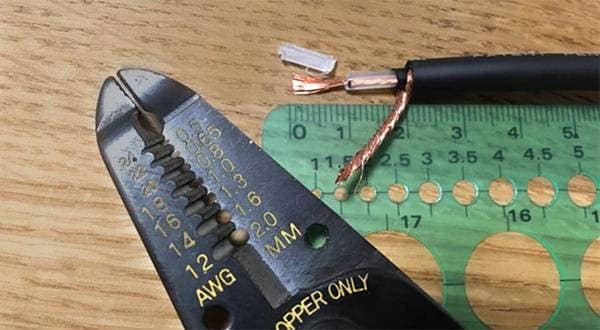
Peel off about 1.5cm of the tip of the cable, bundle the shield wire, and match it to the cable. Don't forget to peel off the conductive vinyl.
Also, don't forget to fit the handle and shrink tube.
Pre-solder the cable to the plug.
If you continue to pre-solder the plug as well and solder each of them, you will be finished. Of course, you can finish with that, but this time, as I mentioned above, I will introduce a slightly different method.
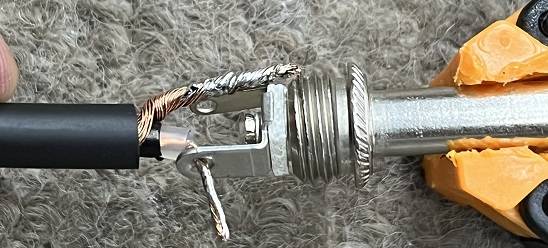
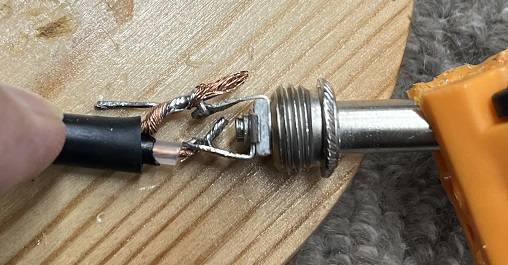
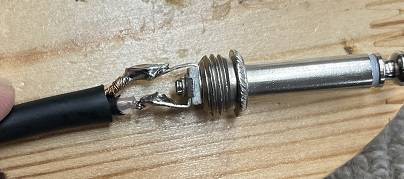
Wrap a single bare wire such as tinned wire around the terminal on the ground side as shown in the image below. You can also use a cut leg of a resistor or something of the sort that is familiar to those who make their own effects pedals.
Bend the Tip side terminal slightly.
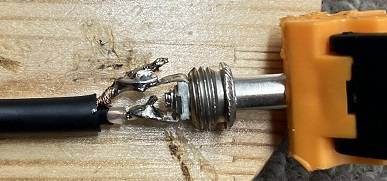
Try to apply the cable as shown in the image below.
You may solder the core wire side slightly to prevent it from moving at this point.
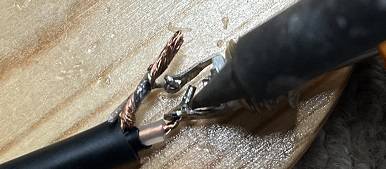
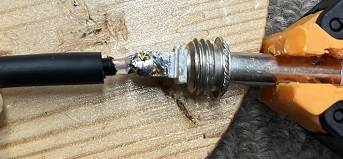
Bend the bare wire around and secure the shield wire. (Originally, it would have been better to keep the bare wire longer and wrap it around the terminal)
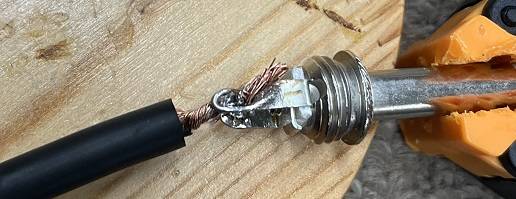
Solder that part.
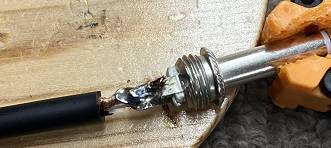
Rotate the plug and solder the core wire side as well.
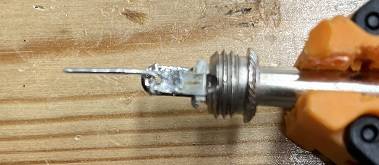
Cut the excess part with the solder.
At this point, check that the wires do not make contact when the cable is shaken.
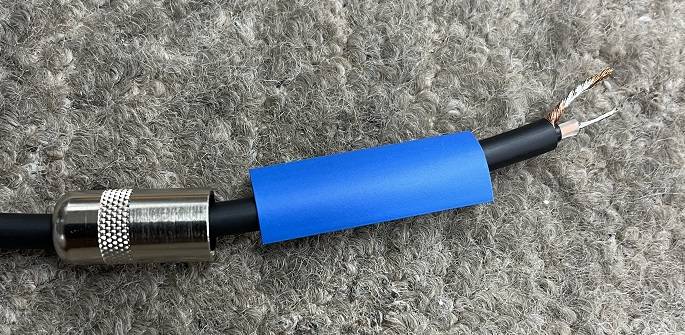
If it looks okay, cover the cable with shrink tubing.
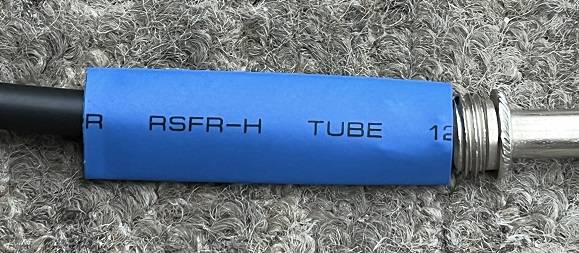
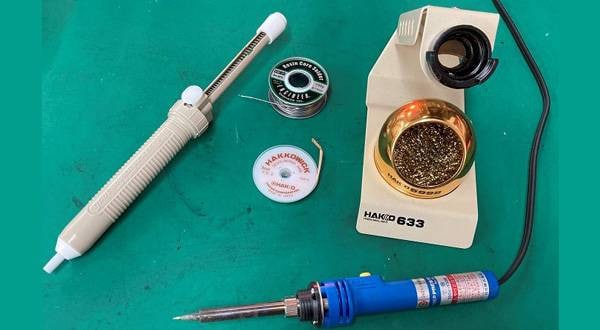
This shrink tubing will shrink when heated, and this is where a heat gun is needed.
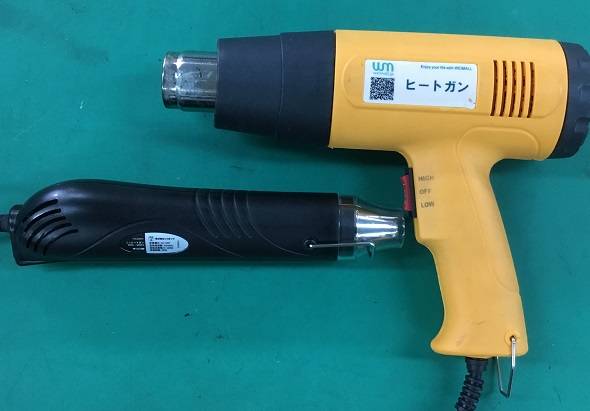
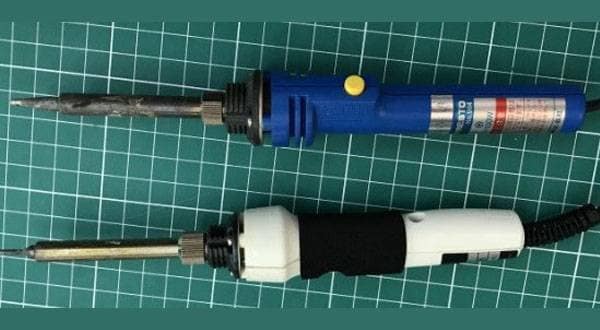
Simply put, a heat gun is an extremely powerful hair dryer. It gets very hot, so be careful when handling it as you may burn yourself. If you want to make a lot of cables in the future, you should have one. However, never use it to dry your hair as a hair dryer.
If you don't own a heat gun, it is common to use a lighter to burn it. I have heard that a hair dryer can also be used to shrink the tubing. I have tried this method myself, but it did not shrink the tubing of this thickness at all.
Anyway, heat the shrinkable tubing with a heat gun to shrink it.
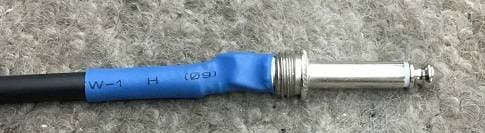
Cover the handle part.
This completes the cable.
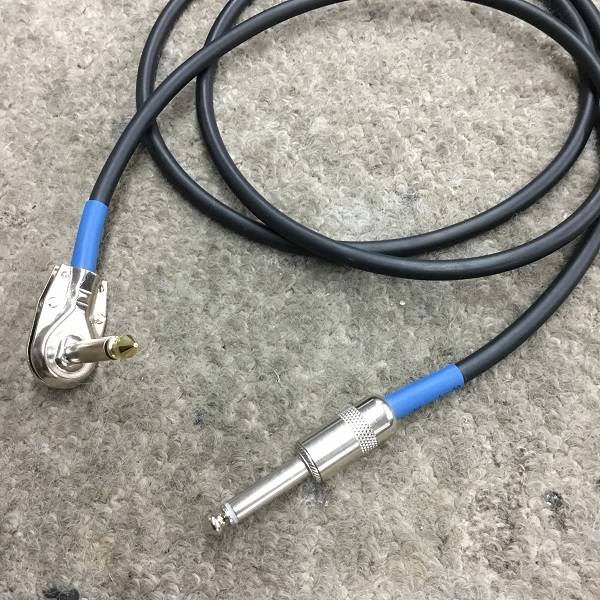
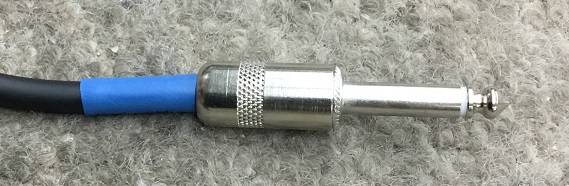
The reason I used shrink tubing is to increase the holding power of the cable by covering the cable with the tubing. Also, if you use colored cables, you can easily see where they are connected to and where they are connected when using them in places where cables get messy, such as effects boards and rack equipment wiring.
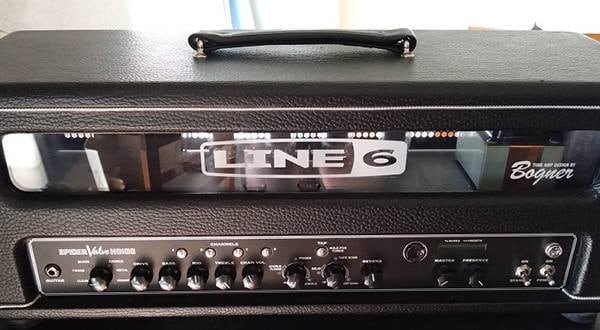
It is also useful to mark long cables like this when using an amp's send.return, etc.
The disadvantage of using shrink tubing is that it makes it impossible to visually inspect the terminals in the event of a suspected wire breakage. There are advantages and disadvantages to this.
As shown in this case, plugs come in a variety of shapes, some of which are easy to manufacture and some of which are difficult to manufacture. This is due to various factors such as each manufacturer's concept and manufacturing costs.
Looking at the way advanced users make cables, I find that they have their own ways of making cables to suit their particular plugs. The method of 380 short plugs introduced here includes the method taught by such people (the actual method that is taught is slightly different).
Beginners tend to easily think, “XXX plugs are too hard to use, so they are no good!” However, advanced users have created wonderful cables with those plugs without any difficulty. I think that when you are producing a large number of cables for work, you will be able to handle a variety of plugs because of the customer's budget and other factors.
For the time being, this blog is written for beginners, so I would like for all of you to try making a lot of cables using a variety of plugs and experiment with wiring methods. You may make many mistakes at first, but in time, you will be able to make a cable that you are satisfied with.


![[Latest for 2025!] Easy Beginner Speaker Cable Selection Guide + Recommended Popular Products!](/contents/uploads/thumbs/2/2019/8/20190809_2_7187_1.jpg)
 ギターケーブルの作り方
 ケーブルの選び方
 配線カスタマイズ 第1回
 パーツの配線を知ろう
 虎の巻 ケーブル講座
 ケーブル購入ガイド


