Many people who play guitar would like to make their own shield cables. There are a plethora of articles that anyone can find on the internet, so most likely many people have actually taken up the challenge.
Sound House has also published several videos and blog posts on the subject.
However, even if you think “Let's try it!”, you may still get lost in the solder, soldering iron, cables, plugs, and so many other things... There are a lot of failed attempts and I think there are many people who end up giving up.
This article explains how to make shielded cables for those who have experienced such frustration and haven’t used a soldering iron since junior high school, and I will help you take the first step in shield making and you can take that first step in soldering!
It would take me a long time for me to talk about my own experience and points that are easy to get lost in, so I will only show you the most necessary materials and tools in this article as preparation.
In any case, what you need are supplies and tools.
“I don't know what to choose because there are so many different kinds!” This is the point where everyone tends to falter.
This time, I would like to introduce you to a few items that you will never go wrong with buying!
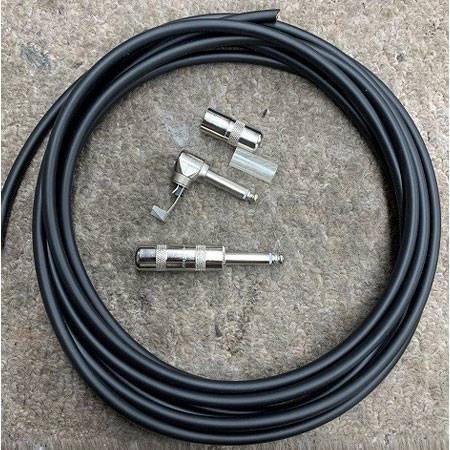
In this case, we will use Mogami's 2524 and Switchcraft jacks.
Mogami's 2524 is a recent staple, and it has the trifecta of good sound, easy processing, and affordability. You can find all kinds of cables if you look around, but if you're not sure what to buy, go with this one.
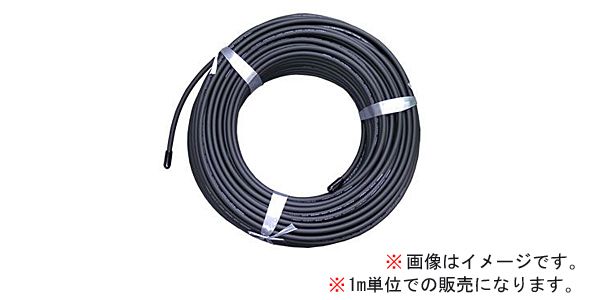
In most cases, cables are sold in 1-meter units, so buy about 10 meters! I will explain the reason for this later.
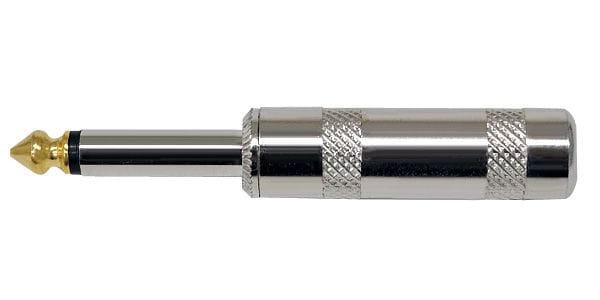
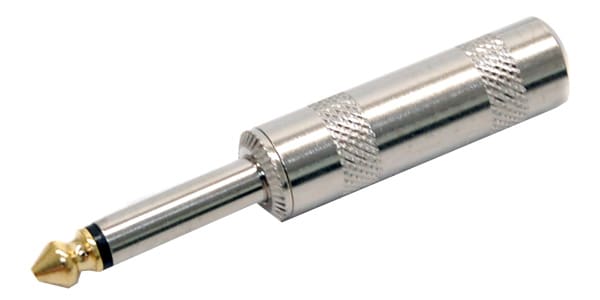
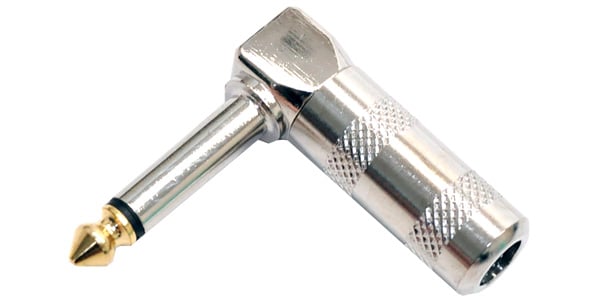
For plugs, I am using the standard Switchcraft plugs.
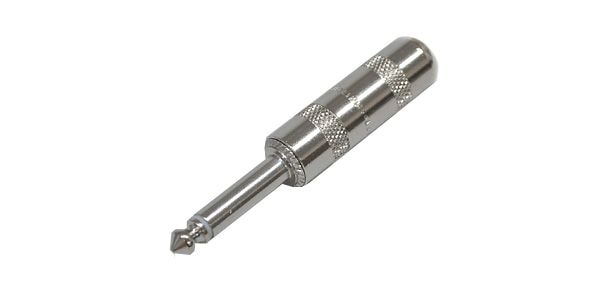
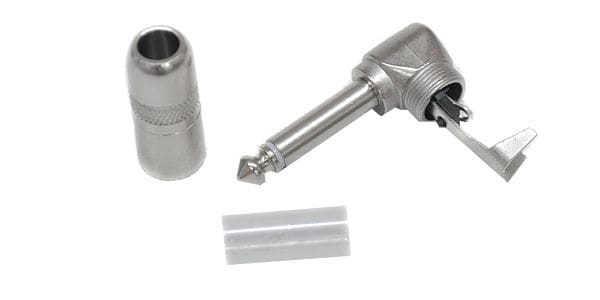
The 280 is a straight type and the 226 is an L-shaped type.
The first time you make a cable, you may think, “Aren't plugs expensive?”
Yes, guitar shields cost more money for the plug than for the cable.
So, buy 2 or 4 plugs, one each, whichever you prefer.
After that,
CLASSIC PRO / P12 Mono Phone Plug
CLASSIC PRO / P12R Type L Phone Plug

Buy about 6 to 10 of these connectors as well.
The reason I mentioned earlier that you should buy 10 meters of cable is because you need to make a few cables with CLASSIC PRO plugs for practice.
This blog is written for soldering beginners, so the first thing I can say is that you will definitely fail at first. If you use Switchcraft plugs from the beginning and then end up failing, you will be shocked and then you may lose your motivation. It’s better to practice with inexpensive plugs and then start to use Switchcraft plugs. The basic construction is the same, so please buy with the intention of making three or four short shielded cables.
This may make you think that CLASSIC PRO plugs are for practice use. But this is not true. I prefer to use plugs from Switchcraft, G&H, etc., but I also use CLASSIC PRO plugs for patch cables and things of that sort.

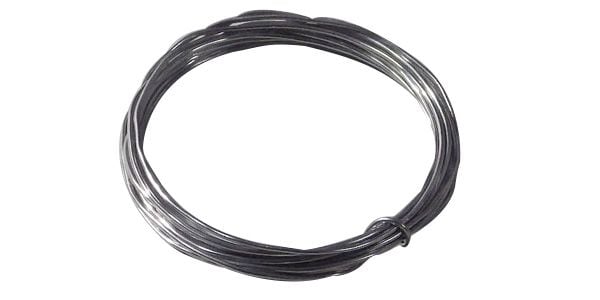
The last material is solder.
Even if we speak of “solder” in only a few words, there are many different types of solder available at home centers and it is difficult to know which one to choose. (The image above is the one I usually use.) Basically, you can use any type of solder, but I dare say that you should not choose “lead-free” or “lead-free” solder because the boiling point at which solder melts is high, making soldering difficult. Even advanced soldering experts do not use lead-free solder unless there is a special reason.
Another important factor in choosing the solder thickness. Solder for precision equipment has a thinner diameter. For cable manufacturing, 0.8mm to 1.5mm is appropriate.
Solder is generally sold in bulk, so it is rather expensive, but there are products packaged in short lengths of standard Kester 44, so it is a good idea to purchase a couple of these for the time being.
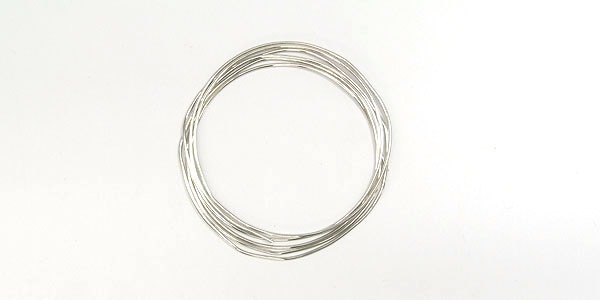
MONTREUX / Kester 44 1.5m [1475]
It is said that the sound changes depending on the solder, so it may be a good idea to eventually experiment with different types of solder to find your favorite.
The basic materials are just a cable, plug, and solder. Some people use shrink tubing instead of the supplied insulating straws (the clear cylindrical ones), but I didn't touch them this time.
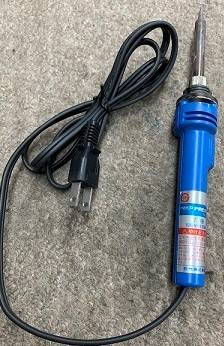
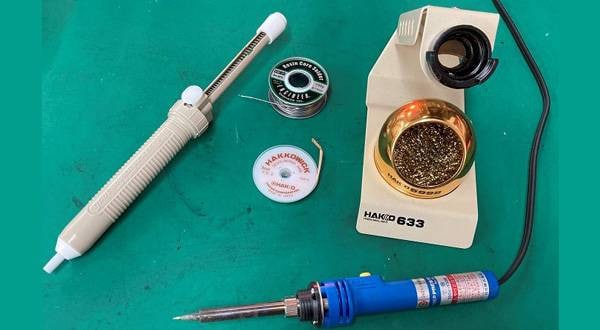
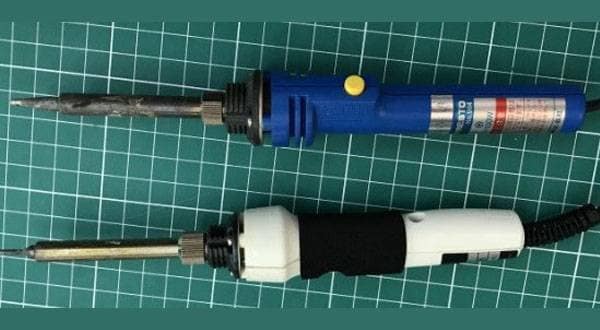
First, the soldering iron. There are various kinds of soldering irons available at home centers. The image below shows a HAKKO soldering iron with a 20W/130W switch (the switch is not used at all in the cable manufacturing process).
The higher the wattage, the hotter the temperature, but hotter is not always better. Personally, I think 20~30W is a good range for cable making. I have met many advanced soldering engineers, and my impression is that most of them use ordinary soldering irons. Soldering irons are consumables, and if you use them often, they break down and need replacing every two to three years or so. I have even had the experience of forgetting to turn off the power and leaving it on overnight, only to have it go bad the next day (watch out because it can cause a fire!!!). I think it’s also a good idea to purchase a soldering iron stand as well.
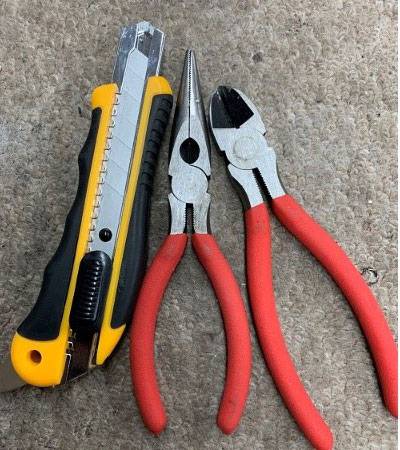
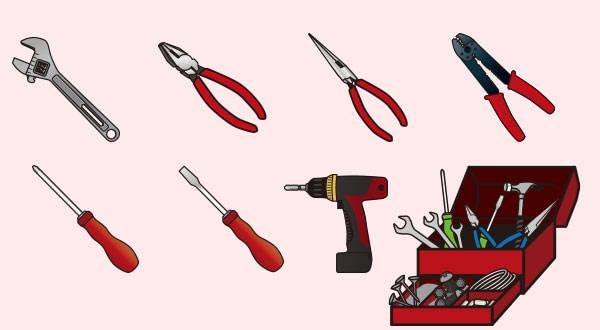
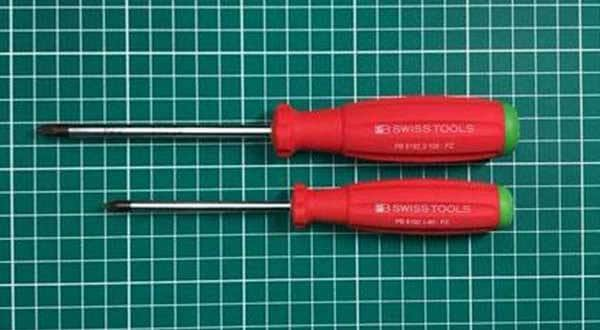
The next tools that are absolutely necessary are cutters, nippers, and radio pliers. Many of you may already have these tools. You will also need a tape measure to measure the length of the cable.
For the time being, you may use a 100-yen measuring tape.
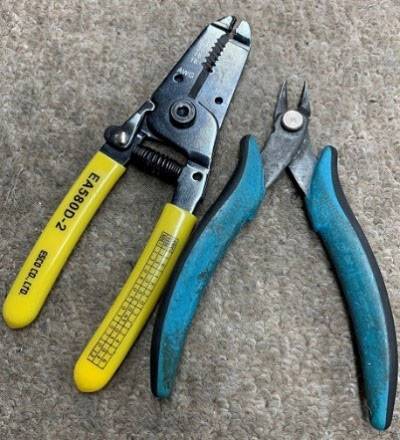
I also like to use wire strippers and nippers with thin tips. I have never seen these items sold at 100-yen stores and they are not very inexpensive.
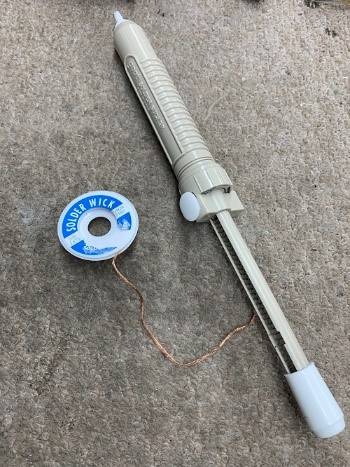
Solder suction tools are needed when you want to redo soldering.
Please refer to this article.
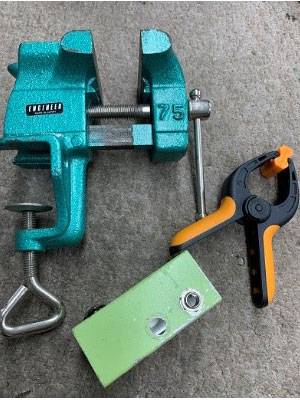
It is better to have some kind of device to hold plugs in place when soldering. A vise like the one shown in the left image is very useful, but buying one out of the blue can be expensive. In such a case, buy a large pair of clothespins at a 100-yen store. This time, let's try with the clothespins. (It was good for straight plugs, but it did not work well for L-type plugs, so I will try to find something before the L-type plug soldering explanation section.)
I myself use a jack that was left over from a homemade effects pedal that I disassembled and attached a bad jack to it. If you have a jack that is left over from taking out a jack, it would be useful to make a hole in a suitable case and attach it to the jack.
There is another way to fix the jack by inserting it into the effects pedal jack, but the plug gets hot during the soldering process, which may lead to breaking the effects pedal. Consider using the above method or another holding device.
In addition, you will need a variety of other things, such as sandpaper (about 1000-grit) to sand down the surface of the solder if it is hard to get on, and a lighter if you are using shrink tubing.
It is also a good idea to buy a tester (multimeter), even an inexpensive one. There are also cable testers available, so you may want to buy one.
That's all for now. There are many articles on making shielded cables, but I think it is rare that I have written this much just on preparation.
Soldering irons are very hot and, of course, you will get burned if you touch them. I have burned myself many times. It can also melt if it hits something while you are working with it, which can cause a fire.
On that note, please look forward to the next article on production~!


![[Latest for 2022] Simple Guide to Choosing a UPS](/contents/uploads/thumbs/2/2022/1/20220118_2_16206_1.jpg)

 電源アダプター特集
 CLASSIC PRO 簡易PAシステム特集
 ピックアップ交換大作戦!
 CLASSIC PRO
 CLASSIC PRO パワーディストリビューター特集
 停電時にパソコン、作曲データを守る!!