


Every year, more and more people are uploading playthrough videos on platforms like YouTube.
Since these videos mainly feature cover songs, they are not very suitable for earning revenue on YouTube, but they can help attract an audience and boost your own website or social media presence.
Also, with many people experiencing a slowdown in band activities during COVID, creating playthrough videos can help increase motivation by reaching a wider audience.
However, for those with no experience in video production, it can feel like a daunting task.
Achieving a certain level of quality requires preparing equipment and other resources.
There are many ways to create playthrough videos, but this time I will introduce several methods that are as low-cost and easy to start as possible.
■ Use a smartphone for both filming and recording
The easiest way to record live instruments like vocals or drums is to handle everything with a smartphone.
Simple video editing such as adding text or cutting clips can be completed entirely on the phone, so if you want, you don’t even need to use a computer.
However, the main concern with smartphones is sound quality.
The built-in microphones are not designed specifically for recording music.
Therefore, to reach a listenable minimum standard, an external microphone is necessary.
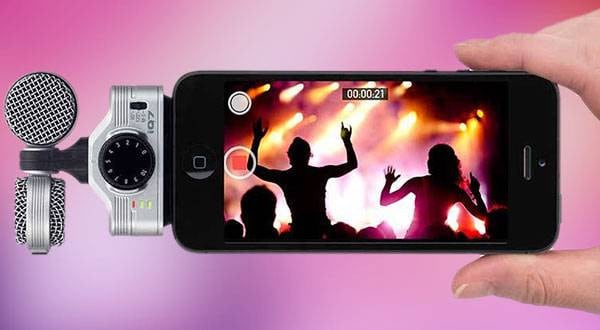
ZOOM / iQ7 MS Stereo Microphone for iPhone
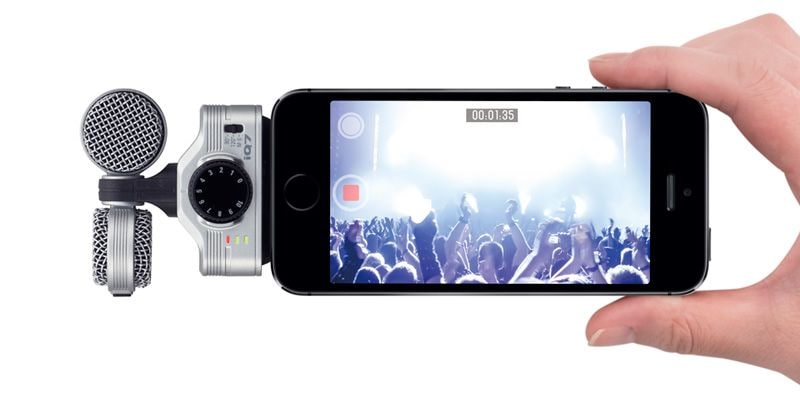
This is a condenser microphone compatible with Lightning connectors.
It draws power from the iOS device, so despite being a condenser mic, there’s no need for an external power supply—just plug it in and it’s ready to use.
It can handle sound pressure levels up to 120 dB, so for a typical band setup, it’s unlikely to distort.
The unit also features a 3.5mm headphone jack, allowing you to monitor audio from your iPhone.
With a slightly longer headphone cable, you can place the iPhone at some distance while still monitoring the recording.
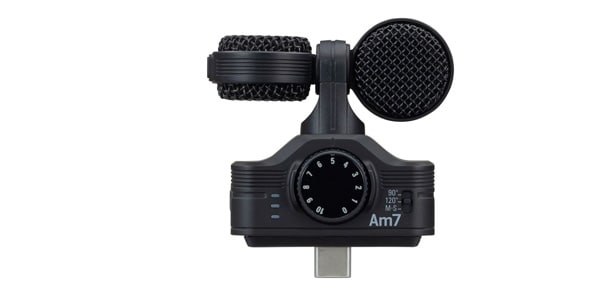
ZOOM / Am7 MS Stereo Microphone for Android Devices
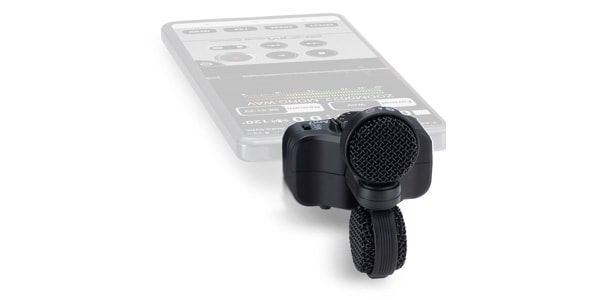
The Am7 is the Android version of the iQ7.
It supports USB Type-C, which is now standard on most Android devices.
Since Android devices do not enable external microphones by default, you’ll need to use an app like Open Camera to configure recognition of the external mic.
Additionally, both the iQ7 and Am7 are supported by Zoom’s free “Handy Recorder” app.
If you’re only recording audio, this app allows you to apply effects and MS processing as well.
■ Buy an audio interface
If your sound source supports line input, a basic method is to record using an audio interface and then edit it together with the filmed video.
Prices vary widely, but if you just want to try making a play-along video, there’s no need for anything too expensive.
TC HELICON / GO GUITAR
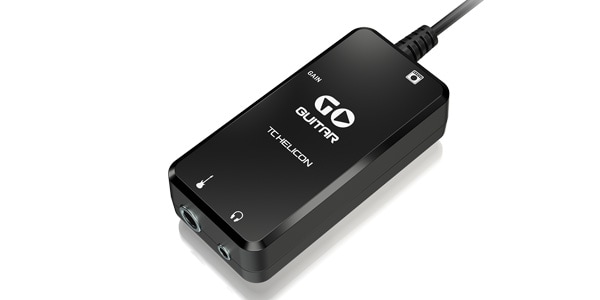
If you’re not using it in a band setting, a single input is more than enough.
You simply record to your computer via the GO GUITAR.
From the product name, it may seem like it’s exclusively for guitar, but it also works with basses and synths, so it’s suitable for multi-instrumentalists recording solo play-along videos.
■ Focus on video quality
Some people may want to prioritize visuals in their play-along videos.
In that case, smartphone recording might feel insufficient.
This involves introducing slightly more expensive products, but to capture high-quality video, you’ll need devices equipped with proper lenses.
However, the following two items are not only capable of shooting great video—they also offer additional value, so they’re worth considering if that appeals to you.
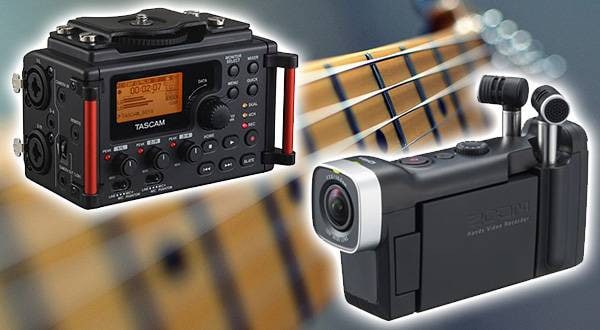
ZOOM / Q8 Handy Video Camera Recorder
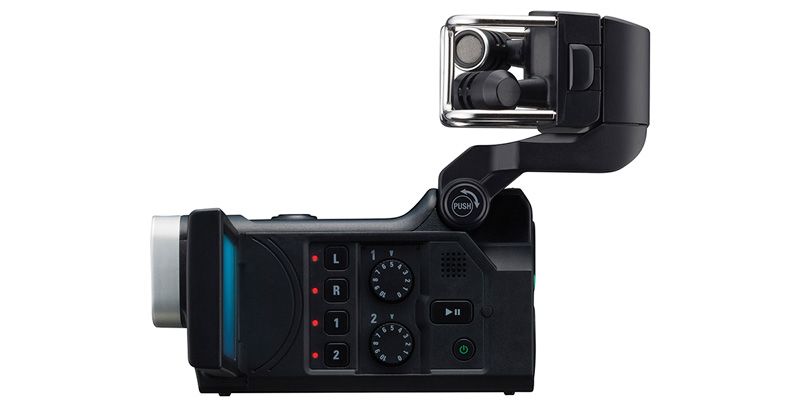
This product is designed more for capturing high-quality audio than video, but the video quality is still significantly better than that of a smartphone.
It’s great for recording play-along videos, but it becomes even more enjoyable if you also plan to use it for recording live performances or as a field recorder outdoors.
SONY / ZV-E10L B Power Zoom Lens Kit
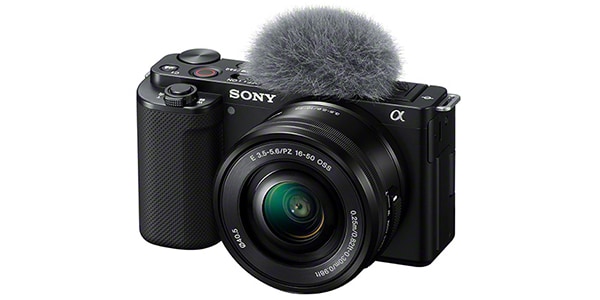
This slightly deviates from the concept of “low-cost and easy setup” in this article, but since it’s also a product I’ve been eyeing myself, I would like to introduce it to all of you.
At the time of writing, it has not yet been released, but it is already gaining a lot of attention online as a very cost-effective product.
At first glance, it looks like a standard digital camera, and unlike the Zoom Q8, it is more focused on video than audio.
It is classified as a mirrorless camera, but as shown by the included fluffy windscreen, it is designed with a strong focus on video production.
It not only produces high-quality visuals, but also offers a wide field of view, making it possible to capture an entire room or small studio space.
It can record high-quality audio simultaneously with video, but purchasing it solely for recording straightforward play-along videos might feel like overkill.
For those who also want to use it as a mirrorless camera while producing high-quality video content, it is a very cost-effective option.
■ If you plan to edit your videos
With the devices introduced so far, you can upload fairly decent videos in both sound and image quality straight out of the box.
However, audio recorded via a line input using an audio interface needs to be synced with the video, and as you get more comfortable, you may want to try video editing as well.
While some editing can be done on smartphones, it is often inconvenient, so PC-based editing is recommended.
There are free video editing tools available, and one well-known lightweight and easy-to-use option is VideoPad.
However, if you are looking for something free, I can’t strongly recommend it.
Free software often comes with unwanted bundled installations or intrusive ads.
If possible, it is better to use a reliable paid software.
A recommended option is MovieStudio ( https://www.sourcenext.com/product/vegas/moviestudioplatinum_sp-edition/ ).
It is a one-time purchase of around 7,000 yen and includes all the basic features that beginners would typically need.
Once you start getting serious about making play-along videos, it can easily become a deep rabbit hole.
Video editing software, recording gear, and filming equipment can expand endlessly in cost and variety, and the more you research, the more things you’ll want.
If you go too far, you may end up becoming more of a video creator than a performer (which is not necessarily a bad thing). It’s best to first decide the level of quality you aim for in your videos, and then choose your equipment accordingly.
The “sound & person” column is made up of contributions from you.
For details about contributing, click here.


 バンドあるある相談
 ライブ配信に必要な機材を徹底解説 オンラインライブの創り方
 ミュージックビデオ撮影テクニック!
 タイプで選ぶ「良音」カラオケ配信機材
 配信・ポッドキャスト特集!(ライブ/動画/ゲーム実況)
 ニコニコ生放送やUstreamでDJプレイをネット配信する


