


Hello, hello! It’s Saku here and I’m back talking about guitars.
By the way, it seems that the system for contributing to OTOYA Tsushin will be ending by the end of 2025!
Which means that this will essentially be the last time I get to meet you all here. It’s my final appearance.
It looks like things will be moving over to Sound NAVI, so I’ll have to get used to the new environment by myself……
Rather than writing a farewell-style article for OTOYA Tsushin, I’ll take it easy as usual. Thanks for sticking with me!
So this time, I’ll be talking about modifying guitars. Or rather, it’s a story about doing a lot of modifying.
When you hear the term “modify,” some of you might wonder what that actually means. Interestingly enough, some Fender product names actually include the word “Modified.” Other terms include “customized” or “altered.”
FENDER / Player II Modified Strat HSS, RW FB, Olympic Pearl
This is a mass-produced product, yet it’s labeled “Modified.” From a conceptual standpoint, I think this refers to a special line, or a model that differs in certain aspects from the standard specifications.
One option is to look for a model that already matches the specifications you want from among these, but it’s also great to take a guitar you already own—or a standard-spec model—and modify it yourself.
So, from here on, I would like to introduce some modifications I did myself! They’re heavily modified to an ungodly level.
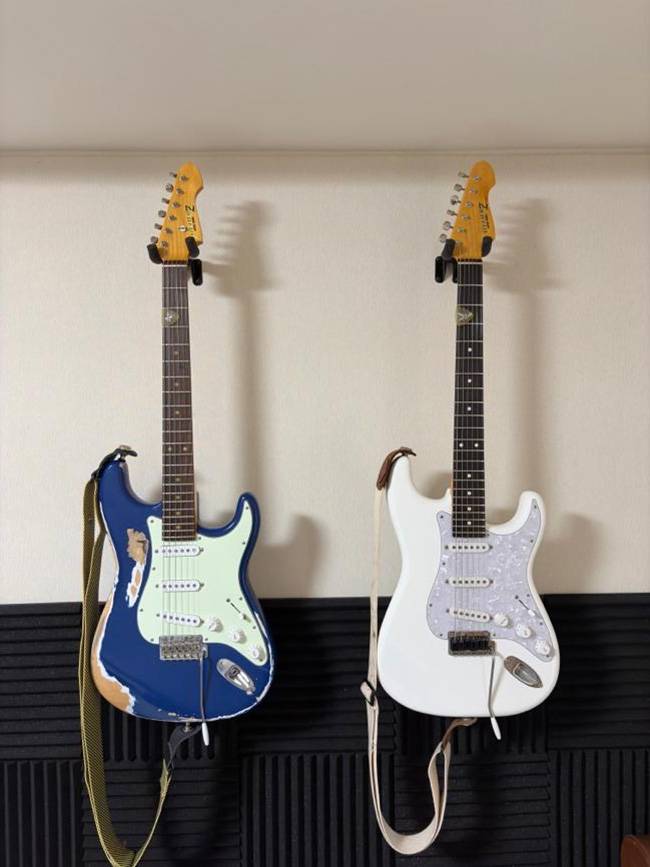
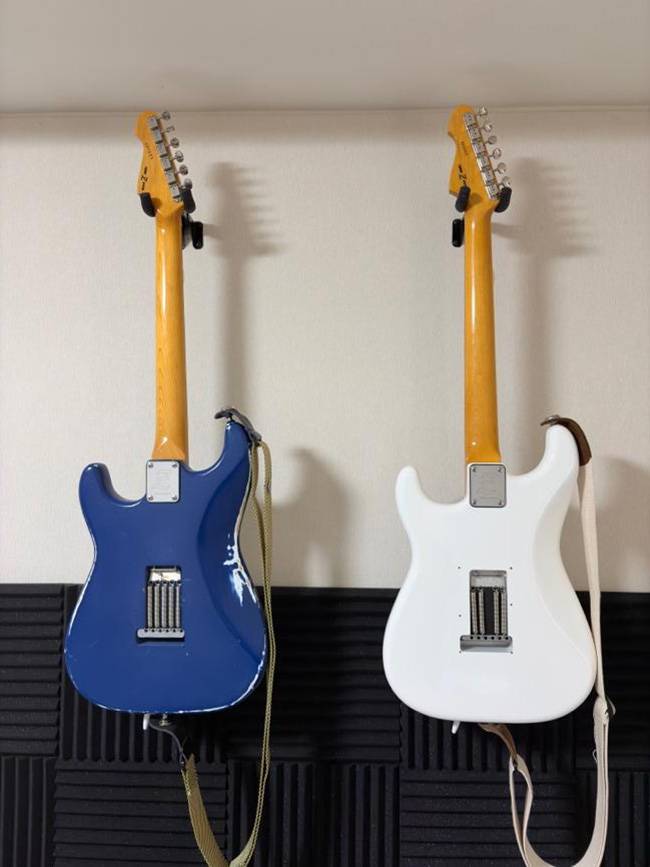
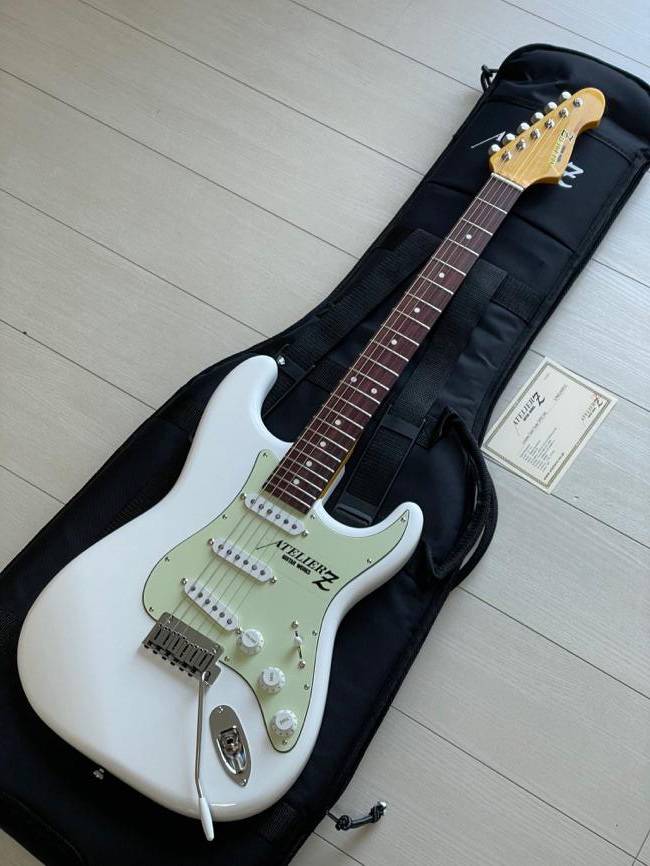
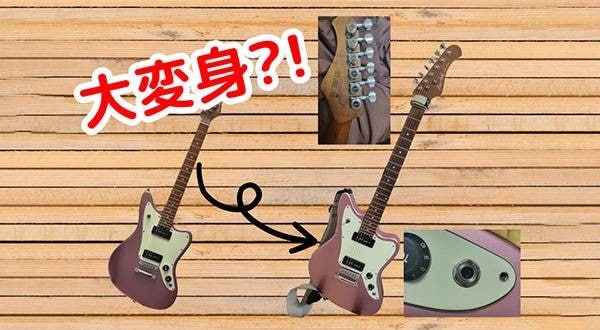
First, here are the two guitars after modification. ATELIER Z—my trusted partners. So far, I’ve never cheated on them. Ah, maybe that’s because I don’t have the money to cheat……
And here is what they looked like in their pure, untouched state before I worked on them.
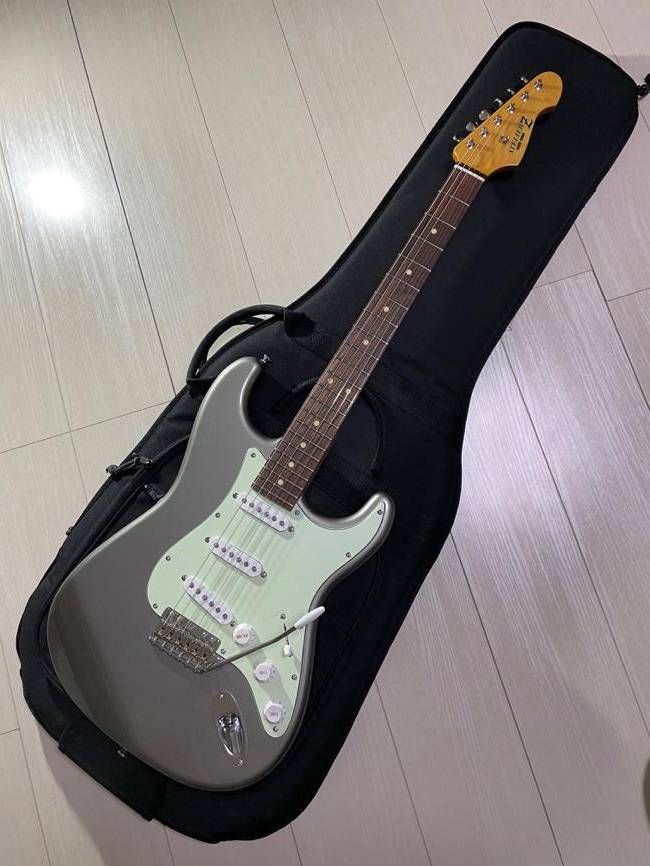
As for one of them, it looks like a completely unfamiliar guitar. The color is different. I searched for images to make the conditions as similar as possible, and I did find one properly. As expected of me.
For now, I’ll post the current spec list, and from there I’ll briefly introduce the points that were modified.
ATELIER Z / L.E.S.II Modified Blue Scar (Modified)
- Scale: 25 1/2
- Neck: Maple
- Fingerboard: Rosewood
- Body: Basswood
- Tuning Key: GOTOH SD-51-05M
- String Retainer: Dyna Guide
- Strap pin: JIM DUNLOP - SLS1031N Straplok Dual Design Nickel
- Bridge: ATELIER Z ZT-4
- Tremolo Spring: Raw Vintage RVTS-1
- Pickups: Seymour Duncan SSL-1 ×3
- Controls: 1Vol.2Tone. Rainbow Tone Circuit
- Color: Blue Scar
- Pickguard: 3P Mint Green
- Case:Gigbag
ATELIER Z / L.E.S. White SPECIAL (Modified)
- Scale: 25 1/2
- Neck: Maple
- Fingerboard: Jacaranda
- Body: Selected Alder 2P
- Tuning Key: GOTOH SDS510-05M / HAP-M
- String Retainer: None
- Strap pin: JIM DUNLOP - SLS1401N Straplok Flush Mount Nickel
- Bridge: Fender USA AM-STD-ARM
- Saddle: graphtech String Saver Original PS-8001-00
- Tremolo Spring: Raw Vintage RVTS-1
- Pickups: DiMarzio DP-408W x 3
- Controls: 1Vol.2Tone. Rainbow Tone Circuit
- Color: White
- Pickguard: 3P White Pearl
- Case:Gigbag
There’s just something that’s so nice about a spec list, am I right? It’s the most reliable way to put your own guitar into words. I had fun writing it. The underlined sections indicate the modification points.
The base models are the L.E.S. II and the L.E.S. SPECIAL, and I made numerous modifications to both.
I’ll start by introducing the II.
Let’s go from the top!
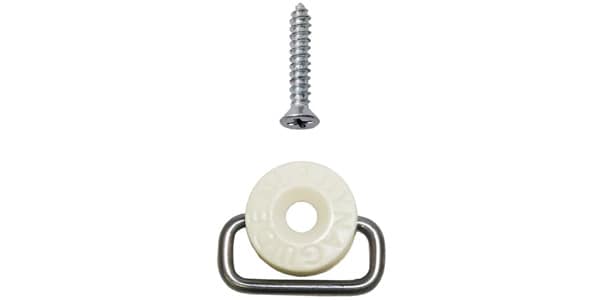
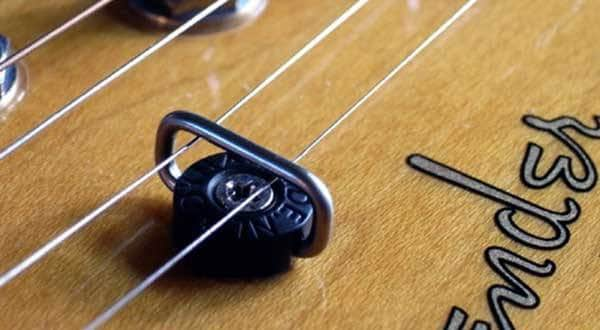
First up is the string retainer.
You might be thinking, “What’s that?”—but it’s a wonderful part that adjusts the tension feel of the 1st and 2nd strings, holds the strings down as they travel from the tuners to the nut, prevents string flutter, and improves tuning stability.
For a clearer explanation, I think the article below will make it easier to understand.
⇒ Related blog: “I Like String Retainers”
And this is what I replaced it with: something called the Dynaguide. There are many types of retainers—barrel-type, round-type, and so on. In most cases, they only differ in appearance, but the basic concept is the same.
However, this Dynaguide is different. The retainer itself moves.
Just having a retainer doesn’t solve every problem, and sometimes friction between the retainer and the strings can cause tuning issues. This can happen whether you’re really working the tremolo arm or doing aggressive, bend-heavy chokes.
To solve that, the Dynaguide moves. It moves in response to the strings. It’s amazing.
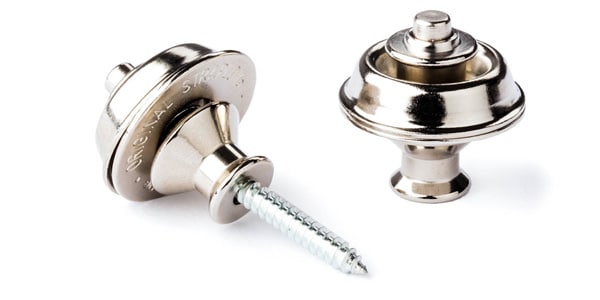
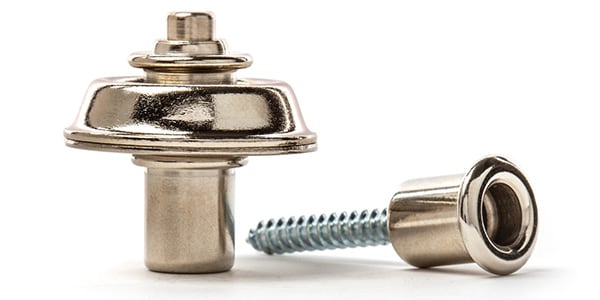
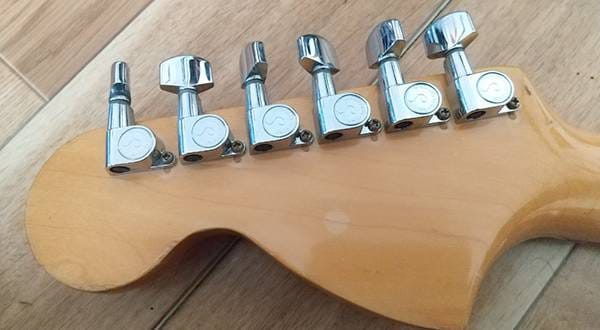
Next up are the strap pins.
Of course, locking strap pins is the way to go! So I swapped them out.
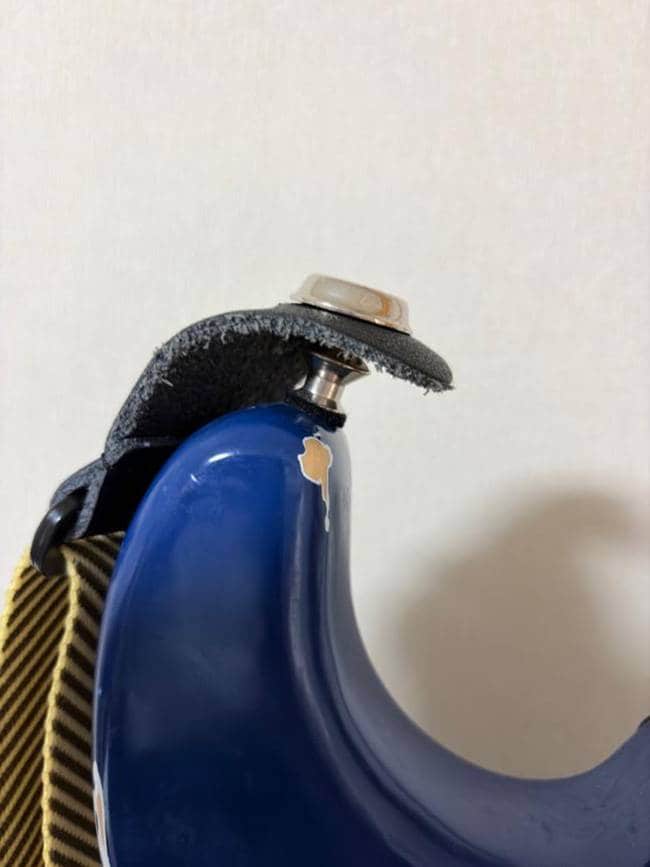
You attach a fitting to the strap and press a button to attach or remove it, but no matter how wildly I swing the guitar around—or how hard I try—it never comes off. Unreal. Amazing. I remember being genuinely impressed, and even now, every time I swing the guitar around, I really feel the benefit. With this and a wireless system, I can become Tomoya Tabuchi. Oh wait, I’m a guitarist.
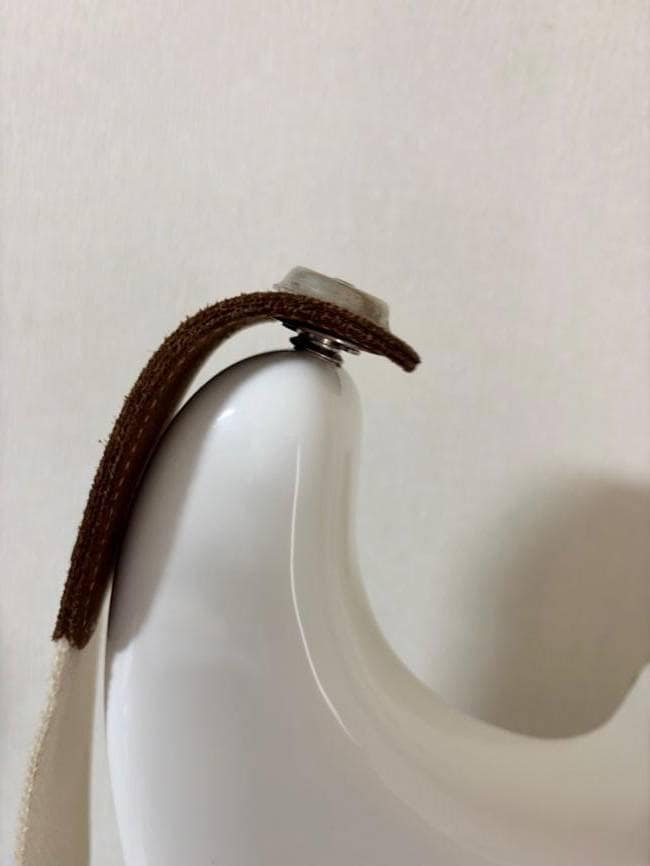
For the white one, I chose the recessed type. There was no way I could install that myself, so I had my go-to repair tech do it. Apparently, there aren’t many requests for this kind of work, so it made him a bit nervous.
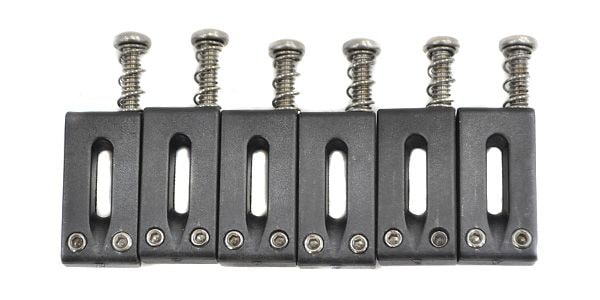
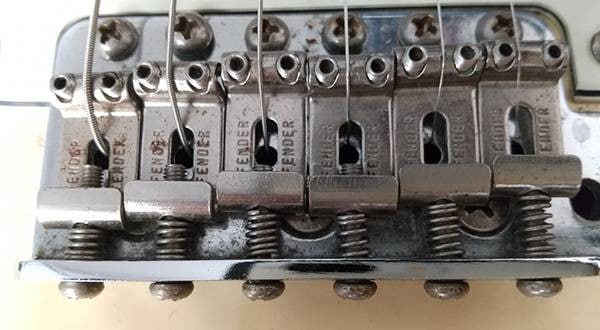
Since I’m introducing mods for two guitars, I’ll keep things moving quickly. Next up are the bridge saddles.
The stock American Standard saddles were mysteriously worn down, and my 1st and 2nd strings were breaking at a pace of more than once a week. My ¥250 Elixir strings kept snapping. That works out to about ¥1,000 a month. It’s soul-crushing.
I finally couldn’t take it anymore and looked into it, and that’s when I discovered String Saver saddles. Supposedly, they form a film through friction and act as a kind of lubricant.
And unbelievably, the strings actually stopped breaking. This isn’t wishful thinking—they really don’t break anymore. The dozens upon dozens of plain strings I’d sacrificed up until now have finally been avenged. If you’re dealing with the same problem, replace them. Immediately. ASAP.
The original color was out of stock and ridiculously expensive, so I compromised and went with black—but they look fantastic. This was a modification I am extremely satisfied with.
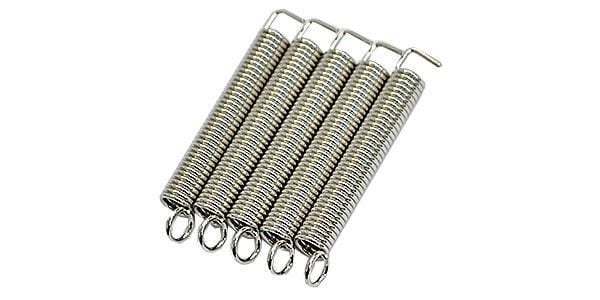
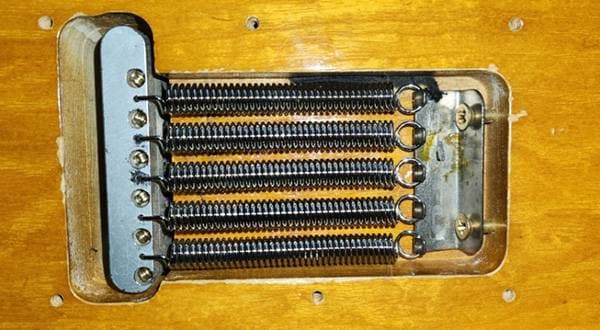
Let’s keep moving—next are the tremolo springs.
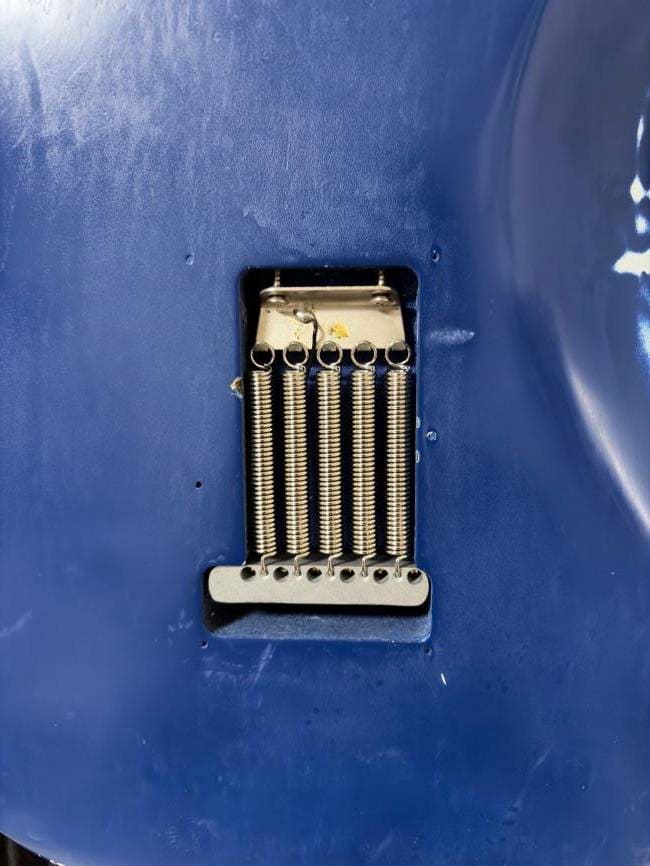
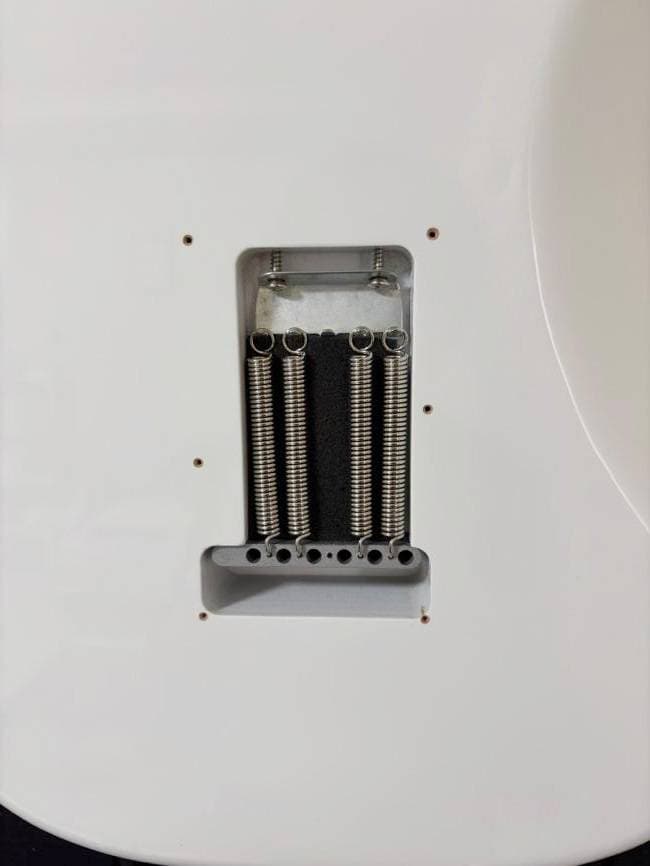
These are already famous: Raw Vintage. The number of reviews speaks to how popular they are.
There isn’t much of a reason I swapped them out—it was mostly a mood thing.
You might think, “Really? Just for that?” but that’s fine. Mods can be like that.
By the way, when you switch to these, you can kind of feel the mids extend a bit. The unplugged sound gets louder. It becomes fuller.
The blue one uses five springs for extra airiness, while the white one uses four springs with a sponge added to control the resonance and tighten the sound. It’s character differentiation. Bottom line: highly recommended.
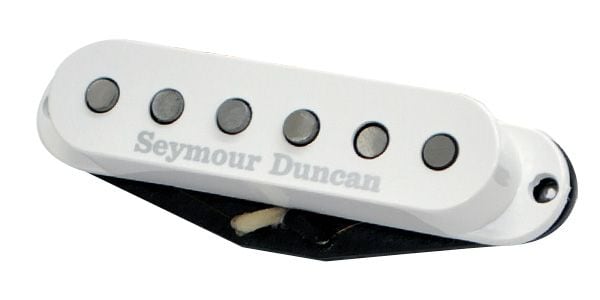
There’s no point in showing photos, so I’ll just breeze through this in this article, but I swapped out the blue one’s pickups to SSL-1s. It became the Stratocaster sound everyone imagines. It’s insanely fun. Exactly as the reviews said. Man, pickups really are worth swapping. This alone turned this guitar into a completely different guitar.
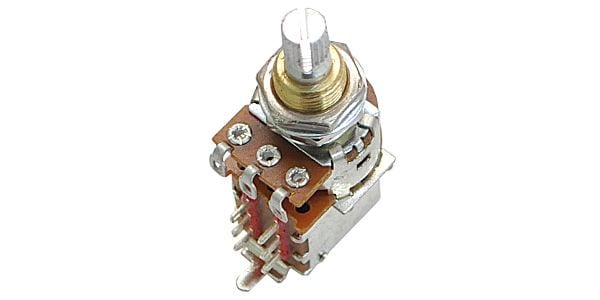
We’re almost at the finish line now—the electronics.
I swapped out the blue one to a CTS/CRL, while the white one already had those, so I left it as is. A common modification on both is changing the bridge pickup to a push-pull pot and wiring it in what’s called the “rainbow tone” configuration.
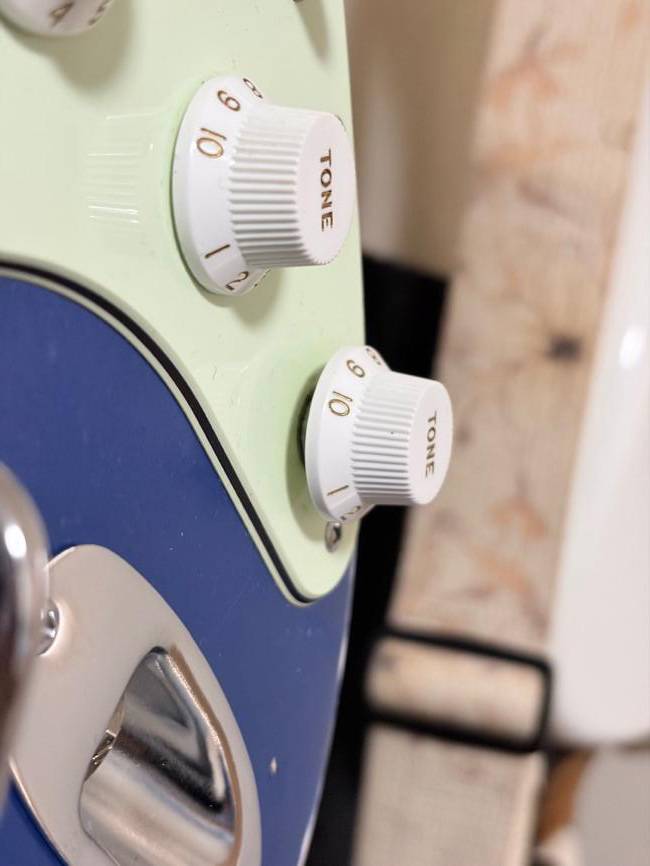
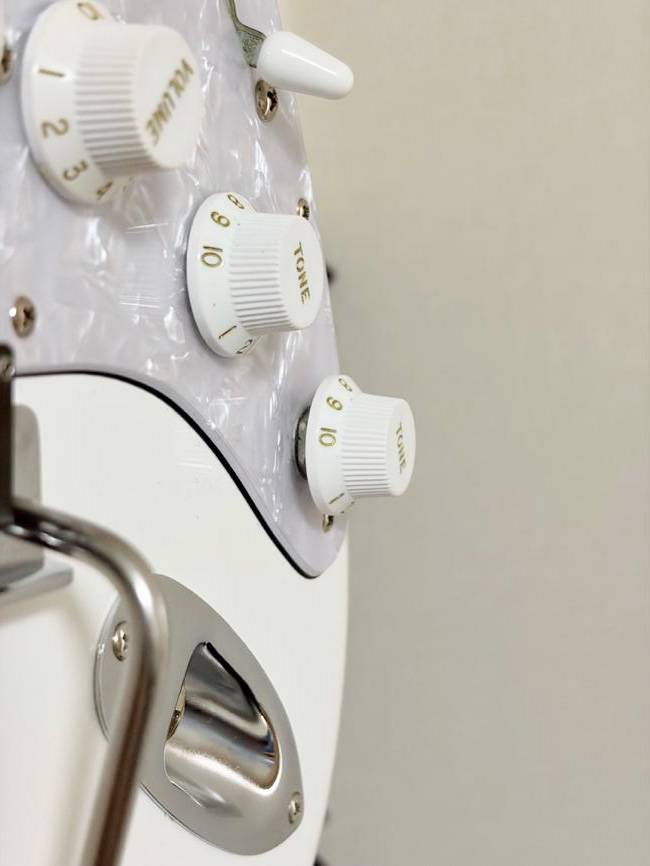
When you pull it up like this, the front pickup turns on. That’s all it does—but with this setup, when you switch the selector to the bridge position, you get a mix of the front and center pickups. Yes, that means you can get Telecaster- or Jazzmaster-like tones!
Every Strat player should do this. There are no downsides. Including parts and labor, it should cost around ¥5,000. If you’re a Strat user who wants a Tele or Jazzmaster but you don’t have the funds, or you just want to expand the possibilities of your Strat, there’s no need to hesitate. Just do it!
Lastly, this is just about appearance.
The blue one went from a hard-to-describe color to a bumpy blue (white layer underneath). The white one got a shiny white pickguard. Visual changes are the easiest to notice, after all. It boosts motivation, too. It’s the quickest way to move away from an off-the-shelf look.
That said, refinishing takes a lot of effort, and if it doesn’t turn out well, it can be pretty frustrating, so I don’t really recommend it. I happened to be able to do it on a low budget, but the result is mostly just about the vibe. I kept telling myself it was “character,” and eventually I grew to like it—so maybe that’s how it works.
Now then, this is the last time I’ll be able to talk to all of you through OTOYA Tsushin.
I wish I could have written many more articles, but if anything I’ve written so far has been of help to someone, I’d be very happy.
I might show up again on Sound NAVI, so when that happens, please come read my articles there.
Well then—until next time.
The “sound & person” column is made up of contributions from you.
For details about contributing, click here.


 ギターパーツの沼
 音楽好きSNSアプリ SOUND NAVI
 プレイテックのギターを最強に改造!!
 パーツの配線を知ろう
 ピックアップの種類(エレキギター)
 ギターの各部名称


