


No matter how hard you try, you just can’t get the octave tuning right… Have you ever had that frustration or experience? With a guitar, if the saddle position is not adjusted properly to match the string gauge (i.e., thickness) and bridge setup, the pitch can shift slightly when you fret a note (i.e., press down on a fret). This adjustment is called “octave tuning,” but it can be quite a tricky problem. This time, I’ll introduce several solutions aimed at people like myself who feel that “no matter how hard I try, the octave tuning just won’t line up.”
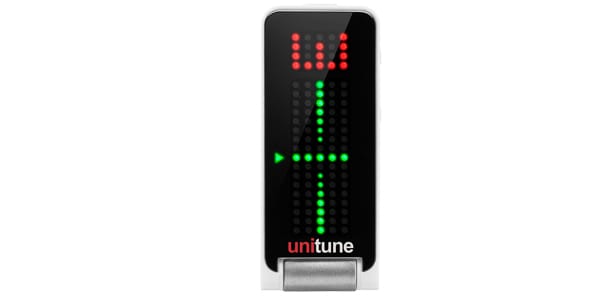
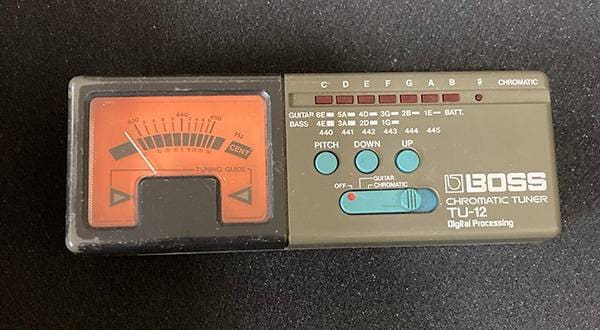
By the way, when performing maintenance—including octave tuning—it’s recommended to use a high-accuracy tuner. You might think the ones introduced here are “pretty expensive for a tuner…,” but having one on hand is convenient, as it can be used in crucial situations such as before recording.


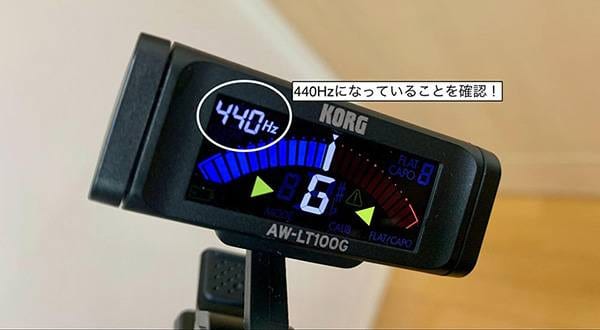
↑ If possible, it’s also good to have a pedal-type tuner.
For a guide on setting up octave tuning, this article is helpful:
⇒ “How to Do Octave Tuning on a Guitar”
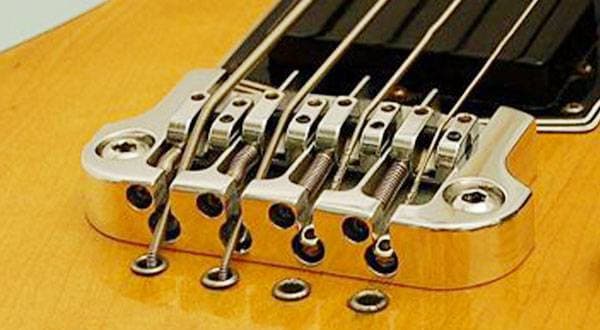
What Is Octave Tuning?
Even if the open-string tuning is correct, the pitch may be off when you fret a note! This is exactly the situation where the octave tuning is incorrect. The problem can be corrected by matching the open string pitch with the note at the 12th fret (the octave) for each string. This is what is commonly referred to as “octave tuning”.
Change Your Strings
This applies not only to octave tuning, but in general: if your strings are old or rusty, the pitch becomes unstable and the instrument becomes harder to play. For that reason, try changing your strings regularly and then resetting the setup. Surprisingly, in many cases the problem can be solved simply by replacing the strings. String lifespan depends on the environment, but for standard strings it’s about one to two weeks, and for coated strings around six months. I personally prefer using ELIXIR coated strings on both acoustic and electric guitars. You can choose whatever gauge you like, but if you use something different from what was installed at the factory, octave tuning becomes important. Basically, when replacing the strings with a heavier gauge than the factory set, octave tuning adjustment will be necessary.
By the way, changing strings is also an important task for protecting your fingers. Old strings develop rust, which can cause your fingers to rub excessively when fretting, placing undue stress on them. Strings can also snap suddenly and fly off, and in severe cases this can lead to injuries such as bleeding. To play comfortably and safely, be sure to change your strings frequently.
ELIXIR / OPTIWEB Medium #19102

↑ This is a recent favorite of mine. It may seem expensive at first glance, but it doesn’t require frequent string changes, and when viewed over the medium to long term, it’s actually a cheaper investment.

PLAYTECH / EGSC-1046 Coated Strings

Check the Neck Relief
If the neck is warped, string tension can cause the pitch to go out of tune when fretting. Neck relief is not always the cause, but it’s still worth checking to maintain good playability. As you gain experience, there are cases where you intentionally add some relief to improve playability, but the basic approach is to adjust it so the neck is as straight as possible. If you feel uneasy about adjusting it yourself, it’s recommended to ask a professional at a music store. When you buy a guitar, it almost always comes with a hex wrench. Since this included wrench is used to adjust the neck relief, be sure to store it carefully so you don’t lose it.
For a guide on checking the neck, this article is helpful:
⇒ “How to Adjust the Neck – Guitar Edition”
Revisit the Nut
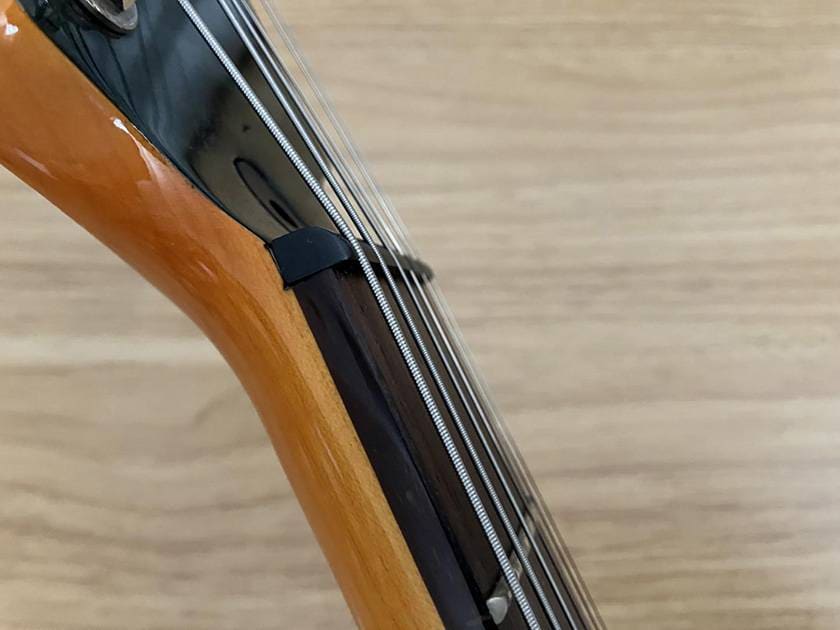
In my case, this was the cause. The reason why only the 6th string’s octave tuning didn’t match was that the nut adjustment on the 6th string side was off. Specifically, as shown in the photo below, only the 6th string was slightly raised. This seemed to cause the pitch instability. More precisely, the open string and the fretted note at the 12th fret were consistently off by about 12 cm.
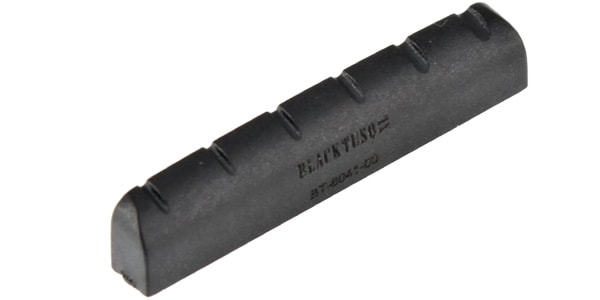
You can adjust the nut yourself by filing the slots, but once you file it (obviously) it cannot be undone. If you file too much, you will need to replace the nut entirely. For that reason, I decided to take my guitar to a music store and have a professional perform the maintenance. By the way, for my Yamaha Pacifica 600 series, the following TUSQ nut was compatible. Since the nut used varies depending on the guitar, check the official website beforehand or consult with a music store.
(Actually, the nut has come off the neck twice. Since the nut is glued in place, I reattached it myself, but it’s possible it was slightly tilted at the time…)
Play Your Guitar in the Best Condition!
How was that? It might have been a rather niche topic, but I hope it helps make your guitar more comfortable. Let’s play the guitar in the best possible condition!
The “sound & person” column is made up of contributions from you.
For details about contributing, click here.


![[Maintenance] Let’s Tighten All the Screws on Your Electric Guitar: Part 2](/contents/uploads/thumbs/5/2025/10/20251022_5_33338_1.jpg)

 DADDARIO特集
 ELIXIR
 初心者必見!PLAYTECH 激スゴの理由!
 オクターブチューニングの方法
 弦の張り替え(エレキギター)
 音を合わせる(チューニングの方法)


