When I began my activities as a writer, the very first commemorative article I wrote was an explanatory column about the Makita power drill used in MR.BIG’s drill technique.
At the time, it was around when MR.BIG’s breakup tour had been announced, and I remember writing it to coincide with that.
▼ Here is the article from back then
“Explaining the Makita Drill Used by MR.BIG!”
The drill technique itself is quite a niche playing style, but for some reason, I personally find myself having an opportunity to use it once every two or three years.
And this time, the chance to use the drill technique has come around once again. Since I had the opportunity, I decided to face it properly once more, organize everything from preparation to tips and safety considerations, and write this article.
I hope this will be helpful for those who want to incorporate a drill solo into their live performances, or for those who are interested but too scared to try it.
What Is the Drill Technique?
The drill technique is, as the name suggests, a special playing technique that uses an electric power drill to play the guitar.
There are methods such as attaching a pick to a bit and striking the strings by spinning it at high speed, as well as methods where the motor noise of the drill itself is picked up by the guitar’s pickups and used as a sound effect.
The guitarist who popularized this technique is Paul Gilbert, known for his work with MR.BIG and Racer X.
In the classic song included on the 1991 album Lean Into It,
“Daddy, Brother, Lover, Little Boy (The Electric Drill Song),”
He performs the solo featuring an electric drill.
In addition to Paul Gilbert, there are also examples of artists such as Van Halen and Tak Matsumoto of B’z using electric drills in their songs.
However, in the case of these two, the drill is not used to strike the strings; rather, the motor noise alone is primarily used as a sound effect.
What You Need to Perform the Drill Technique
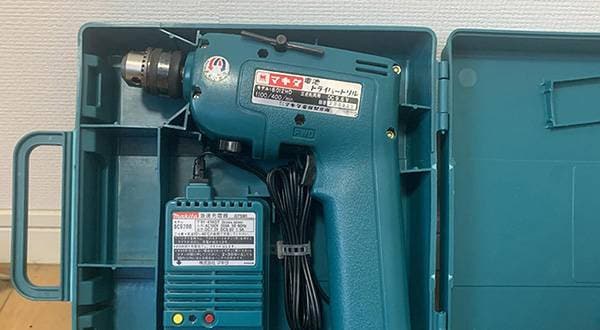
- An electric power drill
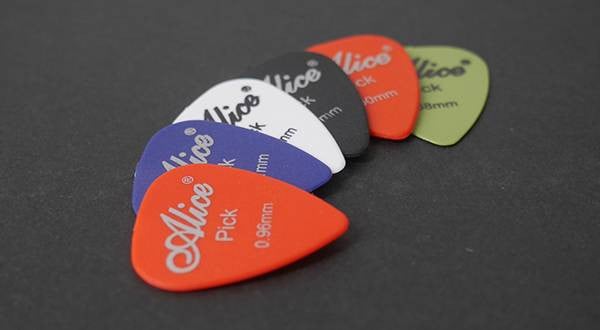
- A bit with a pick attached
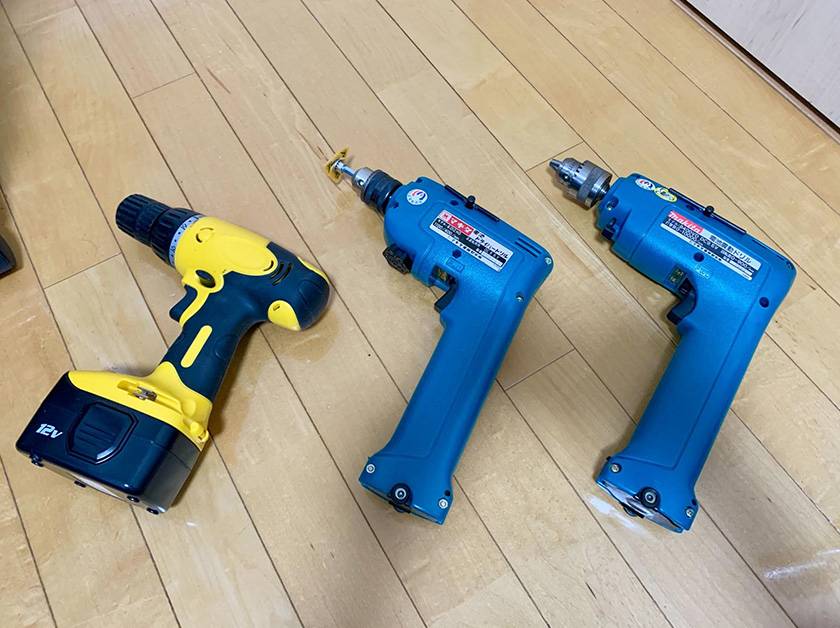
My personal favorite is an old model called the Makita 6012HD (center of the photo), which is the same model actually used by Paul Gilbert himself.
That said, it is not absolutely necessary to use the same model. As long as it is a battery-powered electric drill, even general consumer models sold at home centers can be used without any issues.
In fact, compared to professional-grade models, DIY-oriented drills often have advantages such as
- lightweight construction
- compact size
- affordable pricing
which can make them easier to handle for drill technique purposes.
If you would like to know more about the drill used by Paul Gilbert himself, please refer to the previously introduced article.
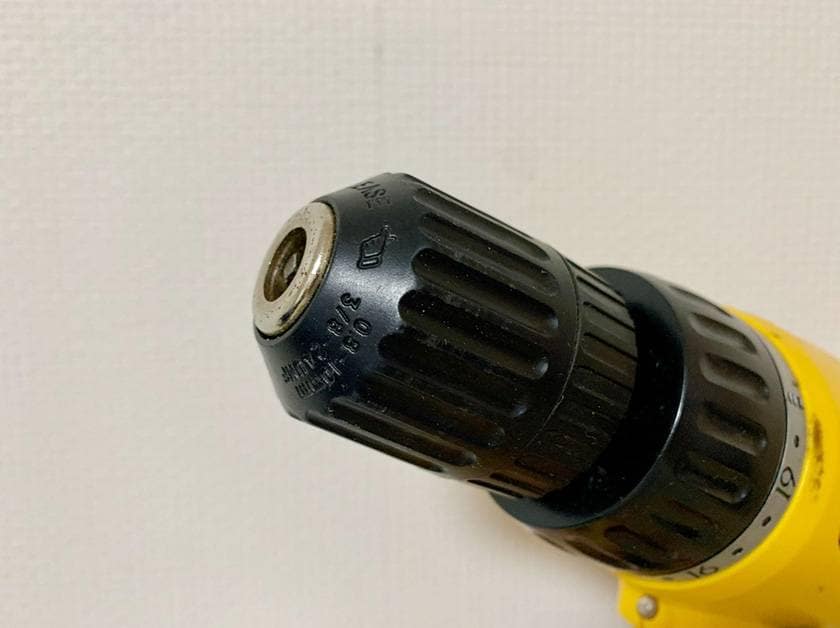
Also, for those who don’t want to strike the strings and just want to enjoy the motor noise, the following product is recommended as an alternative.
ERNIE BALL / Power Peg Pro USB-C
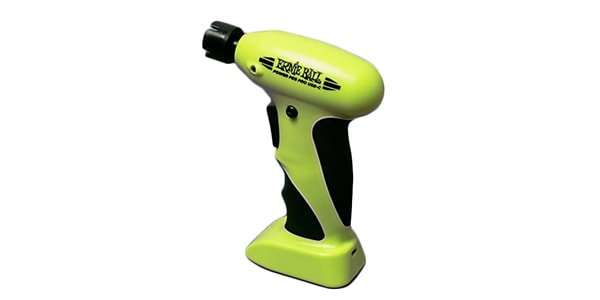
This can also be used for daily string changes, which is an advantage as it doesn’t go to waste.
About the Pick-Attached Bit
For the bit with a pick attached, there are videos that teach how to make one, so you can refer to those for the basic structure.
In the videos, a single “onigiri-shaped” pick is used, but I follow the original method and use three picks stacked together.
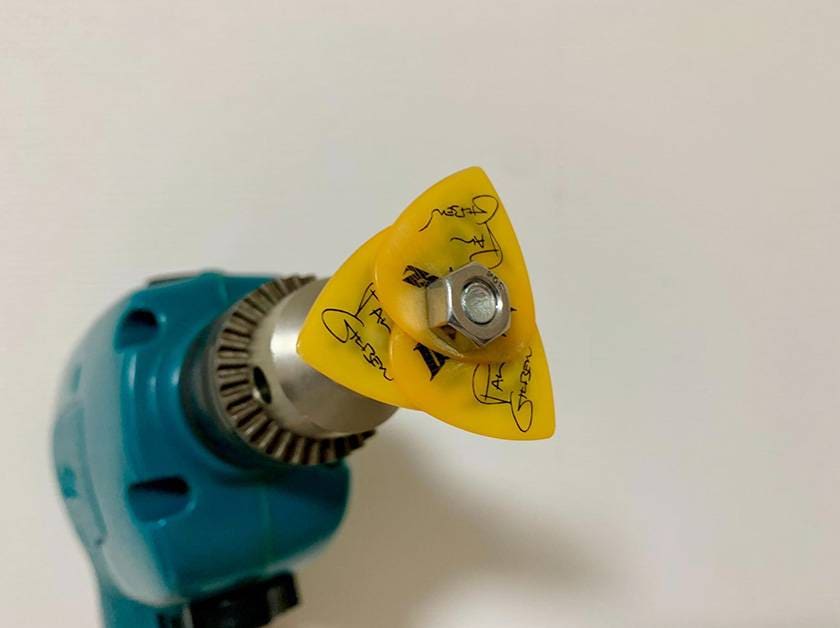
By the way, Paul Gilbert used to use three picks, but in equipment introduction videos after MR.BIG’s reunion, it seems he increased it to four picks.
From a personal perspective, three picks feel better in terms of resistance and control balance, making it easier to handle. You can adjust this according to your own preference.
Preparing for Drill Guitar Technique
1. Fully charge the battery
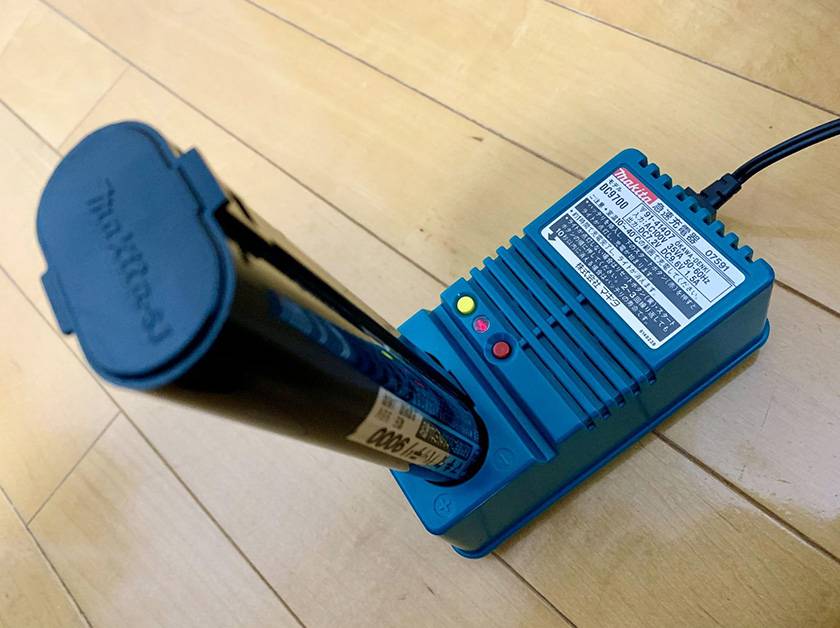
The closer the battery is to full charge, the more stable the rotation speed will be, and the clearer the sound when picking up motor noise.
This is especially important for older Makita drills, which often use Ni-Cd batteries; if left unused for a long time, performance can degrade due to memory effect.
If you haven’t used the drill for a long time, perform a refresh charge or consider replacing it with a new battery.
2. Secure the bit and chuck firmly
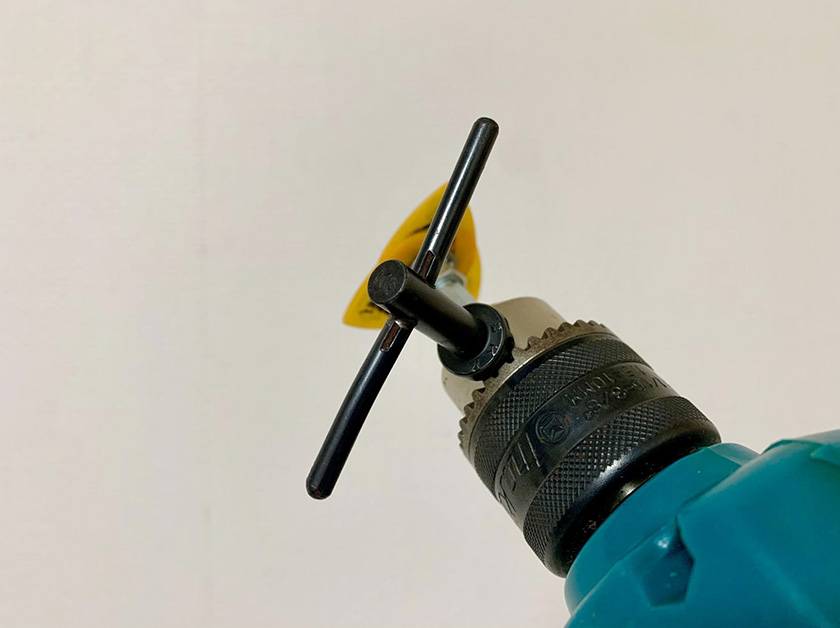
If this is loose, the bit could fly off during performance, creating a serious hazard.
Always secure it tightly, and check occasionally before and during playing to ensure it hasn’t loosened.
Use the chuck handle to tighten if available.
3. Engage the safety lock when not in use
Accidentally touching the trigger can be extremely dangerous.
If your drill has a trigger lock, always use it, and remove the battery if you won’t be using the drill for an extended period.
Tips for Drill Guitar Technique
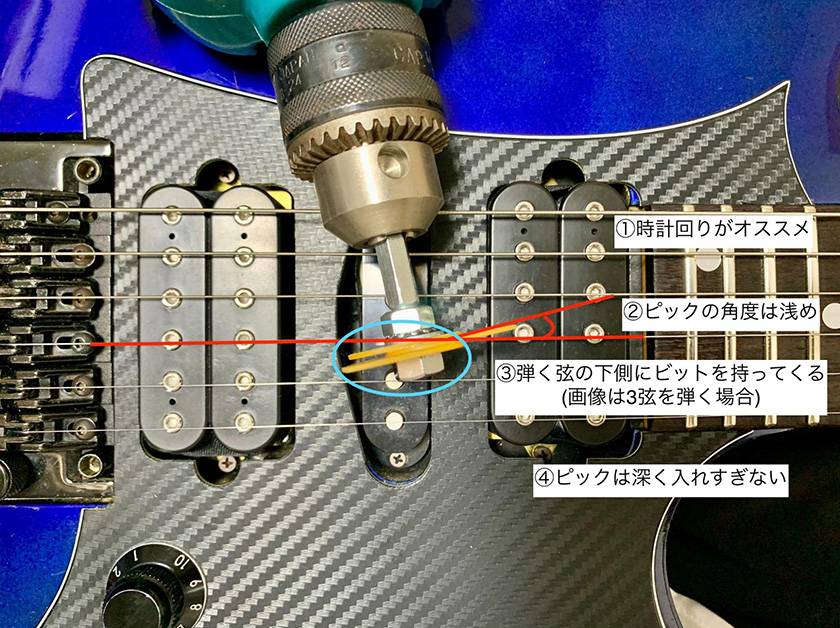
1. Clockwise rotation is recommended
Watching videos of Paul Gilbert, you can see that he basically rotates the drill clockwise.
Especially with heavier drills, clockwise rotation counteracts the force of gravity, allowing for more stable picking.
Counterclockwise rotation tends to apply more downward force, making control more difficult.
With lightweight drills, you can use whichever direction you prefer, but if you’re unsure, try clockwise first.
Note: The sound of motor noise changes depending on clockwise or counterclockwise rotation, so compare if you’re curious.
(The first half of the video is clockwise, the latter half is counterclockwise.)
2. Keep the pick angle shallow
The key is to strike the string with the pick at a shallow angle.
Too steep of an angle makes it easy for the pick to hit the fret wire, generating unwanted noise.
3. Hook the bit under the string you are playing
This is the biggest tip for stable picking.
Lightly hooking the bit under the string you’re playing allows the string to act as a pivot point, making the drill easier to control.
4. Do not insert the pick too deeply
Inserting the pick too deeply increases resistance, making it harder to control.
Additionally, a rapidly spinning pick can come into contact with the guitar body creating scratches, so caution is required.
Performance precautions
Be careful not to let the chuck catch the strings.
If the chuck is metal and hits the strings, it can wear them down or, in the worst case, cause them to break.
For beginners, it is recommended to use a longer bit or a drill with a resin chuck to reduce the risk.
Occasionally check that the bit is not loose
If the bit becomes loose, it may fly off during performance, which is extremely dangerous.
Check the bit not only before playing but also periodically while playing.
Also, make sure that the bolts or screws securing the pick to the bit are tight and not loose.
Set torque to the minimum
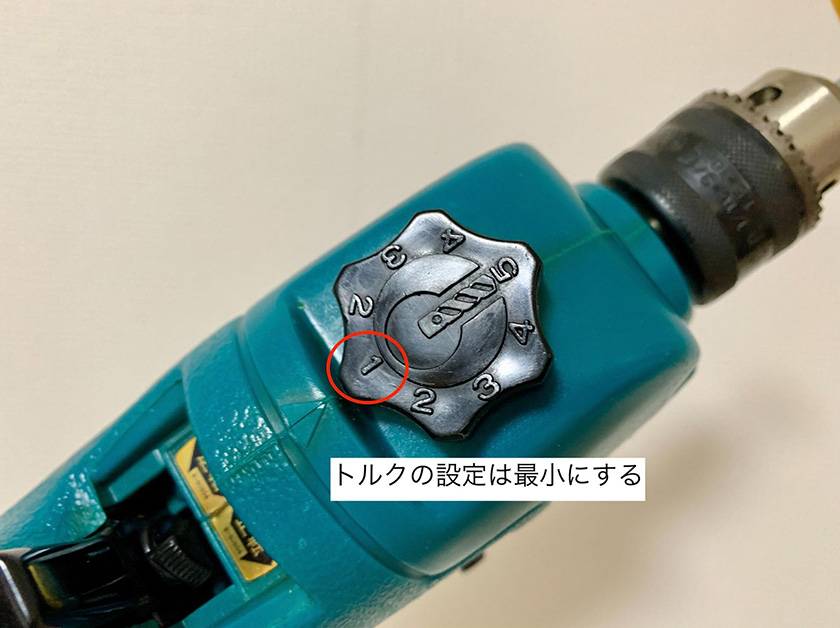
Some electric drills allow you to adjust the rotation torque.
Drill technique does not require high torque, and considering the risk of accidentally catching a string, the guitar body, or clothing, it is safest to set the torque to the minimum.
Especially if you are trying drill technique for the first time, always start with a low torque setting.
Be careful with clothing and long hair
When using a high-speed electric drill, take care to avoid accidents involving clothing or hair getting caught.
Avoid long sleeves, and if you have long hair, tie it back before performing.
In fact, Paul Gilbert himself has mentioned in the past that his hair once got caught in a drill…
In Conclusion
This time, we covered the drill technique in detail, from preparation to practice, along with precautions to take.
It is by no means a technique suited for everyone, but once executed properly, it can create an incredibly impactful performance.
Since it is a challenging and potentially dangerous technique, please exercise caution when attempting it, and use this article as a reference.
Above all, prioritize safety, and enjoy the drill technique to add some spice to your live performance.
The “sound & person” column is made up of contributions from you.
For details about contributing, click here.


 Knc Picks 特集
 はじめてのギター
 Chicken Picks ギター/ベース用ピック
 ギターパーツの沼
 ギター初心者ゼミ
 ギター演奏に必要なものは?