Previous Article: [Maintenance] Let’s Tighten All the Screws on Your Electric Guitar
This time, I want to also introduce screw-related setup tips for ST-type electric guitars. Screws may seem trivial, but they make a big difference. If you haven’t read the previous article yet, please check it out.
This article is going to be considerably more advanced, but I think you’ll notice even more improvement in tone and playability than before. I also found my guitar easier to play using this method, so I hope it will be helpful to you as well.
As with last time, be sure to measure the screw diameter to determine whether your guitar uses inch or metric specifications. Also, make sure you’re using the correct hex wrench size. Otherwise, you may strip the screw holes or heads.
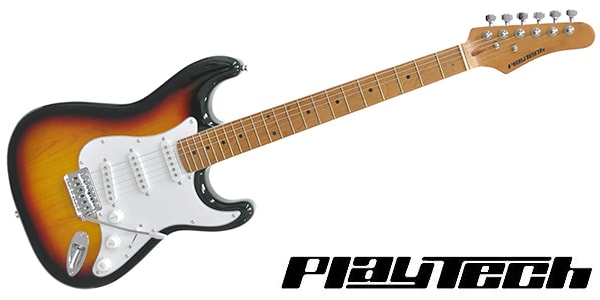
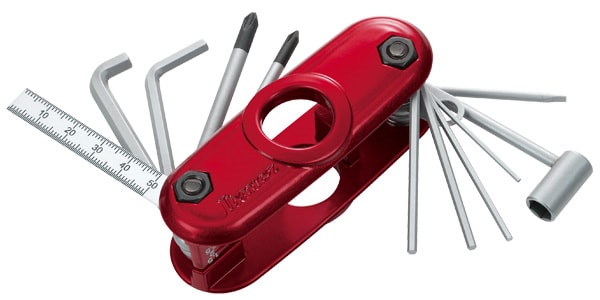
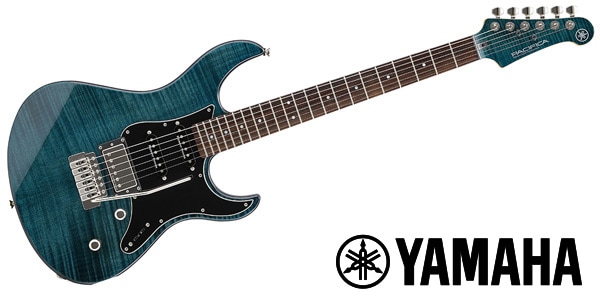
The guitars used for this demonstration are the same as last time: the Playtech ST280 and my Yamaha Pacifica (Pacifica 612 SSH). Once again, I’ll be using Ibanez’s guitar tool set. I’ll skip the explanation of parts covered in the previous article, so try to remember their names.
- PLAYTECH / ST280 Sunburst 【Carbonized Maple Neck】
- YAMAHA / PAC612VIIFM IDB Electric Guitar PACIFICA
- Ibanez / MTZ11
<From the official description>
Hex wrenches (mm): 1.5 / 2.0 / 2.5 / 3.0 / 4.0 / 5.0
Pipe wrench (mm): 7.0
Screwdrivers: Phillips (large, small), Flathead
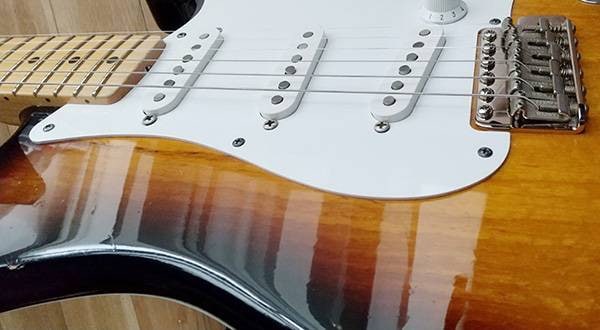
Tremolo Bridge / Tremolo Springs
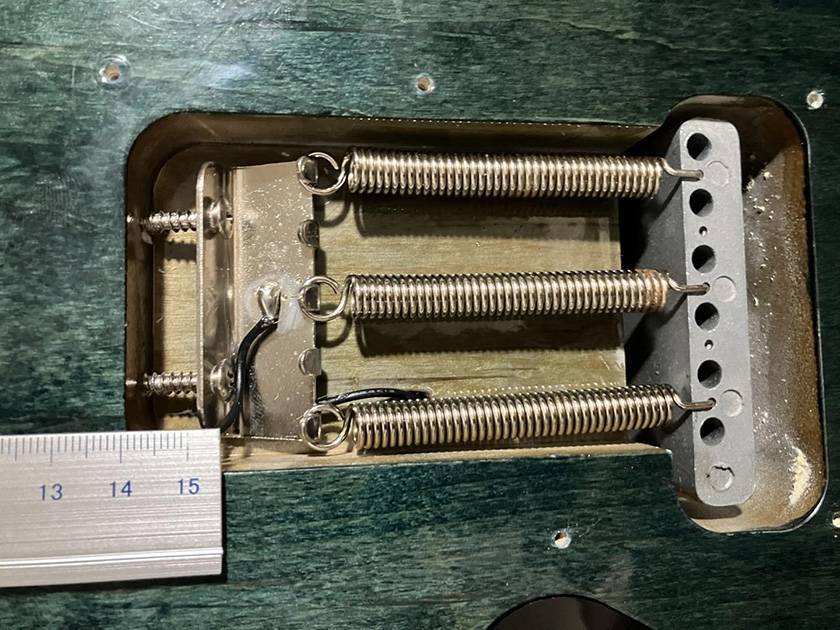
First, open the back panel. Then, use a Phillips screwdriver to adjust the springs so that the back end of the bridge floats about 2mm to 3mm. In my case, I use three springs arranged in what’s called a “river” pattern, and adjust the bridge to float at 2mm. When doing this, make sure the distance between the two screws is even. Measure carefully with a ruler. For reference, the exposed screw length on mine is 10mm. Also, don’t turn one screw all the way before adjusting the other; instead, alternate between the two gradually. Otherwise, it puts unnecessary stress on the wood of the guitar. This same adjustment method can be applied to the ST250 as well.
If you don’t use the tremolo arm at all, you can also go for what’s called a “flat mount” setup. In a flat mount, the bridge float is set to 0mm, effectively disabling any tremolo arm movement. This setup requires additional adjustments such as string height, making it more difficult, but it offers advantages like improved tuning stability and a stronger attack. On the other hand, if you leave a bit more bridge float, it becomes easier to use the tremolo arm and perform bends. However, tuning stability will decrease slightly. Adjust the setup according to your usual playing style. In my case, when I’m not using the tremolo arm, I set the bridge float to 1mm and the exposed screw length to 5mm.
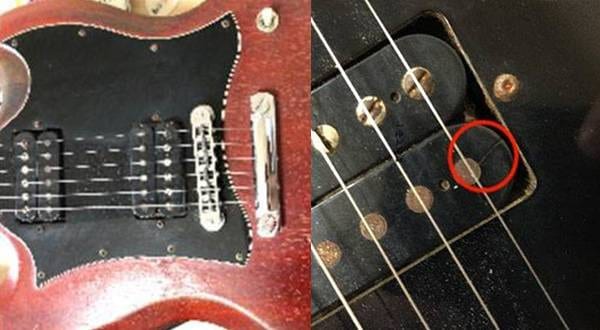
Pickup Height
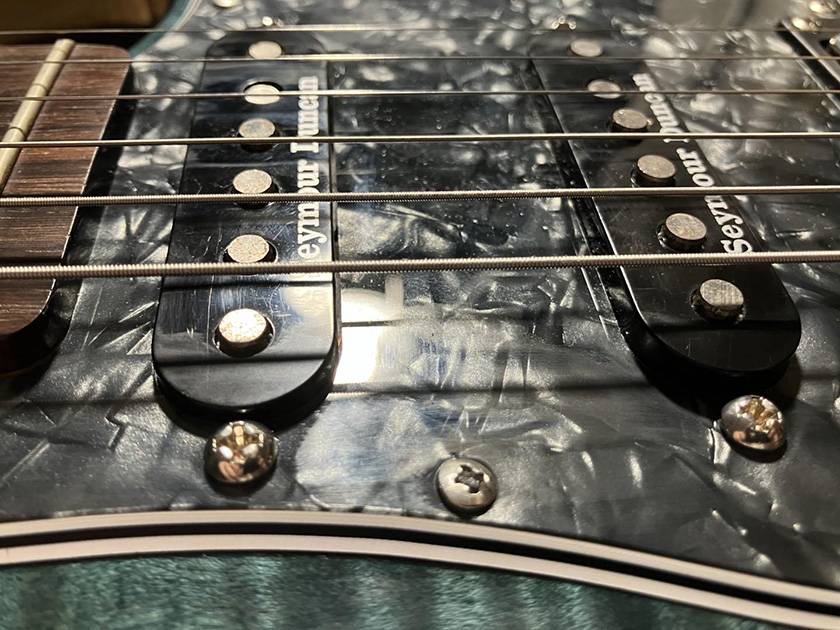
You can adjust the distance between the pickup and the strings by turning the screws on the sides of the pickups. While this depends on personal preference, the basic setup is to set the neck pickup so that the distance between the string and pole piece is 5mm on the 6th string and 4mm on the 1st string. When pressing the last fret, the 6th string should be around 3mm. Next, use your DAW or similar tool to balance the output volume between each pickup by adjusting the six screws. For example, when switching the pickup selector from neck to middle, the 6th string on the neck pickup and the 6th string on the middle pickup should have the same volume. As for the bridge pickup, you can either match the volume to the others or raise it by about 3 dB if you prefer. Personally, I keep them all the same because I find volume adjustments tedious. The plugin I use for this is Voxengo SPAN (free version).
If the pickup is set too high, the volume will increase, but the magnetic pull on the strings will become stronger, reducing sustain. Conversely, if the pickup is set too low, sustain will increase, but the pickup won’t capture the sound well, resulting in lower volume. Preferences vary depending on the player, but it’s best to avoid extreme settings. Also, depending on the type of pickup, the output level may be lower (or higher). Since the ST250 has slightly weaker output, you can reduce the distance between the strings and the pole pieces a bit more.
Octave Tuning
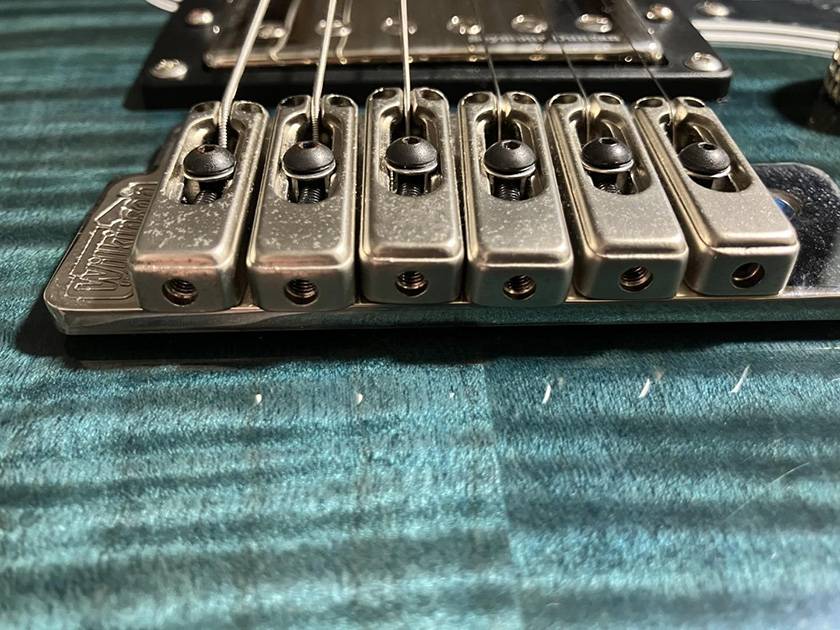
Finally, let’s adjust the octave tuning (this time we won’t cover string height adjustment). Use a hex wrench for this process. If the difference between the actual note when pressing the 12th fret or the harmonic at the 12th fret and the open string is within ±5ct to ±10ct, that’s acceptable. Don’t overdo it—it can get exhausting. For some reason, on my guitar, only the 6th string is +20ct…
If the actual note or harmonic is higher than the open string, tighten the screw clockwise. Conversely, if the actual note or harmonic is lower than the open string, loosen it counterclockwise. Each time you turn it about 45 degrees, retune your string. Otherwise, you might accidentally turn it too far without realizing it. By adjusting the octave tuning, you can reduce pitch discrepancies across the frets. Since this has a significant impact on your playing, take your time and make precise adjustments to ensure accurate intonation.
Summary
How was it? This Part 2 was quite a bit more difficult than the previous one, but the playability likely changed significantly as a result. Try experimenting to find your preferred setup. Of course, asking a professional repair technician is always an option, but once you learn to do it yourself, it can actually be pretty fun. This time, all the maintenance was also done using just screws.
The column “sound & person” is made possible through submissions from our readers.
For details on how to submit, click here.


![[Maintenance] Let’s Tighten All the Screws on Your Electric Guitar](/contents/uploads/thumbs/5/2025/9/20250925_5_32958_1.jpg)
 DIY ギターメンテナンス
 ピックアップの種類(エレキギター)
 オクターブチューニングの方法
 ネックの調整方法
 ギターのお手入れ
 お手入れに必要な道具