In recent years, multi-effects units (hereafter referred to as "multi") have expanded widely in price range, with compact and multifunctional models continuously being released. Brands like BOSS, LINE6, and ZOOM offer models that are easy to handle, making multi-effects a popular choice for beginners purchasing their first effects unit.
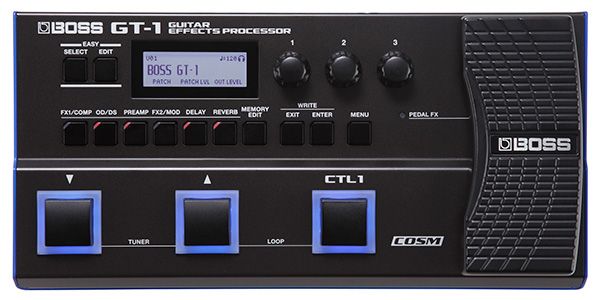
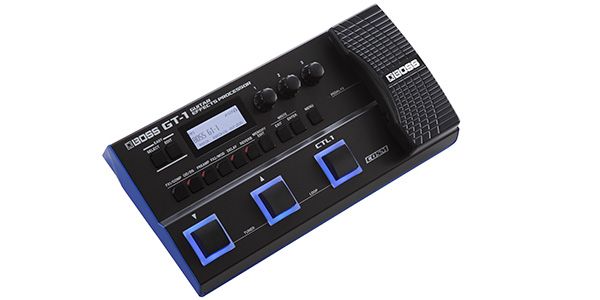
BOSS / GT-1 Multi-Effects Unit
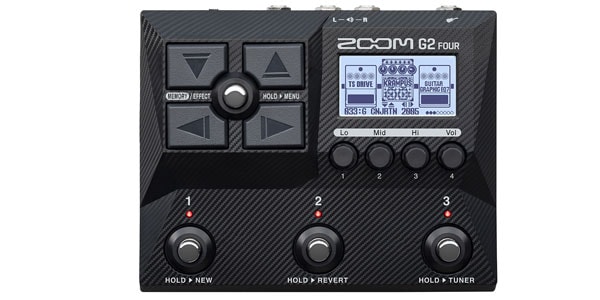
ZOOM / G2 FOUR Multi-Effects Unit for Guitar
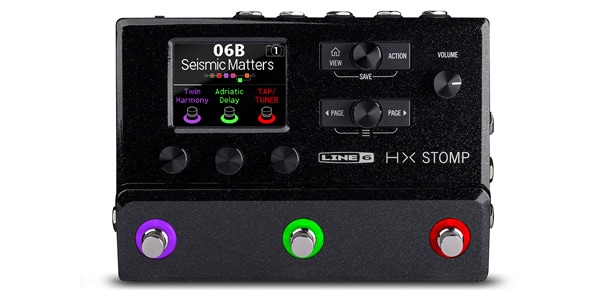
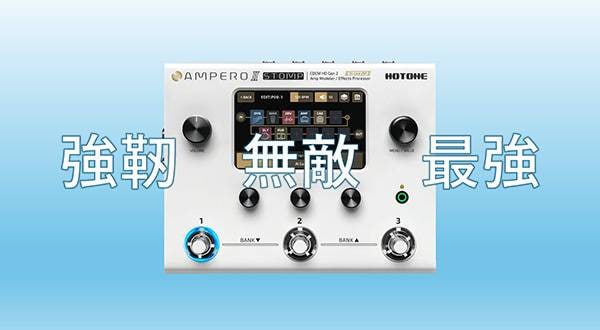
Line 6 / HX Stomp Multi-Effects Unit
By the way, have you ever experienced while playing alone at home that your sound feels great, but when you play with your band members in the studio, you feel like you can’t hear your own sound or it somehow sounds muffled?
If you’ve used a multi-effects unit before, you’ve probably struggled at least once with the problem of poor sound clarity in a band ensemble setting.
This time, for beginners who have such concerns, I will introduce some practical tips to improve sound clarity when using a multi-effects unit.
1. When Using an Amp Simulator, Return Insert Is Recommended
When using the amp simulator (amp sim) built into a multi-effects unit, it is recommended to connect it via the return insert.
Return insert refers to connecting the multi-effects unit to the return side of the amp’s send-return jack. By doing this, you bypass the amp’s built-in preamp (the part that shapes the tone) and send the sound created within the multi directly to the power amp.
Using this method helps preserve the tone you design in the multi-effects unit, enhancing sound accuracy and reproduction. Return insert is especially effective with multi-effects units that include amp modeling.
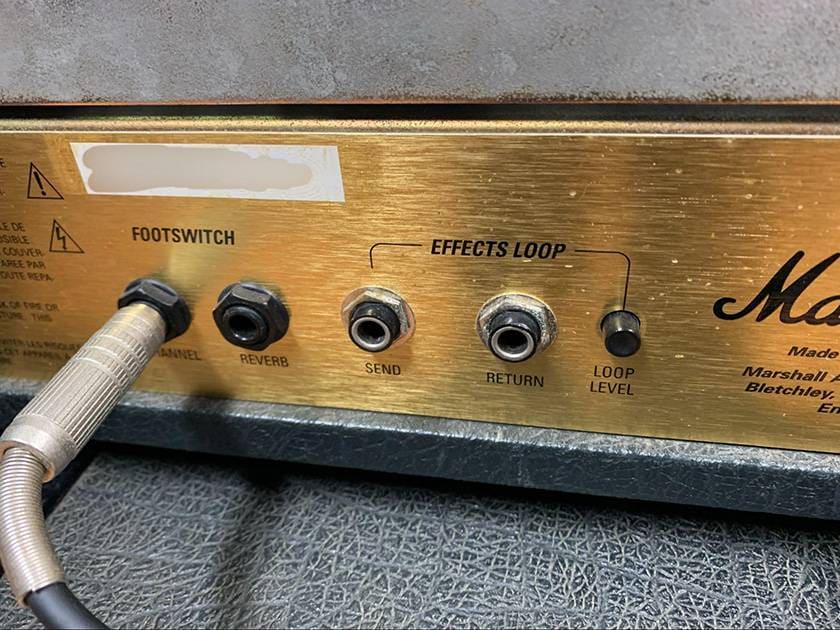
Many studio amps have send-return jacks like these on the back panel.
Also, turning off the cabinet simulator (speaker simulator) helps reduce muffled sound when playing through the amp’s actual speaker. While the cab sim is convenient for line recording or headphone practice, it can sometimes worsen the sound clarity when used through a studio amp.
2. Don’t Overdo the Distortion
At home, heavily distorted sounds can feel satisfying to play with. However, in a band setting, too much distortion often causes poor sound clarity.
When distortion is deep, the compression effect becomes stronger, which smothers the attack of the sound. Also, the frequency range narrows, so even if the sound seems flashy when heard solo, it tends to get buried by other instruments in the ensemble.
Moreover, since volume levels in the studio are higher, the settings that worked at home often end up more distorted than expected. If you’re using high-gain amp modeling, try lowering the Gain or Drive settings.
3. Don’t Overuse Delay and Reverb
Delay and reverb are very attractive effects that add spaciousness to your sound, but using too much can blur the sound’s edges and reduce the clarity.
Presets on multi-effects units are often especially designed to sound pleasant on headphones or small amps, so the spatial effects tend to be set a bit strong. When using them in the studio or live, try to keep these settings modest.
Also, switching reverb types to shorter decay options like “Room” or “Plate” can create a sense of space while preserving sound clarity. Since live venues and studios naturally produce reverb, excessive effects are unnecessary.
4. Cut Unnecessary Frequency Bands with EQ
When you shape your tone using small speakers like home amps or headphones, playing through a large studio cabinet can cause excessive low and mid frequencies that clash with other instruments.
As a common countermeasure, try cutting the following frequency ranges:
- If conflicting with the bass → Cut below 250 Hz
- If clashing with vocals → Reduce around 1 kHz
- If there are harsh sounds → Soften 2–3 kHz
However, cutting EQ too aggressively can make your tone thin and cause it to get buried even more. Always check the balance by playing together with the whole band after adjustments.
5. Check Input/Output Settings
One often overlooked point is the input/output settings on your multi-effects unit. Some models have optimization functions tailored to the connected device, and simply setting these correctly can dramatically improve your sound’s clarity and presence.
For example, on BOSS’s popular model "GT-1", there is an “Output Select” option where you can choose the connection destination such as “LINE/PHONES,” “JC-120,” or “STACK RETURN.” Setting this correctly automatically optimizes internal EQ and level balance.
Other manufacturers may offer similar features, so be sure to check your manual once.
Get Hands-On with Real Gear to Understand the “Authentic Sound”
Multi-effect units come loaded with numerous models that replicate the sounds of famous effects and amplifiers. If you find a model you like, I highly recommend trying out the actual equipment in person.
For example, testing classic models like the TS-style overdrive or Marshall Plexi on real gear lets you experience which frequency ranges stand out, how the response feels, and how the effects engage. This hands-on experience will significantly improve your editing accuracy on the multi.
Some rental studios even offer amps and effects for loan, so experimenting and comparing sounds on your days off can be a great learning opportunity.
Summary
Multi-effect units are versatile, but the way your sound is heard can vary greatly depending on the environment.
The common frustration of it sounding great at home, but it doesn’t cut through in the studio can often be resolved by adjusting settings or connection methods.
Please use the points covered here as a reference to create a sound that truly cuts through, even in the studio.
The “sound & person” column is made up of contributions from you.
For details about contributing, click here.


![[Latest for 2026] 5 Recommended Guitar Multi-Effects Pedals for Beginners](/contents/uploads/thumbs/2/2023/7/20230719_2_23355_1.jpg)

 はじめてのエフェクターは GT-1 にしよう
 zoom ブランドサイト
 【初心者向け】エフェクター講座
 ベース用エフェクターの種類
 エフェクターのつなぎ方
 エフェクターの種類