Summer of the DJ booth. Summer of the DJ booth. Summer of the DJ booth.
I had a dream about a ladybug DJing. The summer of the ladybug...
I’m a Sound House staff member who loves kebab-core bands. It’s getting hotter and hotter out there!
I want meat! I want live shows! I want to dance like crazy! Hot and sweaty DJ parties!!
DJ events may happen all year round, but if possible, I want to go in light summer clothes during the hottest season.
Anyway, DJ booths are actually surprisingly easy to set up. “But why would I build one?” you might ask. Well, I want as many people reading this article as possible to make their own DJ booth!
Still, some people may think, “Turntables, CDJs, mixers... setting all that up sounds like a pain.” That’s where all-in-one DJ systems come in. Why? Because with an all-in-one unit and a pair of powered speakers, you can build a DJ booth with minimal hassle.
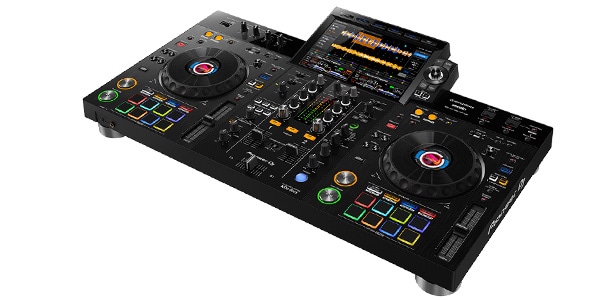
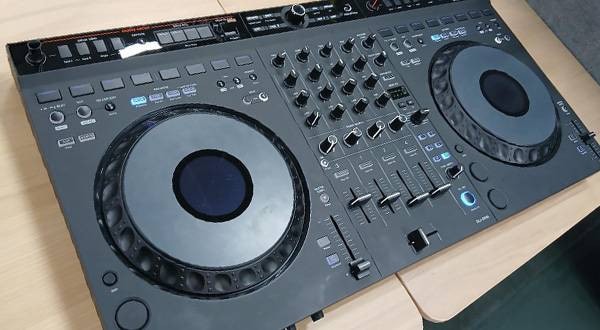
This time, I’m going to build a DJ booth using the mid-range Pioneer DJ XDJ-RX3!
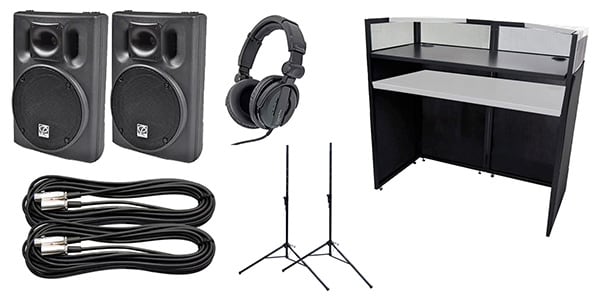
Before setting up a DJ booth, you’ll need a DJ table. Of course, you can substitute it with a regular table, but DJ tables are designed at the proper height and usually include cable holes for cleaner wiring, which makes things much easier. Luckily, we already had a DJ table installed at our office.
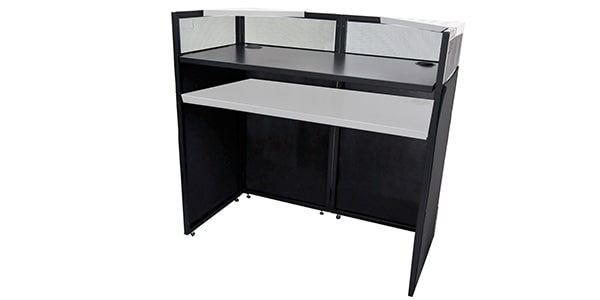
This table is highly recommended because even one person can set it up alone (assuming average adult strength)!
You can also check out photos of it being used at an outdoor event in our event report article. It works perfectly for live events too.
⇒ [Narita City Music Event Report] Going to Narita Hub Groovin Vol. 2!
Contents
- ① Unboxing the Pioneer DJ XDJ-RX3
- ② Connecting the Cables
- ③ Powering On the XDJ-RX3!
- ④ Final Thoughts
① Unboxing the Pioneer DJ XDJ-RX3
Alright, time to unbox the XDJ-RX3!
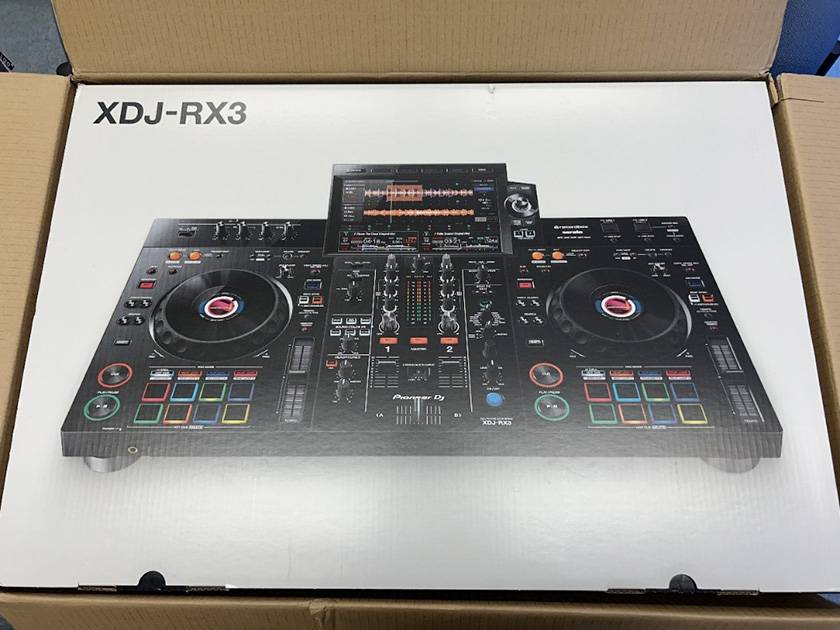
Big gear just has a certain magic to it, doesn’t it? Nice.
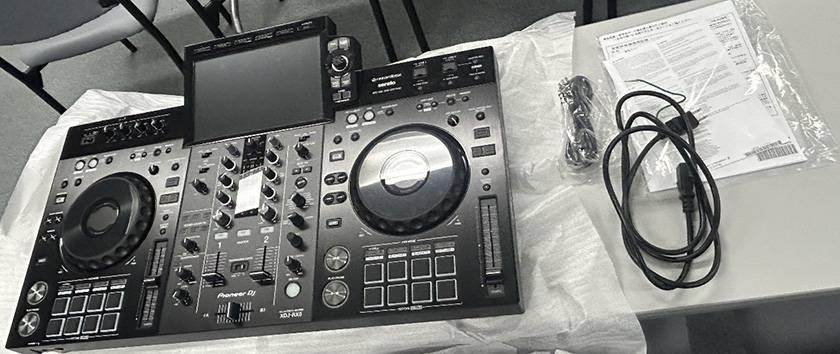
The package includes the following items:
- Power Cable x1
- USB Cable x1
- Warranty Card (certain regions only) x1
- Quick Start Guide x1
- Safety Precautions x1
- Software License Notice x1
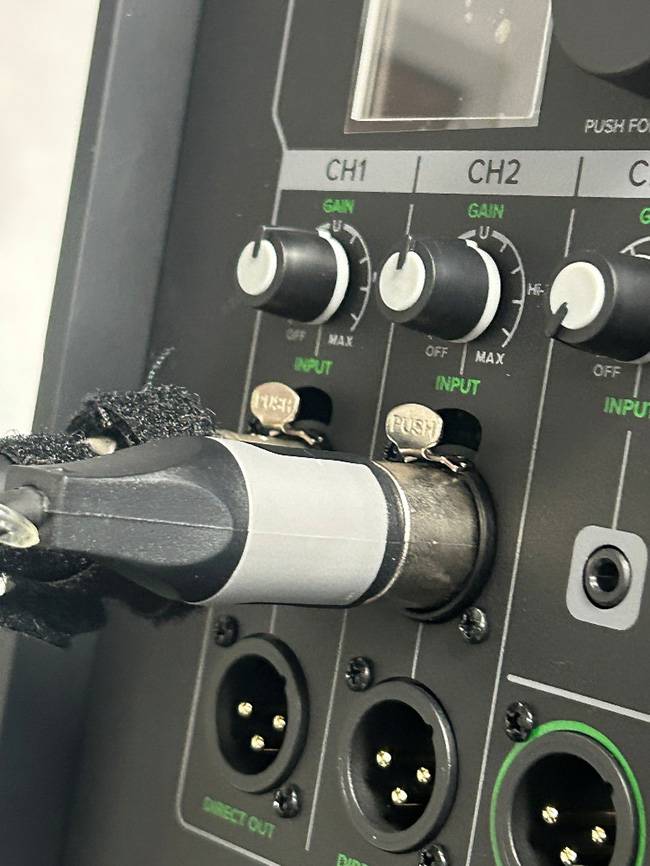
② Connecting the Cables
Now let’s go over the cable connections.
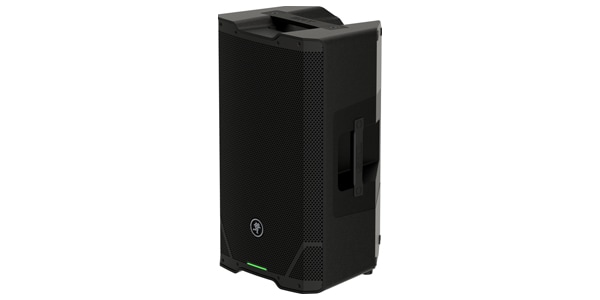
Honestly, it’s very simple. First, connect the power cable on the rear panel. Next, connect the speakers. In most cases, you’ll want to use the MASTER 1 outputs. After connecting everything, always power on the XDJ-RX3 first. When shutting down, turn off the powered speakers first instead. Otherwise, you risk damaging the speakers.
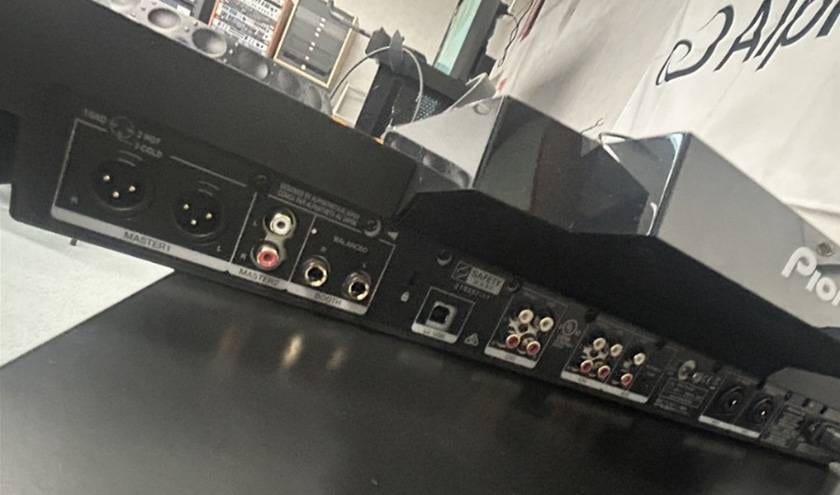
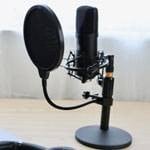
The speaker I used this time is:
⇒ Mackie / SRT215 Powered Speaker
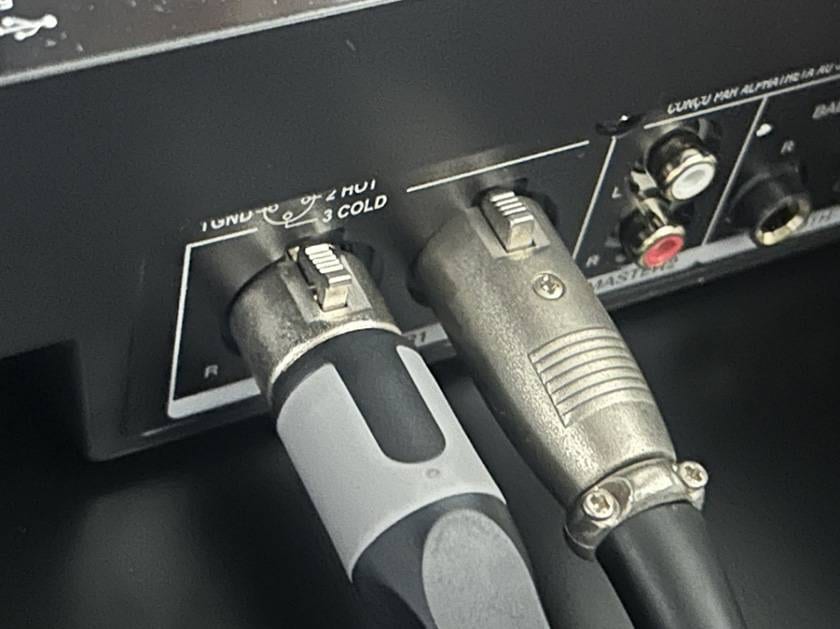
The cable you need depends on your speaker inputs, but XLR-to-XLR cables are the standard choice.
⇒ CLASSIC PRO / MIX050 Microphone Cable 5m XLR Cannon
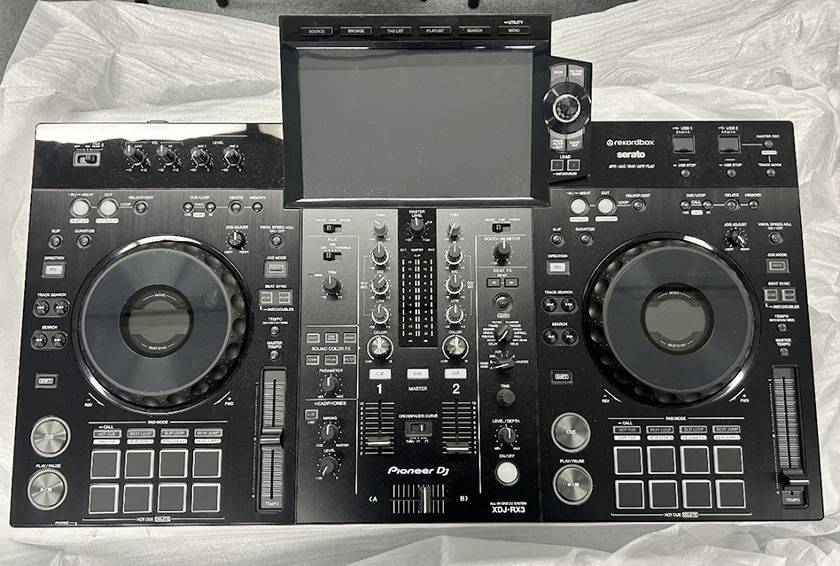
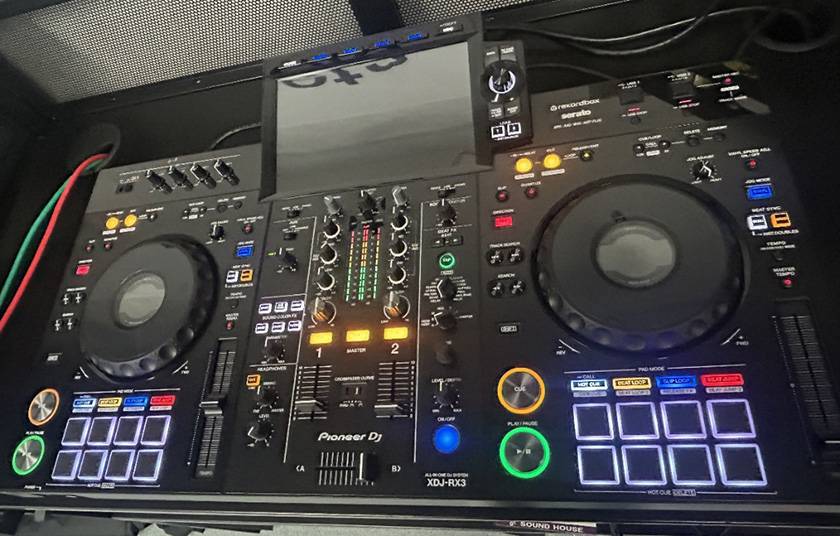
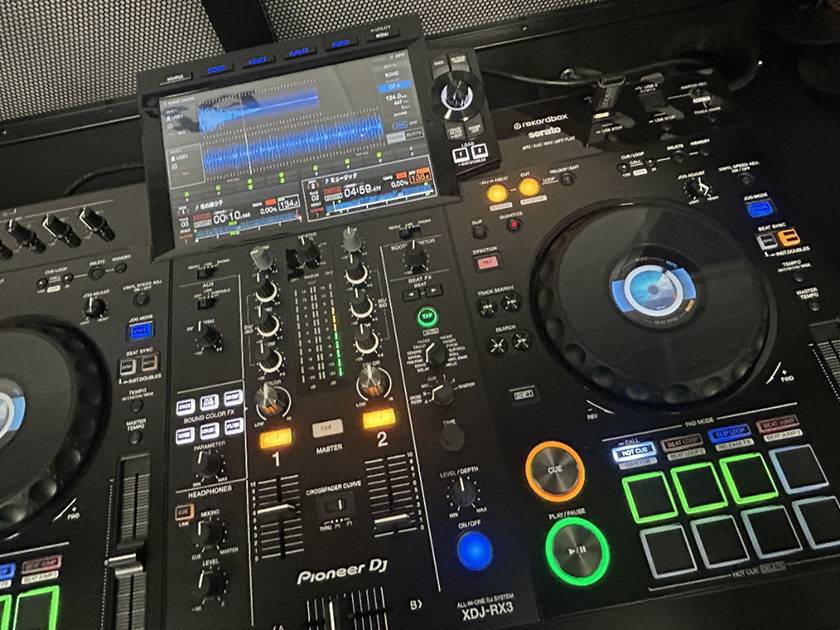
③ Powering On the XDJ-RX3!
Time to turn it on!
The color scheme looks great, doesn’t it? Kind of like a final-form anime hero transformation.
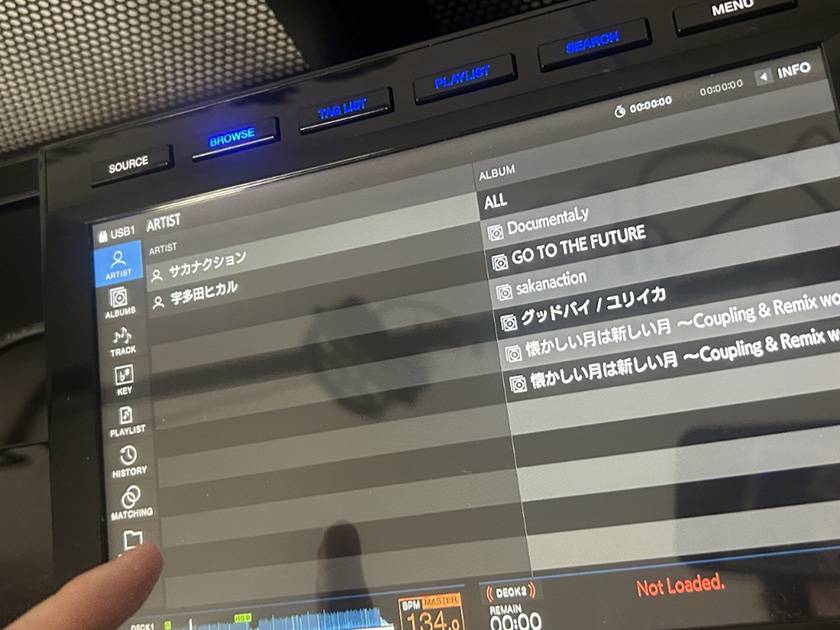
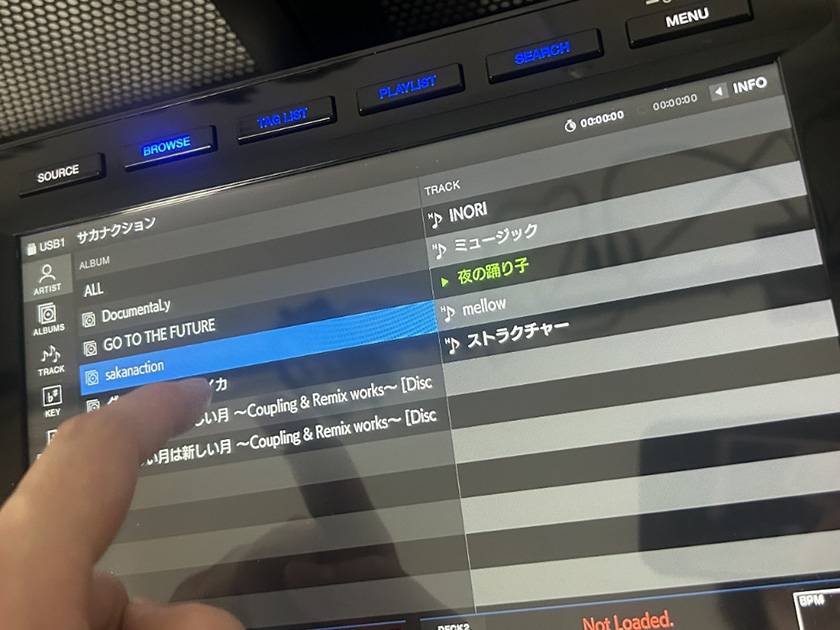
Now, what about music sources? The XDJ-RX3 doesn’t support CDs, and you can’t play vinyl records directly either. Instead, it handles digital audio in several ways. This time, I’ll use a USB drive because it’s incredibly easy: just prepare your music and plug it in!
*I recommend formatting your USB drive as FAT32!
Once the USB drive is connected...
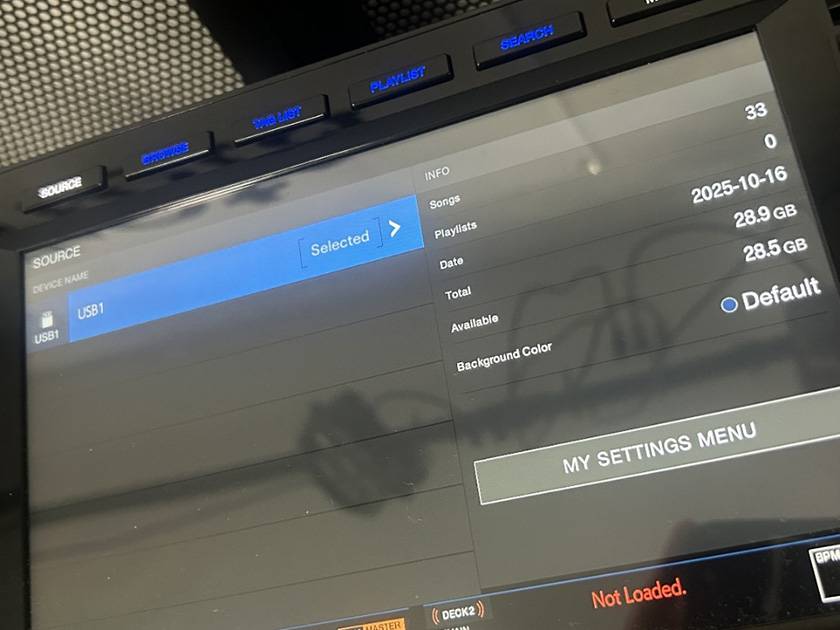
The USB source appears when you press the Source button!
From there, you’re ready to browse and control your tracks!
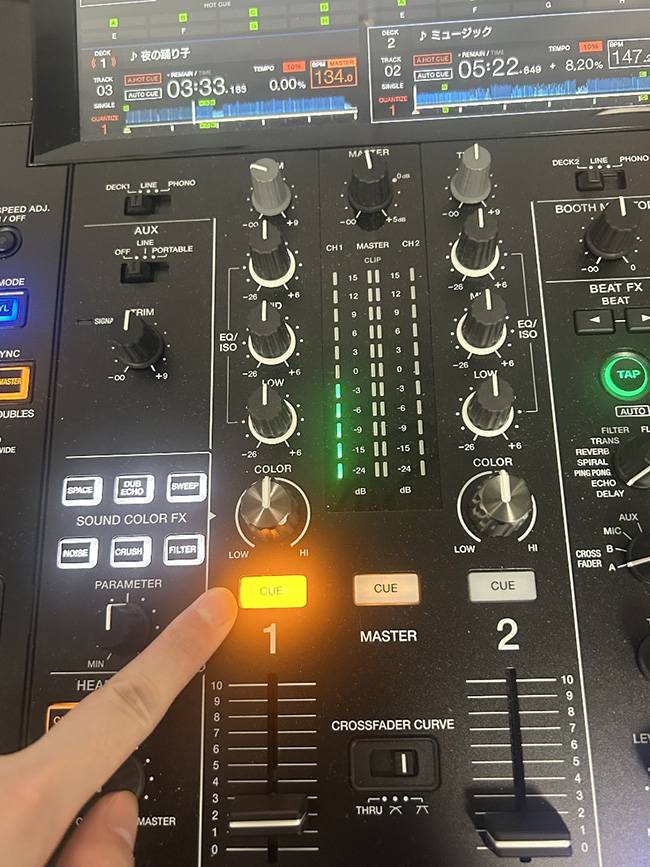
One important note:
Make sure the Cue button is enabled, otherwise you won’t hear anything through your headphones! Also, be careful with headphone volume levels. Learned that the hard way.
Once everything is ready, all that’s left is to enjoy the music!
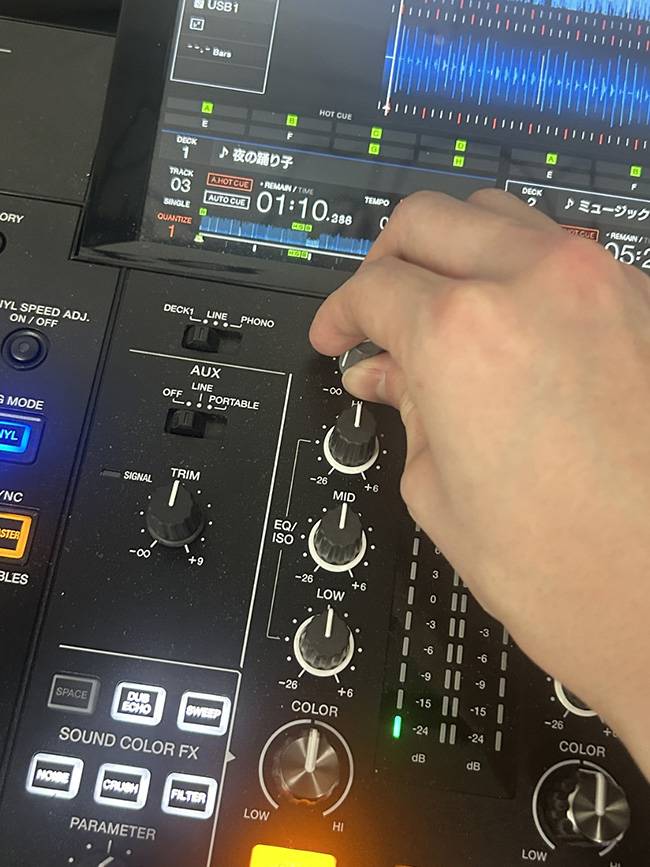
Looks pretty cool, right? I love this sci-fi color combination.
④ Final Thoughts
This time, I set up a DJ booth using the XDJ-RX3! The setup process is very straightforward, and with two people, you can probably get everything ready in no time. (Doing it alone might be tough when it comes to lifting speakers.)
The DJ table, the cables used to connect the speakers and XDJ-RX3, and a CLASSIC PRO powered speaker set are all currently available as a bundle. Combine them with your favorite all-in-one DJ controller, and your DJ booth is complete!
CLASSIC PRO Easy DJ Booth Set (for all-in-one controllers) 150W
Also, the Pioneer DJ XDJ-RX3 introduced in this article is eligible for AlphaTheta Care coverage.
☆What is AlphaTheta Care?
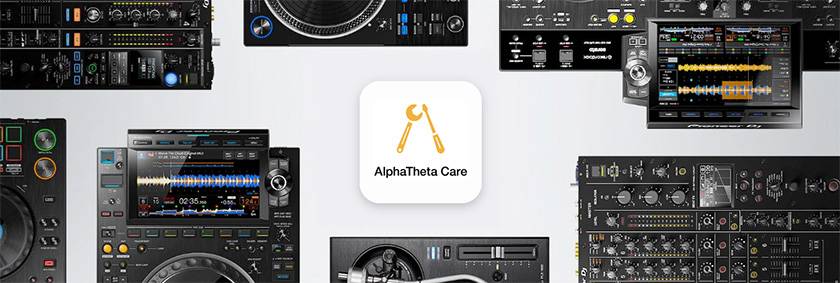
AlphaTheta Care is a paid extended warranty service for Pioneer DJ/AlphaTheta products that extends manufacturer coverage up to a total of three years. There are two plans available. Be sure to check the details for more information.
With AlphaTheta Care, even accidental drink spills on your DJ booth won’t ruin the party! I’m the winner!
**Please do NOT clink glasses over the DJ booth**
**Please do NOT clink glasses over the DJ booth**
**Please do NOT clink glasses over the DJ booth**
**Please do NOT clink glasses over the DJ booth**
**Please do NOT clink glasses over the DJ booth**
**Please do NOT clink glasses over the DJ booth**
With your favorite all-in-one controller, a DJ booth setup, and AlphaTheta Care, you’ll be fully ready for this summer’s parties. Give building your own DJ booth a try! See ya!


![[Narita City Music Event Report] Going to Narita Hub Groovin Vol. 2!](/contents/uploads/thumbs/2/2025/10/20251001_2_33117_1.jpg)
![[In Shinjuku Marui Men] Pioneer DJ Popup Store in Shinjuku Marui Men](/contents/uploads/thumbs/2/2022/7/20220729_2_18769_1.jpg)
 Pioneer DJ DJM-A9 開発者インタビュー
 Pioneer DJ VMシリーズ 開発者インタビュー
 【徹底解説】Pioneer DJ「XDJ-RX3」
 Pioneer DJ DDJシリーズコントローラー比較表
 GLOWTRONICS DJスリップマット
 DJ YUTARO特別インタビュー