The week after I wrote in my last blog about my “Pitching a Tent at a Seaside Park,”
I immediately started preparing for an overnight camping trip.
Since I had no idea what I actually needed,
I did some research online and checked off the bare essentials!
< Things you absolutely need for an overnight camping trip >
- Tent set (don’t forget the peg hammer)
- Sleeping bag, mat
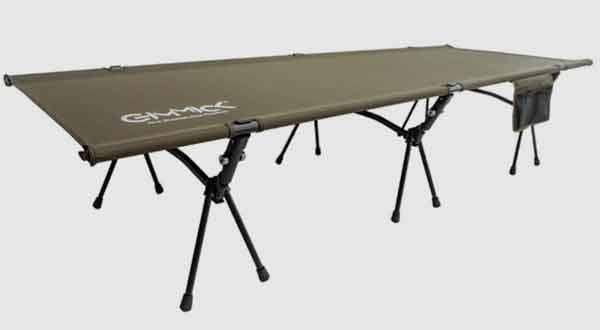
- Table, chair
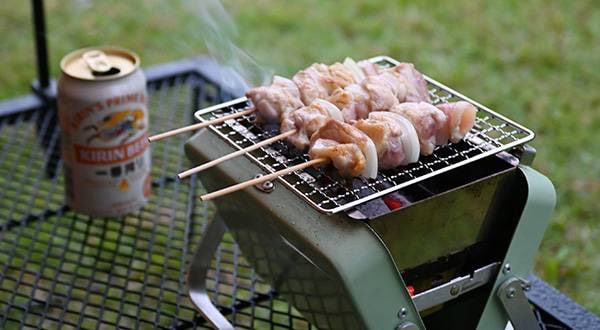
- Cooking gear (cookware, burner, cutlery, etc.)
- Fuel (for campfire, gas for burner, etc.)
- Food and drinks (don’t forget water for cooking—and alcohol!)
- Cooler box (for keeping food and drinks cold)
- Lantern
- Flashlight (for when you need to go to the toilet, etc.)
- Toiletries (toothbrush, cosmetics, etc.)
- Change of clothes, towels, etc. (it gets cold at night, so bring something to layer)
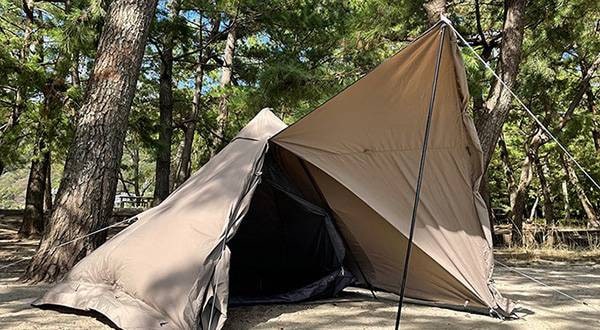
I had already bought a tent,
and I had picked up a table, chair, and cooking gear through past “chairing” outings,
so as long as I got a sleeping bag, mat, and lantern,
I figured I could make do with the rest using stuff I already had at home!
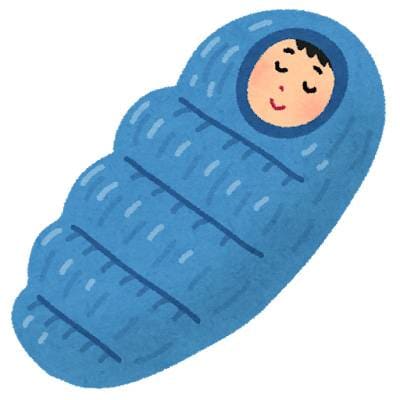
Additional Item to Buy: Sleeping Bag
“There are so many types of sleeping bags from the same brand—what's the difference?”
After taking a closer look, I found out that there are various types depending on shape, temperature rating (season), and material.
Let’s choose based on preferences and budget!
Choosing by Sleeping Bag Shape
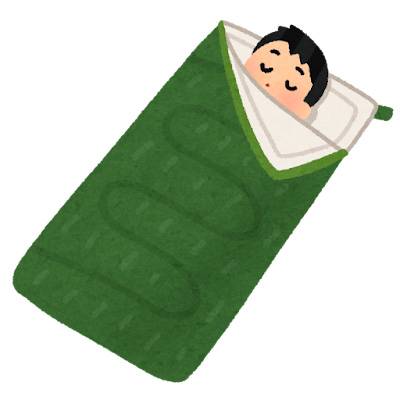
Sleeping bags generally come in two main shapes: "mummy type" and "envelope type."
"Mummy Type"
This is the type that comes to mind when you think of a sleeping bag—the one where only your face sticks out.
Some models use lightweight, high-performance materials that give off a serious, pro-level vibe.
They fit snugly to your body, which makes them highly heat-retentive.
"Envelope Type"
As the name suggests, this type is rectangular like an envelope.
Some can be unzipped from the top or side and used like a blanket, or even connected to another sleeping bag.
They’re a bit bulky, but the sleeping comfort is close to that of a futon.
If you're doing extreme cold mountain camping or touring where compactness is key, go for a "mummy type."
But for relaxed car camping, "envelope type" might be the way to go.
This one is also recommended for people who toss and turn a lot in their sleep, lol.
Choosing by Temperature Rating
If you look closely at the specs, you’ll see labels like “comfort temperature” and “ temperature limit.”
To put it simply:
- Comfort Temperature: the lowest outside temperature at which you can sleep comfortably using the sleeping bag.
- Temperature Limit: the temperature at which you can just barely sleep without the risk of dying from hypothermia.
※ These are rough guidelines only, as body type, stamina, and personal sensitivity to cold vary from person to person.
It's recommended to choose a sleeping bag with a comfort temperature about 5°C lower than the expected minimum temperature at your campsite, just to be safe.
Some products also indicate seasonal suitability, such as spring/autumn use, summer use, winter use, or all-season.
Some all-season models include two layers of different thicknesses that can be adjusted by combining or removing them.
I just got started and didn’t really know which season I would be using it in,
and it would be a waste to replace it partway through,
so I decided to go with an “all-season” model!
With the envelope type, even if it gets a bit hot, I can unzip the side and stick my feet out.
I chose one with a relatively low temperature rating, just in case.
Choosing by Material
When it comes to material, there are several things to consider—
the filling, the lining that touches your skin, and the outer fabric.
Among them, the filling material is especially important.
“Down (feathers)”
Lightweight and highly heat-retentive, and it can be packed down compactly.
It tends to be more expensive and is sensitive to moisture,
so it requires a bit more care and maintenance.
“Synthetic fibers”
Usually made with polyester or similar materials.
More affordable, and since it retains heat better even when wet,
many models are machine washable at home.
Compared to down, they tend to be heavier and bulkier.
Since I’m traveling by car, the extra weight and bulk isn’t a problem,
and the price is easier on the wallet, so I went with synthetic fiber.
You actually sweat more than you’d expect while sleeping, even in winter,
so the fact that you can wash it at home is a huge plus!
By the way, Sound House also carries sleeping bags that are machine washable at home♪
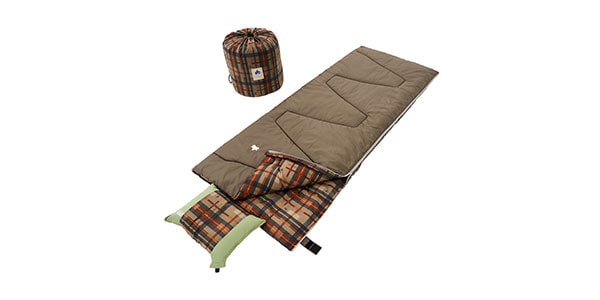
LOGOS / Maru-Arai Yawaraka Attaka Shurafu -2
Comes in variations for 2°C, 0°C, and -2°C!
The soft flannel fabric feels great on the skin♪
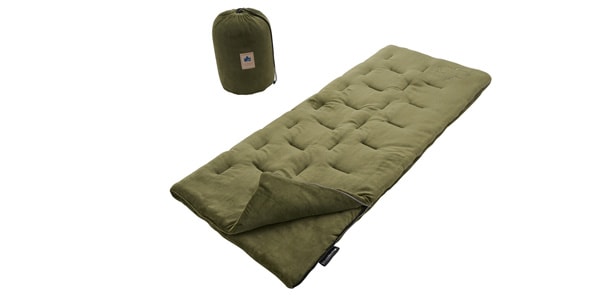
LOGOS / Antibacterial & Odor-Resistant Machine-Washable Soundly Sleeping Bag -2 (with Pillow Holder)
Not only machine-washable, but it also features antibacterial and deodorizing effects for clean use!
It even comes with a pillow holder, so you can bunch up clothes or towels to use as a pillow♪
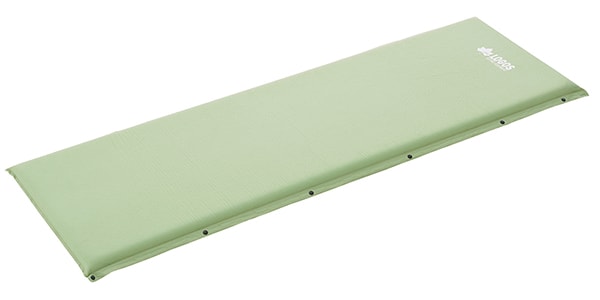
Additional Item to Buy: Mat
“Do I really need a mat if I already have a sleeping bag?”
…Yes, it’s super important!!
Actually, at first, I didn’t think the mat was that important,
so I bought a silver mat sold at a home center.
When I casually mentioned this to a friend who does family camping,
she said, “You won’t be able to sleep comfortably because your body will hurt!”
and she lent me a LOGOS inflatable mat.
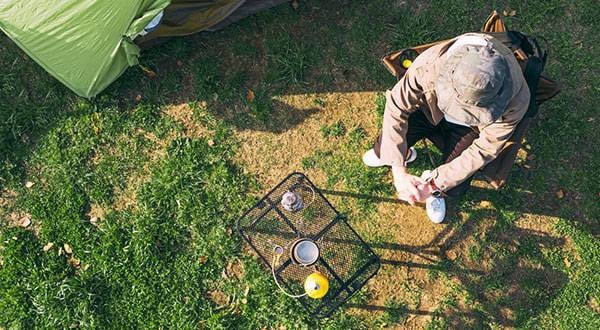
When I tried camping overnight in my yard and tested the mats… the difference was huge!
←↑Because I’m a bit timid, I pitched a tent in my yard to make sure I could always stop and sleep in my bed if needed lol
When I laid down the silver mat, I felt like I was “feeling the earth”…
Well, I wasn’t unable to sleep, but… it was hard, you know (^ - ^;)
On the other hand, when I used the inflatable mat, wow! I didn’t feel the ground at all lol
I was able to sleep very comfortably!!
I thought I had bought a thick silver mat, but the difference was shocking.
By the way, I bought a proper solo one for myself at a later date!
The current model on sale is a successor with a one-way valve “Easy Valve” ↓
Additional Item to Buy: Lantern
“How bright does a lantern need to be for camping overnight?”
I researched various things, but it really depends on your camping style and the number of lights.
For example, in family camping, you might want to brightly illuminate the entire site and prioritize your children’s safety,
whereas in a wilder, more rustic camping style, you might only need just enough light to see your immediate surroundings.
One way is to place one bright lantern of over 1000 lumens at a high position to light the entire site,
or put atmospheric candles or oil lanterns around the site to softly light the whole area.
For me, since I mainly camp solo and focus on atmosphere, I only feel like I need a small light♪
However, since it was my first time, oil or gas lanterns seemed too difficult to handle,
so I chose an easy-to-manage LED with soft light.
The one I bought back then is no longer being sold anymore, so here’s a similar item ↓
LOGOS / Bamboo Flickering Cottage Lantern - BE

Here’s a classical lantern made from natural bamboo material.
It features a “flicker mode” that mimics the flickering of flames, so you can enjoy the atmosphere♪
The brightness can be continuously adjusted from 188 lumens, allowing you to brightly light up a table for cooking or tasks,
or softly illuminate your bedside—usable in various situations.
It is rechargeable and it can also charge your smartphone, making it useful as a backup mobile battery!
Now, preparations are complete!
While aiming for the bare minimum of necessary items... I also bought a candle to softly light the site,
and since I had the chance, I rented a fire pit to try a campfire, so my load somehow got quite heavy.
Since it was my first solo camping trip, I booked a reliable high-standard site for peace of mind!
Next time, the exciting solo camping experience… and, here we go! lol


![[Latest for 2025] Camping at Festivals Packing List - Asagiri JAM Edition](/contents/uploads/thumbs/2/2025/9/20250901_2_32708_1.jpg)
![[Take Some Time to Relax!] A List of Camping Equipment that You Can Find at Sound House](/contents/uploads/thumbs/5/2022/1/20220121_5_16260_1.jpg)
 夏フェスを盛り上げる良音ヘッドホン・イヤホン!大特集
 ミュージシャン数珠つなぎ インディーズバンド編
 OtoyaのZakka
 音楽好きSNSアプリ SOUND NAVI
 音楽フェスをご紹介
 キャンプしよう!キャンプinフェスでも活躍!アウトドア特集