This is already the fourth installment of “The Mystery Behind the Guitar Restoration”.
Staying within the topic of customization and repair, I recently replaced the muffler on my car.
The exhaust system had not been replaced for 30 years, and as expected, the bolts were rusty and stuck.
The stud bolt for the catalytic converter broke as I was removing it, so I welded on a stainless steel bolt. Finally, the muffler was installed and the power and sound at high RPM were outstanding! This is what an external muffler is all about!
On the other hand, low-speed torque has decreased due to the increased exhaust efficiency. It's not so much that it's inconvenient, but I don't feel the balance is as good as it was before.
I feel strongly that customization is all about how you can get it closer to how you want it. In short, this is not always a good thing. I am sure that many people who usually tinker with guitars can relate to this point.
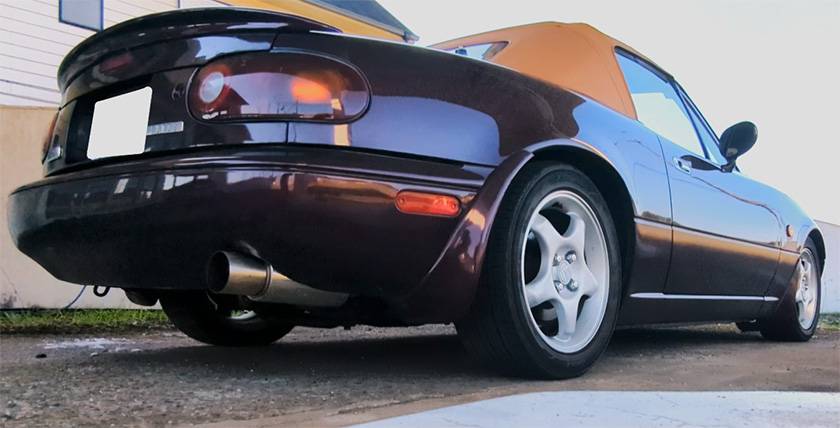
Look here. Cannonball mufflers are still cool. I can’t help but mention “Running In The 90's”.
Well, I wrote the intro to this blog a little too long and it has become a blog about cars. I'm going to talk about guitars from here on out! LOL!
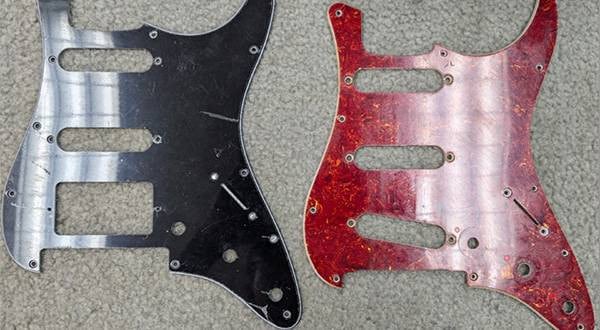
The pickguard was roughly made last time, so this is a continuation of the work on the pickguard.
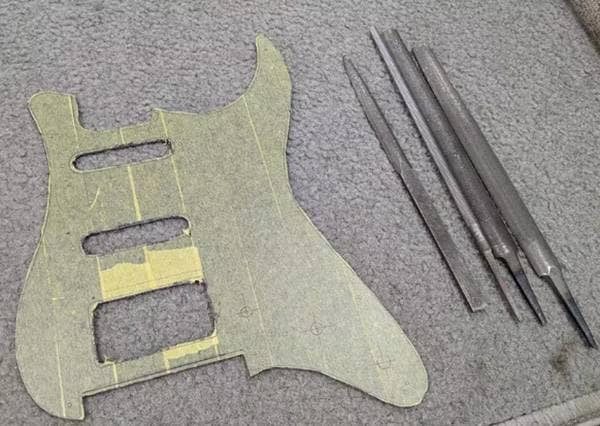
This is the state of the cut-out work in the previous article.
Since there is still some room to the solid line, we will steadily shave it down with an iron file. Once the outer circumference has been prepared to the point where there is no longer any distortion, the next step is to cut off the corners at an angle.
I really wanted to shave it all off at once with a bit, but for some reason I started working on it with an iron file. .... LOL!
Once this happens, I'm ready to go ahead and start scraping.
I made a rough sketch with a compass so that the area I was going to shave would be even, and then I shaved it accordingly. (Sorry I don't have a picture.)
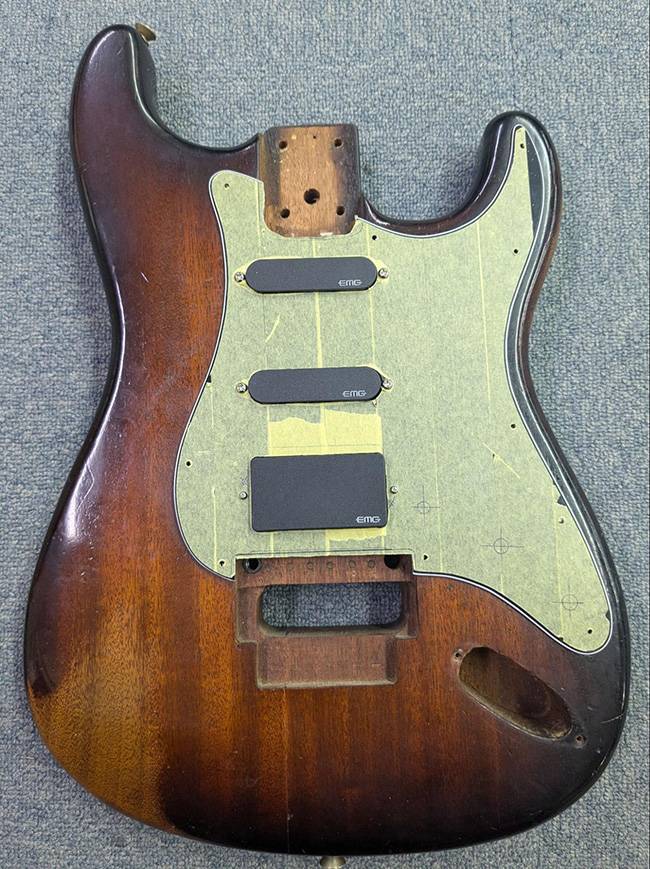
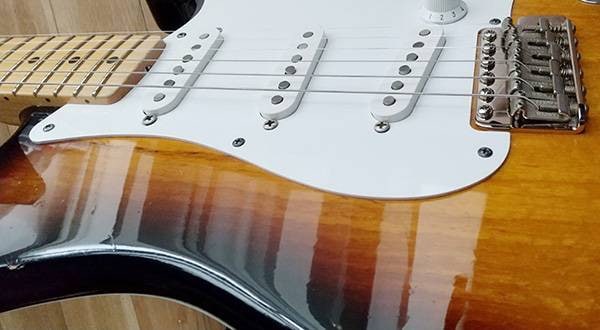
This is what it looks like after being scraped with an iron file so as not to distort it, and then lightly added a piece of paper over it! I think this looks quite familiar now, doesn't it?
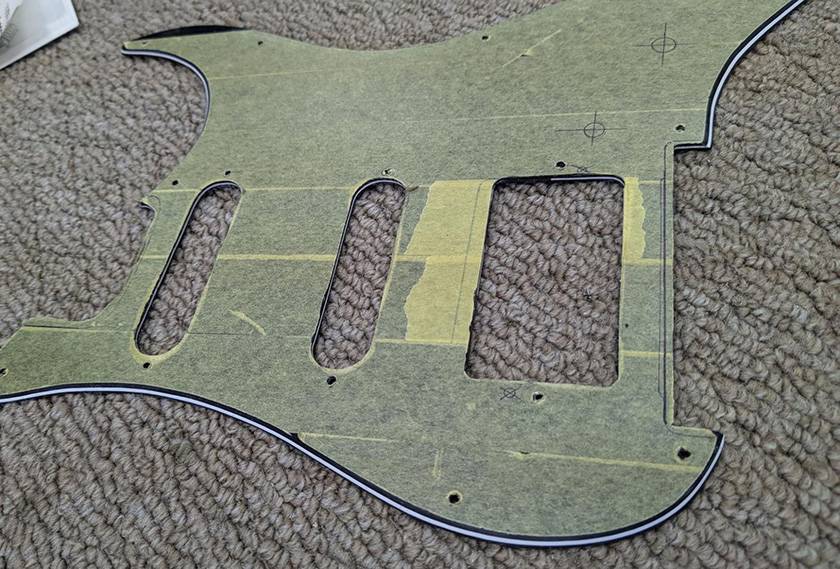
There is still some machining to be done, but the pickguard is done for now.
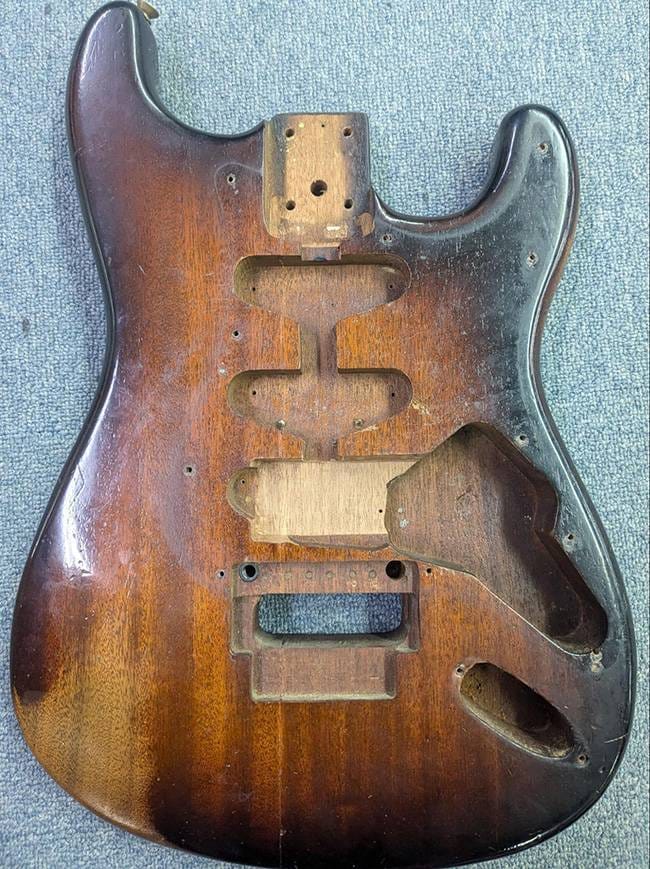
I will put the humbucker countertops on the body.
Sorry, I didn't take any pictures of the work in progress.
I just made a jig of the size I want to dig from an appropriate board and dug it with a router.
The work is quite difficult in an ordinary home because it’s covered with a lot of wood chips and the machinery is very noisy. It is safe to ask a repair store to do the work.
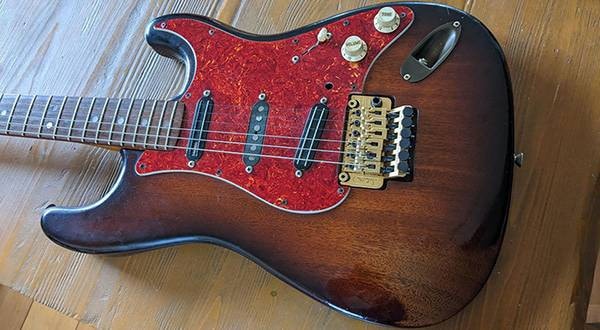
Here are the parts assembled and installed.
This is the most exciting moment!
The screw that mounts the rear pickup is too long and it interferes with the counterbore, so I had to cut the screw short.
Other than that, I was able to install the pickup without any problems.
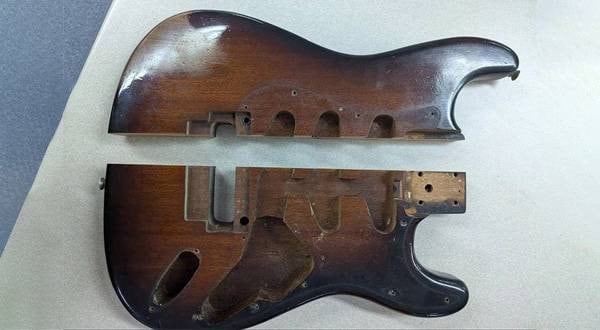
The remaining tasks on the body for the restoration plan are as follows:.
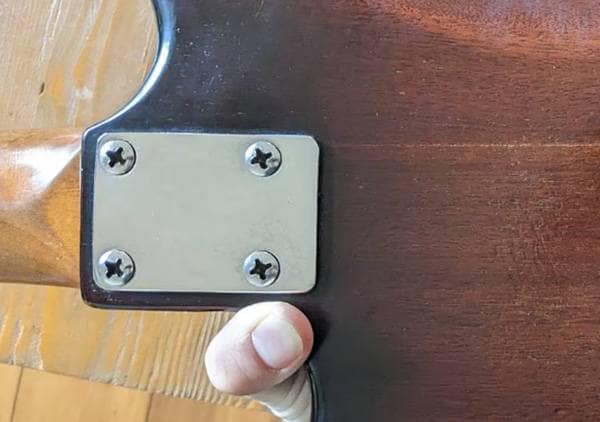
- Fill in the dowels of the neck set screws + reopen them.
- The difficulty level is not too high, but since the body was cut in half the last time, I had to struggle with the trauma. I am my own enemy.
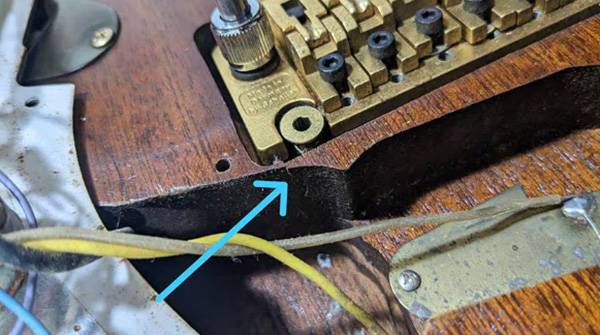
- Cracks near the anchor studs
- I am thinking that it would be a good idea to hollow out the surrounding area with a router and reopen it after embedding a piece of wood processed to the same shape.
- Installation of battery box
- I didn't take any pictures when I installed the humbucker counterbore in the body, so I'm going to take revenge by counterboring the battery box!
I will continue to steadily work on this project every month, so see you in the next article!


 パーツの配線を知ろう
 ネックの調整方法
 ギターのお手入れ
 お手入れに必要な道具
 ギターの各部名称
 ギタースタートガイド